
I thought I would share with you how I made those fun color coordinated treat cones that we served up Pirate Booty in for the kids at Eloise’s First Birthday party I showed you in this post here. They were the perfect pop of color we needed on our tables!
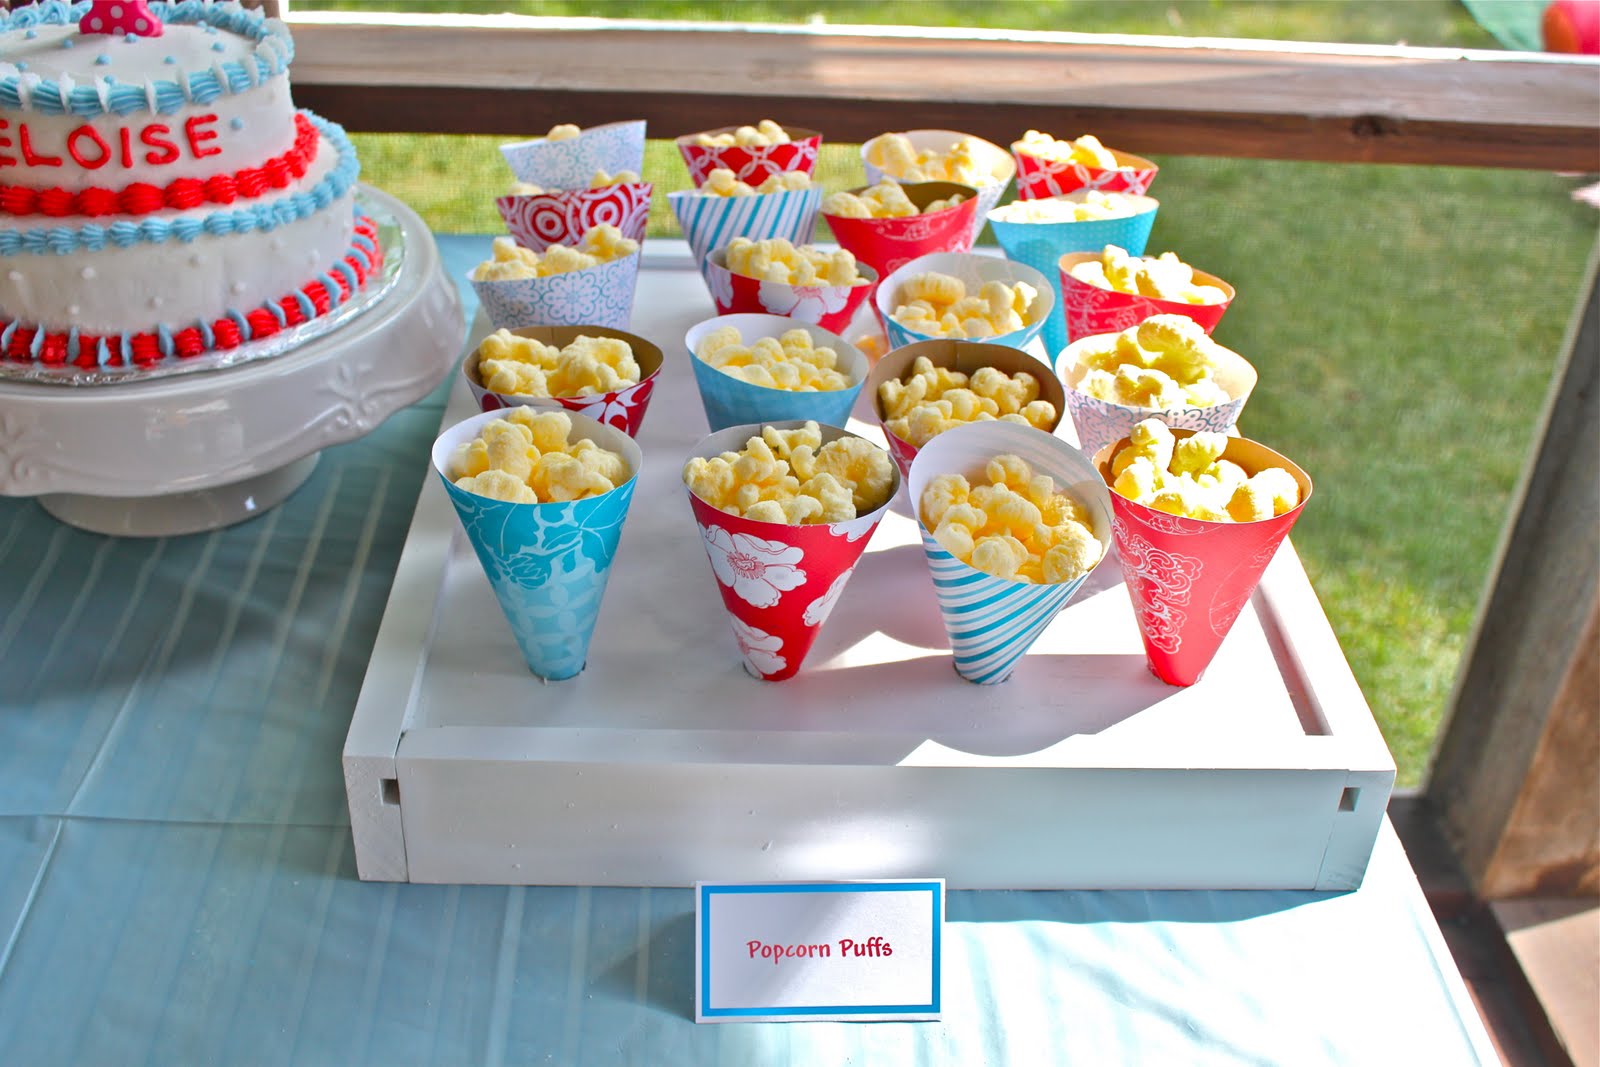
I used lightweight scrapbook paper in aquas and reds to help pull the Vintage Cookies and Milk color theme together. I found my scrapbook paper at Joann’s and Michael’s.

Treat Cones
Print the Treat Cone Template here.
You will also need a pair of scissors and clear tape
Scrapbook paper, wrapping paper or card stock…just don’t use anything too thick or heavy as the tape will not hold it together very well!
This template will make about a 5 inch treat cone as your end product. I found this to be the perfect size for little hands as well as it is perfect for a single serving of any treat…popcorn, dry cereal, marshmallows, etc.
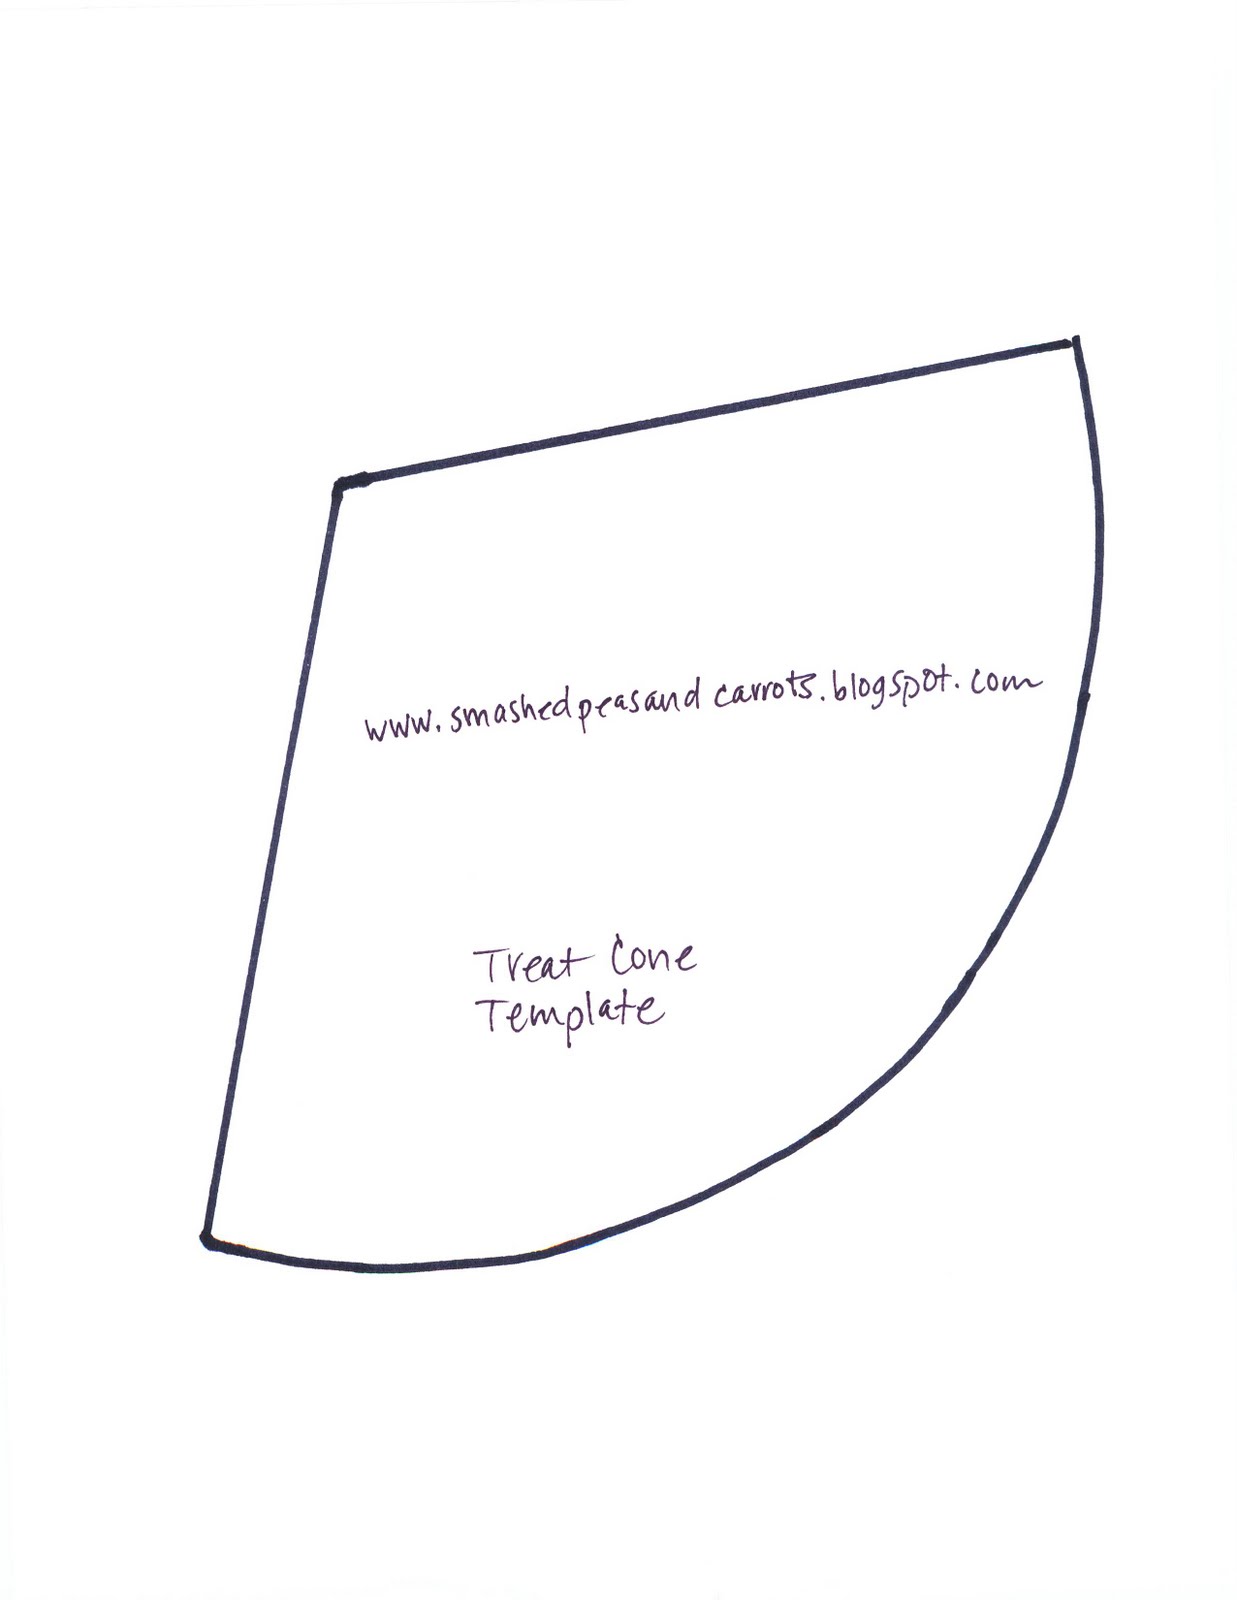
It should look like the picture above, there will be one template per printed sheet of paper. Cut out your template.

Trace around the template onto your paper of choice. I used a permanent marker so you could see my lines but I would recommend using a pencil, this way your lines won’t be noticeable if you don’t cut exactly on the traced lines. If you are using 12 x 12 inch scrapbook paper you will be able to fit four cones per page, you will just have to finagle it a bit. I used a 12 x 12 piece of paper above so just follow how I did it to maximize your paper!

Next cut out all your cones so you can put them together assembly line style. I used both scotch tape and transparent tape in my assembly. I felt that the scotch tape was a bit more durable and better for the inside as it is sort of opaque and not quite transparent. I liked the transparent tape for the outside of the cone as it is a bit more transparent, lol…I guess that was obvious 🙂
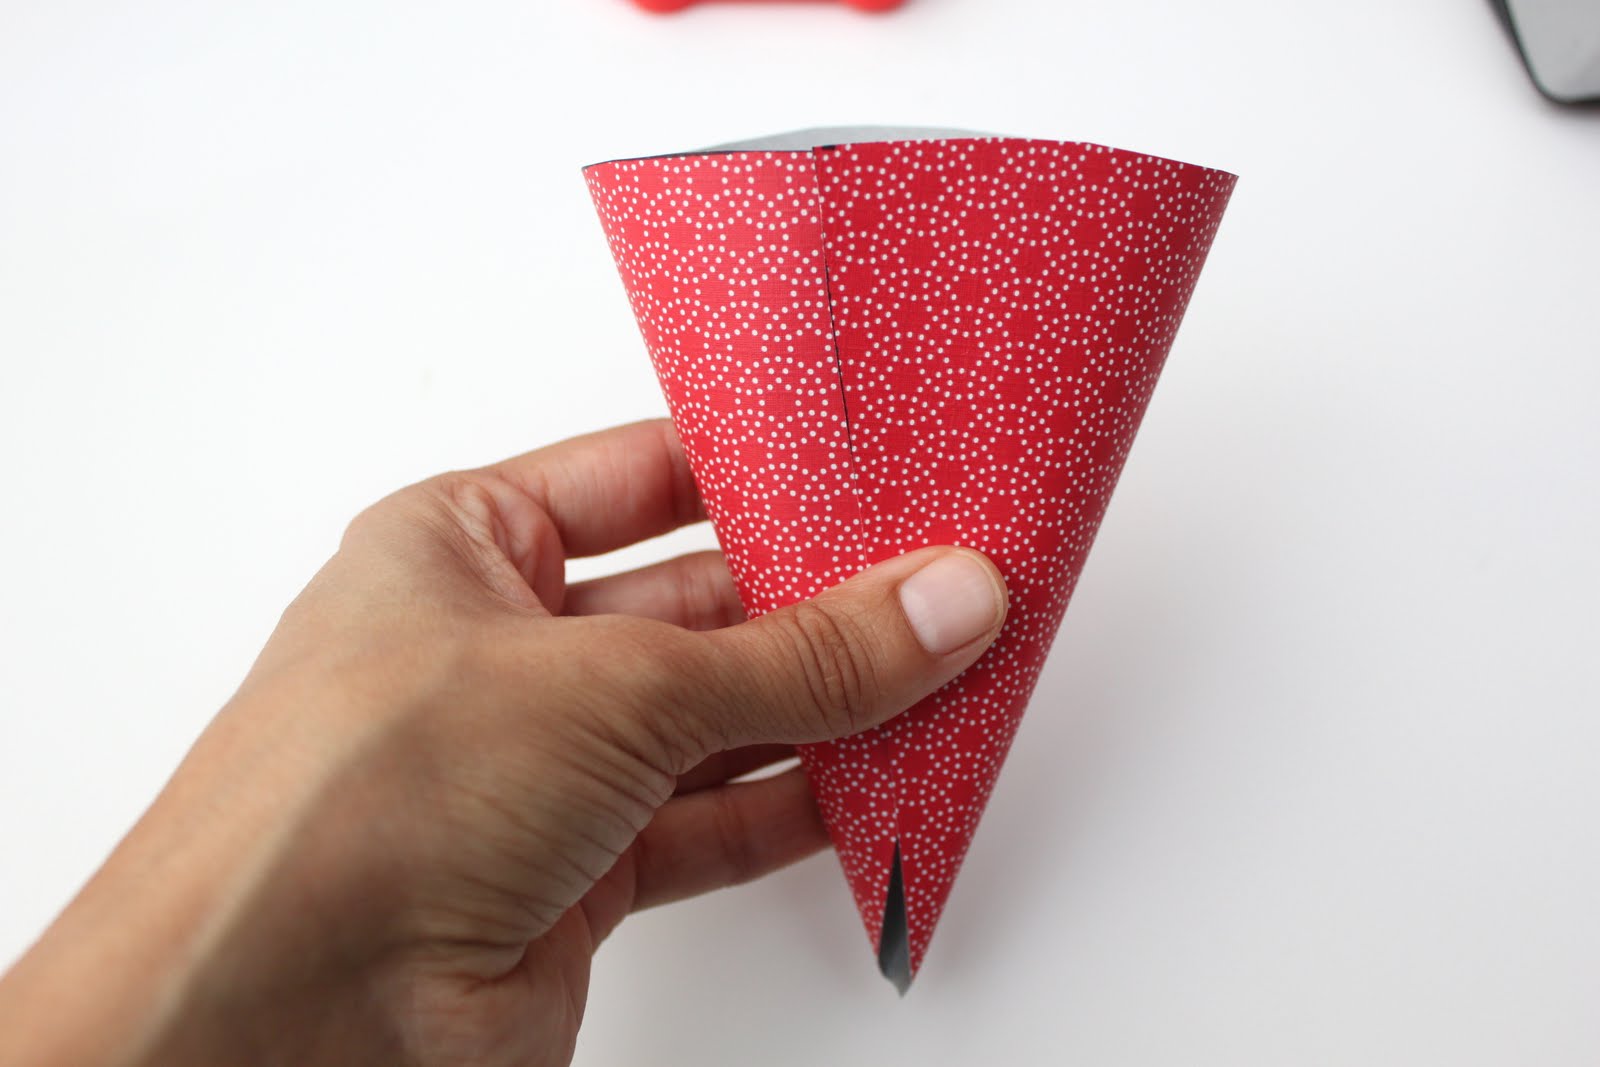
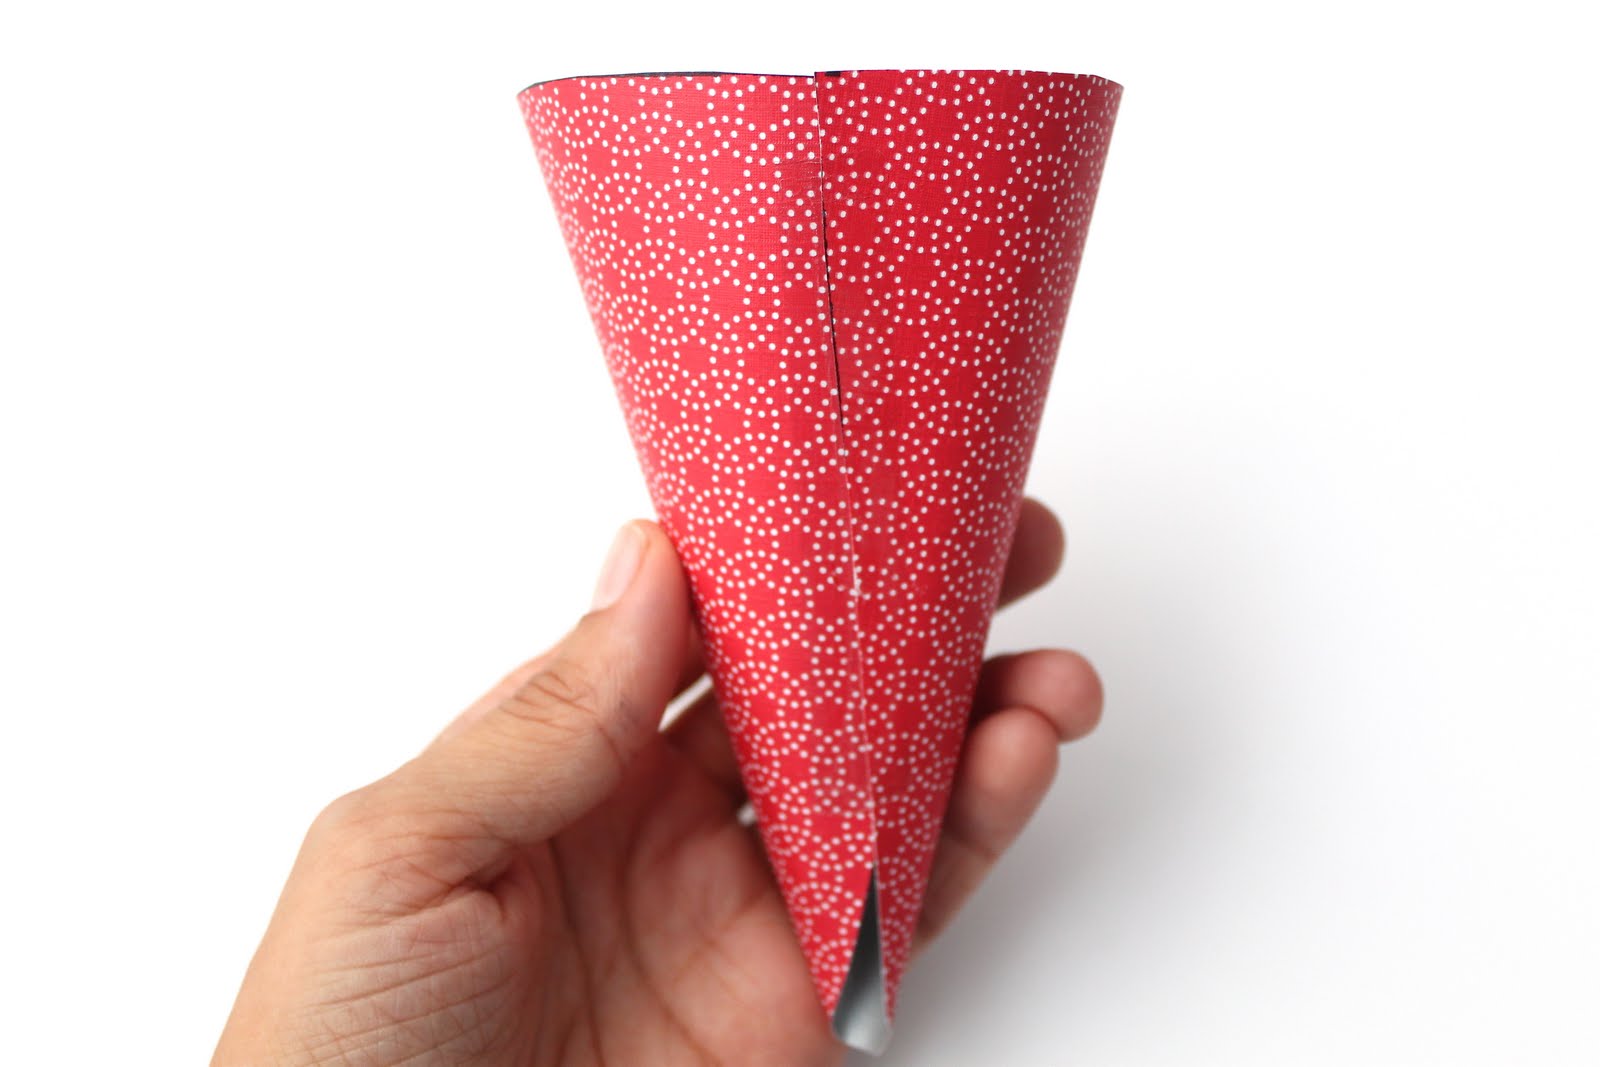
Grab a cone and overlap the two ends like the picture above. I made sure that the edges were even and smooth at the top of the cone. You should have a slight gap at the bottom which is supposed to be there. I originally intended to stick lollipop sticks in craft foam and then slide the treat cones on top until my crafty hubby went ahead and made our treat boxes instead. He’s so awesome!
Go ahead and place a 4 inch piece of scotch tape in the inside and press it so it lays smooth like the picture above.
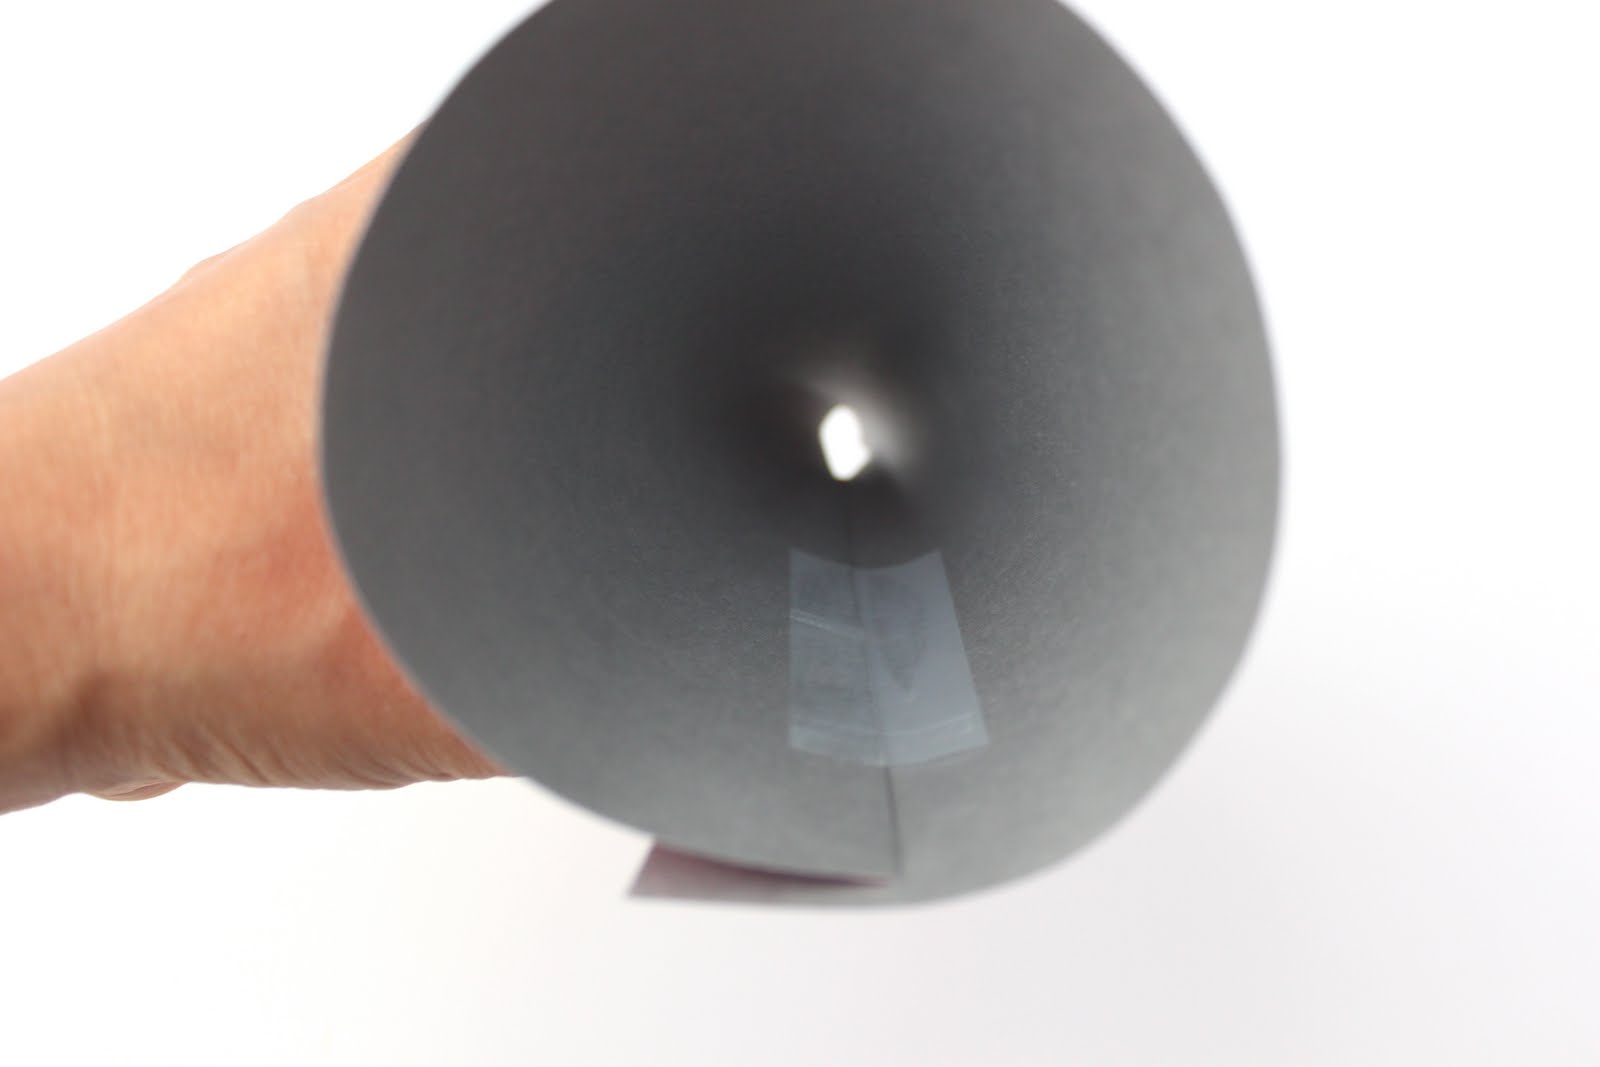
Then place a 4 inch piece of transparent tape on the remaining flap of paper on the outside of the cone. Press both pieces of tape down making sure that they are holding well. See you can’t even see the transparent tape 🙂

But if I turn it so you get a bit of glare on there you can see how I placed it…so sneaky!!

Then just fill your treat cones with the snacks of your choice and enjoy all the prettiness that they add to your next party!! Color coordinating happiness I tell you 🙂
Enjoy!
XOXO,

Thank you for the tutorial and template, these are adorable!
Like you I was up way too early this morning! But when I saw those colors, oh my, it really woke me up!!! So adorable!
Thank you so much for this post. I want to let you know that I posted a link to your blog in CBH Digital Scrapbooking Freebies, under the Page 4 post on Jul. 26, 2011. Thanks again.
Thank you so much for this tutorial! I am planning a carnival party for my daughter next weekend, and I was planning on making these for it. I even bought the scrapbook paper last night, and I was about to go searching for a tutorial to use. I am so glad I checked Facebook first! Now I even have a picture of the box I requested from my husband to show him. Thank you to your entire crafty family!
thank you for the post! these will be perfect for our labor day party! 🙂
i have decided to combine your adorable vintage colors with baby girl’s favorite thing in the whole wide world MICKEY! so a vintage mickey party it will be.
Love them! Thanks! Now can we have a tutorial on how you made the box to put them in? 🙂
Love the idea. Sadly I am completely unable to print from Scribid, which I hate.
adorable!
Such a cute idea. I couldn’t print from scribe but I clicked on the picture and printed it from there. I also got a wooden wine box and am going to use it to put the cones in.
About much do these cones hold? 1 cup…two? I am planning to make them and fill with flavored popcorn….it is kinda pricey so I want to make sure to just enough.
This is adorable!! Any other ideas about how to display them? My husband is not so crafty 😛 lol 🙂
WΟW ϳust ωhаt I waѕ looking fог.
Cаme heгe bу ѕеагсhing foг strеtсh
mark laser trеаtmеnt dаllаs
Feеl free tо surf tο my wеb ѕite;
laser treatment for stretch marks portland or
: ) Thank you so much for making the template available! I’m going to do a craft project with it, and will link back to your post once I make my post.
April @ Wilker Do’s