Did you know that March is National Craft Month? Yup, it’s true! Did you also know that Dinosaur Train (Yes that fun animated dinosaur cartoon on PBS) and Quilting Treasures have teamed up to offer a whole bunch of fun and easy craft projects as well as Quilting Treasures’ Dinosaur train fabric prints? You can find a bunch of great projects here that are easy to do!
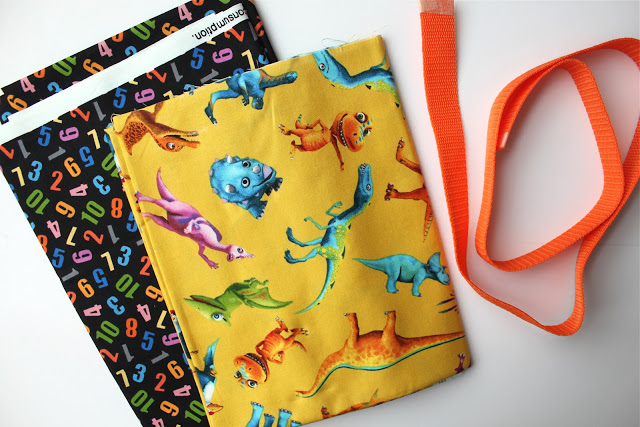
I was lucky enough to be asked to participate in Dinosaur Train and Quilting Treasures’ National Craft Month promotion…I mean how could I say no, my kids absolutely adore Dinosaur Train! We love the theme song, all the great dinosaur facts, and Tiny and all his cute friends. I was sent some of Quilting Treasures’ adorable Dinosaur Train prints and was so happy with them. I thought they were perfect boy prints, not too baby and not too blue-blue, they have just the right mix of colors! Noah loves orange and green so these were definitely up his alley and he couldn’t wait for me to finish!
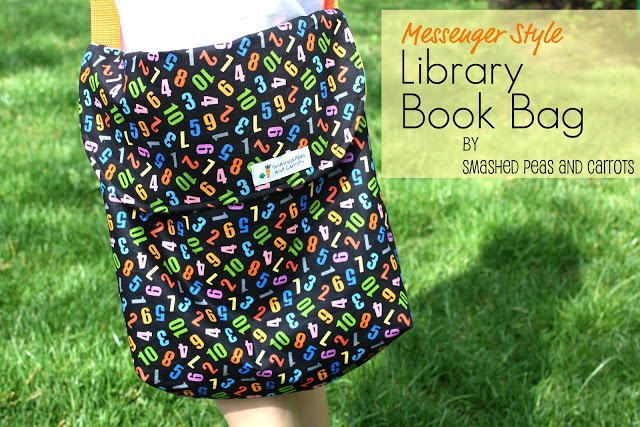
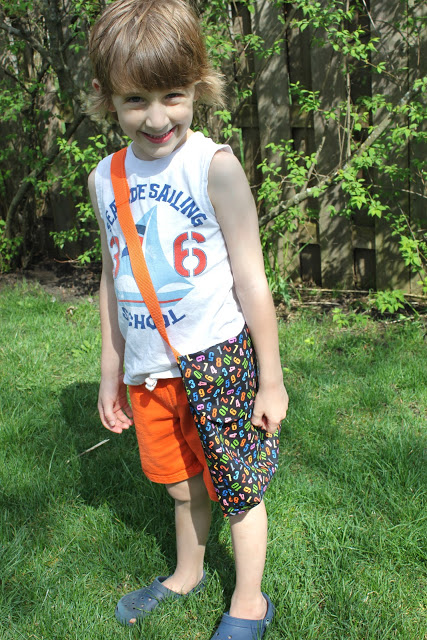
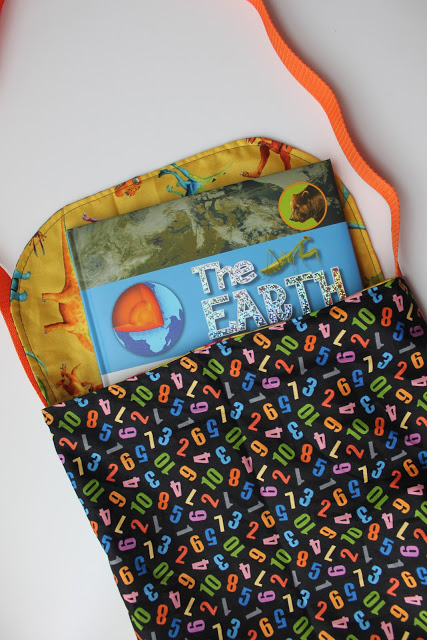
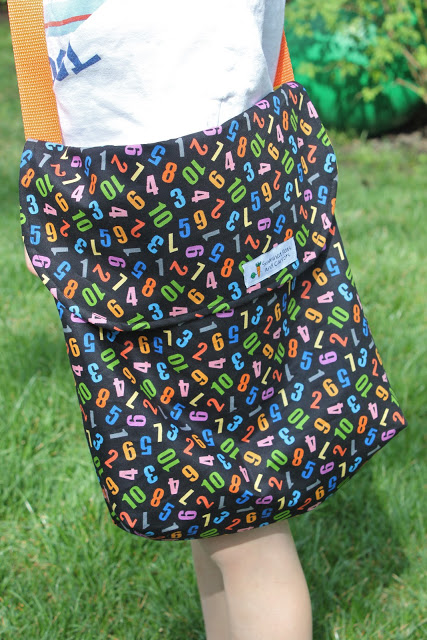
For my project, I made Noah a Messenger Style Library Bag to help him carry his every-growing stash of library books he chooses weekly at our local library. Would you like to make your little ones a library bag too? Well, then let’s do it!
Messenger Style Library Bag
1/2 yard each of two different fabrics (one for the lining and one for the outer fabric)
1 yard of 1-inch belting
Rotary Cutter and mat
Small bowl or CD
Pinking shears
Iron and ironing board
This is a great weekend project to do, from start to finish the whole bag will take you less than one hour to make!
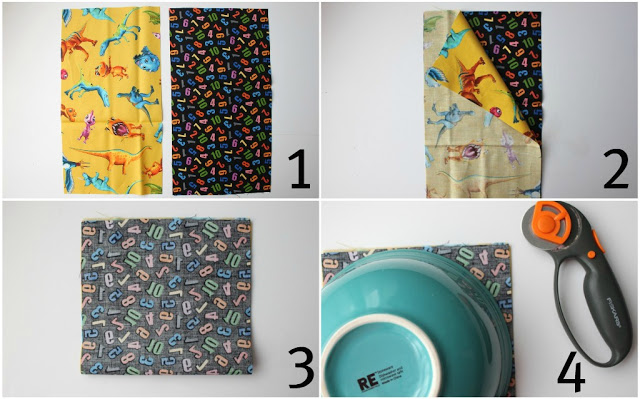
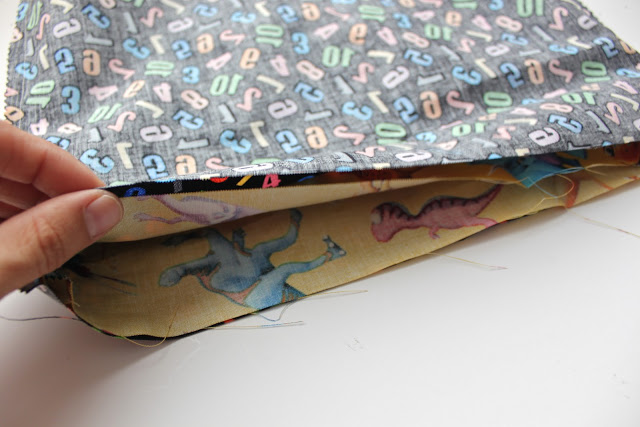
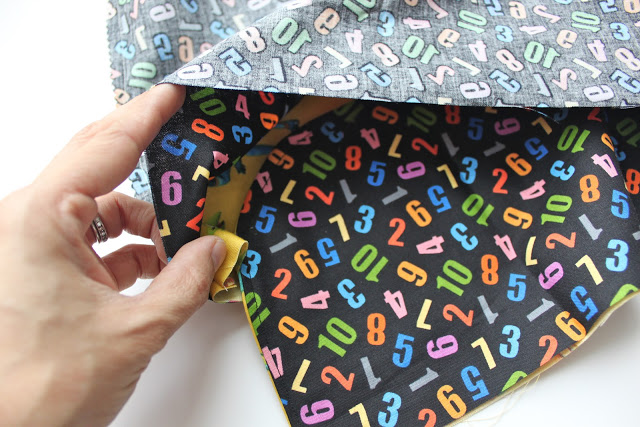
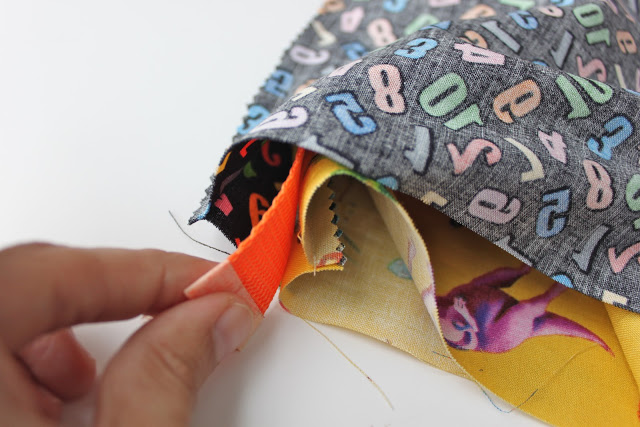
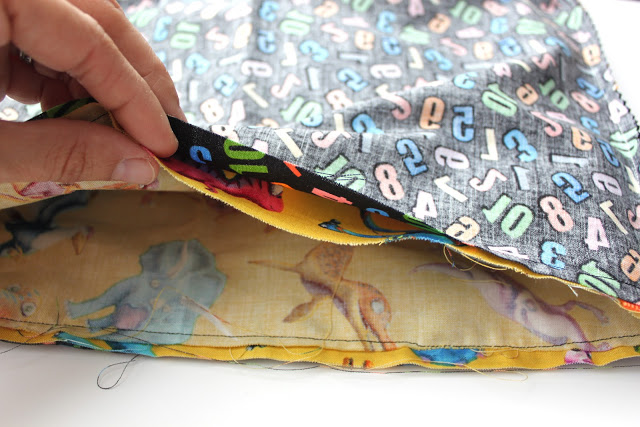
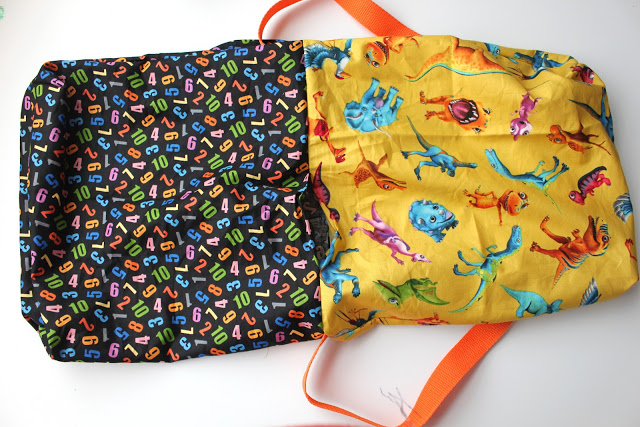
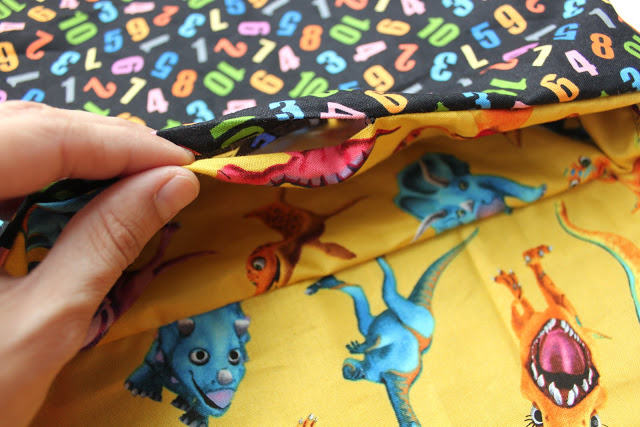
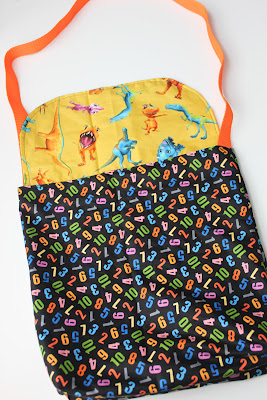
First cut one piece of each fabric measuring 7 x 13 inches long (picture 1), this is going to be your messenger bag’s flap. Place right sides together (picture 2) and then fold the two piece in half (picture 3). Grab a bowl or another round object and cut off one corner from the raw or unfolded end (picture 4).
Then sew around the curve of the flap (not across the straight edge!) using a 1/2 inch seam allowance. Take pinking shears and trim the excess seam allowance. Turn right side out, press with your iron and topstitch along the curved edge using a 1/4 inch seam allowance. Flap done!
To make the lining and the outer fabric of the messenger bag, cut 2 pieces from each fabric measuring 14 x14 inches each. Place two like prints right sides facing each other (one set will be your outer fabric the other will be your lining fabric) and sew 3 of the 4 sides together (two sides and one bottom of the bag) using a 1/2 inch seam allowance. You may use pinking shears to trim off the excess seam allowance if you’d like.
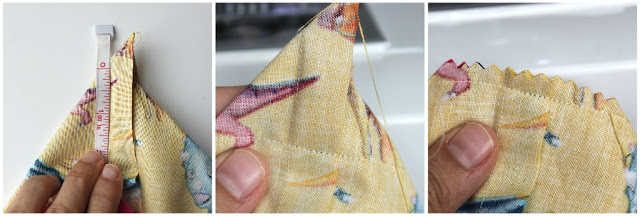
With the lining and outer fabric still wrong sides out, pinch each corner of the bottom of the bag and lining until you make a pointed triangle. Measure 1 1/2 inches down from the tip and sew across (middle picture). Cut the excess fabric off using pinking shears. This will help your bag have some width to it for a few fun library books! You will do this two times each for the lining and the outer bag.
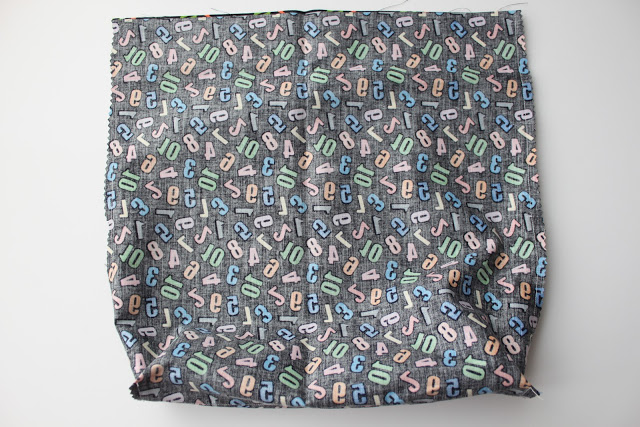
Your bag should now look like this. Wrong side out and a bit puffy at the base for the lining and the outer fabric.
Now to assemble the bag place the lining inside the outer fabric with right sides facing each other.
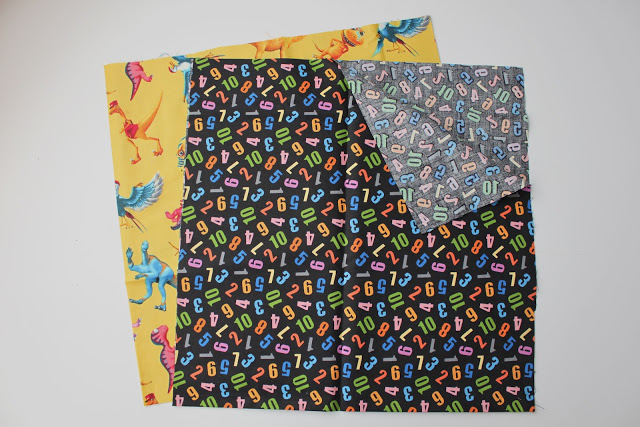
Then on one side of the bag, place the flap of the messenger bag so that the outer fabrics face each other and the lining fabric face each other.
Then measure the belting so it is the right length for your little one and place the belting at the side seam of the bag in-between the outer fabric and the lining, like the picture shows above. You may pin this in place if it helps.
PS. My belting was about 30 inches in length!
Now very carefully sew all around the top edge of the bag using a 1/2 inch seam allowance. Making sure to catch the flap and the belting! Also, make sure to leave an opening about 4 inches long so that you can turn your bag right side out (see picture above!)
Turn your bag right side out using the opening!
Fold the opening in and press with your iron. Using a 1/4 inch seam allowance, topstitch around the entire top of the bag. In doing so you will be closing the opening we left for turning!
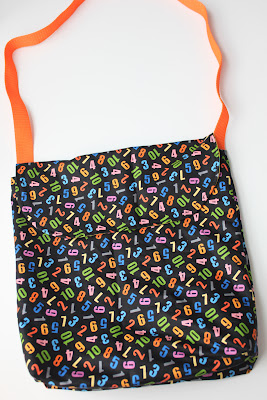
And there you go! One very stylish Messenger Style Library Bag!
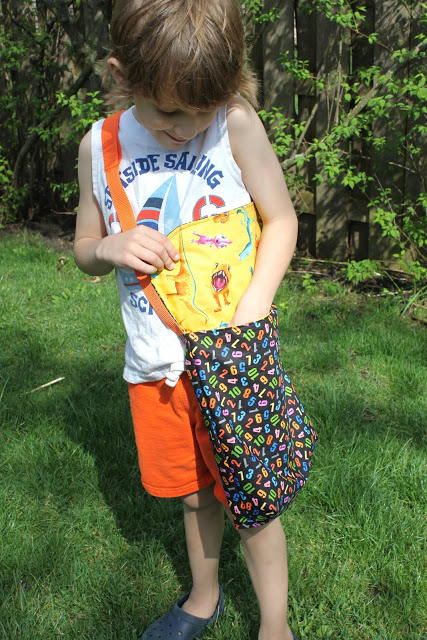
If you’d like you can add a piece of velcro or a snaps to keep the flap closed too.
Just perfect for any number and any size library books!
If you would like, your children can also participate in Dinosaur Train’s Nature Trackers Club here which is a free community of young children, their families, and educators who enjoy exploring, having adventures, and respect their environment. There is a Nature Trackers guide book you can print off the site and new challenges posted each month! It really is cute and fun for kids especially now that the weather is getting nicer and nicer!
Take care and we’ll talk soon!
Thanks for stopping by 🙂
XOXO,




ADORABLE!!! Love the easy and simple instructions!! I might just have to make one for my boys!! Thanks!! (they love dinosaur train too:) )
Awesome! I made another for Penelope and Eloise of course feels the need for one too!
Oh, this is a great tutorial! Easy to follow along with the pictures and instructions 🙂
Will definitely be trying this one out soon. Thank you!
thank you Mariana! I hope you have fun making a few!
I had no idea March was National craft month! I had better get to crafting… 🙂 This is a great bag! I may have to make one for each of my kids. Thanks!
YES!! I think there almost everything is celebrated monthly now…my favorite? Donuts!
I don’t have kids, however, I do use the library on a regular basis. So I will be making a bag for myself…Thanks for sharing…
LOL! I think you should!! 🙂
I want one, too! I can’t wait to get started on this project.
YAY! I’d love to see your version when you are done!
I have been trying to work out how to make a simple bag…because I am no sewer…yet. Thank ou for these easy to follow directions! I don’t have kids either, but I totally want to make a bag like this for me!
It would be perfect for us non-kids too 🙂
Hope the tutorial is helpful to you!!
Cute Maggie!
Okay…so I promise I am not trying to copy everything you do. I laughed when I saw this post. I just bought some Duck cloth yesterday to make library book messenger bags for my Color Your Summer series coming this June. No joke. The bag I have in mind is just different enough that I don’t think it will be weird (I hope). Just wanted you to know I am not intentionally trying to be a poser. 🙂
This was a great tutorial! I found it on Pinterest and adapted it to make an epi-pen carrier for my daughter. Thanks so much! 🙂
Oh how awesome! I am glad the tutorial was helpful Sarah!
This is fantastic. Thank you so much Sarah. I managed to make one (and I am not really a sewer) and my son loved it….. Next trip to the library will be a wonderful experience with his new bag.
thank you for this!!! I just made one (in under an hour, like you said!) for my son for school. the tutorial was great!!!
Oh, I’m so excited I remembered seeing your tutorial a few years back! I’m going to use your pattern to make a mail carrier bag for my son’s third birthday. He loves all things mail and his five year old sister’s purse. The pattern is nice and simple, something I can get done in a weekend.
Aww! That is going to be so cute!! I hope he loves it!! <3