If you follow me on Facebook you know that I promised to show you the gift that I just finished for one of my sisters. Eeep! I’m so excited cause I think she is going to L-O-V-E it! Don’t you just love when you make a gift for someone and you get that “they are soooo going to love this’ feeling? I do!!
I don’t think I’ve really mentioned my youngest sister to all y’all yet but she is super cool (just like my middle sister is too, heck my whole family is cool 😉 !) Anyways my littlest sissy, Annie, is an organic vegan chef…see she is waaaay cool, right? I like to think my whole family is amazing in the kitchen but Annie takes the cake for what she can do to tofu, tempeh and well vegetables in general. Gourmet and dee-licious are just two words that come to mind!! Annie is always in the kitchen and being a chef she has the burns to prove it, isn’t that just the true sign of someone who loves to cook or bake, I know I have my fair share of war wounds. I know she is always on the lookout for oven mitts, aprons, and the like so I thought maybe she would like this..

We’ll call it, ‘The Double Oven Mitt‘
It’s basically two oven mitts that are connected in the middle, kinda like mittens on a string but cooler and with a greater function. That middle section plays a key part in protecting your forearms and clothing from larger and sometimes heavier hot pans (yeah, I’m talking to you Lasagna pan!)
Do you have a cook, baker, or chef in your life who might like one too? Well, then let me show you how to whip one up for them…easy peasy lemon squeezy!
The Double Oven Mitt
2 – 7 1/2 x 31 inch rectangles of your main outer fabric
1 – 7 1/2 x 31 inch pieces of insul-bright
4 – 7 1/2 x 8 pieces of the mitt fabric
1 package of extra wide double fold bias tape
pins
coordinating thread
rotatary cutter, etc, etc.
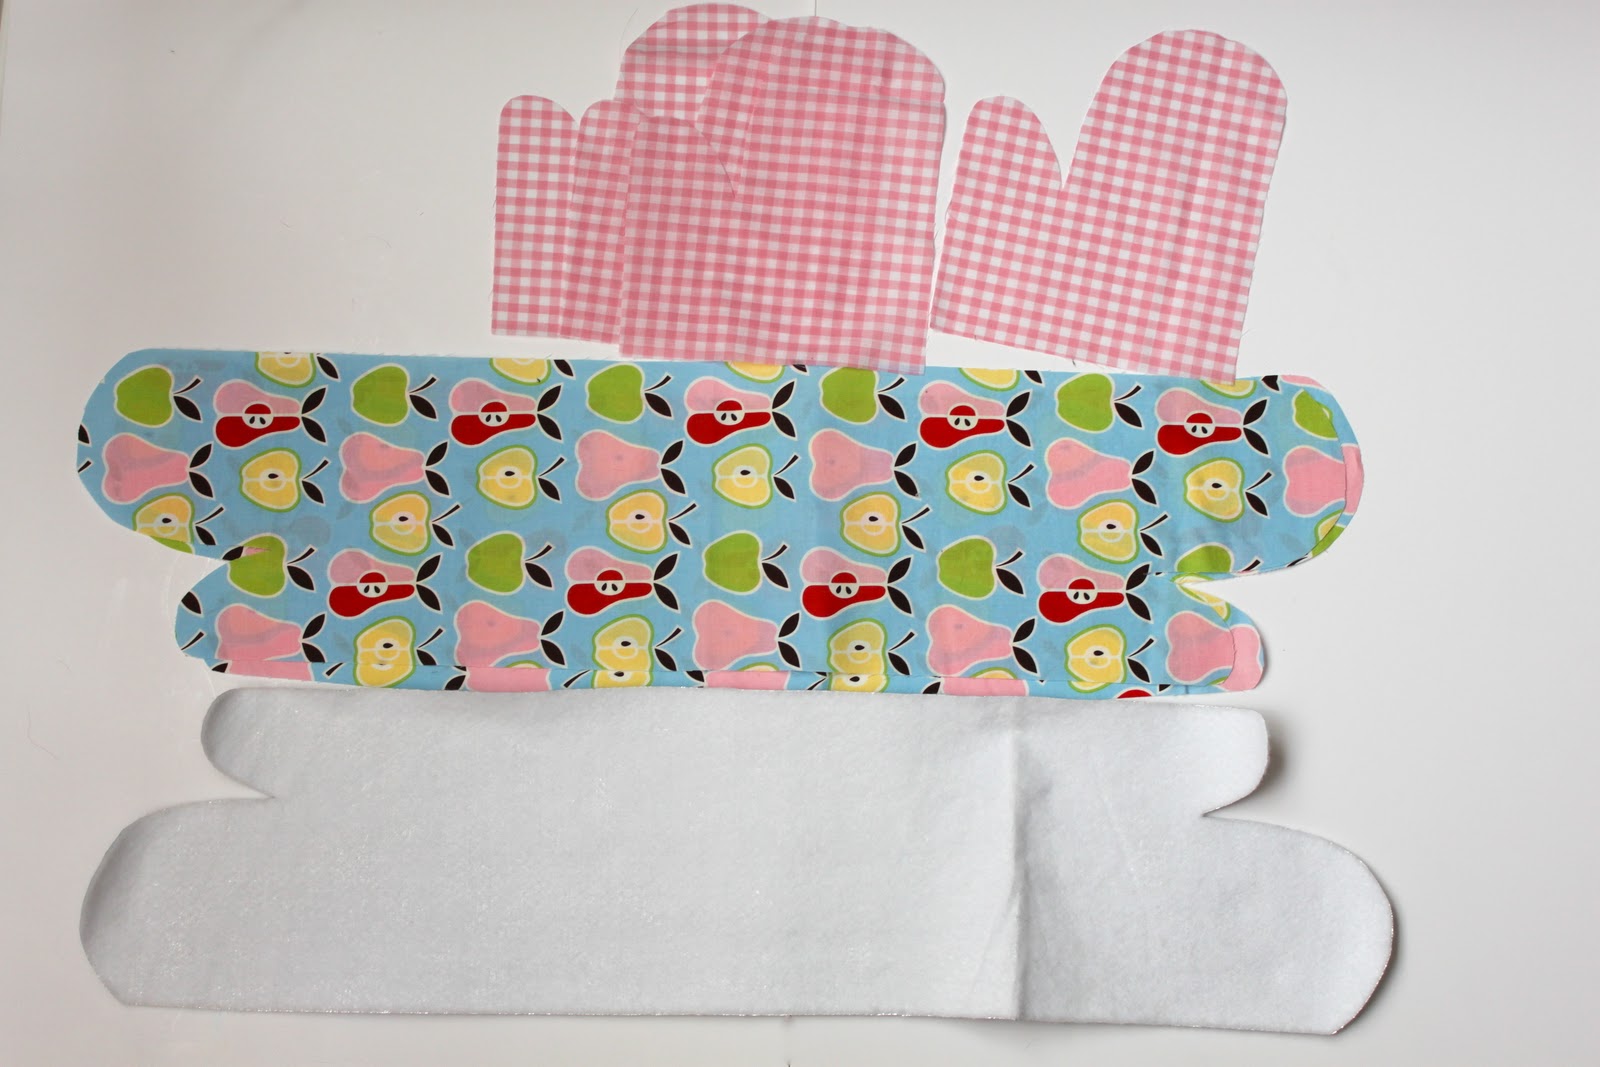
First, cut mitt shapes out of the ends of both long pieces of fabric and insul-bright. Cut a mitt shape out of one 8 inch side for the 4 pieces of mitt fabric as well. I just free-handed this by tracing the outline of an oven mitt and adding a 1/2 inch for a seam allowance!!
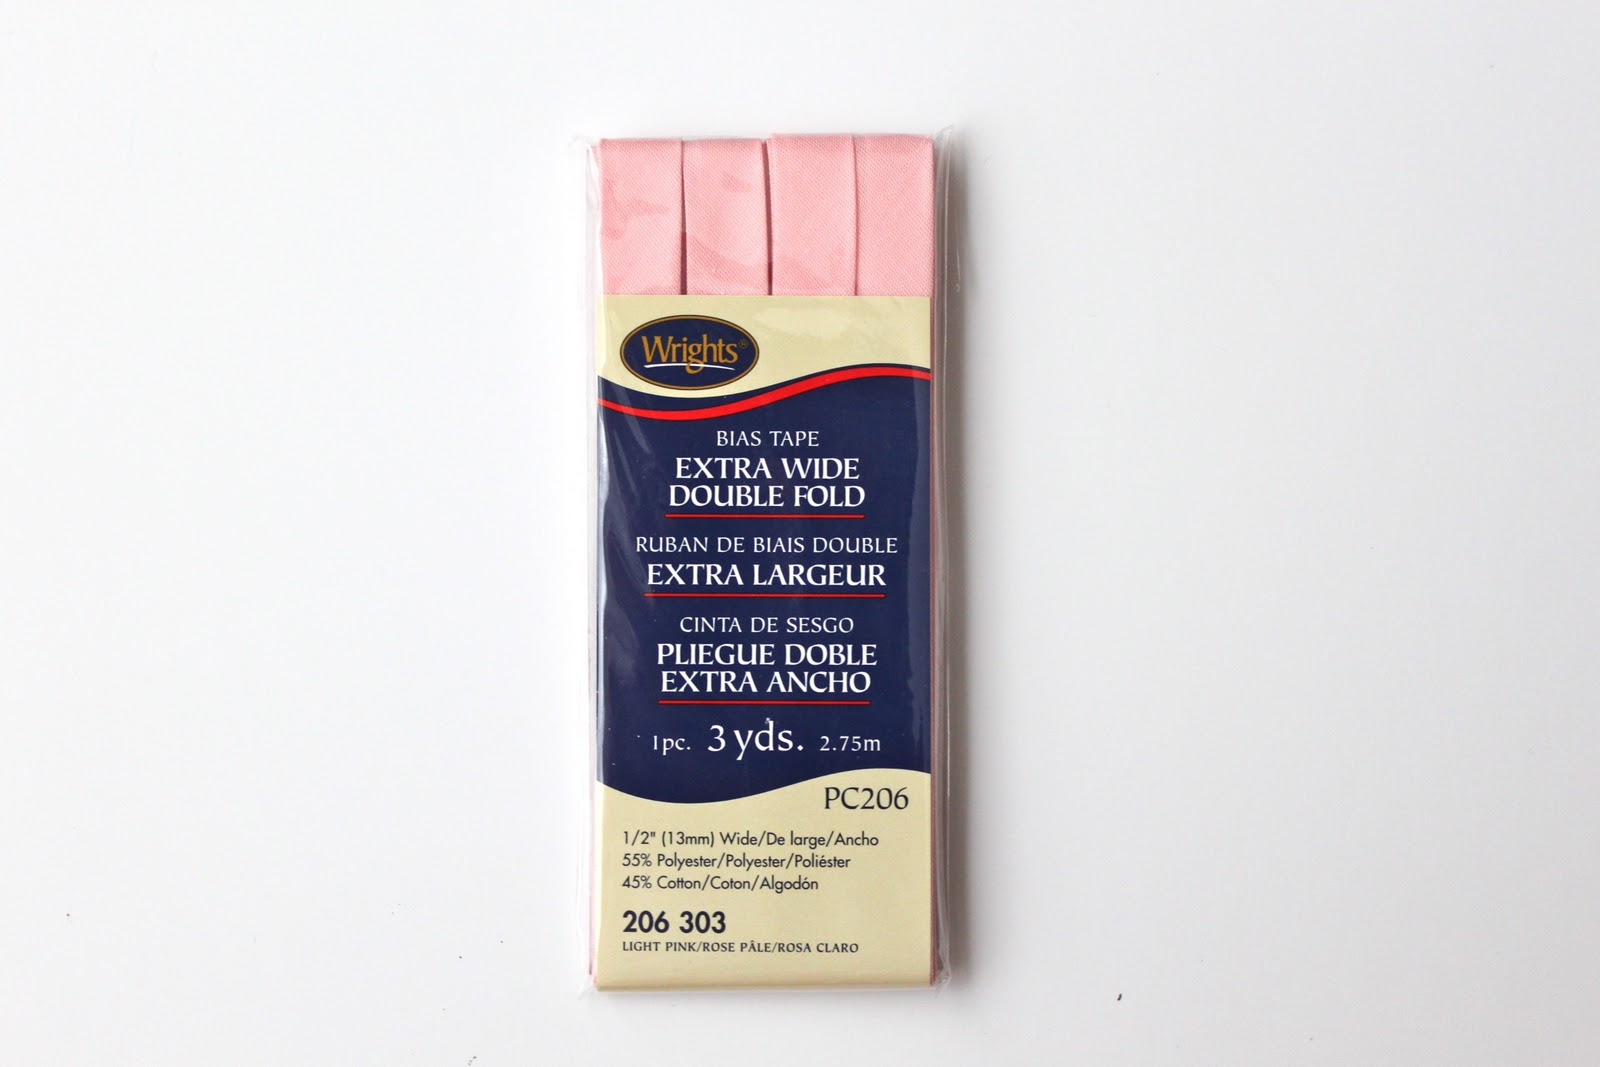
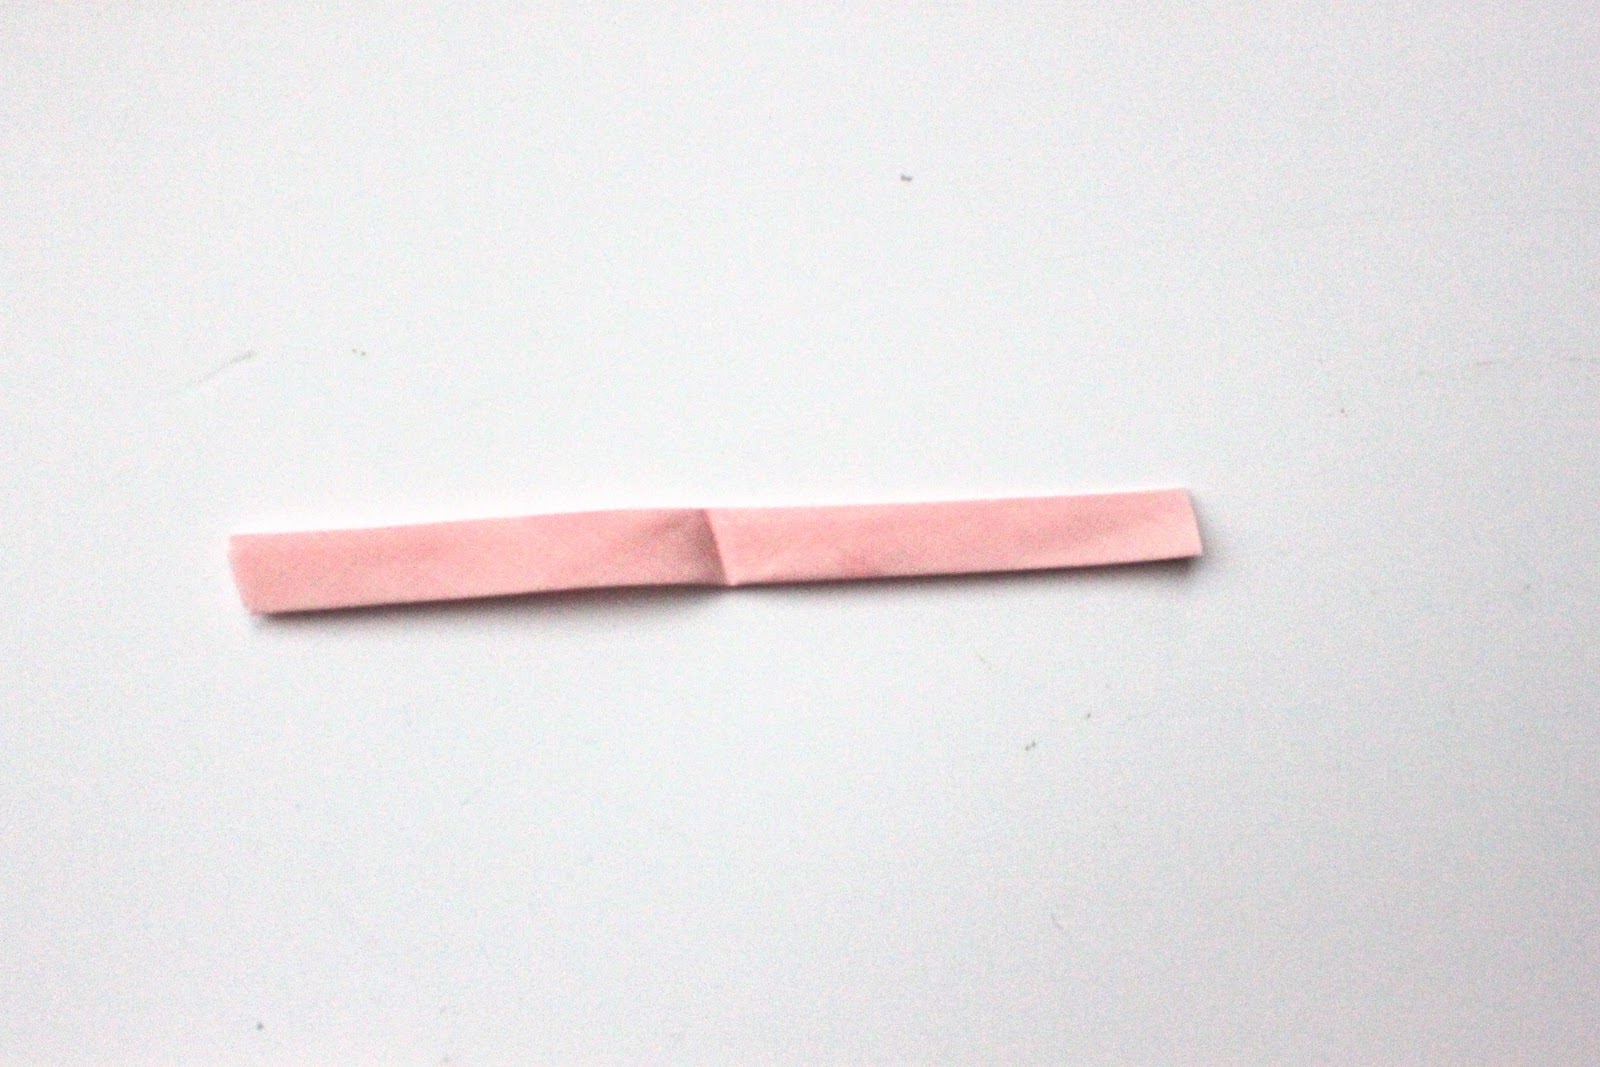
Next, grab your bias tape. It looks like this picture above and is usually found near the zippers in most fabric stores.
Cut 2 pieces of bias tape measuring 8 1/2 inches long. You want them to be just slightly longer than the width of your oven mitt fabric.
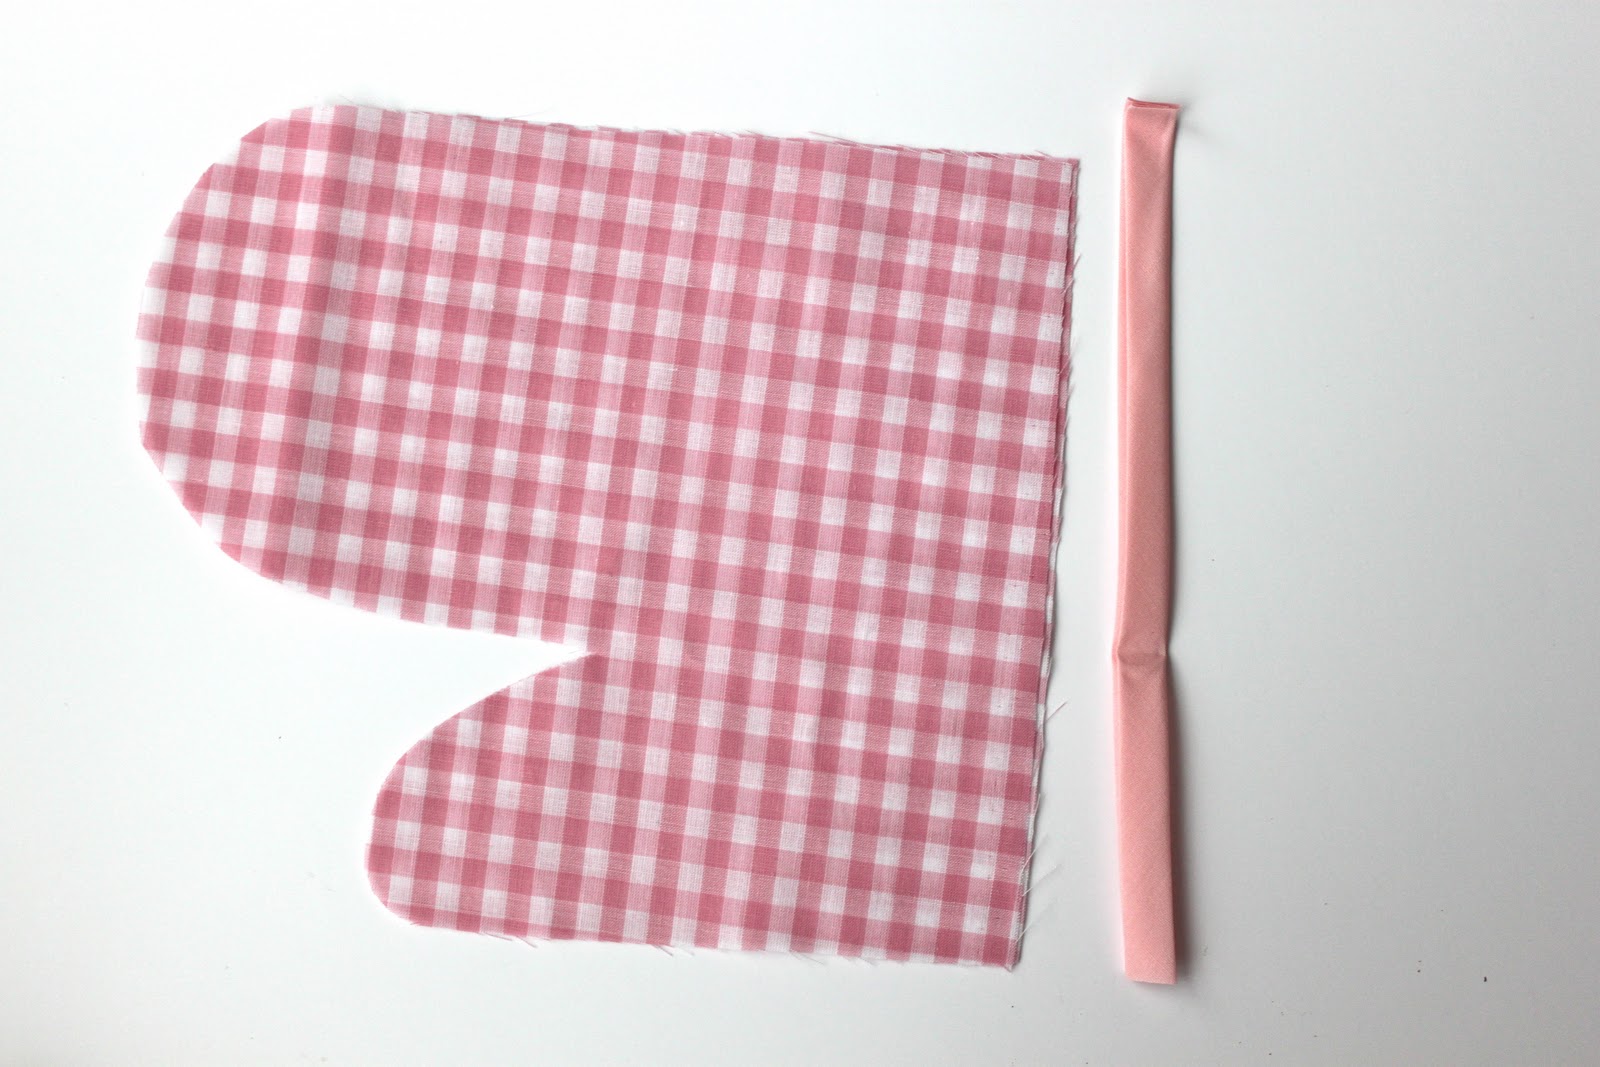
With two of your oven mitt fabrics wrong sides together, fold the ends of your bias tape under and sew it on to the uncut edge of your mitt. Do this to the other two pieces of mitt fabric as well. Set aside.

Now, layer your fabrics together like so…outer fabric wrong side up, insul-bright shiny side down, outer fabric right side up, oven mitt right side up at both ends.
**If you look closely at the insul-bright you will notice one side has a shine to it, kind of like a shiny foil look. You need to have this side facing down when you are assembling your mitt as this side will be the one closest to the heat source when you are using your double oven mitt. The shiny side will reflect the heat source and therefore help to protect your hands from getting burned!
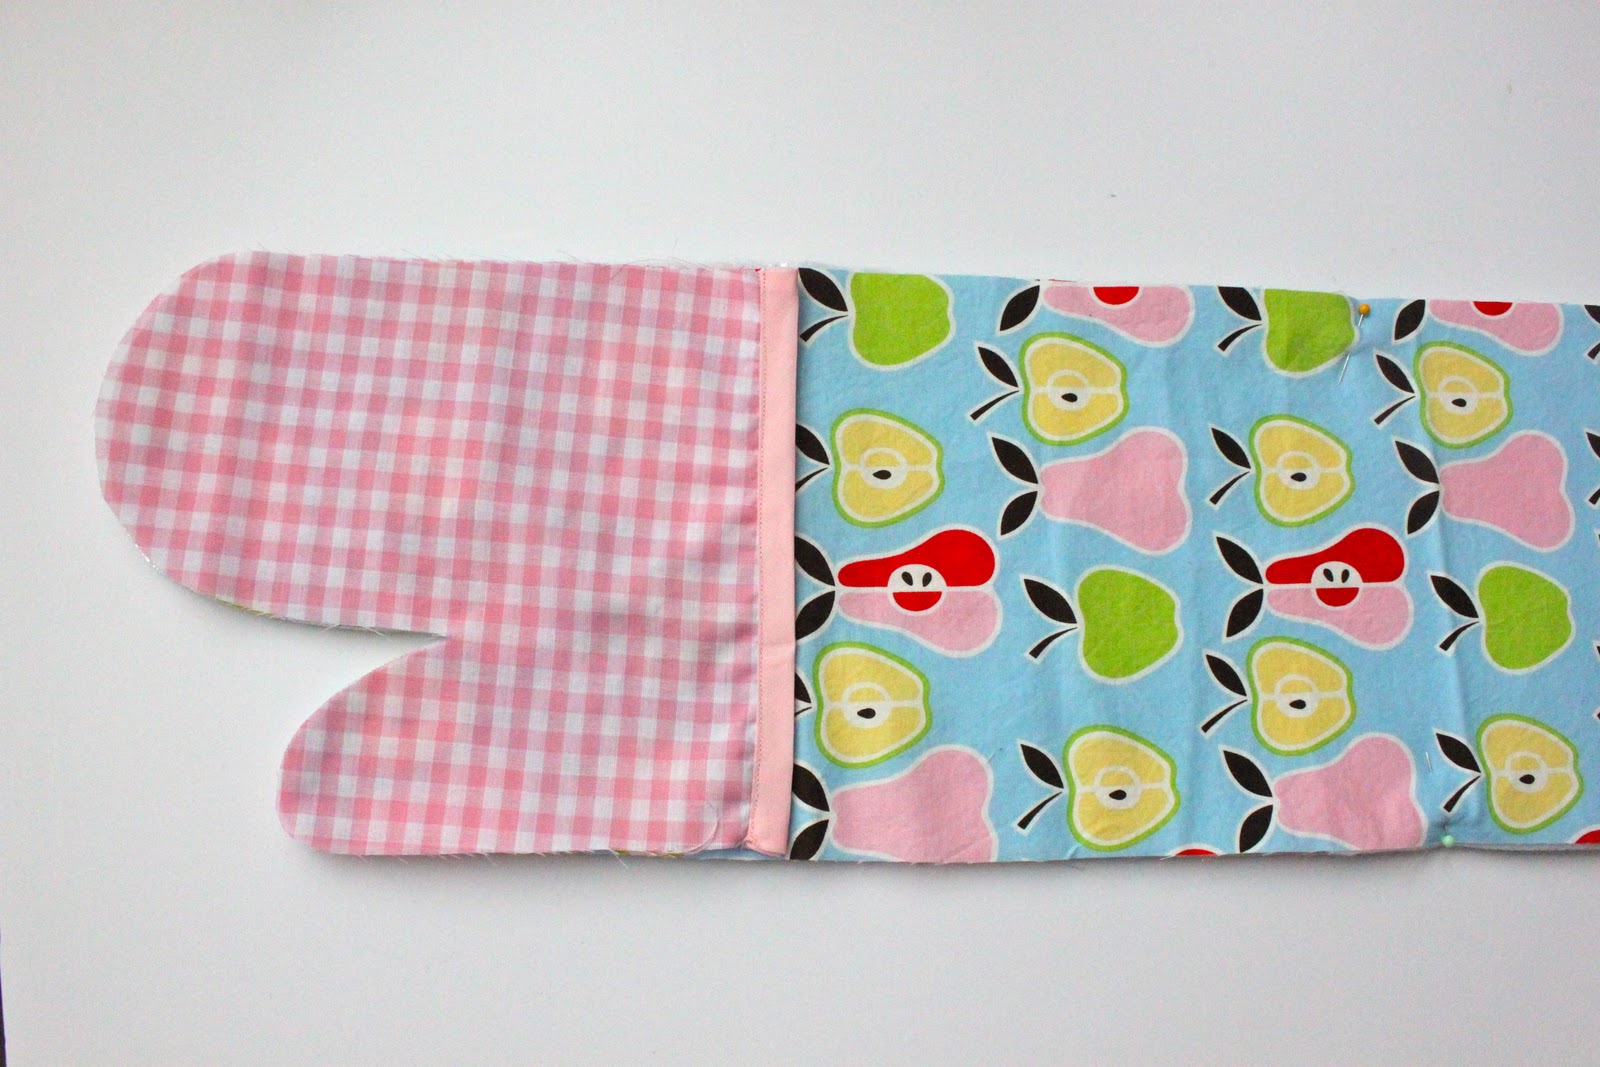
Here’s a view of what one end should be looking like…
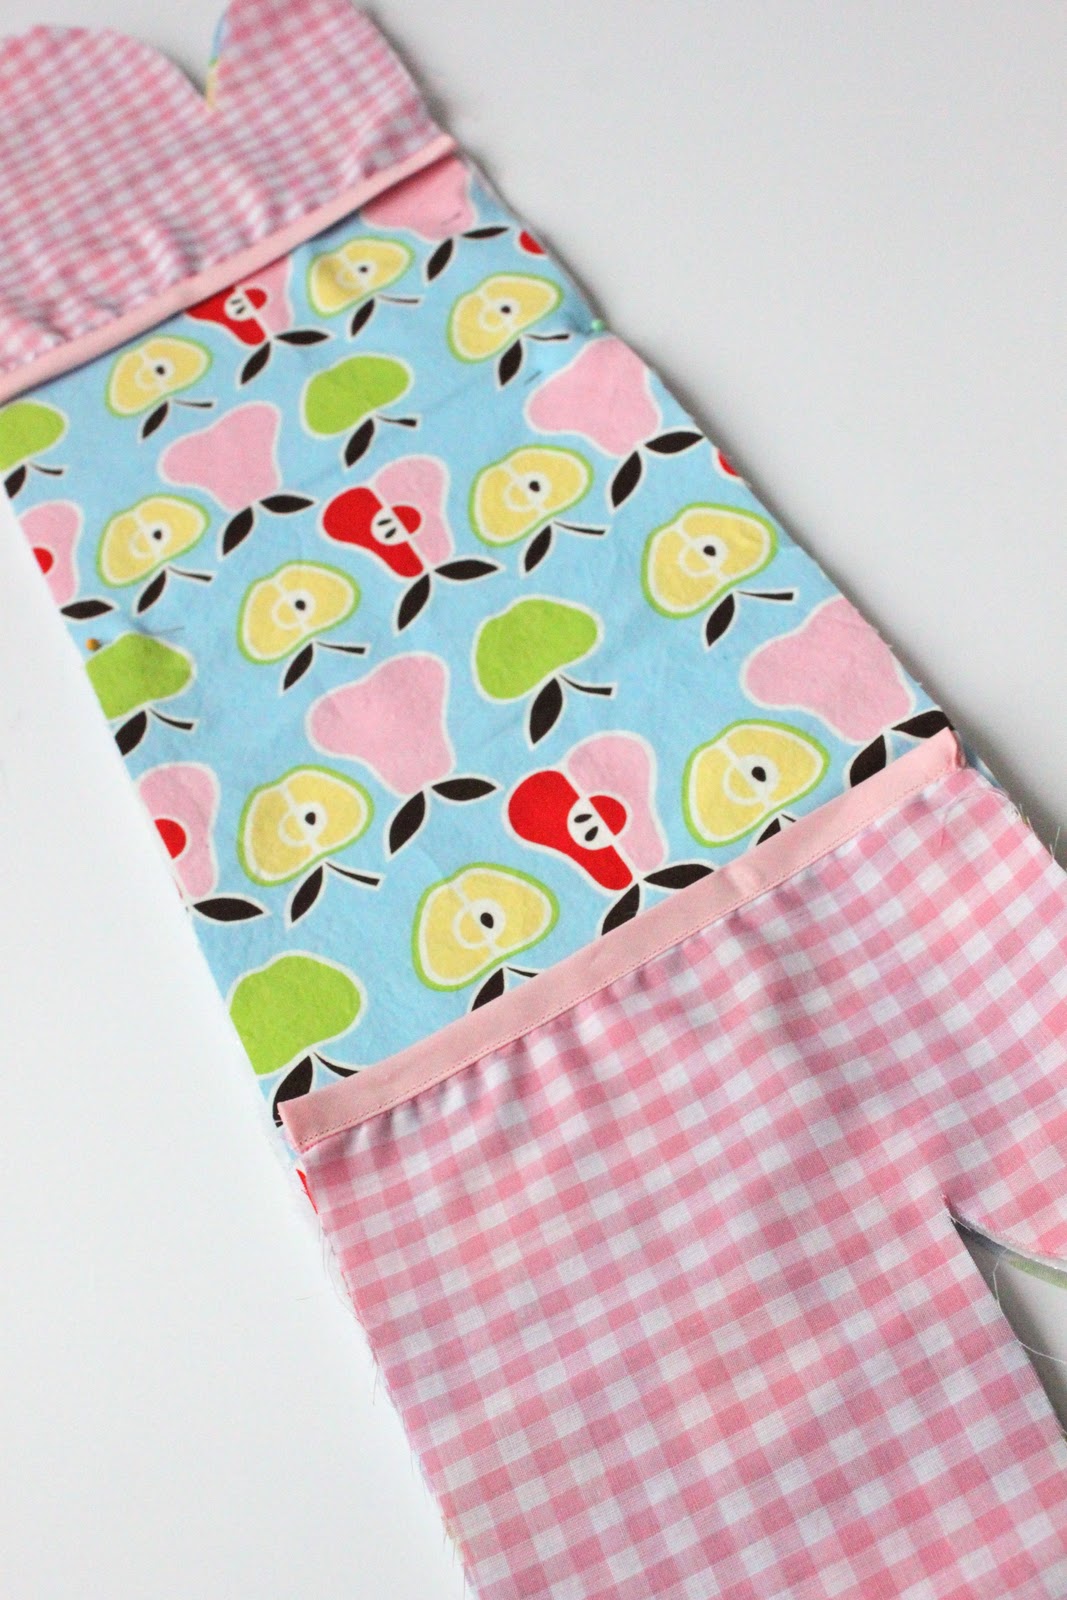
And here’s a shot of the double oven mitt before bias tape-ing the edges!
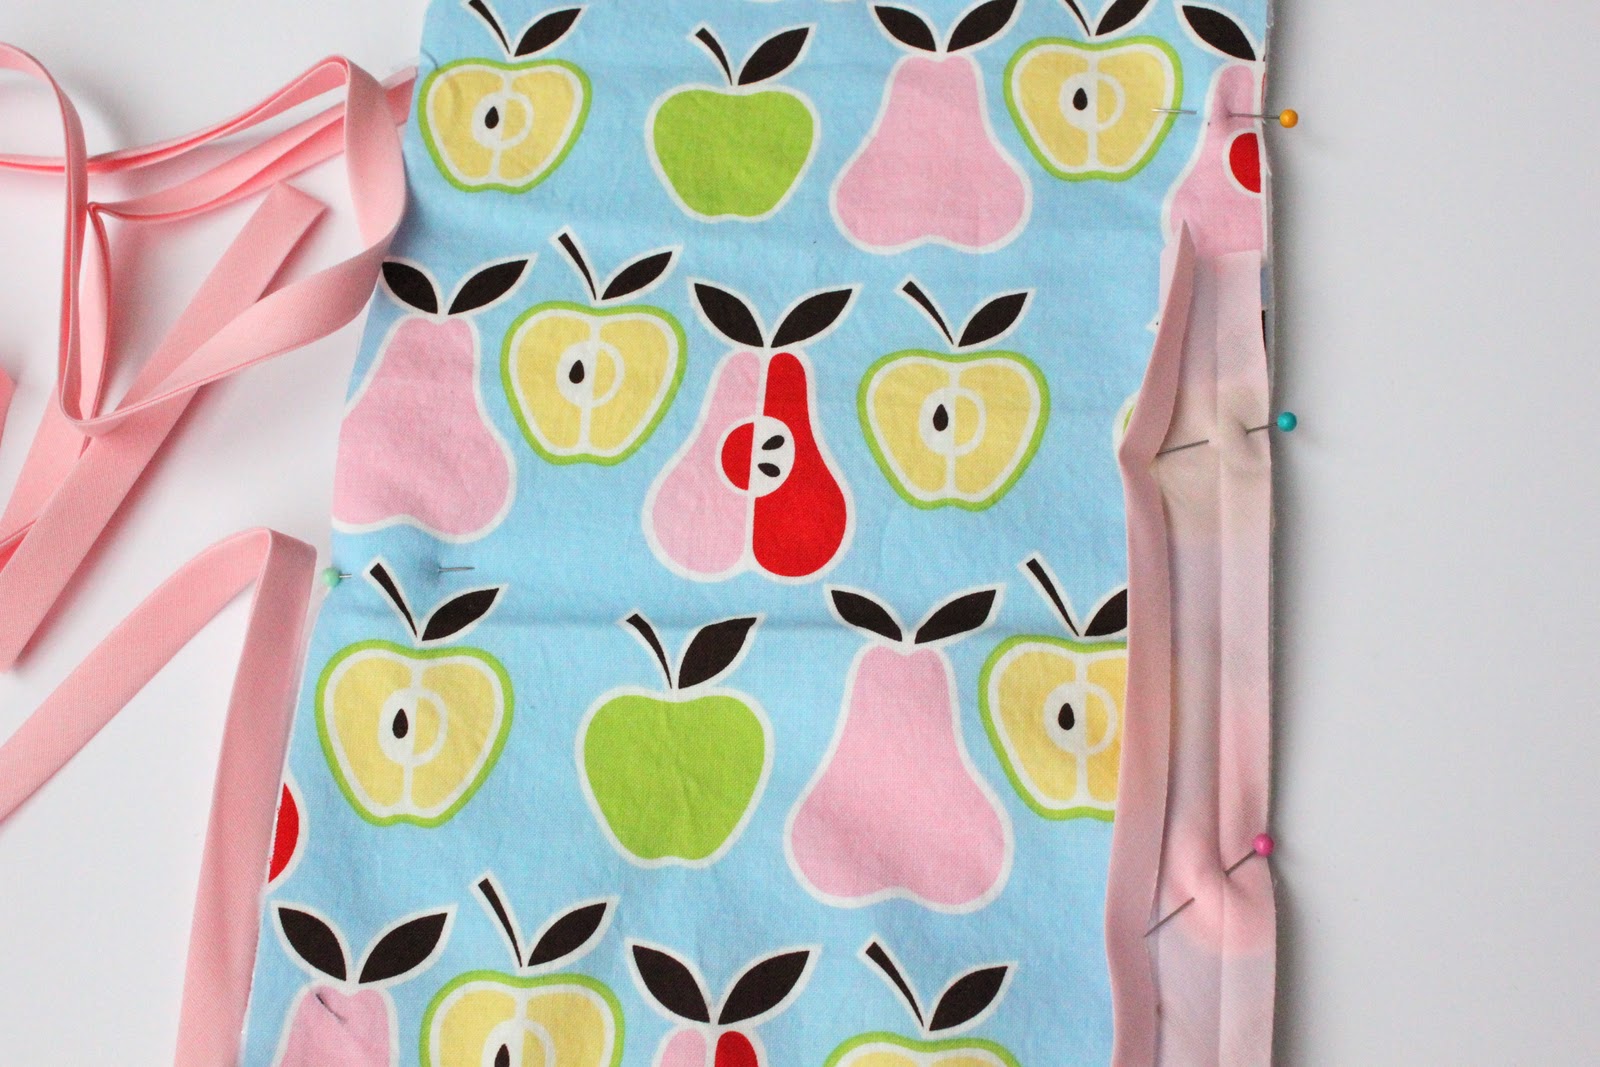
Okay, so now grab your bias tape again and start pinning it around your mitt. I started mine in the center of the mitt, but really you can start yours wherever you would like.
Pin, pin, pin, lalalalalalalaa!
At the other end of your bias tape go ahead and cut about 5-6 inches off. Go ahead, you should have some left to use if you are following these dimensions!
Did you do it?
Go ahead, doooo it!
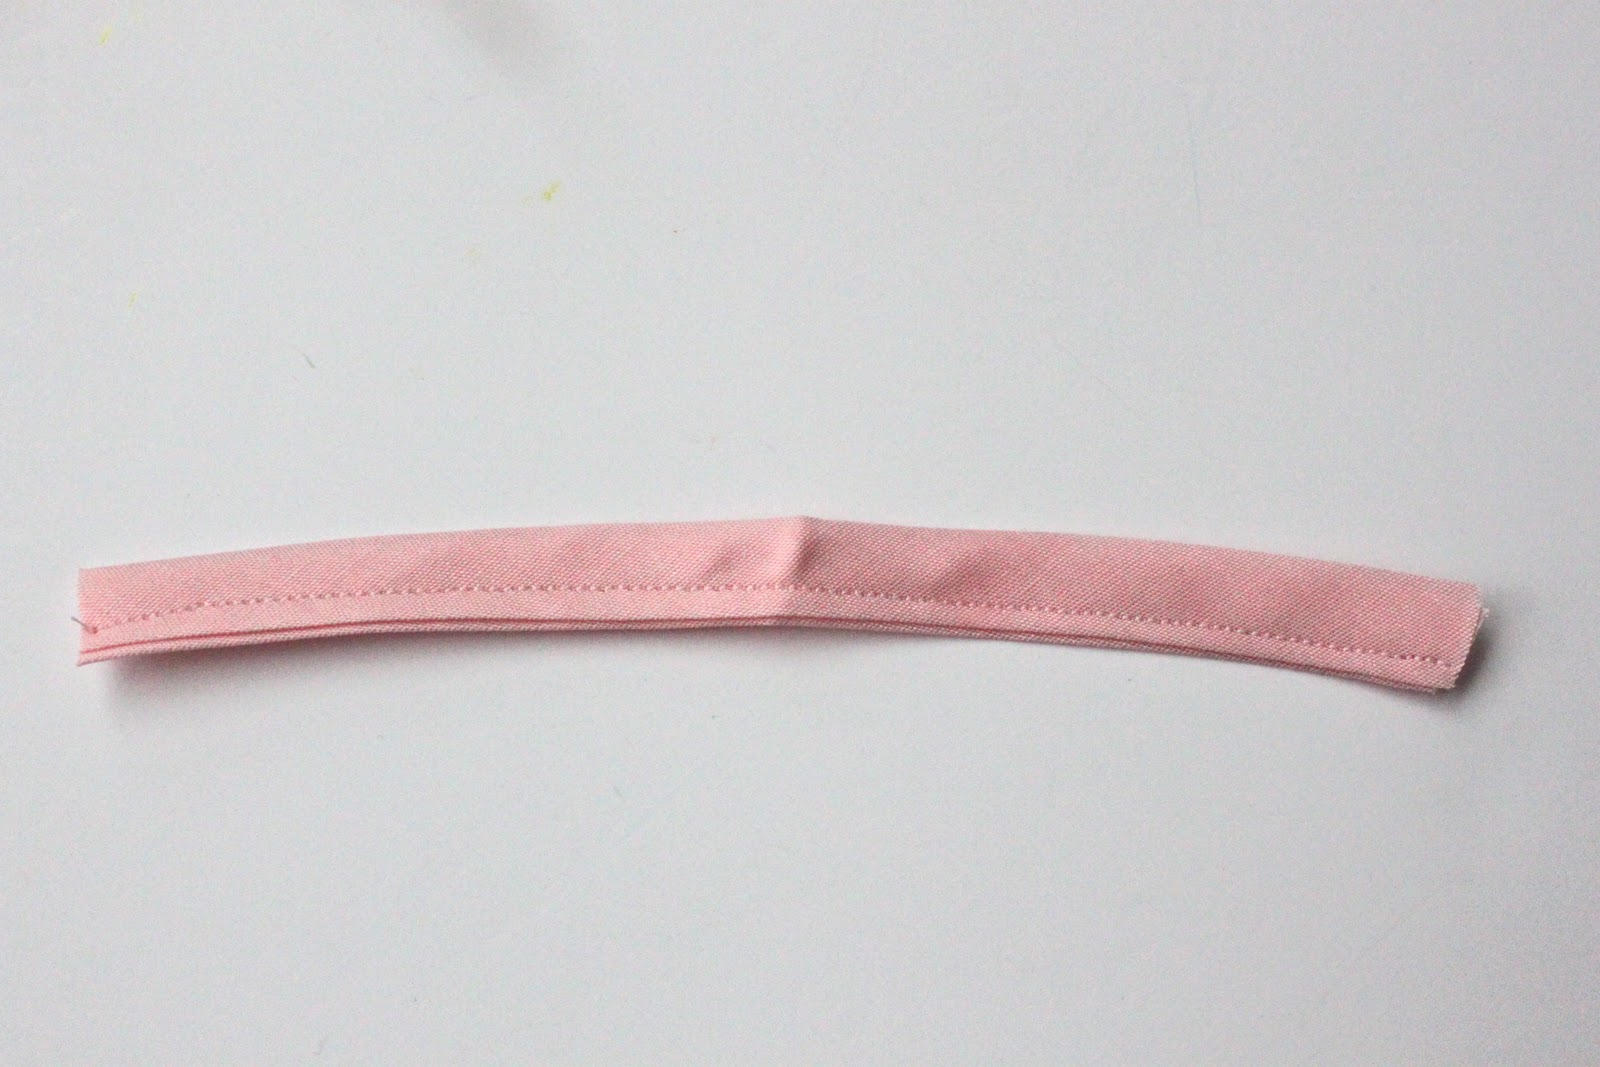
Now, sew the open length of bias tape together like so. We are making a little hook to hang our double oven mitt from, neat-o eh?
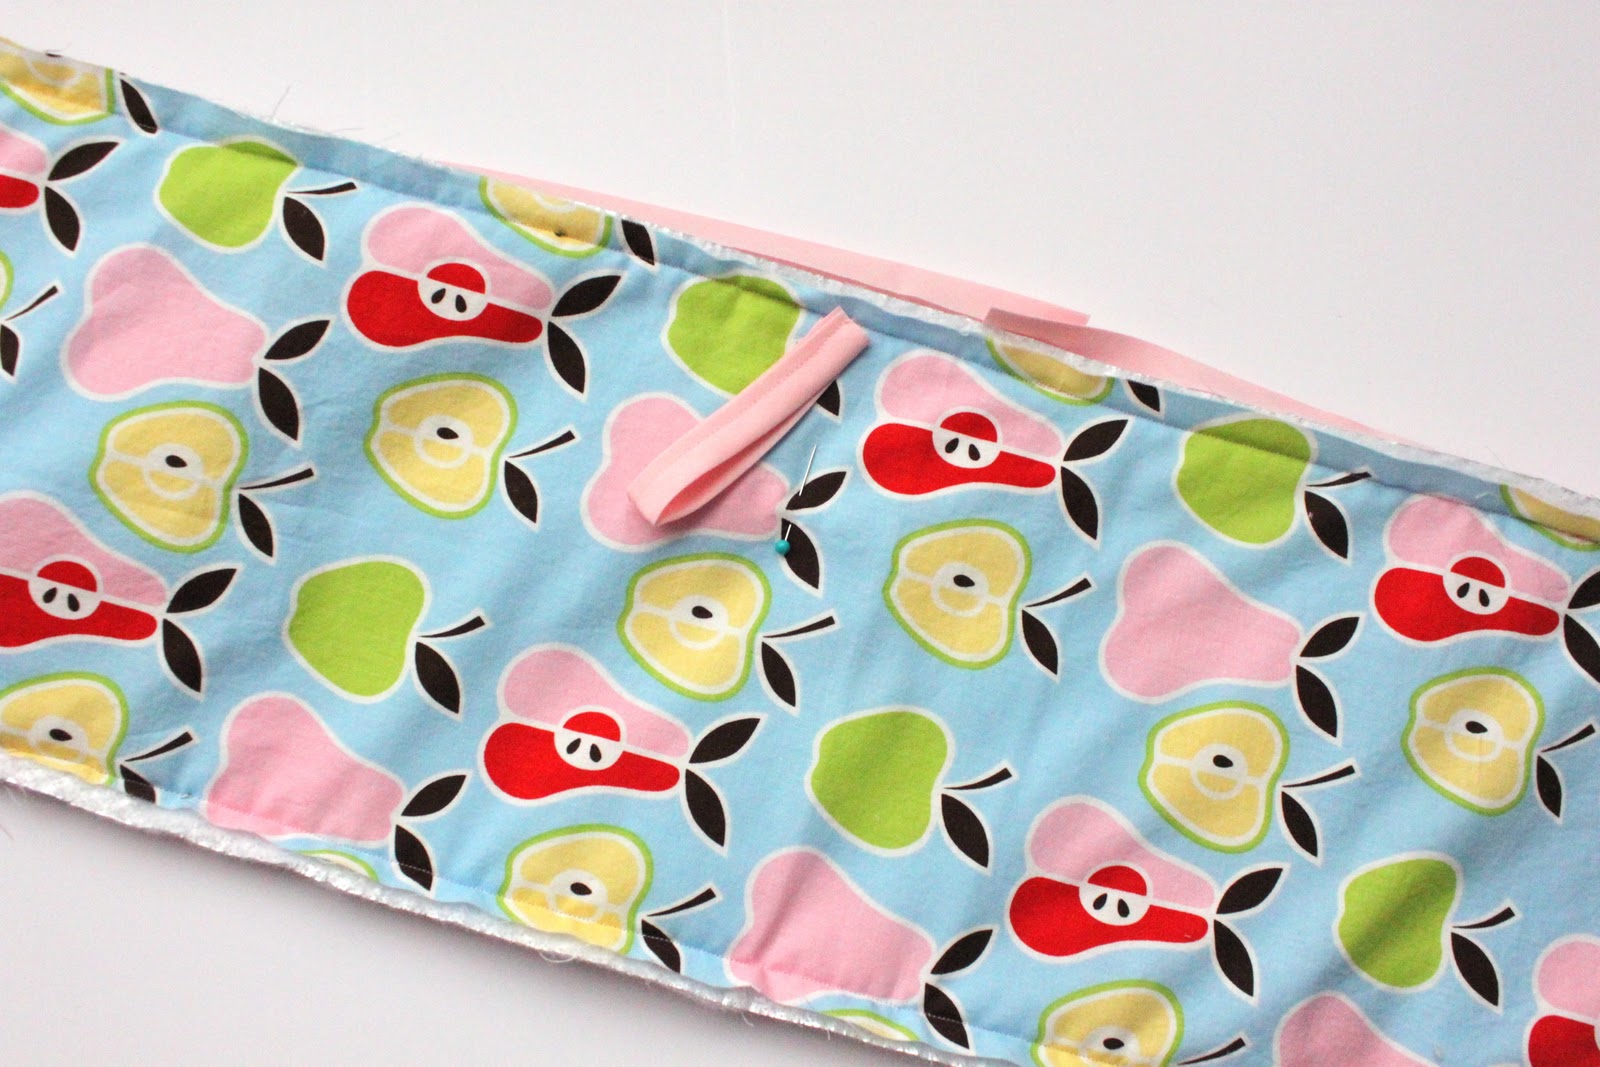
So, place your hook in the center of one side of your double oven mitt, whichever side you would like to see more if you were to hang it. I chose the non-mitt side for my hook.

Pin the hook underneath your pinned bias tape before you start to sew it down. Then, go ahead and start sewing that bias tape down. All the way around, being sure to go slow around the curves!!
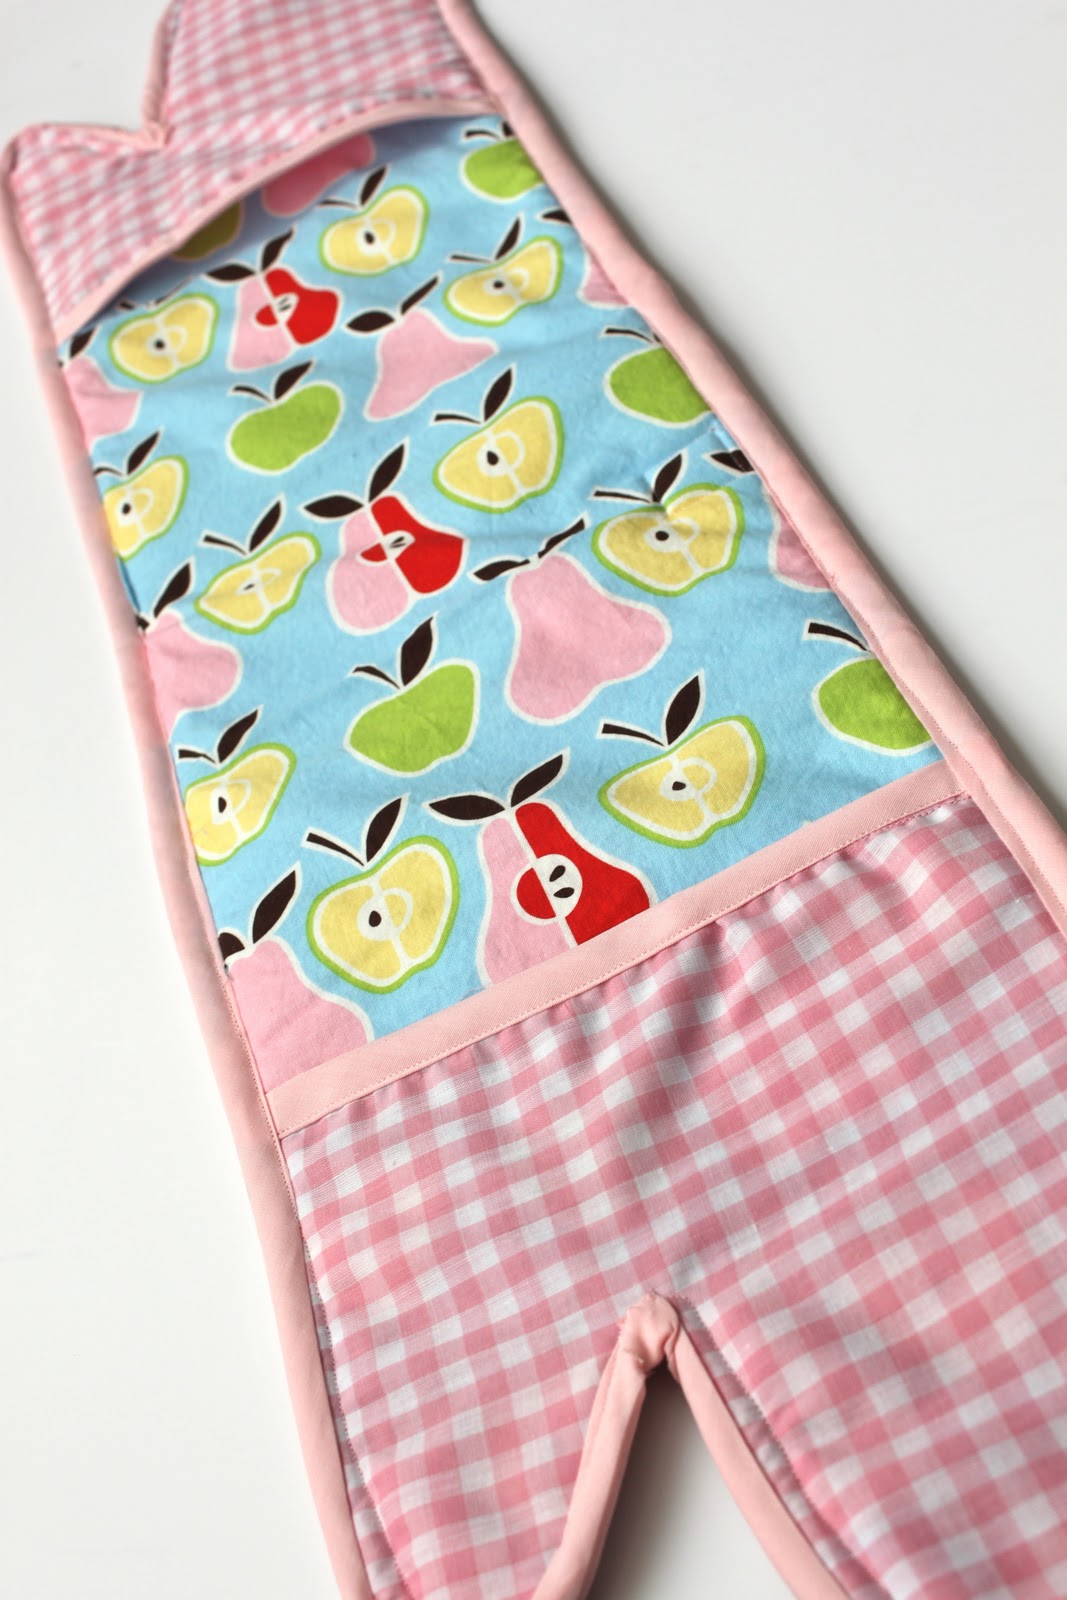
And there you have it!
How cool is this…a Double Oven Mitt to keep you nice and safe and free of burns!
Get it? How COOL is this!?!

Yup, I sure do like the sound of that!
And hopefully my sister will too!
🙂
Happy Making!!


GENIUS idea!! I’ll be linking!!
Dang, that’s an awesome idea! Thanks for sharing!
I love this! It would make it so much safer to take my cookware out of the oven.
This is adorable! Great job!
tai @ taidye original
This is the best idea ever! So often I bypass my oven mitt in favor of a thick towel so I can hold one end in each hand to protect my forearms. I am making this as soon as I am done with my looong Christmas sew list. Thank you!
Love It!
I am trying to make this!! I was wondering if you used both peices of insul bright or one? It looks like one in the picture in which you layer the fabrics, but it calls for two in the instructions. I was wondering if it would still work if I only used one- i can’t get all of the fabric under the foot of my sewing machine. thanks!
Hi Candace! It’s one piece of insul-bright, I just changed the directions!! So sorry about the typo!!
XOXO,
Mags
I just made one of these yesterday and put it up on my blog today (with a link back to you, of course). Thanks for the lovely Christmas gift idea!
I love this type of mitt! Your tutorial is awesome and I love how yours turned out.
Lovely!!
Laura from Italy
http://chebirba.blogspot.com
Thanks for the great tutorial. I just finished one for a gift and I hope to make another for myself. I love it
I just found your blog today and am making the bbq chicken for dinner tonight…. YUM.
I just wanted to add (hope you don’t mind) but when using Insul Bright especially for oven mitts you should use some other type of batting, I find the Warm and Natural is perfect, gives a little more added insulation w/out the bulk.
I wanted to know if you sell these in your etsy shop? I suck at sewing and would love to just purchase instead.
Everyone in the UK uses these double oven mitts; last trip I took to the UK, I bought double oven mitts for myself and for my whole family. I wonder why they never made it over to the US…
I’m from the UK and have been making these oven mitts for 17 years. I live in the USA and wanting to market them. I put thumbs on mine too because without thumbs they were too bulky..Good job:) They do sell them in the USA without thumbs at The Christmas Tree Shop.
Hi SP&C,
Talk about coincidence!! Only this afternoon someone asked me if I knew how to make this “oven mitt thing that’s hooked together, sorta like mittens, only not with a string.” Well, I didn’t ~ at least not until I found your blog. EXACTLY what i need. Thank you so much for being there, just when I needed help. I’ll let you know how it turns out. Thanks again. Dottie
I have problem when i get to the thumb . My sis and are making christmas presents this year and the mitts are one of the items we are making. if you have any hints about the going around the thumbs please email me at Fuelmoma@yahoo.com
thank you
I was wondering….can you make your own bias tape? And how wide would you have to cut it to do iron a double fold? Maybe 3 inches? Does this take the whole 3 yards of bias tape?