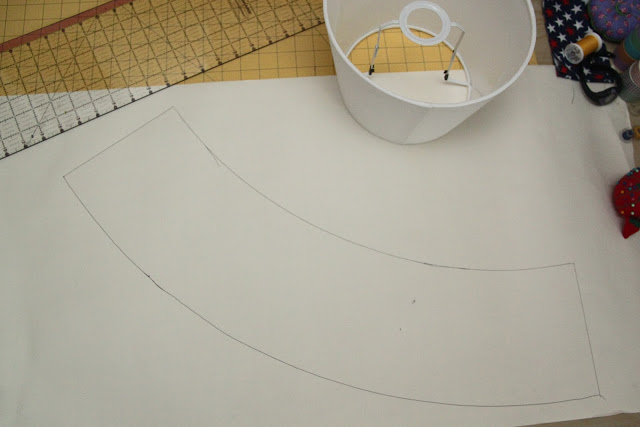
You will end up with a curved pattern like the one above if your lampshade is bell-shaped like mine.
Cut your pattern out with a pair of scissors.
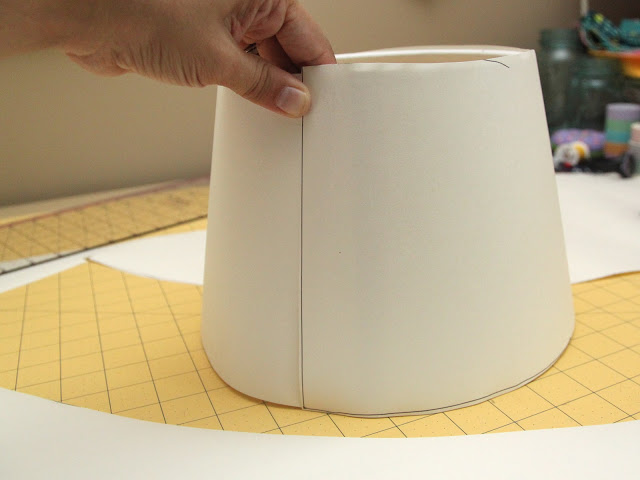
Wrap your pattern around your lampshade to make sure it fits. If you need to trim it down a bit it is better to do it now than with your actual fabric!
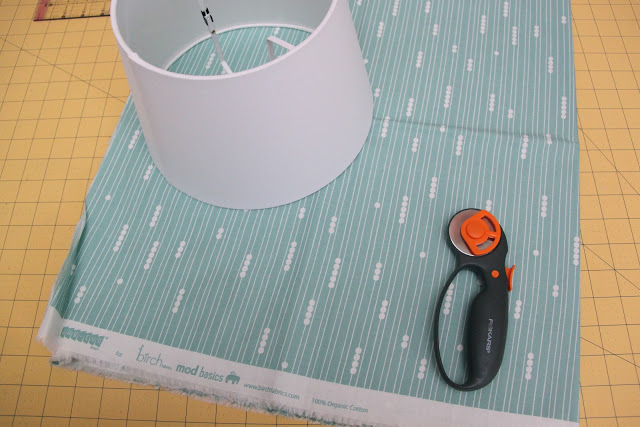
Grab your fabric and place your pattern over top. Using a rotary cutter and mat, cut out your pattern.
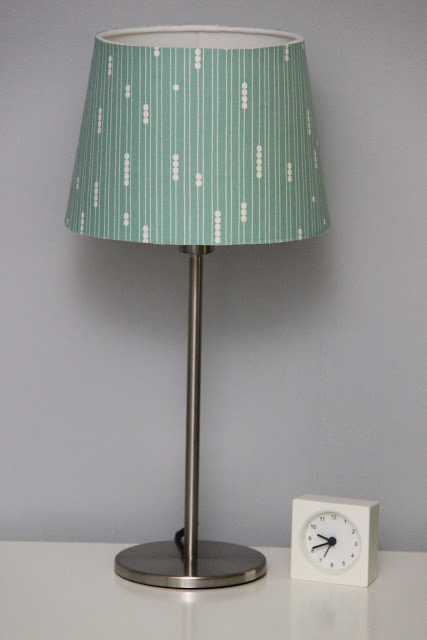
I used Jac-Cyn Designs for Birch Fabrics, Mod Basics, Organic in Abacus Pool from my wonderful blog sponsor, Fabricworm.
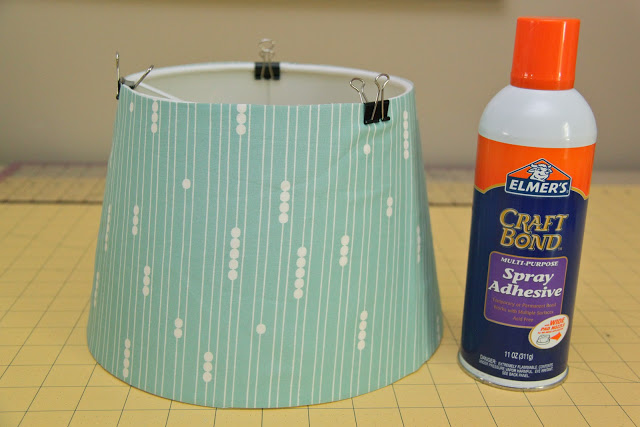
For the next step you have a choice. Take your spray adhesive and either 1) spray the lampshade or 2) spray the wrong side of your fabric. I tend to spray the lampshade since I find the fabric often sticks to itself if I spray it causing it to wrinkle!
Then ever so carefully cover your lampshade starting at the seam, smoothing out the fabric as you go round. I like to use binder clips or clothespins to help hold it in place while the adhesive dries.
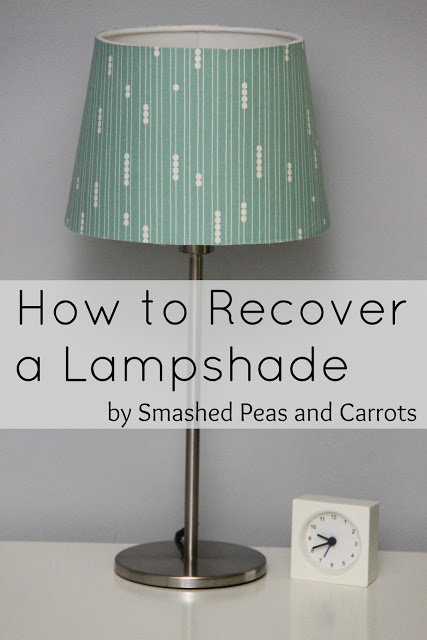
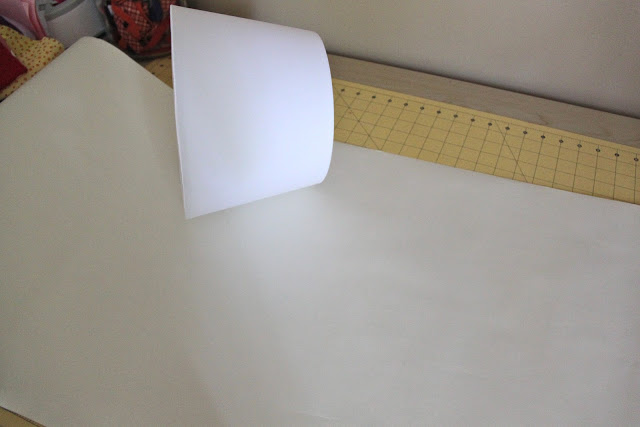



holy moly, you are so incredible handy! this is beautiful!
Thank you Ang! 🙂
So cute! I’m a little confused– did you keep the paper pattern under the fabric and glue it to metal shade frame too?
I have a half-finished lamp project in the works, so this post ahs perfect timing! I am determined to finish it now! Thanks!
Hi Melanie,
just use the paper pattern as a pattern for cutting out your fabric. Then use the spray adhesive to glue the fabric to the lampshade. Have fun!!!
Thank you for the wonderful post! It’s very useful for me because I make a remodeling of my bedroom. And I use this idea. ^____^
do you think I can put white over a lemon shade that has a dark picture outlined on it? The dark picture outline takes up about 5% of the shade area. I am thinking the colour will show through. Should I try two layers of white fabric? Or maybe do I need to go for a darker shade? What do you think?
seems so easy! i will definitely being doing this with my current boring lampshade!!!
do you mind if I tweet your post?
Sure thing!!