Smashed Peas & Carrots

Inspiration For Living Creatively - DIY Crafts, Sewing, Recipes, Crafts & More

  • Press
  • Disclosure
  • Collaborate
  • Contact
  • Facebook
  • Twitter
  • Pinterest
  • Instagram
  • Dots
  • Google Plus

Become a Subscriber

never miss a thing!

  • Home
  • About
    • Advertising
    • Disclosure & Safety Disclaimer
    • Privacy Policy
  • Recipes
    • Appetizers
    • Bento Lunch
    • Beverages
    • Smoothies
    • Breads
    • Breakfast
    • Casserole
    • Crockpot
      • Visual Library
    • Dairy Free
    • Dessert
    • Gluten Free
    • Main Course
    • Holiday
    • Instant Pot
    • Paleo
    • Party Food
    • Salad
    • Side Dish
    • Soup
    • All Recipes
  • Tutorials
    • Children
    • Adult
    • Home Decor
    • No Sew
    • Sewing
      • Children Sewing
      • Adult Sewing
      • Home Decor Sewing
      • Sewing Basics
    • Sewing Studio
    • Knitting
    • Kids Crafts
    • Bento
    • Holiday
    • Parties
    • Gift Ideas
    • Natural Living
    • All Tutorials
  • shop
You are here: Home / Fabric / Burlap & Lace Placemats-TUTORIAL
Dec
11

Burlap & Lace Placemats-TUTORIAL

| Filed Under: Fabric, Holiday, Home Decor, Home Decor Sewing, Sewing, Tutorials

Today I’m going to show you how I made the Burlap & Lace placemats I shared with you here.  They are an easy way to add some rustic charm to a place setting and would work so well for just about any holiday dinner party or wedding event. 
Burlap and Lace Placemats
Burlap (1 1/2 yards will make about 8 placemats)
Lace Trim
Wondertape
Sewing machine and coordinating thread

These are so easy to make, I swear!  Even if you are the most beginner sewer out there you will be able to whip up a table full of them in no time, really truly!

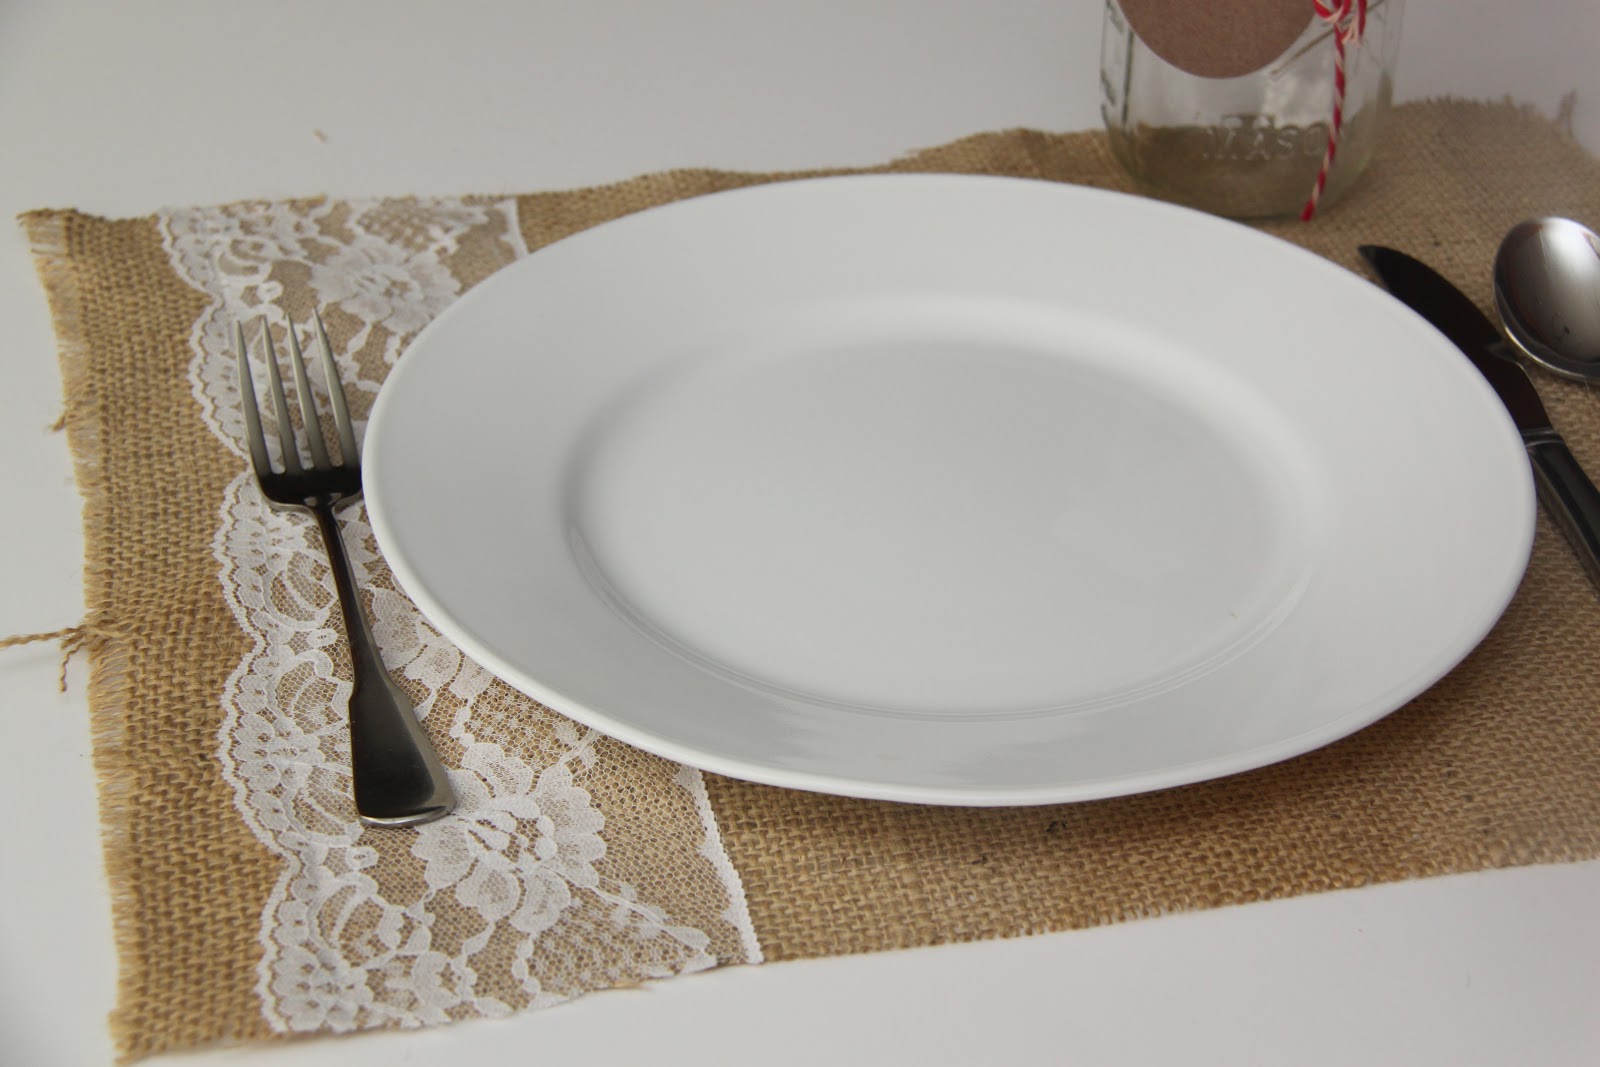
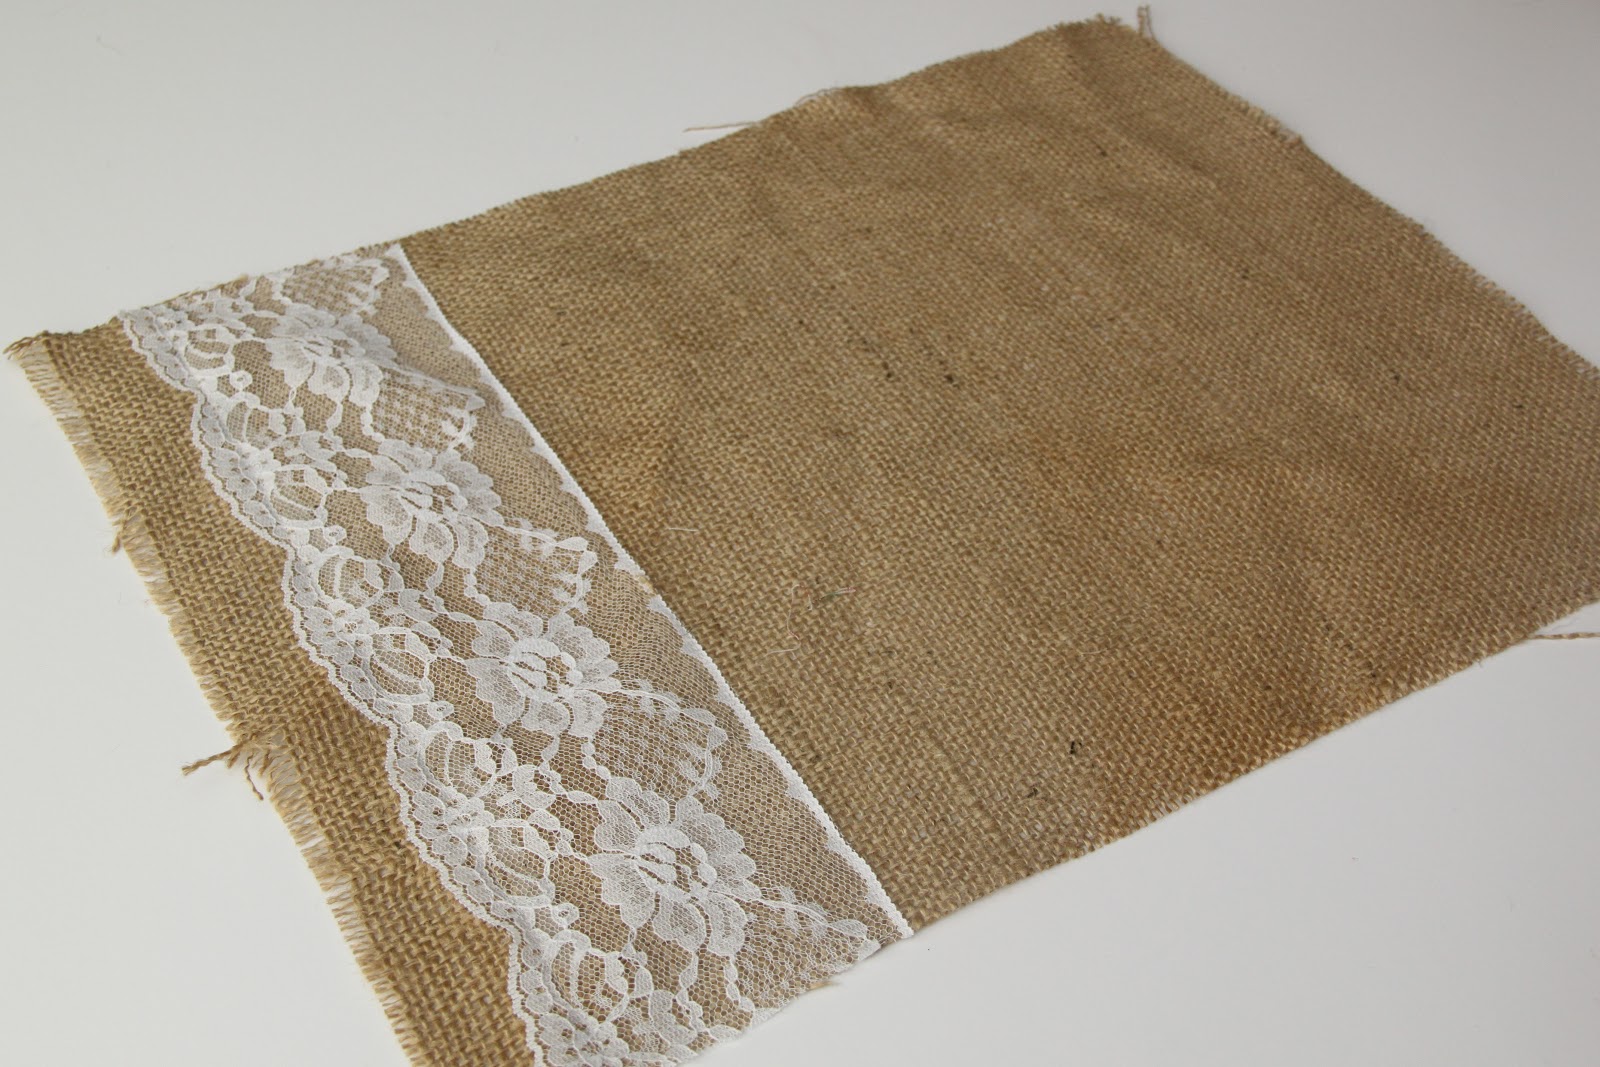
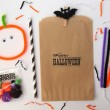
First start by cutting rectangular pieces of burlap measuring 13 x 17 inches.

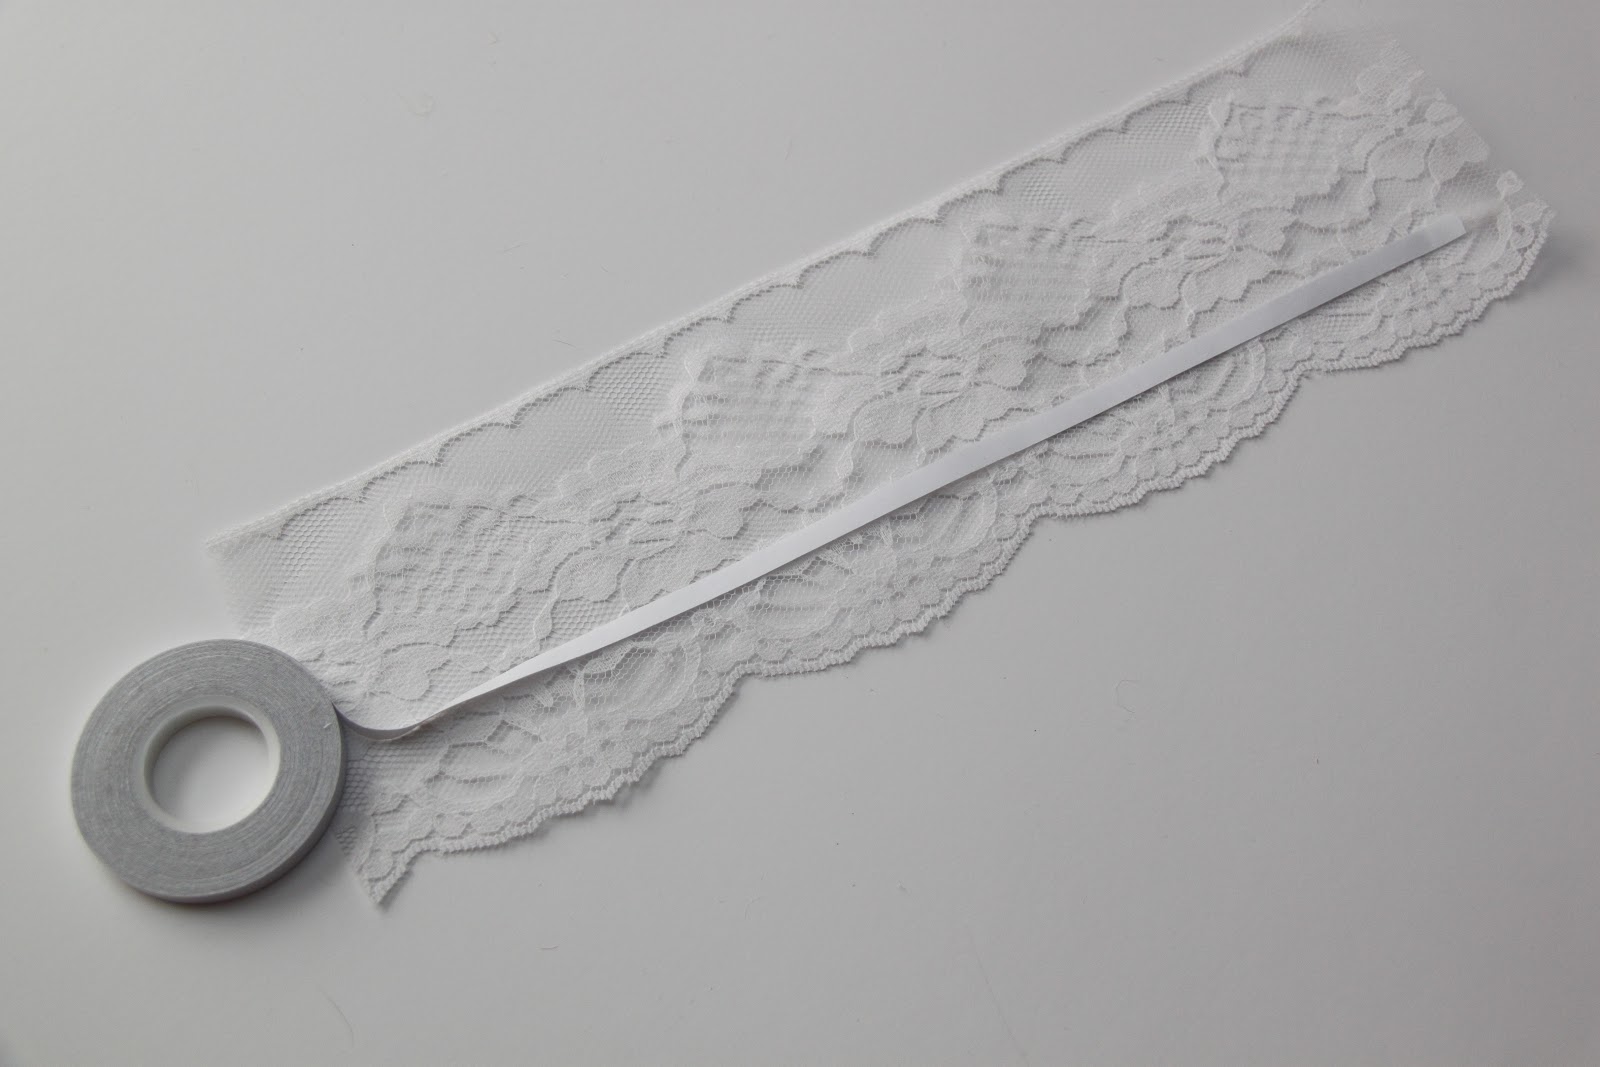
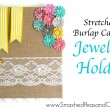
Next cut 13 inch sections of the lace.  I loved this vintage trim I had in my stash for this particular project.  It’s about 4 inches wide and has the loveliest scalloped edge on one side.  I placed a 13-inch strip of wondertape near the scalloped edge to keep the trim in place while I sewed it down.

And if you didn’t already know, wondertape really is wonderful!  It is basically double-sided sticky tape that washes away when you launder your project.  You can usually find it in the quilting notions section of your local fabric store.

Once your trim is taped down, sew around all 4 edges of your lace trim and you are done!  How pretty is that!
I just love the little bit of lace that peeks out from underneath the plate.  

Now hop to it and make yourself a set of 6, 8, or 12 for your next dinner party, you will love how fast these are to whip up!
Thanks for stopping by today!
XOXO,

    You may also like -

    Now this is so cute! A Stretched Burlap Canvas Jewelry Holder that holds necklaces, bracelets, drop earrings and studs….love!Stretched Burlap Canvas Jewelry HolderSimple Halloween Party Decor IdeasOliver’s First Birthday: A Circus Party!TUTORIAL: Be Married Burlap Wedding BannerRECIPE: Balsamic Glazed Bacon Wrapped Dates

    Become a Subscriber

    never miss a thing!

    Comments

    1. cooperkelly4 says

      December 11, 2012 at 4:20 pm

      lovelovelove the look of these. My only concern is how they wash? I would love to make these for our home!

      • Maggie says

        December 12, 2012 at 6:08 pm

        I haven’t washed mine yet so I’m not totally sure! When I do, I plan to air dry them!

    2. Kathy Shea Mormino says

      December 17, 2012 at 11:55 pm

      Hello, new follower here and I’d like to invite you to join me at my weekly
      Clever Chicks Blog Hop:

      http://www.the-chicken-chick.com/2012/12/clever-chicks-blog-hop-13.html
      I hope you can make it!
      Cheers,
      Kathy Shea Mormino
      The Chicken Chick

    3. Kristina's Jewellery says

      January 14, 2013 at 3:10 pm

      Love these! Might make some for my wedding 🙂

    Welcome to Smashed Peas and Carrots. You can read more about me HERE
     photo designTeam.png
    Follow on Bloglovin

    Popular Tutorials

    Highlighter Valentine Card with Free Printable

    Highlighter Valentine Card with Free Printable…

    Play Doh Valentine Card Free Printable

    Play Doh Valentine Card Free Printable…

    Elderberry Syrup Recipe

    Elderberry Syrup Recipe: Natural Cold and Flu…

    Teacher Survival Kit

    Teacher Survival Kit with FREE Printable…

    Notebook Paper Pencil Pouch Teacher Gift Idea

    Notebook Paper Pencil Pouch Teacher Gift Idea…

    Free Silhouette File Teacher Canvas Bag Gift Idea

    Free Silhouette File: Teacher Canvas Bag Gift…

    Popular Recipes

    No Bake Energy Bites Recipe…

    Chocolate Coconut Cups {Gluten and Dairy Free}…

    DIY Taco Seasoning Recipe…

    Sugar. Cookie. Icing. {The Recipe}…

    French Dip..Crockpot Style!…

    Crockpot Banana Bread…for Real!…

    My Sponsors

     photo FatQuarterShop-175x175.png

     photo cdf15248-e6f8-4276-abc0-c145e2451c35.jpg


    Blog Archives

    Posts by Topic

    Stay Connected

    • Facebook
    • Twitter
    • Pinterest
    • Instagram
    • Dots
    • Google Plus

    Join me on Facebook

    Copyright Smashed Peas and Carrots © 2025 · All rights reserved · Design by Emily White Designs

    Copyright © 2025 · Smashed Peas & Carrots Custom on Genesis Framework · WordPress · Log in