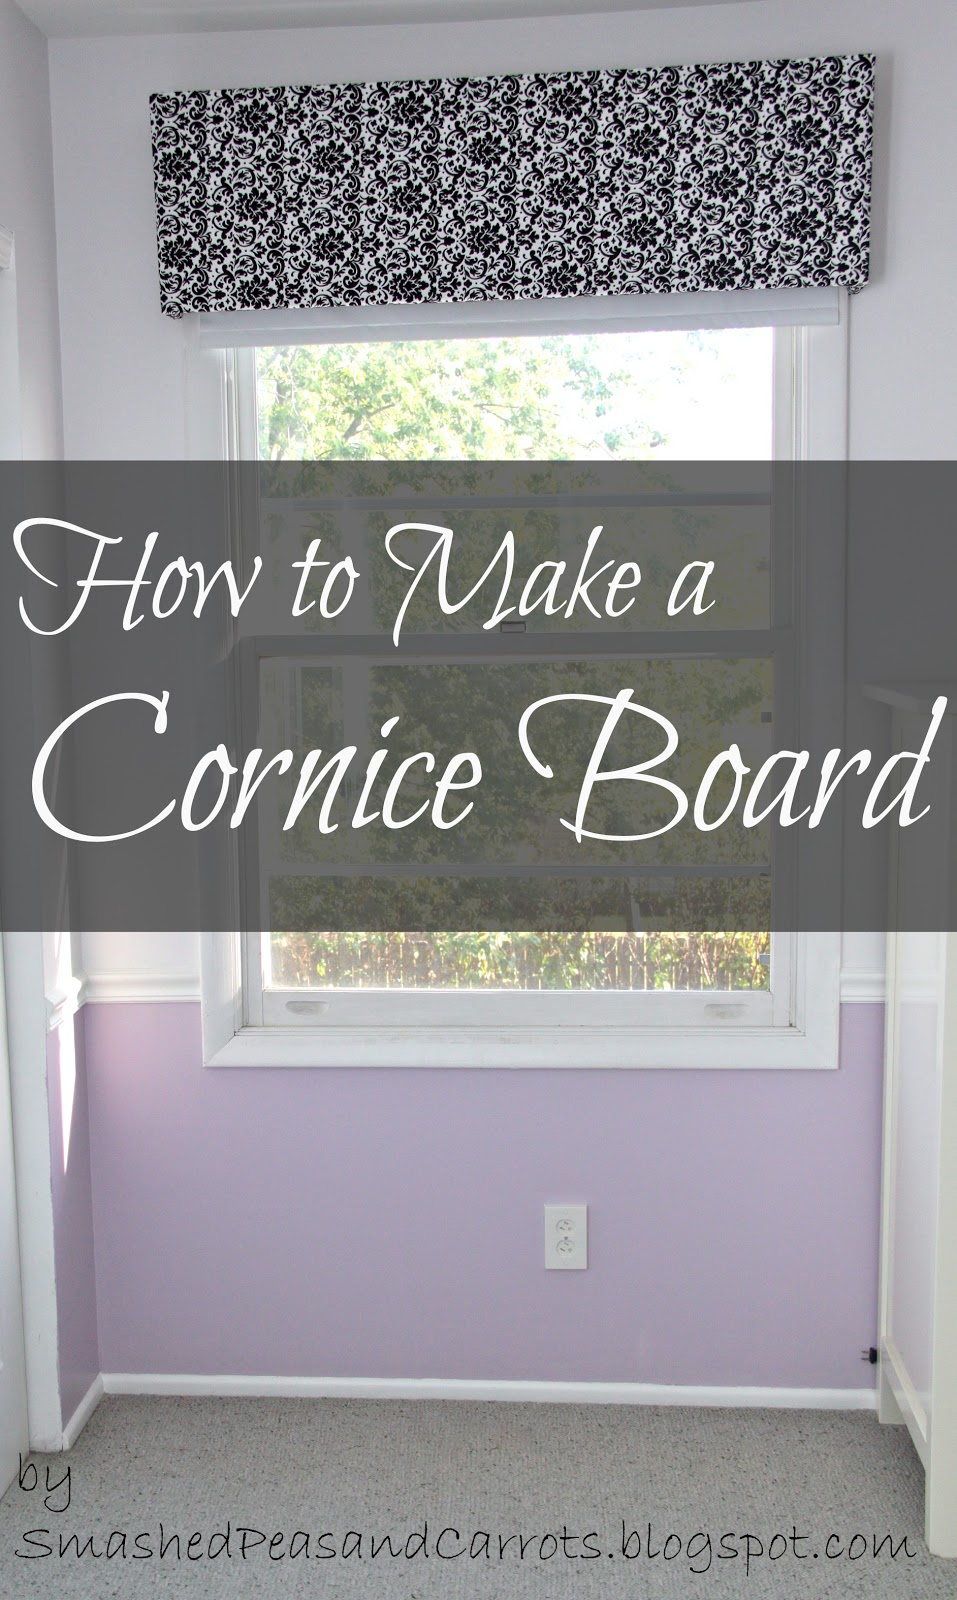
Today let’s talk DIY Cornice Boards today, shall we? These are seriously so easy to make and install…I know! I always assumed these were so hard to make…but they’re not, trust me!
I have seen lots of them made all crazy weird using plywood or MDF but the way I decided to make these takes the cake (my secret ingredient? Styrofoam panels!) so they are nice and lightweight and it’s a breeze to take them down to change the color of your fabric when you want a new look!
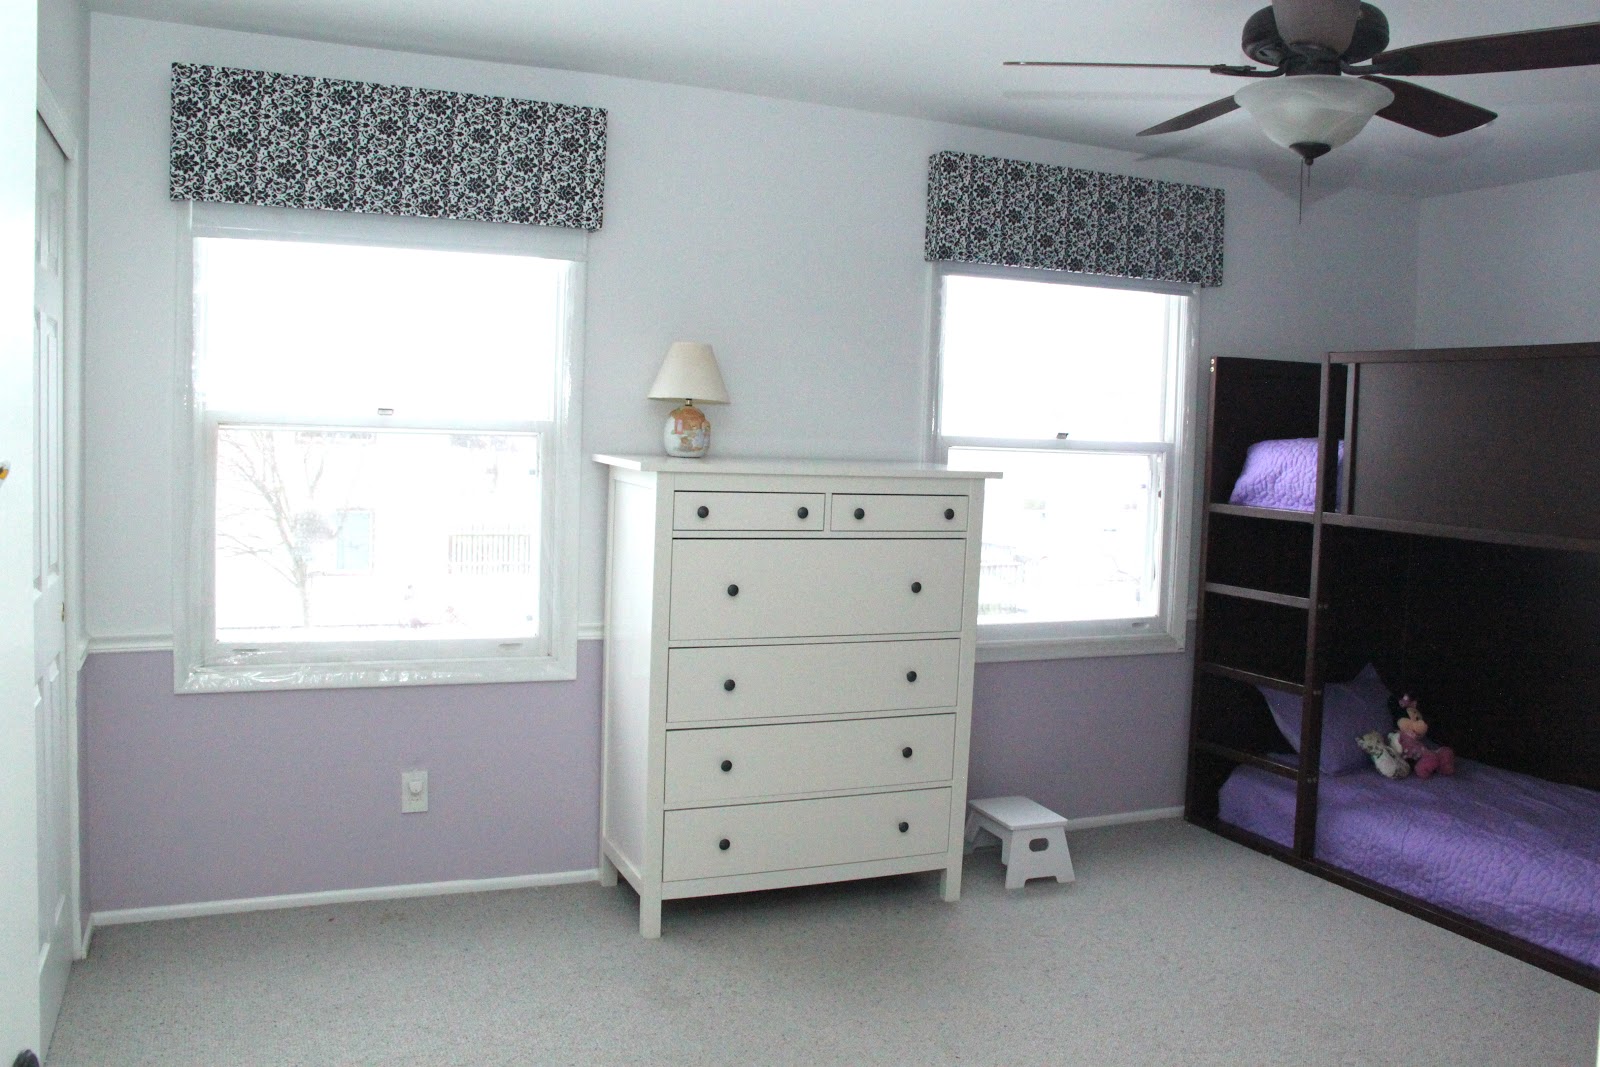
You will remember (from this post here) I made the cornice boards/valances in my girls’ room as well as Noah’s bedroom too (seen here). In this stage of my life, I am really loving cornice boards over curtains to spice up windows. It seems my little ones love to use curtains as napkins and tarzan-like swinging ropes. So this way I can get pretty color infused into our decor without the insanity of someone pulling a curtain rod on top of their head. Oh, and we have room darkening roller shades underneath the cornice boards for those of you who are wondering just how we cover our windows at night!
DIY Cornice Boards (for one window covering)
One 3/4″x14″x48″ panel of Styrofoam (cellofoam poly panel brand)
1 yard of fabric
bread knife
hot glue
straight pins
trim nails
hammer
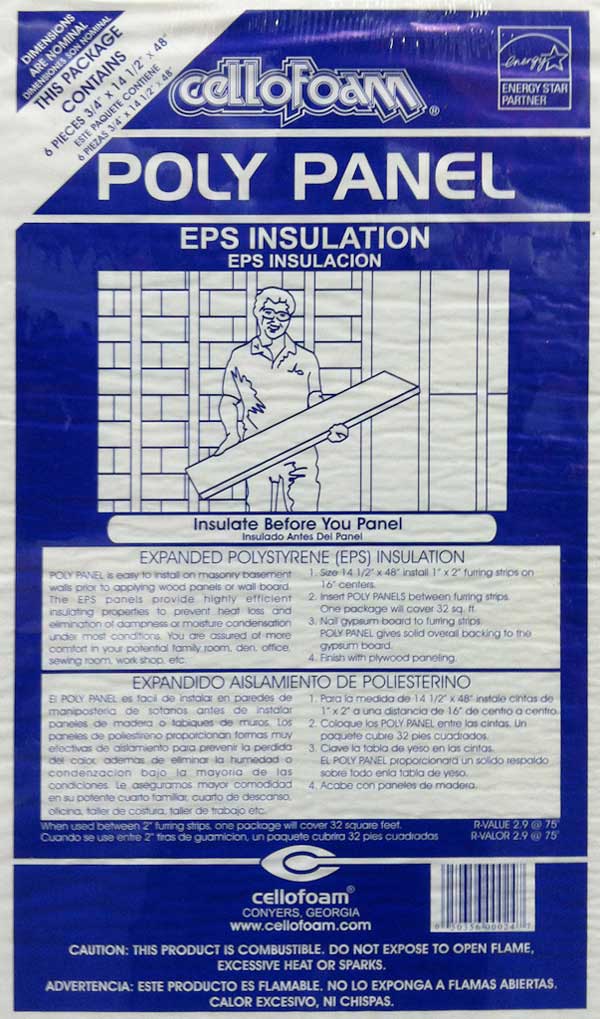
This is the brand of styrofoam paneling I bought for this project. I found them at Home Depot as a package of 6 for less than $10. You can also use them as insulation between studs apparently 😉

First thing you need to do is measure your window from one outer edge of the trim to the other. Cut your paneling, using your bread knife as a saw, to this measurement. I found that using a bread knife made cutting the styrofoam so much less messy, I hardly had any weird styrofoam static ball thingys thanks to my good ‘ol bread knife, who knew!
Cut two more smaller pieces of the styrofoam panel for the sides of your cornice board. This measurement will depend on how far you would like your cornice board to come out from the wall, I cut mine to be about 5 inches wide. Then hot glue the outer short edges of your long piece and press the shorter pieces to it like in the picture above!

Then grab your trim nails…these are what mine looked like!
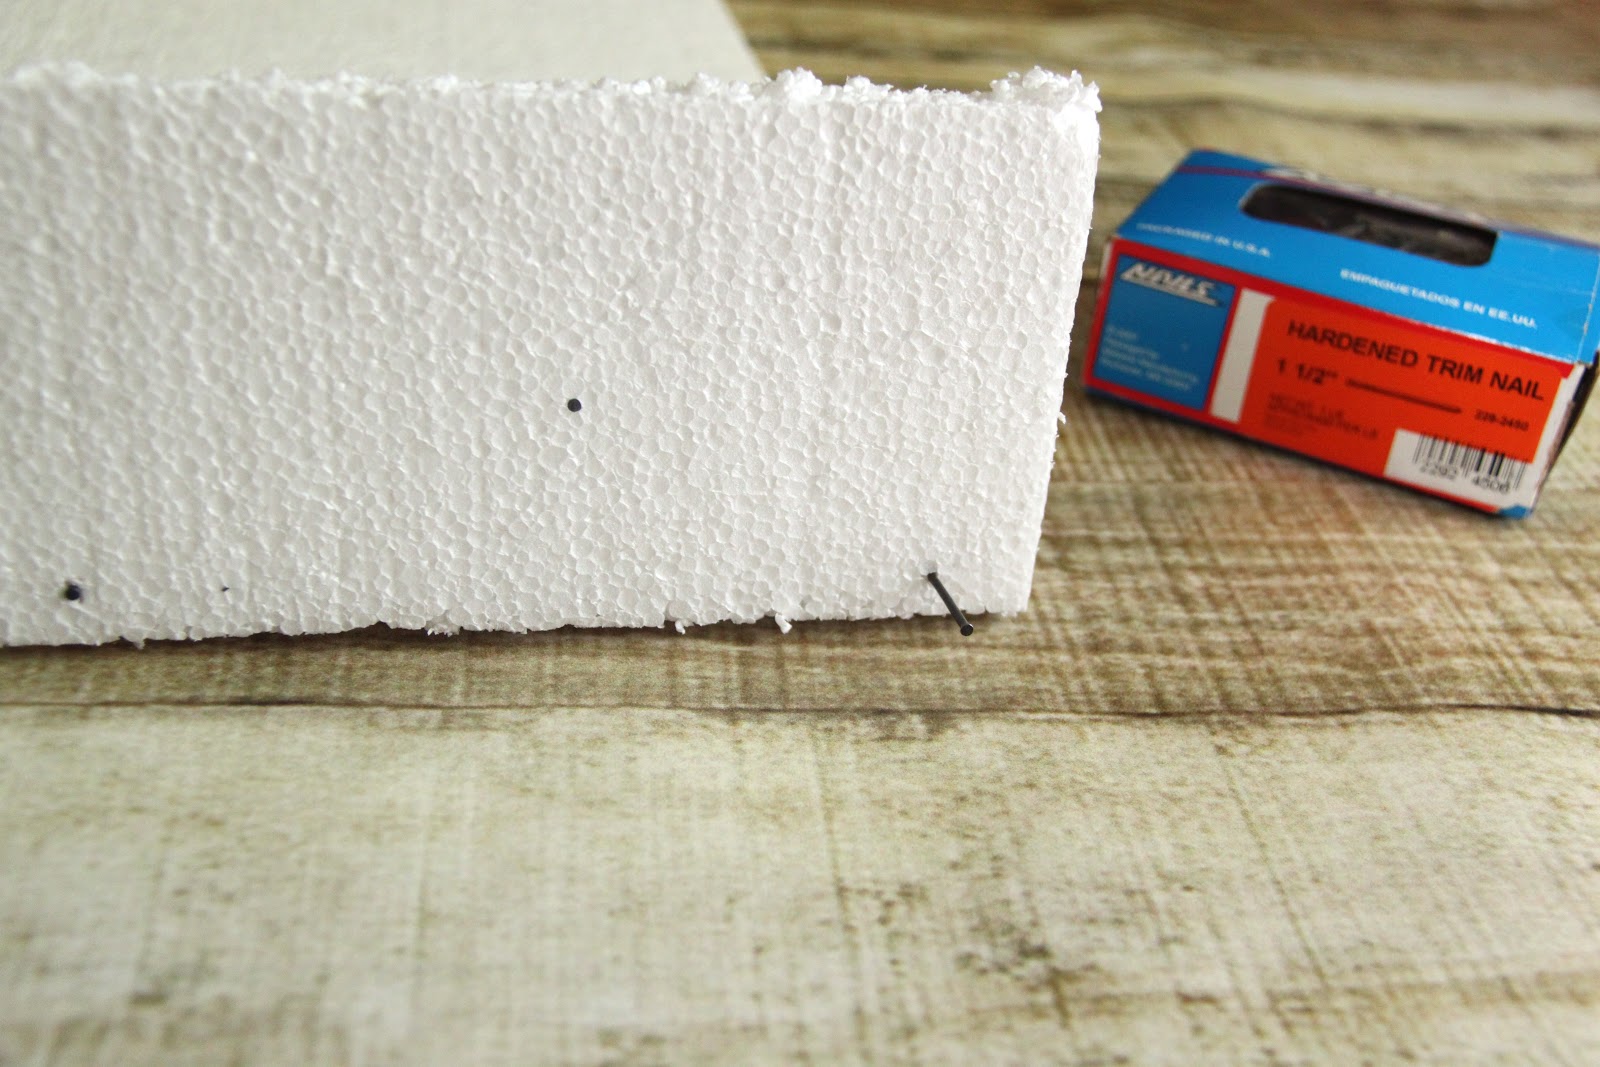
Push a few trim nails into the edge of the styrofoam panels where you just hot glued the two pieces together to doubly secure the cornice board sides into place.
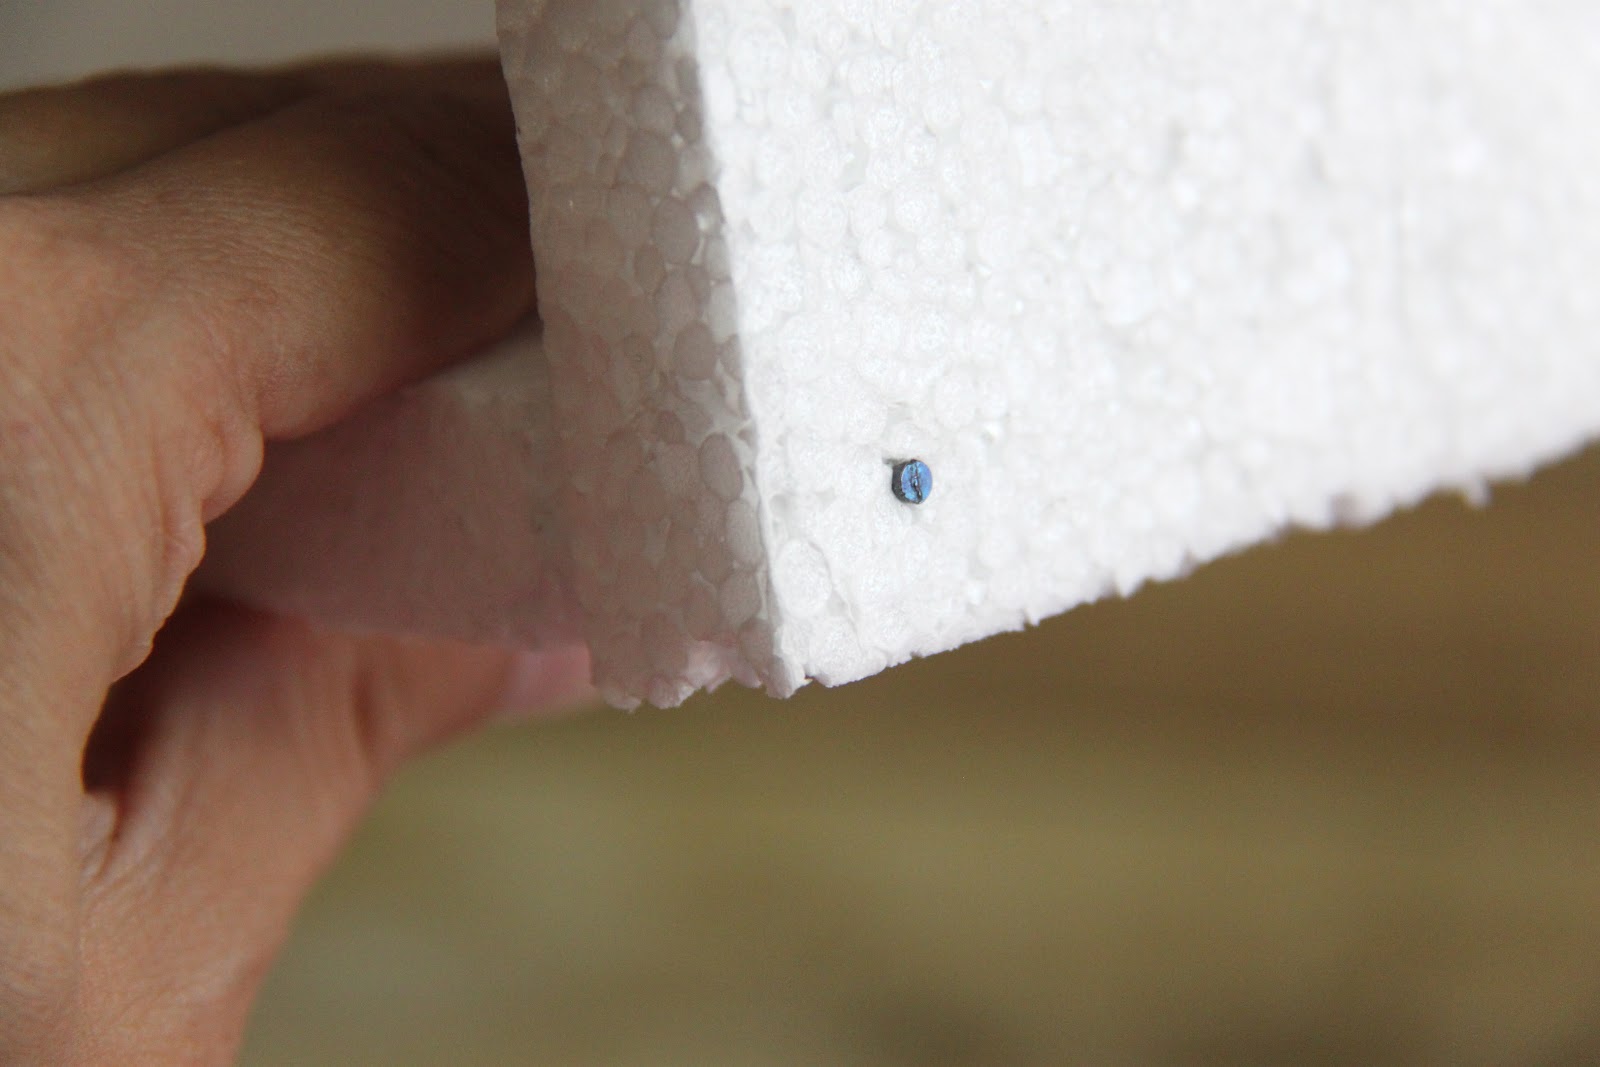
Easy, right! You can just push them in with your fingers.
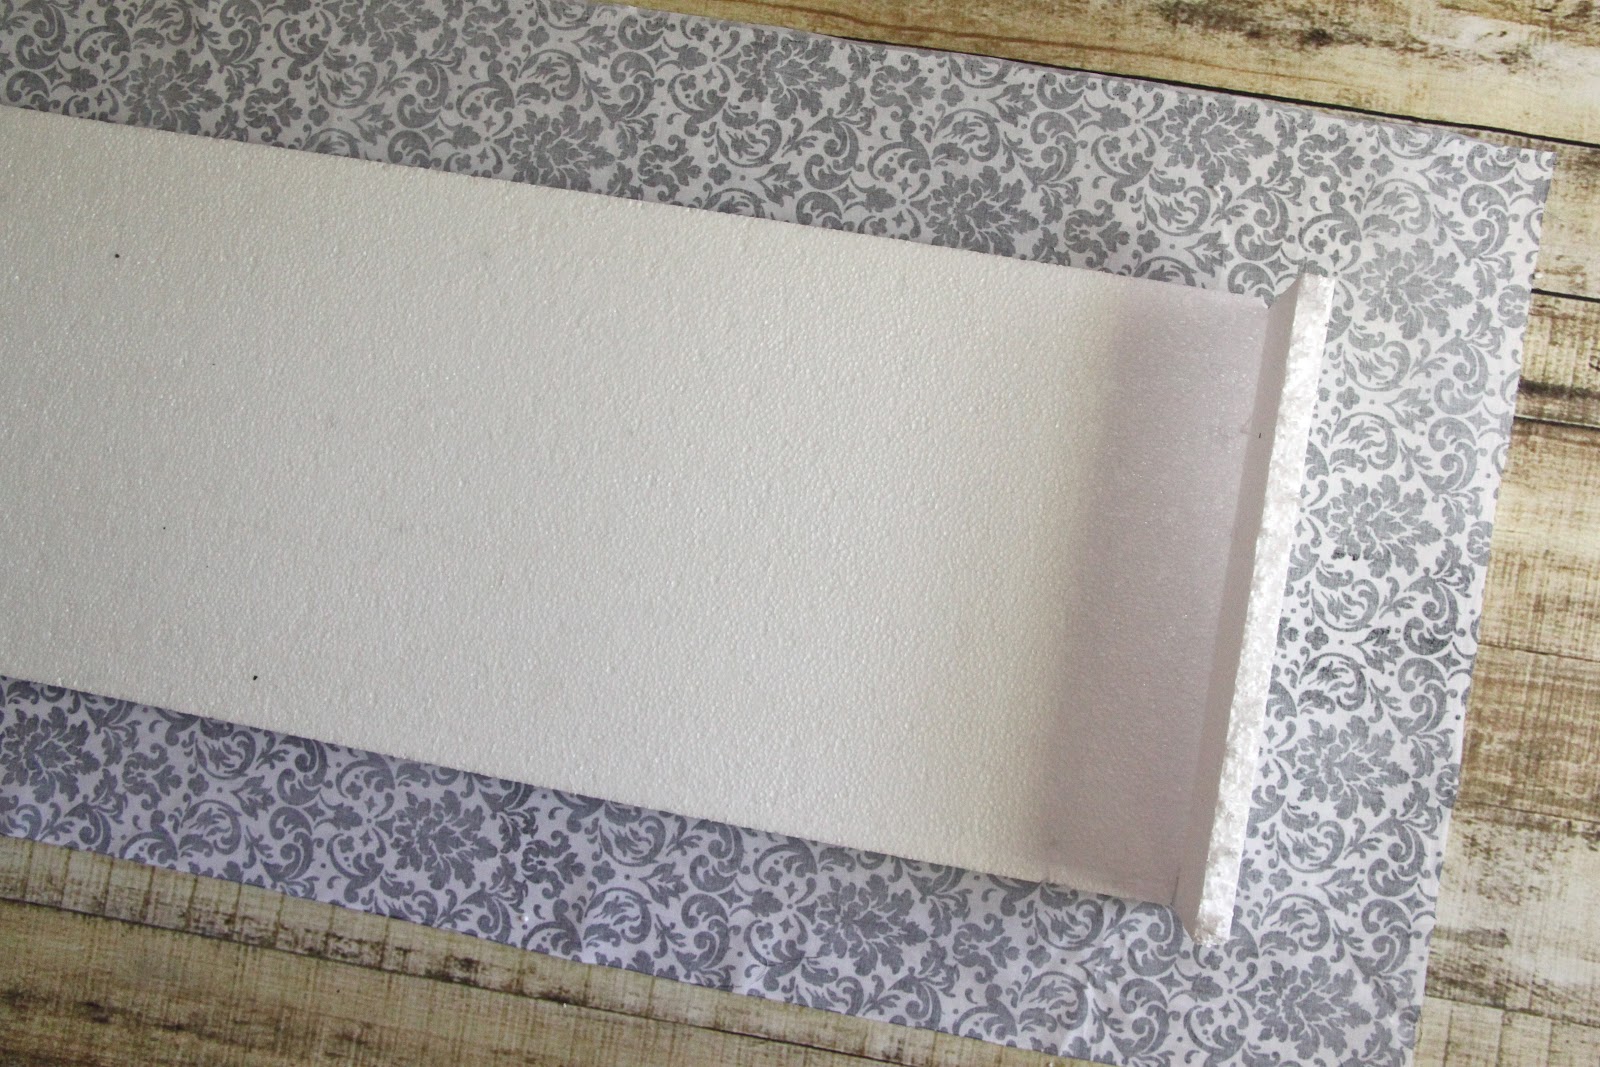
Now it’s time to cover the cornice board with fabric. Lay the cornice board over top of the wrong side of the fabric (pictured above) If you have a patterned piece you may want to cut your yard of fabric in half lengthwise so it is less bulky and the folded layer of fabric doesn’t show through. If your fabric is one color you may want to leave it doubled up if you feel it is pretty sheer.
PS. Make sure you iron your fabric first so you don’t have any odd lines on the front of your finished cornice board.

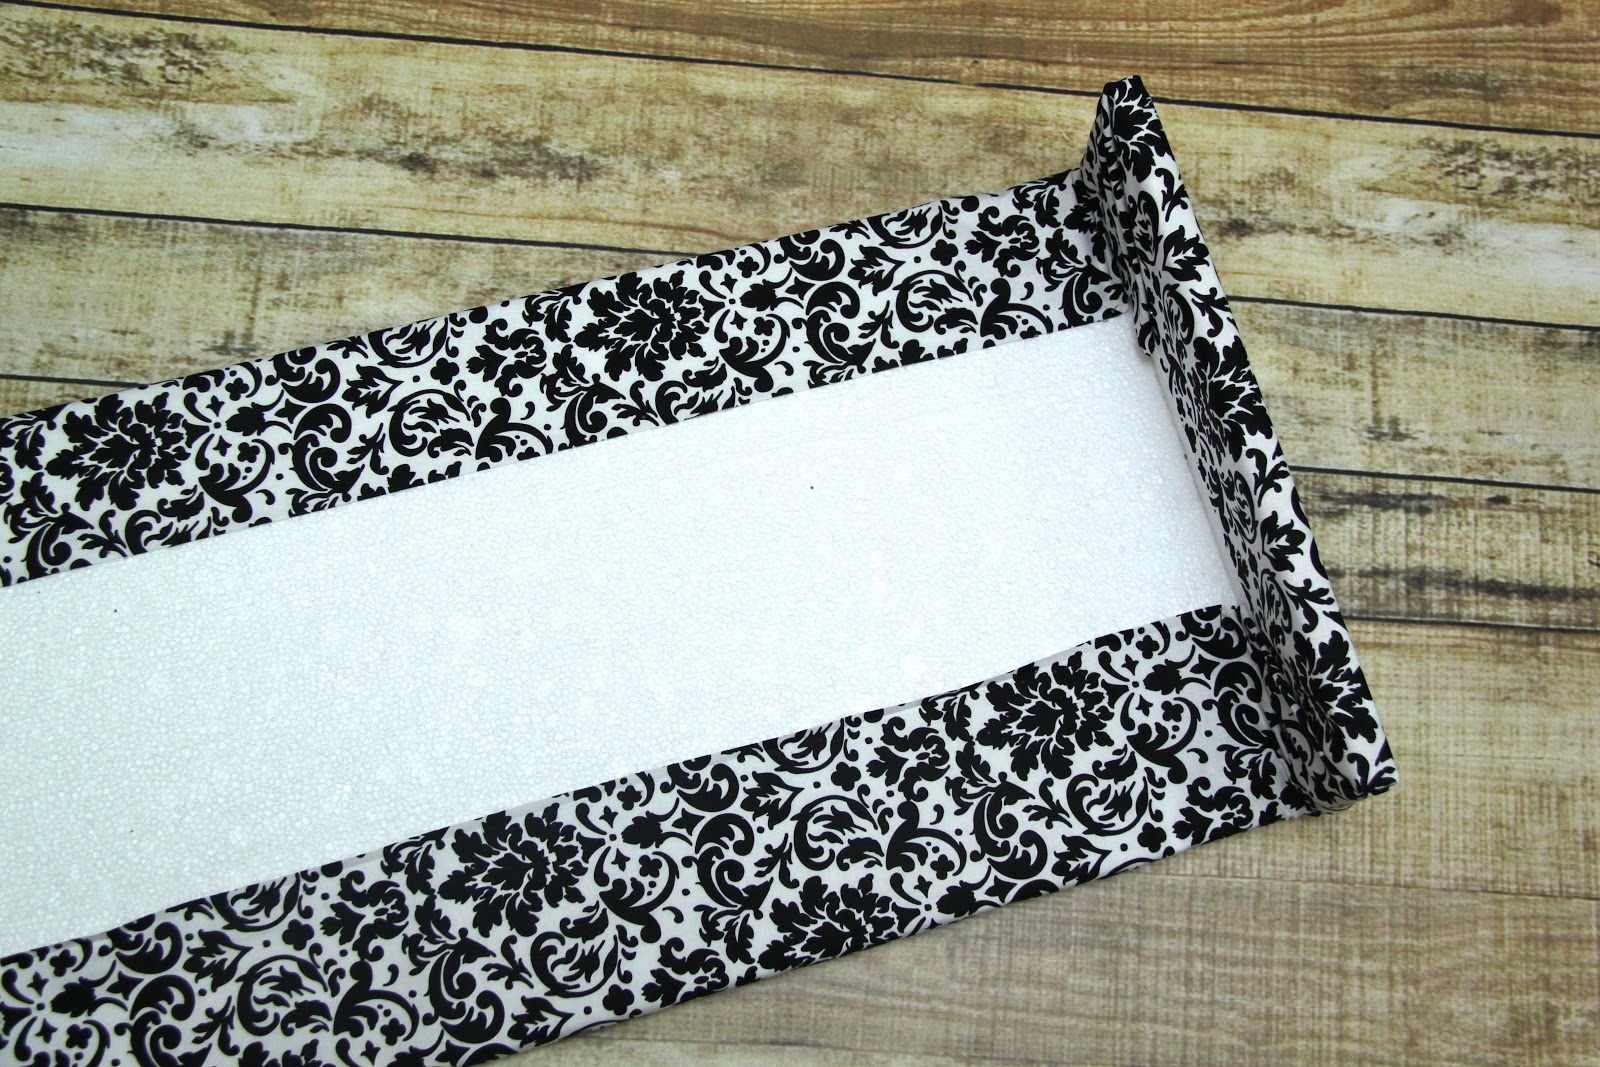
Grab your straight pins…

And fold up one side, pin it, and then do the next, making sure you have nice and tight edges the whole way through.

The sides are a bit tricky but if you go slowly and fold tightly they work themselves out 🙂 I used a lot of pins in those corners!
And Voila! Here is what the backside of my cornice board looks like.

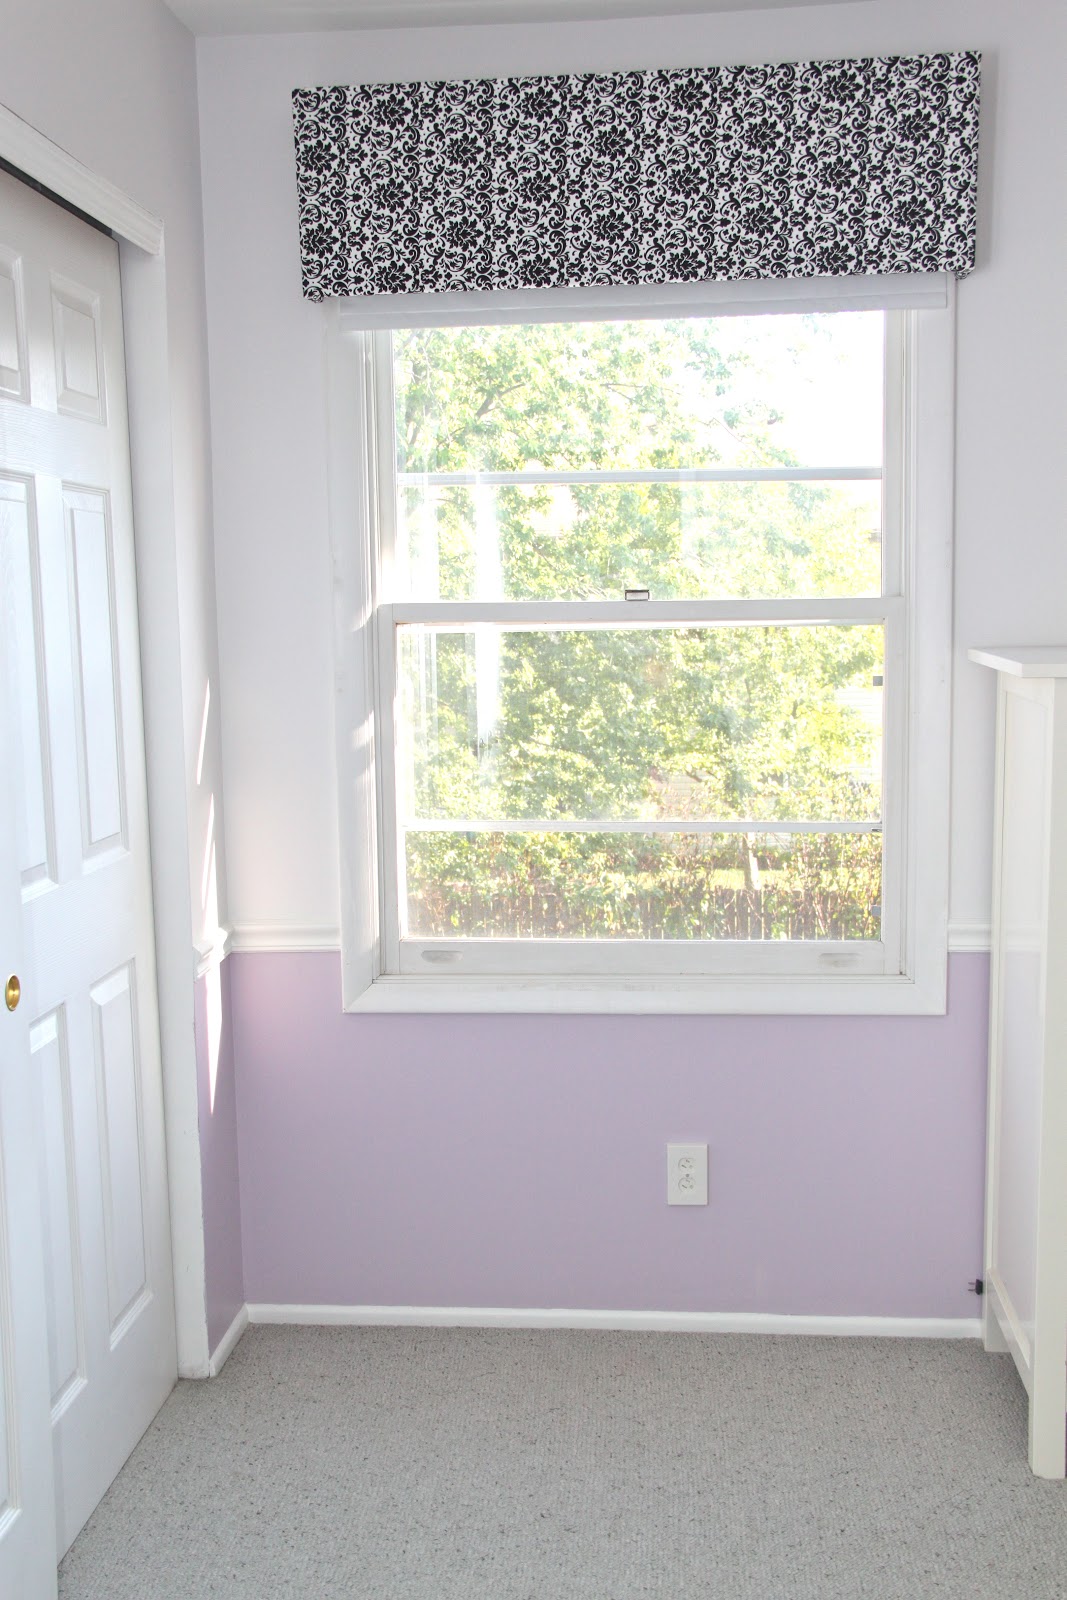
To hang it up, you will need two people. One to hold the cornice board in the correct position and the other to hammer the trim nails into the trim. Since these styrofoam cornice boards are so light we only used two nails per side…easy peasy!

And there you have it…an easy DIY project to give a nice pop of color to your windows!
Let me know if you have any questions about these cornice boards and I will answer them in the comments!
Thanks for stopping by today!
XOXO,


This is exactly what I need for my kitchen!!
How well does the hot glue gun work with the styrofoam, though? I’ll be interested to see how these hold up! I always seem to have problems with the glue melting styrofoam.
The Styrofoam is holding up so well! I made the one in Noah’s room back in June and it’s still there and looking good! I only put a strip of hot glue down the edge (why I extra secured it with the trim nails!) and I didn’t have any noticeable melting. Maybe trying the lower temperature glue sticks if your glue gun melts like crazy? Good luck and have fun!!
I love these! They’re definitely on my “things to try” list!
YAY! I hope you have fun with these!!
I’m SO EXCITED about these…we were just talking about re-decorating my daughters room. She is 10 and wanted something with purple colors. Your room idea and the cornice board with some FUN fabric will be AWESOME for her room. I can’t wait to show her when she getshome from school. We will for sure be shopping for some paint and fabric this weekend. THANKS so much. I just found your site and LOVE IT.
YAY YAY YAY!!!
These are great! Thanks for sharing. It took me a minute to figure out what you meant about installing them but I’ve got it now.
Oh, good…I hope it wasn’t too vague!!
I will definitely be trying this someday. Who knew it could be so easy with styrofoam?
I know, right!!
This really inspires me to try these. I’ve always loved the look but didn’t know how to go about hanging them easily. The styrofoam makes it a bit less worrisome(cheaper too). Thanks for taking the time to share your talents and creativity.
Anytime Lynn! I hope you give it a whirl sometime soon!
I couldn’t believe how easy this was to make. They look AWESOME in my daughters room. I sent you an e-mail so you could see the before and after. THANKS SO MUCH. 🙂
I got your email!! You did such an amazing job on your daughter’s room…she must be in heaven!!!
Hi these look great. Do you know how they’ll hold up if I wanted to put curtains under them, I’m not sure they’ll hold up with closing curtains under them every night
These cornice boards get installed on the outside of the window trim so I don’t think curtains would be much of a problem especially if you installed your curtains first and then made your cornice board so that it was wider than the curtains footprint as well as extended further outward to make up for the fact that the curtains will bunch a bit once they are pulled open. Have fun!!!
Have you ever made them really long? Wondering if styrofoam will be too flimsy if they’re 86″ long. Thoughts?
If you are making this to 86″ I would add a small piece of styrofoam (maybe 2?) in the middle to keep it stable!
Loved your ideas. My question is my window is 90 inches wide, how would I connect the panels together. Thank you
I would just duct tape two pieces together and then do like I commented above! Good luck!
Thanks so much for the idea? I recently put up shades that are sheer with a leaf pattern that I absolutely love – and wanted a wood window topper of some sort – but this I can easily do myself and change out the fabric periodically. super!
Love your way of thinking of using CelloFoam board.
There is a store on line that sells detailed Styrofoam cornices which is ten times more expensive then cellofoam.
FYI- for longer windows – hot glue the pieces together and then tape to secure.
My question is this, I have vertical blinds that stick out from wall. Like to cover them with a cornice. Not sure how to extend beyond the verticals. What would you suggest???
I have material for my three kitchen windows, and my daughter wants me to make a cornice for her kitchen, but wasn’t sure how to make a one. Thank you for the simple instructions. Can’t wait to get started!
Do you think these will work in an RV?
I dont see why it would be any different than regular windows…
So, do you nail it directly to the wall?
That’s what I want to know! Where are you nailing it and it looks like he’s nailing it in kind of at an angle…
You nail the trim nails into the trim of the window…there is a picture above in the post that shows you!
Well, duh … thanks, that makes sense now that you point it out & I look at the picture again. I was looking at my windows and didn’t put it all together because none of mine have trim all around like that. I just have sills. Hmmmm….
Could you nail straight into the wall with a nail that has a large head and then put some gorilla glue on it, cut a slit though the fabric where the nail head will go into it and push it through the foam?
My window does not have any window frame moulding to nail the cornice into. How would you hang the cornice into the wall. I thought about hook and loop tape??
I just picked up supplies today to try this. Can you tell me if one yard of fabric (unfolded) covered one or two boards/windows? Thanks!!
I was able to use one yard of unfolded fabric to cover two cornice boards. This will mainly depend on the size of your window though!!
I was just given a quote of ~$100 PER window to do a cornice for our place at the beach. I was hesitate to pay that much since this is a vacation home and I like to change things fairly often, so glad I waited! I absolutely LOVE this idea!!! Thank you so much for the detailed instructions. I cannot wait to give this a try!! 🙂
Same question as 8/28/13: My window does not have frame moulding. How would you hang the cornice on the wall?
Hmm, good question! You could just nail it into the wall but you may want to try and hit a stud or it may fall depending on the size and weight of your cornice board. Good luck!
I guess you have already made your cornices but for future if no one has trim you can put / install L brackets 2 or 3 inch. on your cornices with hot glue or I would push a nail in with a large enough head to not go through the hole of bracket, then you can the screws that come with the L Brackets or nails. It will hold even without a stud because the cornice is so light weight. I have heard of other people getting a larger L Bracket & not using it flush with the wall & letting the long part of the bracket come straight out and just sit the cornice on top of it, I have heard that the cornice doesn’t fall off because its light weighted. You could reinforce with a piece of duct tape. Duct Tape holds everything! GOOD LUCK TO ALL!
Still confused on hanging them. Looks like the two nails are on the lower part of the cornice, doesn’t that make the top part wobbly or not attached to the wall?
The picture just shows how we nailed in the bottom part of this side, there is also one nail at the top on each side. These are light (it’s just styrofoam and fabric!) so they don’t take much to hold them in to the trim.
Any suggestions for a very wide window? My husband works nights and sleeps all day and I thought adding something like this to the top would block out more daylight for him if I added a top to it! The problem I’m seeing is our window is double the width. Any ideas? I love the idea!!!7
I just read another question just like mine and your response! I got my answer! 🙂 Thanks!
You can purchase BLACK OUT Curtains so no light will come in & use pretty pull backs on the side to hold curtains back when husband is not sleeping. I even found some Black Out Curtains at Lowes Home Building Supply, be had the same problem. You can also add your cornices for a more tailored, professional look. Hope this helps!
I have a patio sliding door + a window on each side. Would you make 3 separate boards or do it all in one? Or is that not possible?!
I have a patio door + 1 window on each side. I want to make a cornice board but not sure if I should make 1 so that they all connect or should I make 3 separate boards? I would appreciate your opinion!! Thanks.
Hi Carole!
Hmmm, I’m not sure! I think it would depend on the size of your room. If you have a large room I would probably vote for one long cornice but if the room was smaller I would probably do 3 separate ones. Either way, I’m sure it will look great! 🙂
Love,
Maggie
I think it would have more of a professional look to do a cornice in one piece, you can put 1 or 2 extra pieces of board behind one another with nails or duct tape, it will make your cornice a lot firmer / sturdier, hope this helps.
The top of my kitchen blinds have been waiting for an idea like this which I can do myself. Your instructions are very clear. I want to put some batting under the material to create a plusher look. I bought the puffier quilt batting. I will let you know how it turns out.
Wonderful Idea. I’ve had boring windows for years because I just didnt want to get out my saws and make them out of wood. im going to start today!
hi there! Can I hammer the nails directly into the wall instead of frame (I don’t have any frames or molding around the edges of my windows? And how do you remove? Just pull away from the wall??
Hi Kristine,
I would think that would work just fine. You may want to aim for hitting a stud just in case!
xo,
Maggie
Have you tried to cut a design? Wondering if this is easy to do? I like straight across but not for every room. Let me know or show us please. THANK YOU & Happy 2015 with more fun projects, to share I hope!
I’m making one that is 98″ long but I’m putting a top on mine and using L brackets to hang it up and it works great, by putting a top panel on it, the cornice slides right over the L brackets…These cornice’s are a great decorating item I just love it.
Great idea, Vonnie!
I made three of these for my living room last year and I was more than pleased with the results! I didn’t have much success using straight pins, but used t-pins instead, and a little bit of duct tape. 🙂 I used good quality upholstery material, on sale of course. It doesn’t take much fabric, and I figured I could splurge a little since the rest of it doesn’t cost very much. I just used one finishing nail on each side in the center to hold them up. The corners are a bit tricky, as you said, but I enlisted the help of a friend who is a little more handy than I am. They still look great and have held up well. Today I made two more for my bedroom. Thanks for sharing the tutorial for a fabulous low cost decorating idea.
If I just nail on each side to the wall I’m confused. Do the nails have to go in wall at an angle? Only part I’m stuck on. Thanks.
Hi Vicky! Yes, you nail it at an angle so it goes into your trim and not your wall! Hope that clarifies that more for you!
Thanks for the idea. Your instructions are clear but welcome your (or others) advice on the length of the board. Should the top be mounted flush with the top window frame/trim so you can nail the top in instead of going up the wall? If flush with the top trim, how far down is an appropriate length for the board? I know some of it is personal preference and window size, but I welcome some advice from those who have already made some. Thank you.
Sorry, and I really meant height (not width).
Made these. Worked great. Only change was 3/4″ hard foam, comes in 4×8 sheet. Edges cut a little neater. And works nicely for a wide window. I made one 108″ by splicing pieces on the inside where it doesn’t show with hot glue. I put a top on too. Just used spray glue and staples to attach fabric over batting.
Then put a small piece of the foam board (about 1×2 pieces) on the wall using single screws. Hang the cornis board on the small blocks with straight pins.
I have a 72″ wide window. Would 2″ thick foam work better than 3/4″ foam in this case or is that too thick? Thanks for the great idea and great instructions
2 inch sounds like it would be really thick! If you give it a whirl though, let me know how it turns out!
I made your cornice using sheathing insulation. it is 86 inches long and 16 inches high. It is for a double window. It turned out great. But I have a major problem. Our windows do not have a frame . Any other suggestions on how I can hang it? It is very light weight.
Thanks for your help,
Pat
I would suggest trying to nail it into a stud, or just angling the nail downward if you cannot. Another option would be to screw in a bracket first? Let me know how it goes!