So this is how I spent another hour being creative the other day…making my leetle sister and her soon-to-be new husband a little wedding gift of sorts! Again, this is all part of Michaels’ CRE8TIME Challenge where I’m trying to spend one hour a day over 8 days being creative! It’s been a lot of fun and very relaxing for me, I can’t begin to tell you how nice it is when you set aside a little bit of time to do something you enjoy…ummm, it’s REALLY nice!
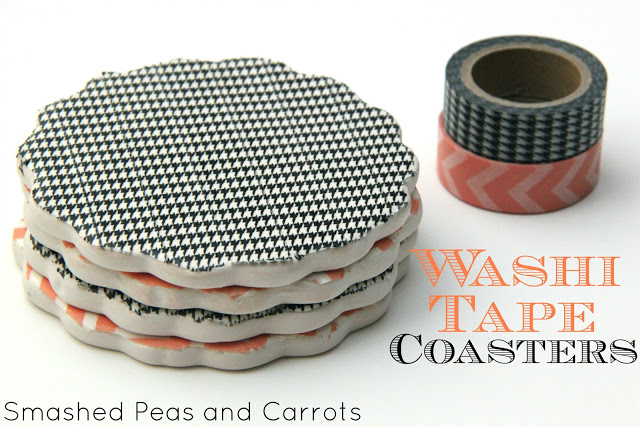
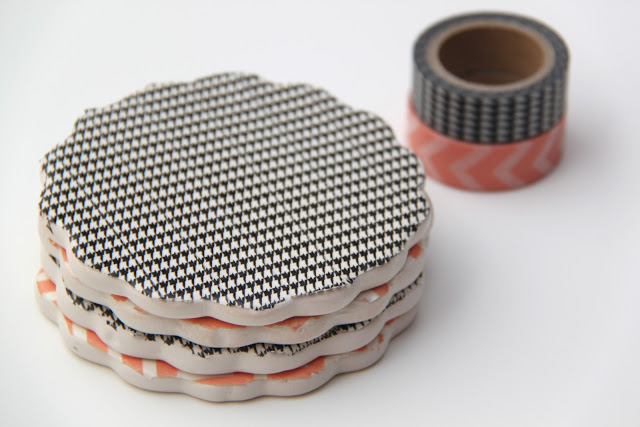
I found a set of 4 pretty ceramic coasters at Michaels last week and thought they would look super cute if I dressed them up in some yummy Washi Tape…Washi Tape Coasters? Oh my, yes please. So, off to the tape aisle I headed and bought myself a ridiculous amount of it. It’s just so pretty, I couldn’t help myself (if you follow me on Instagram or Facebook you know just how much I bought, I need an intervention!) Michaels has so many designs in stock that you could really go wild when you decorate these. I thought the two tapes I used would be perfect for my sister and her fiancé.
Here’s the how-to…they are super easy, pinky swear!
Washi Tape Coasters
Set of ceramic coaster (ceramic tiles would work too!)
Washi tape
X-acto knife
Cutting mat
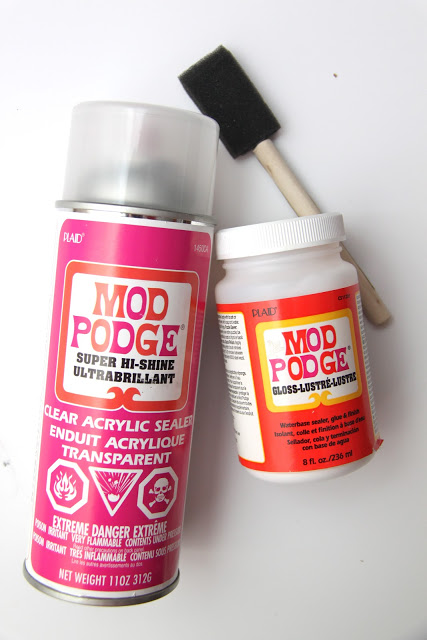
Mod podge
Foam brush
Clear acrylic Sealer
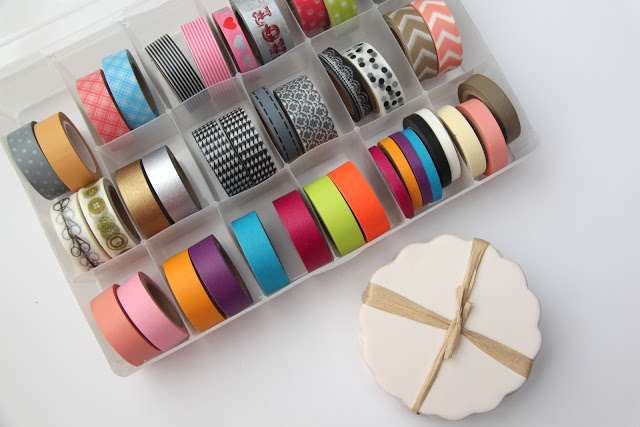
Gather your supplies…I told you I went a little overboard with the Washi Tape! 😉
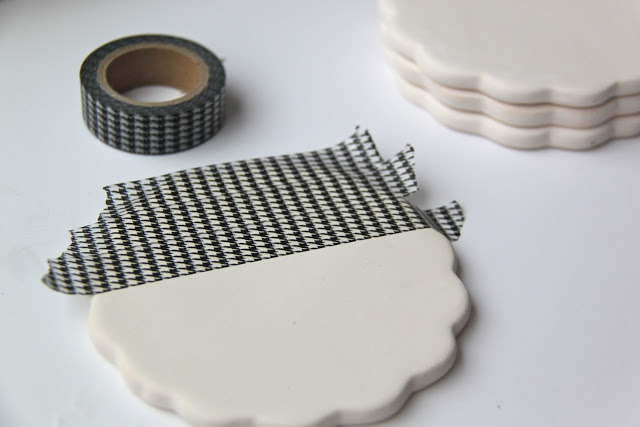
Wipe your ceramic coasters with a damp cloth and let dry. Place strips of Washi Tape slightly longer than the coaster next to one another making sure if there is a pattern on your tape you are matching it as best you can. Try to get the Washi Tape as close together as you can so no part of the bare coaster is showing. Remember, Washi Tape is removable and re-stickable so you can always fix it if you mess up!
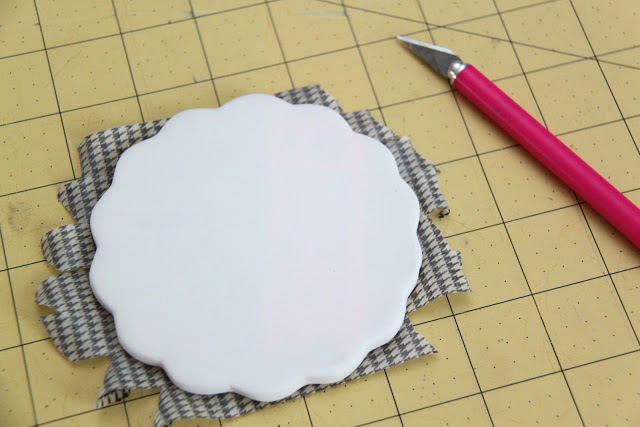
Once you’ve completely covered the coaster, press your Washi Tape down so it is nice and smooth on the surface. Flip it over on a cutting mat and, using your X-acto knife, cut the excess Washi Tape as close to the edges as possible.
At this point your coasters will look pretty much done and they totally could be BUT if you plan on using them for drinking glasses that may sweat you will want to protect them!
Take your Mod Podge and foam brush and, following the instructions on the back of the Mod Podge, coat the tops and sides of the coasters and let dry. When they are thoroughly dry you can spray a coat of Clear Acrylic Sealer over top to waterproof them.
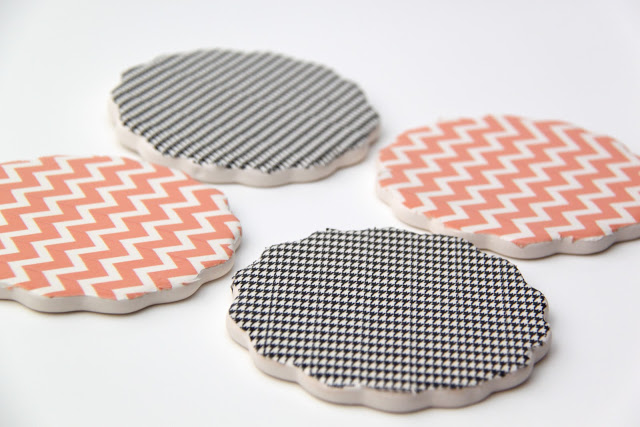
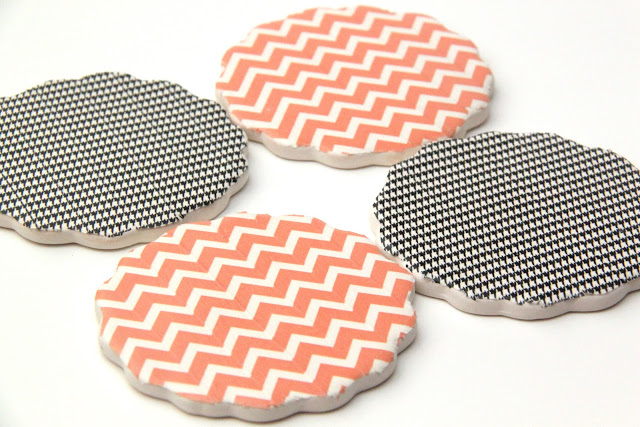
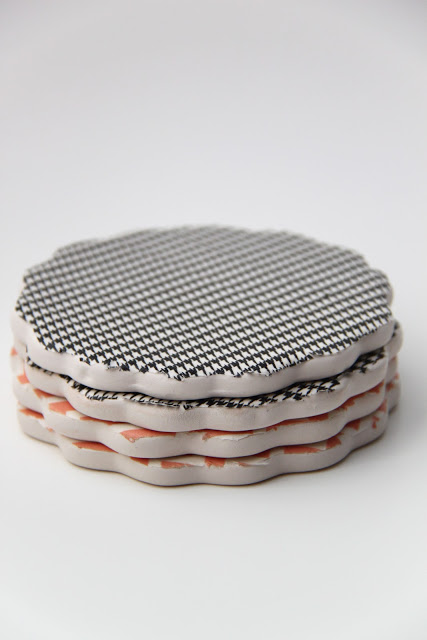
And there you have it. Fun coasters to give as a gift!
Or to keep for yourself…they are super cute, aren’t they!
Remember to keep adding your CRE8TIME Challenge projects to their gallery here! And keep your creativity flowing, it’s fun to reclaim our creative side by spending one hour a day doing something fun like this!!
Thanks for stopping by today!


Hi!
I don’t want to sound like I’m late to the party, but what exactly is Washi Tape?
Love your creativity!
Your not late to the party at all, Allison! Washi Tape is like masking tape but it comes off cleanly on most any surface. It also comes in all sorts of pretty colors making it waaaay better than masking tape!!
Cute! I love the shape of these coasters. =)
Thanks Charity! Me too! 🙂
These are great! Love them 🙂
Thanks Ashley!!
This project is too cute, I love washi tape! I featured you today on my Kick-Off Friday blog post! http://craftivitydesigns.blogspot.com/2013/03/kick-off-friday_22.html
Thank you so much for the feature!!!
Hi! Like Allison, I’m new to washi tape. I’ve seen it used to cover jars, containers, everything! Can these containers be wiped down to clean them? I’m thinking of my grandchildren’s lovable, but sometimes sticky fingers!
If you apply a mod podge protective layer over top with an acrylic sealer you can wipe them down…they are pretty waterproof with the sealer!!