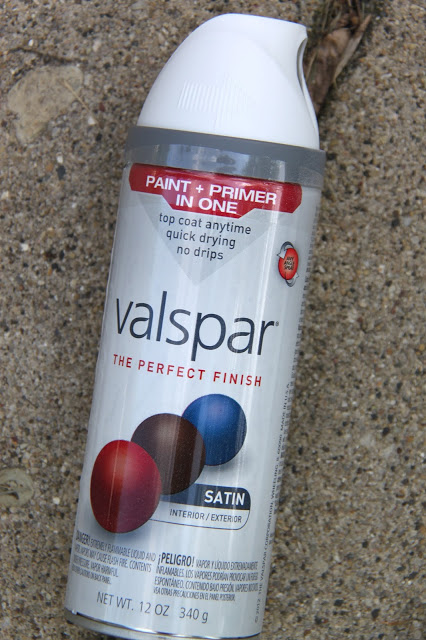
So, if you are interested in doing this too…think about all the color options!!…this is what I did. (again, super easy folks, this truly shouldn’t even be considered a tutorial but hey, here it is.)
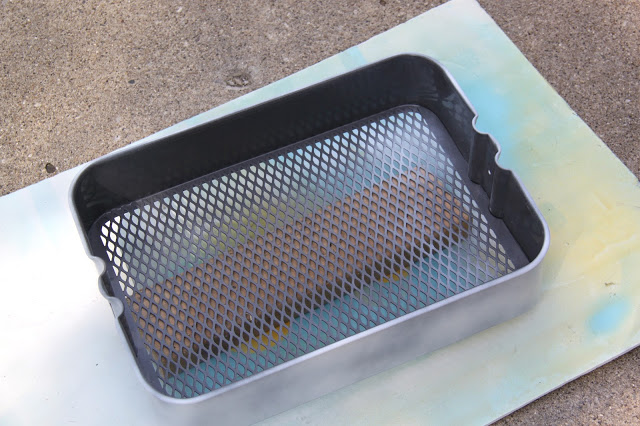
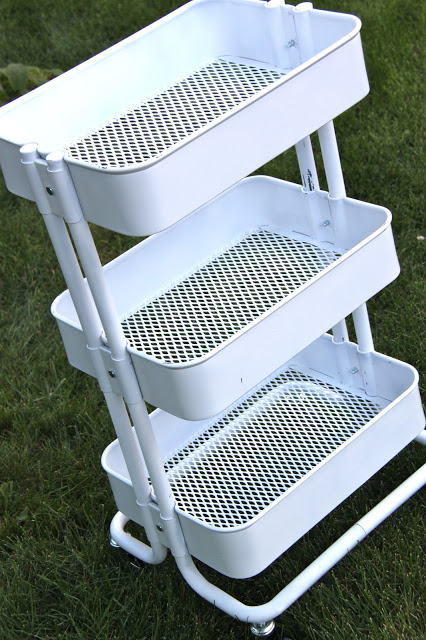
Unassembled, place your metal baskets on a piece of wood or something similar and spray. I did the side you see in the picture above first (two coats) and then flipped it over and did the bottom. Don’t forget to spray paint all the structural pieces too!
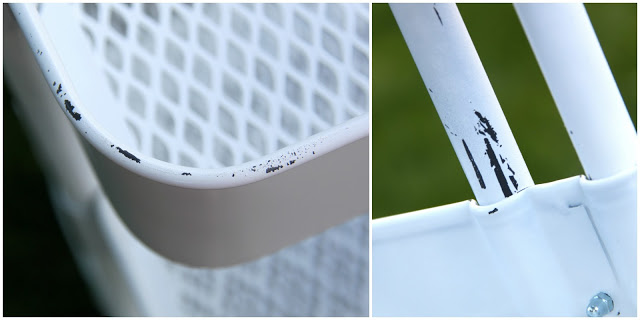
Like I said earlier, I wanted that chippy vintage look. I bought the Dark Gray Raskog as I thought that the dark color would show through really nicely underneath the white paint. I didn’t take too much care while assembling it. I also scraped up some of the edges and sides of the wire baskets too.
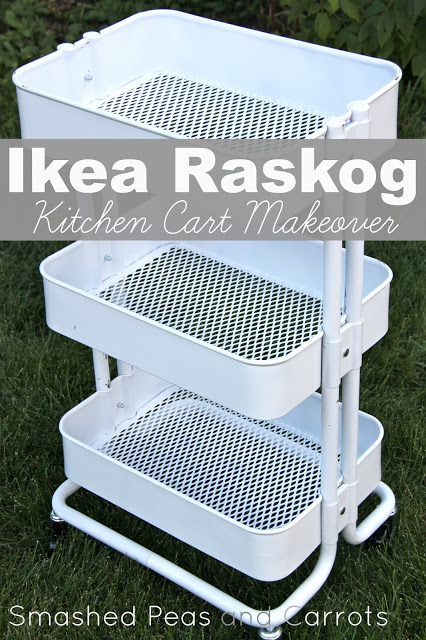
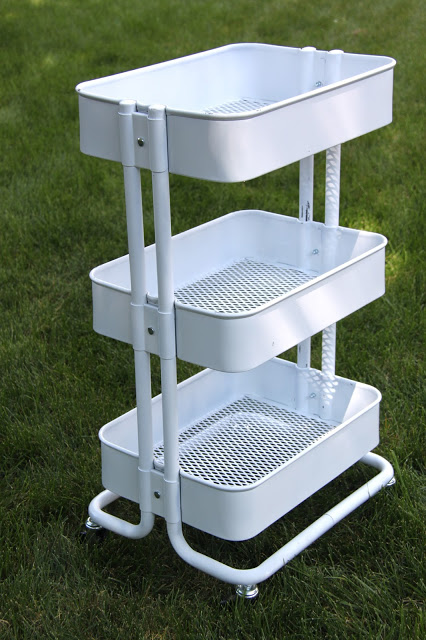
And there you have it…love and love!
I am so happy I finally get to own this sweet little cart and in a color that is just perfect for me!!
Thanks for stopping by today!






Very cool! Wish I had room for one of those in my miniscule kitchen. Now if you have tips on redoing kitchen cabinets, bring it on! 🙂
Ha! If I ever get around to re-doing my cabinets I will definitely share!!
this looks great! i plan on spray painting mine too – question, did you have the poles assembled or did you spray paint them separately too?
I separated all the pieces (poles included) before spray painting, I figured it would just be easier that way! It is still holding up beautifully, I hope you love yours just as much!
Love,
Maggie
Thank you so much for this wonderful tutorial! My Raskog is also grey and if IKEA would have a white one, I would buy it.
Now I can make it how I want it.
Thanks!!
Jeanette
That is totally how I felt, I wish white was one of their colors!!! Have fun with the paint, Jeanette!!
how many cans of spray paint did you have to use to cover the entire cart? I can’t wait to get mine. I really think I can use this cart in the kitchen, bathroom, living room and even as a bedside table. It’s functional I love it. I’d like to paint mine like antique gold. I’m excited, lol
This took one can total. Happy spray painting!!!
Just a question before I buy…do the basket/ shelves have to be placed like it is shown or are they somewhat customizable?
The shelves are customizable with their height!
We started with a turquoise one for the school room. The color isn’t excellent for our color scheme, but it’s SO functional so we overlook the color. We recently bought the rust colored one to match our accent wall, then promptly ditched the accent wall. Waaaaah! I was sickened by what to to with the potentially orphaned Raskog… and I happened across this post. HOORAY! I’ve become pretty adept at spray painting and look forward to making a phenomenal cart perfect for our home. Thank you for the inspiration!
So glad I could help!!!
I recently bought this IKEA utility cart. I thought it would make a great addition to my kitchen and later when I don’t need it in the kitchen I can use it for art supplies. However, I can’t assemble it. The bottom part is a little wonky, but it’s the bolts that attach the baskets to the side pieces that are impossible. They’re not long enough so that I can fit the nuts on on the inside of the baskets. Did anyone else have this problem?
I did not..maybe try calling Ikea..they are very good about giving you new parts if you need them!