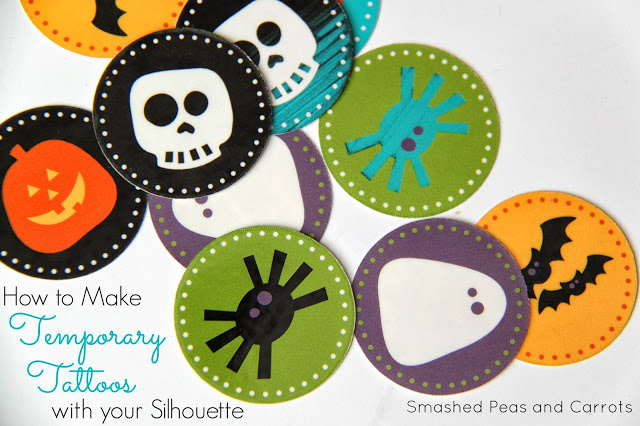
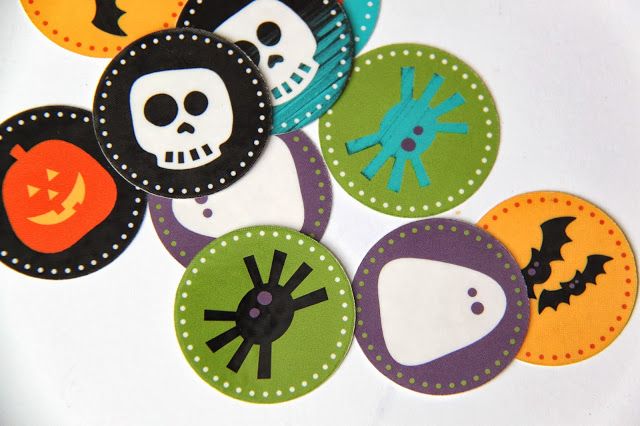
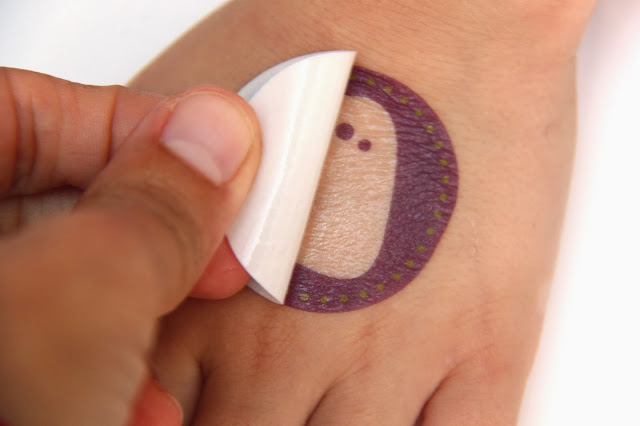
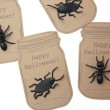
I decided it would be fun to make some Halloween tattoos since I’m helping with a Halloween party later this month and I thought these would be a nice little activity to do with the kids. I used the Halloween Circle Tags which are a part of the Print and Cut designs. By using a Print and Cut design I am able to print out a design in color by using my home printer and place the paper into my Silhouette which is able to read the registration marks printed as part of the design so that it will cut out the shapes perfectly.
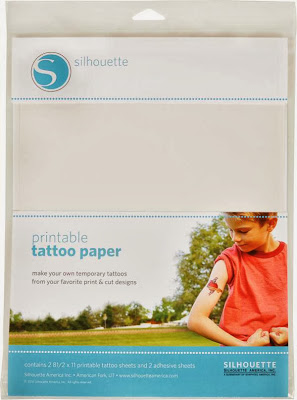
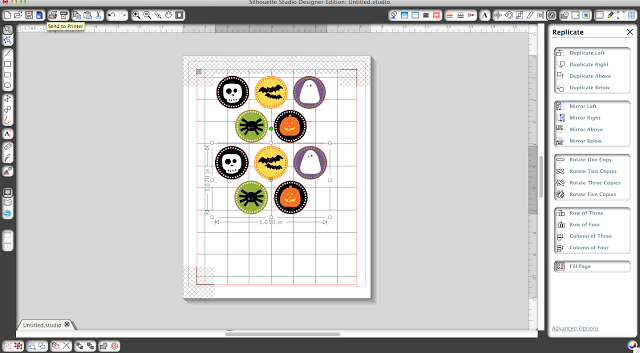
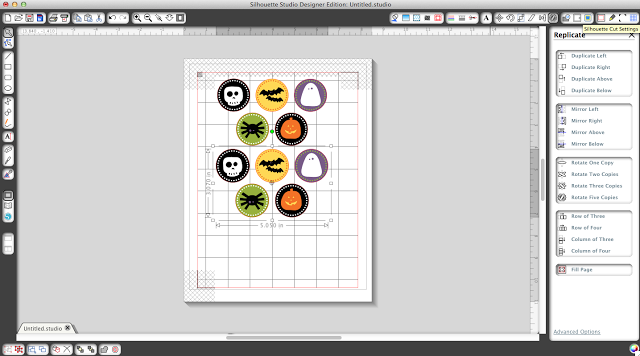
To make your own temporary tattoos, you will first need to click the “Registration Marks” button (second from the right at the top of your Silhouette screen) and click the box at the top in the column that pops up on the right side of your screen to “Show Registration Marks”. It looks like 3 of the 4 edges of the paper are highlighted…see it up there? Then add your design to the grid on your home screen making sure that the design you choose is within the registration marks hash marks on your screen. Also, make sure you choose the 8 1/2 x 11 paper size as that is the size of the tattoo paper. I left the design size as is but you can always make it bigger or smaller depending on big you would like your tattoos. Once you have done everything above, place your tattoo paper in your printer so that you are printing on the glossy side and then click the “Send to Printer” button (5th button from the left at the top of the screen…see picture above!)
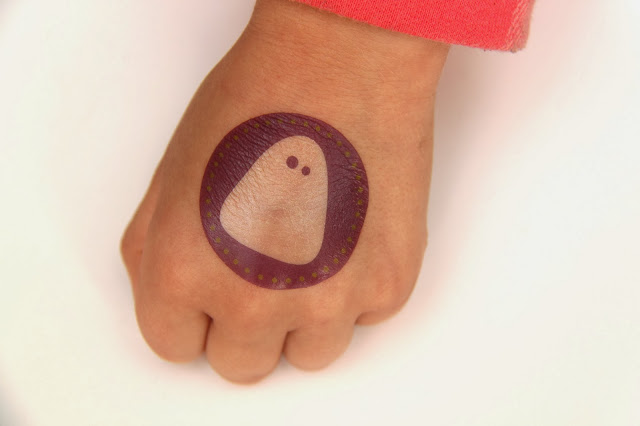
Easy peasy! It is really that easy to make your own temporary tattoos!
They go on just like the ones you buy too!
And hey! Guess what?!
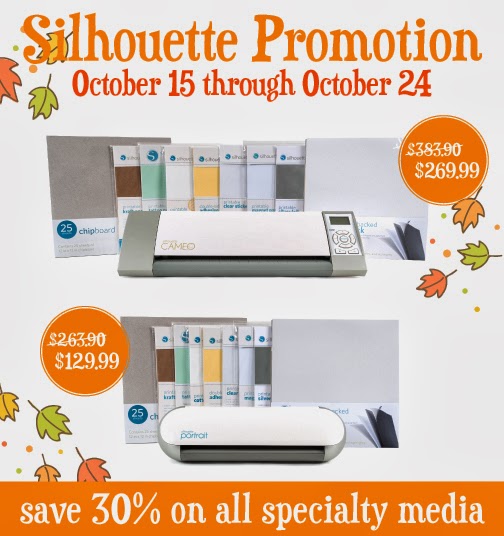
Silhouette America’s October Promotion is all about the Specialty Media which includes their Temporary Tattoo paper!! You can buy any of the 3 following deals below this month and get a huge discount while doing so. The special deals include:
