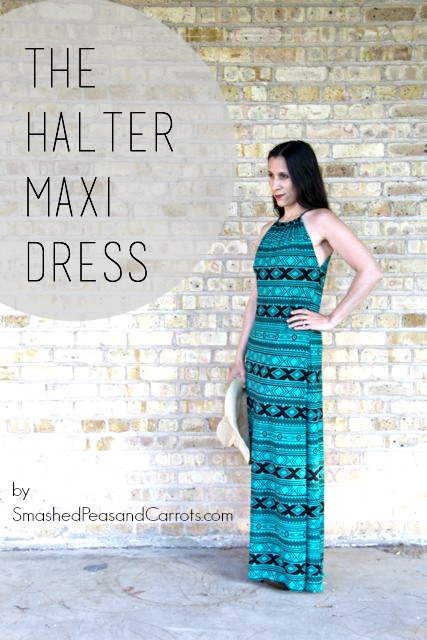
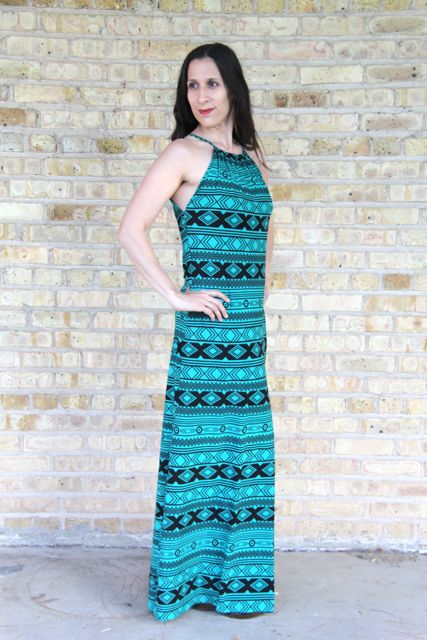
I’m super excited to share my newest most favorite sundress with y’all today. It’s all I’ve been wearing this summer (well, on the days we don’t seem to be having crazy rain, lightening, and thunderstorms…what’s up with that?!) The Halter Maxi Dress is super comfy and it is also the perfect dress to wear to the office (I made sure of that!) or even a date night out (checked out this one too!), can I get a high five!
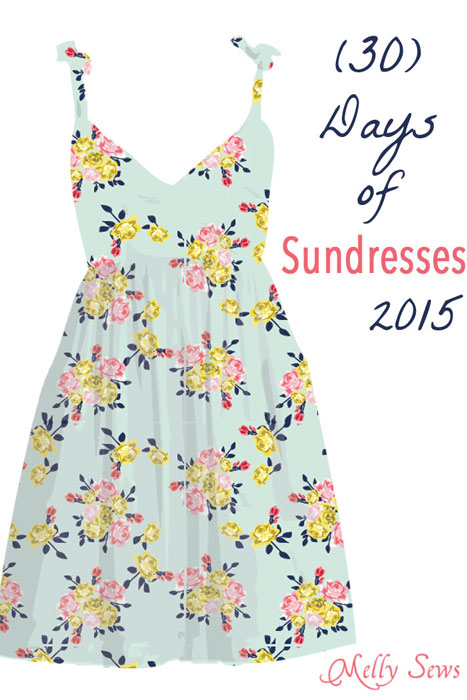
I created this dress as part of the (30) Days of Sundresses 2015 series going on over at MellySews. Make sure to hop on over and check out all the other pretty sundresses that are being showcased all month long plus you can CLICK HERE to enter to win a fun giveaway as well!
 I’m telling you, this dress is a dream. The halter top neckline makes it look super stylish and sophisticated and using a jersey knit fabric makes it really comfy and easy to sew!
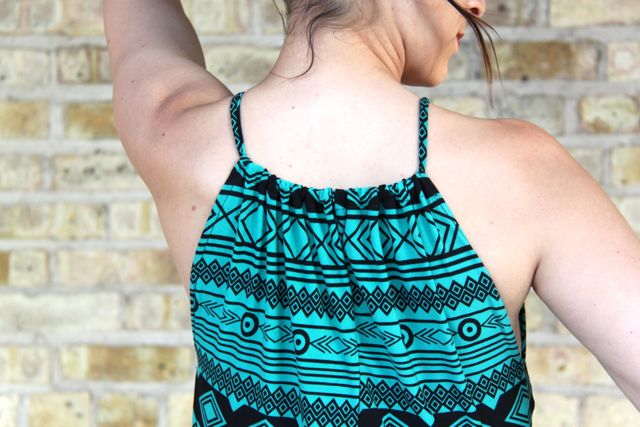
 To make this dress you will need 2-2.5 yards of jersey knit fabric…If you are just using a simple one color fabric and not a print you could probably get away with a little less. I found my fabric at Joann’s (it was labeled an African print on the bolt) and there was only 1 1/4 yard left but I loved it so much that I bought it anyways. I ended up having to split the backside pattern of the dress into two pieces due to my lack of fabric which isn’t bad necessarily but just takes a bit more work to sew especially if you have a print to match up. I had to trace my backside pattern upside down due so my print lines are a little off which annoyed me at first but I got over it after I wore it for the first time!
You will also need a jersey knit sundress of your own that fits well to use as your template. 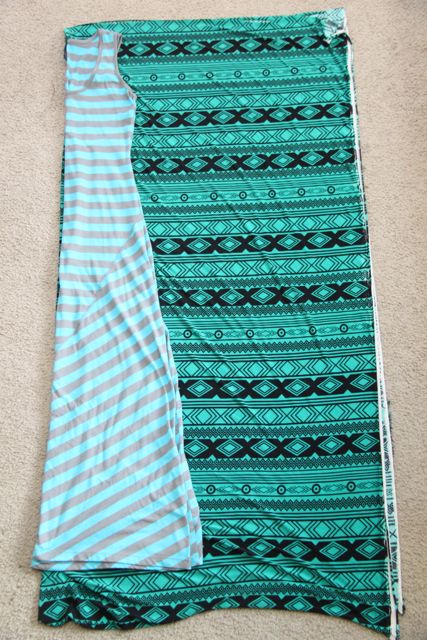
Fold your dress in half as best you can and fold your fabric in half lengthwise as well. Place the dress on the fold (both dress and fabric folds should be on top of one another) Cut around the dress giving yourself 2 inches for seam allowance. Most sundress are super loose at the bottom so you can just do the same thing for the backside of the dress. Since we are making a halter top you don’t even need to worry about tracing the neckline!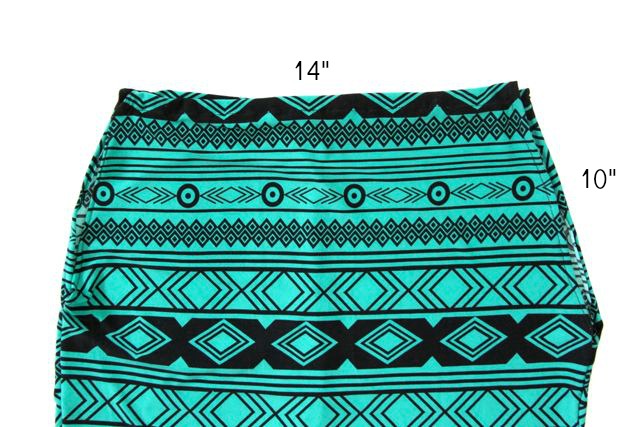 Open up your front and back pieces of the dress and place them wrong sides together. Starting at the top, about 3-4 inches from either left or right side, cut down the edges at a slight angle to the 10 inch mark. This will be the arm holes of the halter top.
Next, hem the arm holes by folding in the fabric 1/4 inch and sewing with a stretch stitch or by using your serger. Do the same for the neckline at the top but instead fold the fabric down 1/2 inch so that you have a tube for the string to go through. 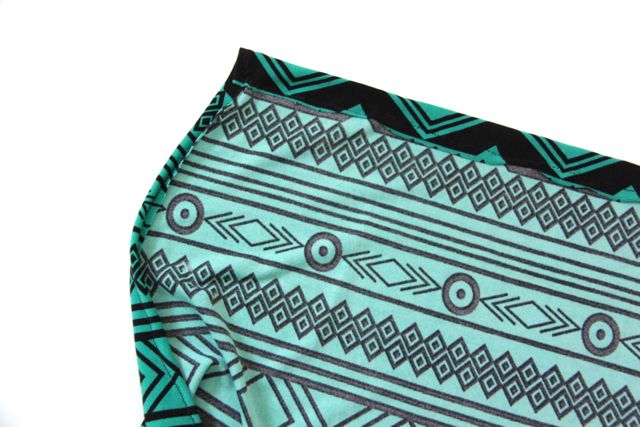 Since I was using jersey knit and it doesn’t fray, I didn’t even bother to fold the hems over twice as you can see in this picture above, they just rolled nicely underneath!
Next you can sew the side seams just up to the arm holes, you may want to try your dress on at this phase to make sure the armholes at too long for your body type! Now most of your dress is put together….so exciting!!!
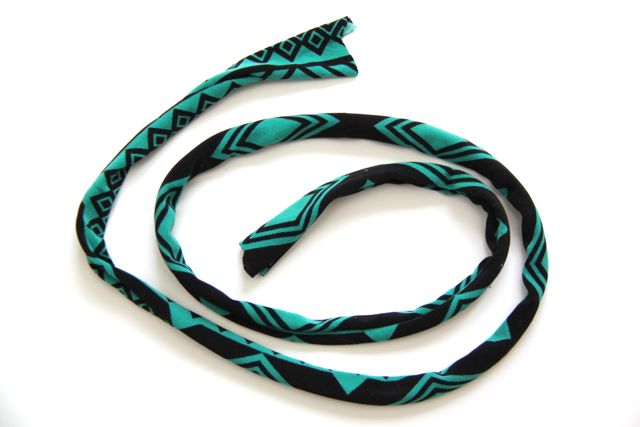 To make the string, I cut a piece of fabric measuring 1 x 31 inches and just let it roll up on itself. Pull the string through the tube you just made at the neckline with a safety pin. Now try your dress on to see how far up or down you would like your halter top to lay and pin it in place. Take off your dress and sew the string together. I tucked the sewn edge into the tube of the halter top. Then just figure out where you want your hemline at the bottom to be, fold over, and hem! All done!!!
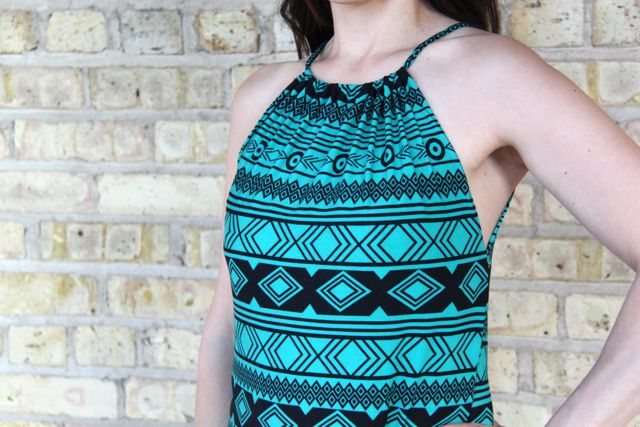
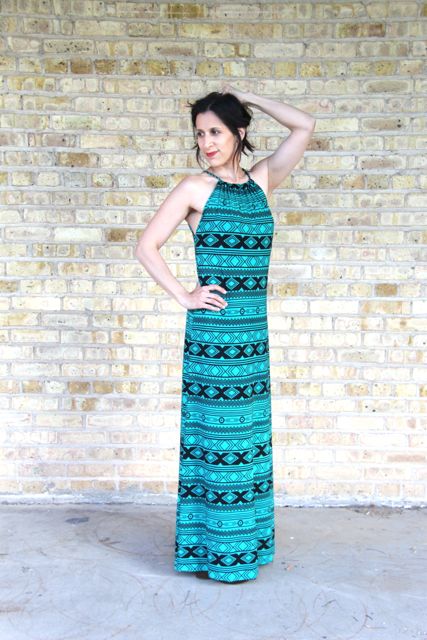
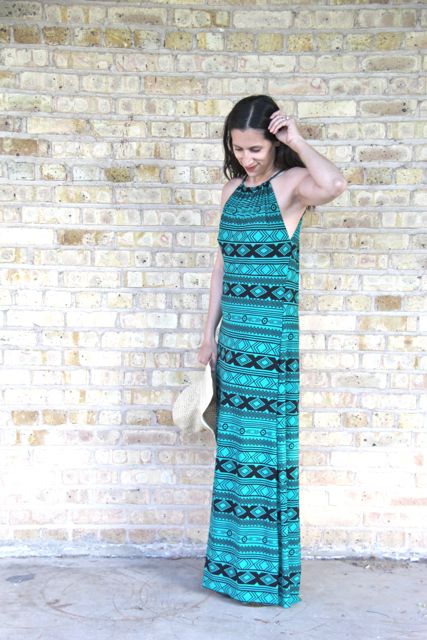 All ready for some summer lovin’!
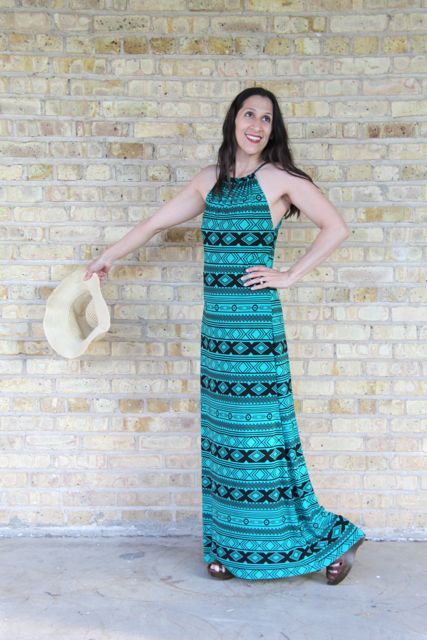 Thanks so much for stopping by today!! If you make a dress, share it with me on instagram, I’d love to see your creations! You can tag me at @SmashedPeasandCarrots.
Love,
Maggie