Ahhh, now that summer is here and we are eating outside a lot I have the good fortune of having two children who find it impossible to sit nicely at the dinner table when we do eat indoors. Good times. So, when I was browsing a local bargain store the other day and found really pretty vinyl tablecloths at $3.50 a pop I had a vision…booster seats! And not just any booster seats but nice cushion-y ones that could also be used on the floor for reading stories. Cushion-y fun booster seats that wiped clean and didn’t stain…oh, now this sounded really good to me!
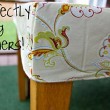
Let’s take a gander at what I’m a-talkin’ about:

Yup, love-ly…cute…and functional!?! Say it ain’t so!
Ok, so let me tell ya what you need so you can make some pretty, functional and oh-so-cushion-y booster seats in your home!
Booster Seat Cushions (makes a 12 x 4 inch booster seat)
1 vinyl tablecloth
1 bag of poly-fil (I used 1 average bag for two seats)
rotary cutter and mat
hand sewing needle and thread
sewing machine
scissors
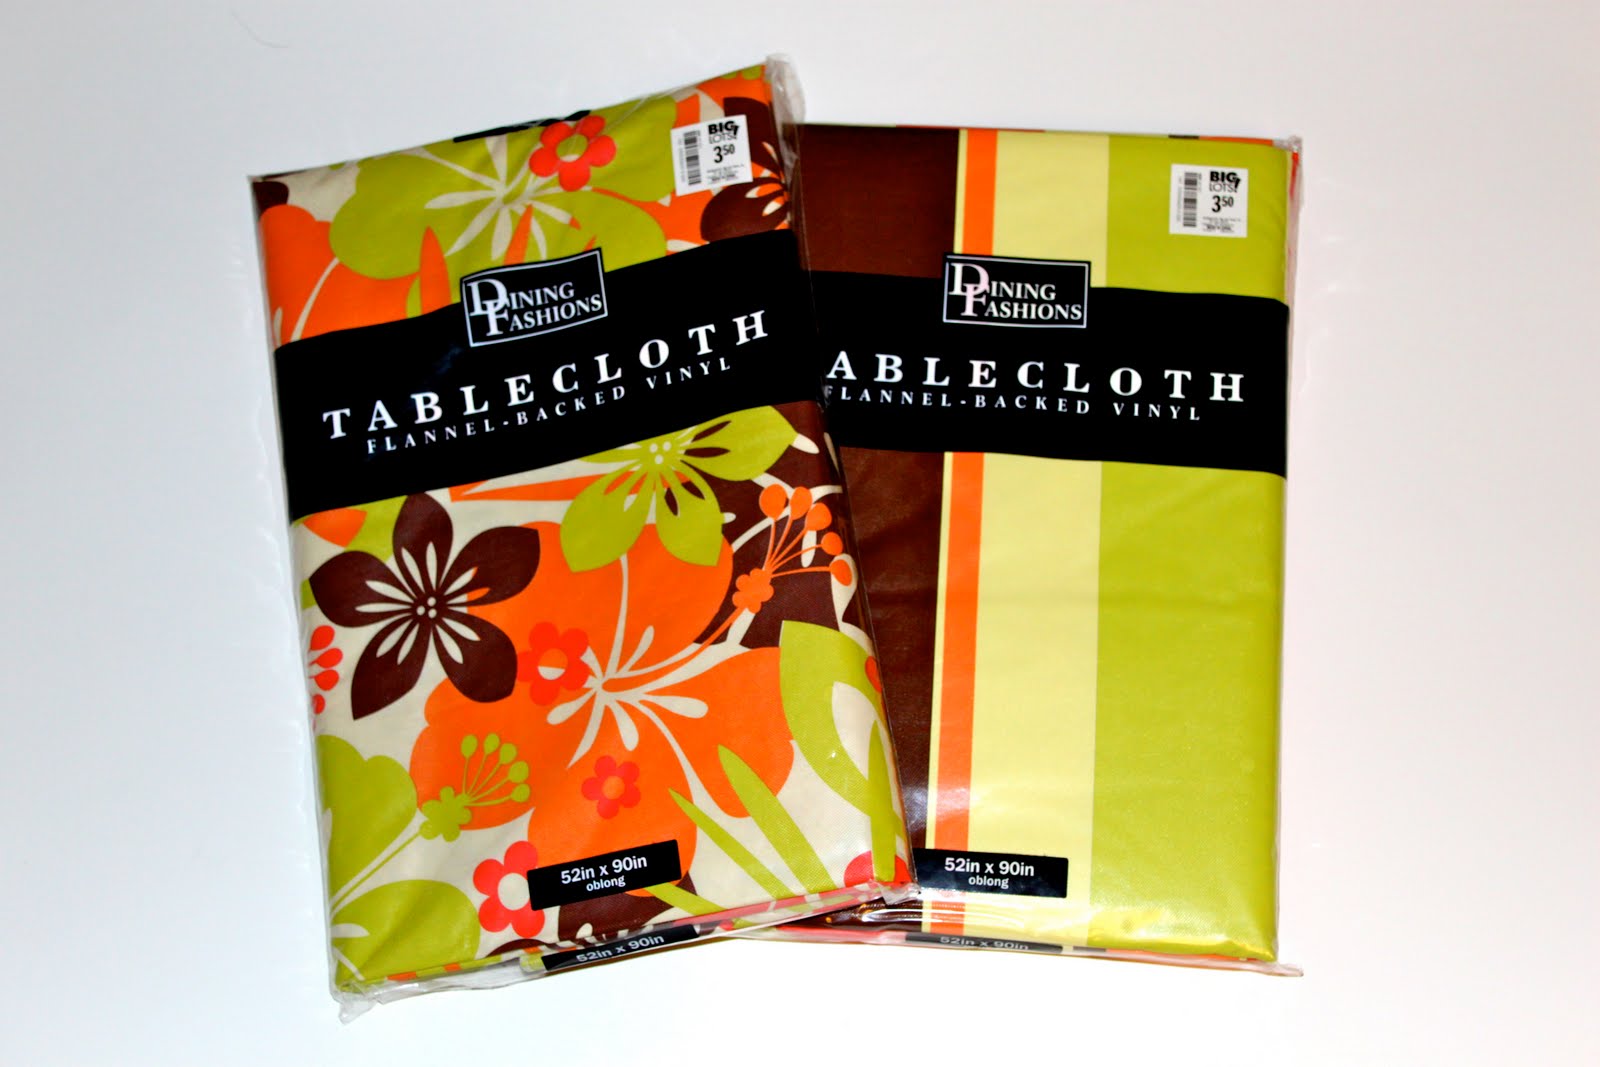
Here are my accomplices, vinyl tablecloths (oh, how I love them so)…
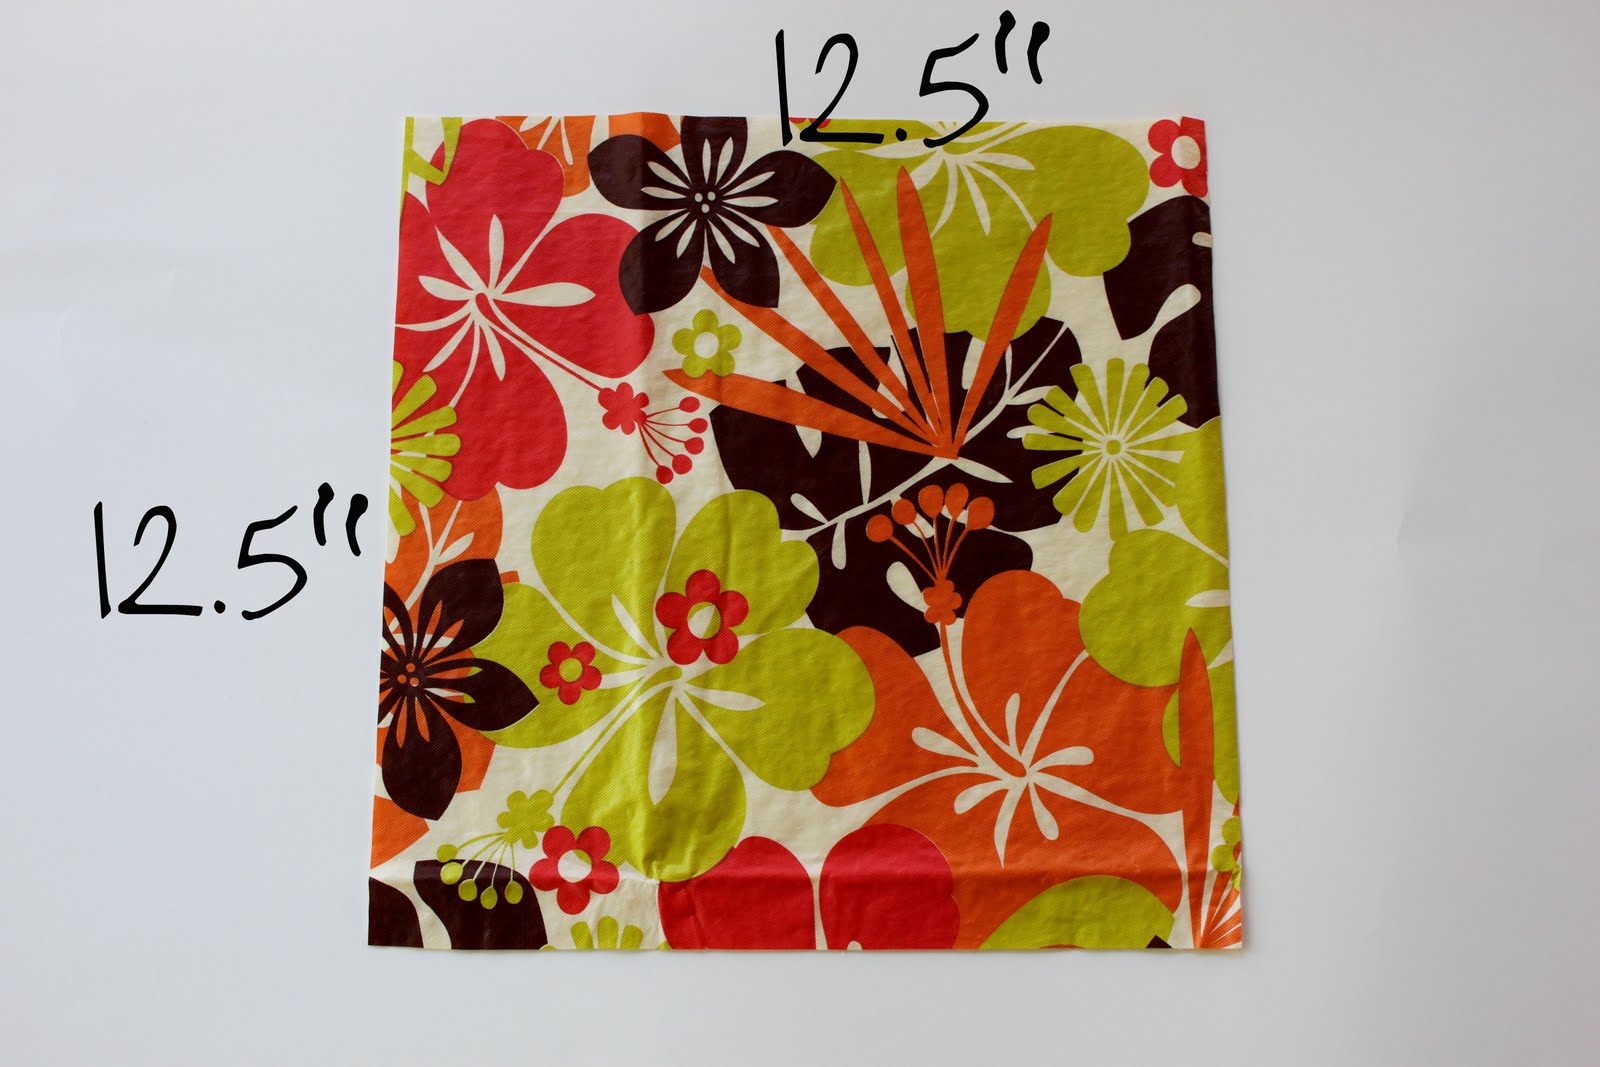 Ok, so first cut one square of your tablecloth measuring 12.5 inches x 12.5 inches…
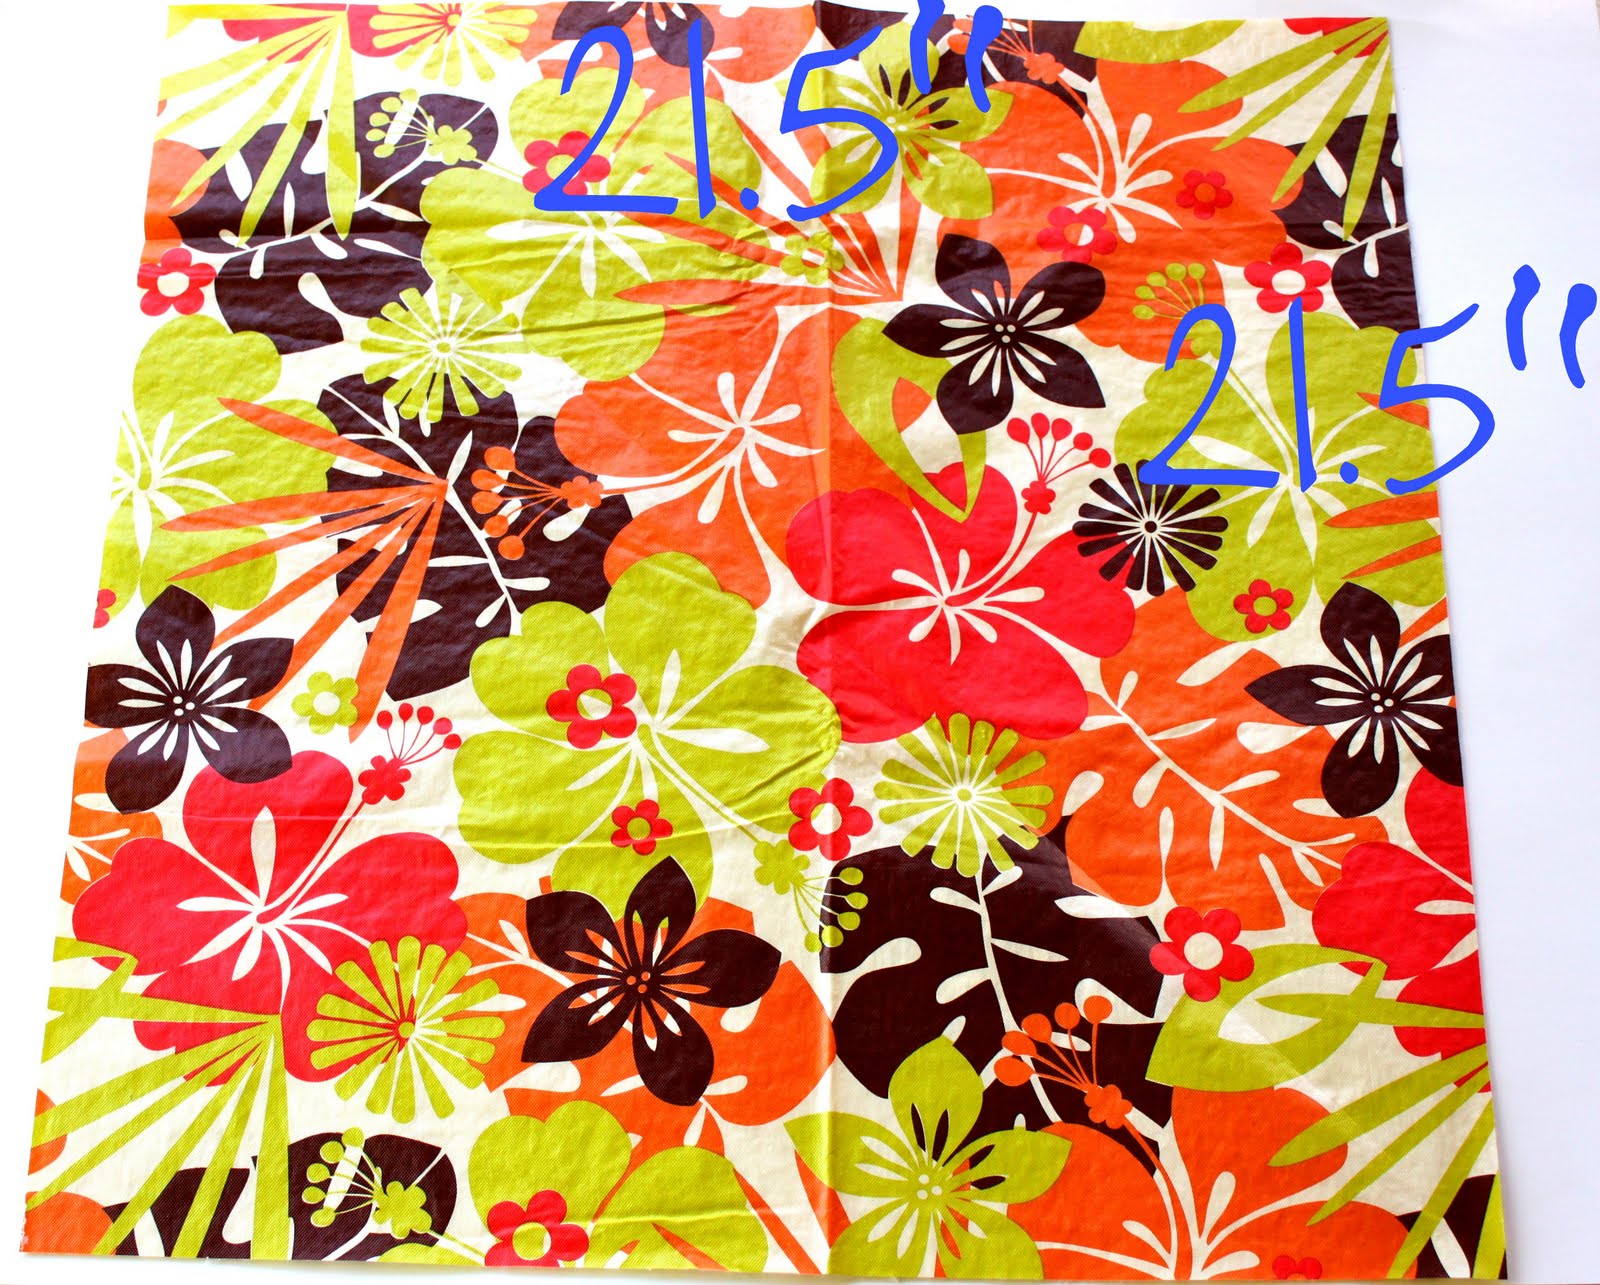 Then, cut a second square from your tablecloth measuring 21.5 inches x 21.5 inches…
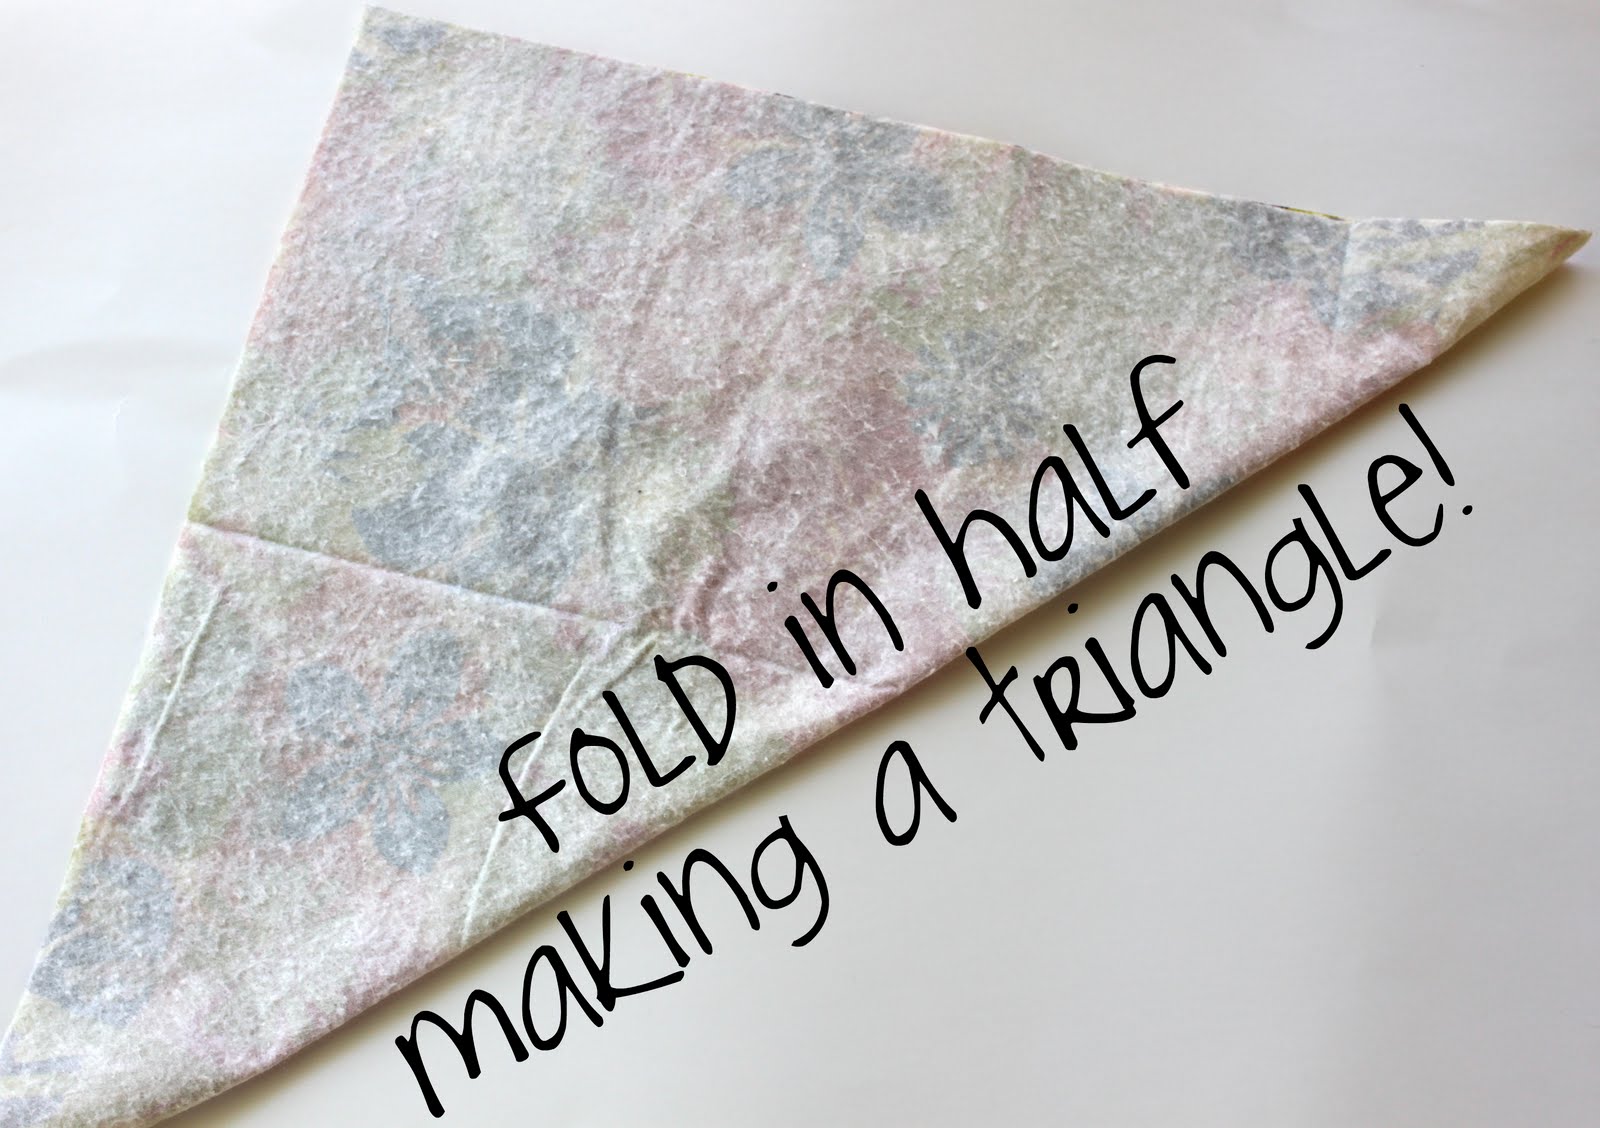 Next, take your bigger square and fold it on the diagonal with right sides together. Your basically making a triangle, comprendo? I thought so!
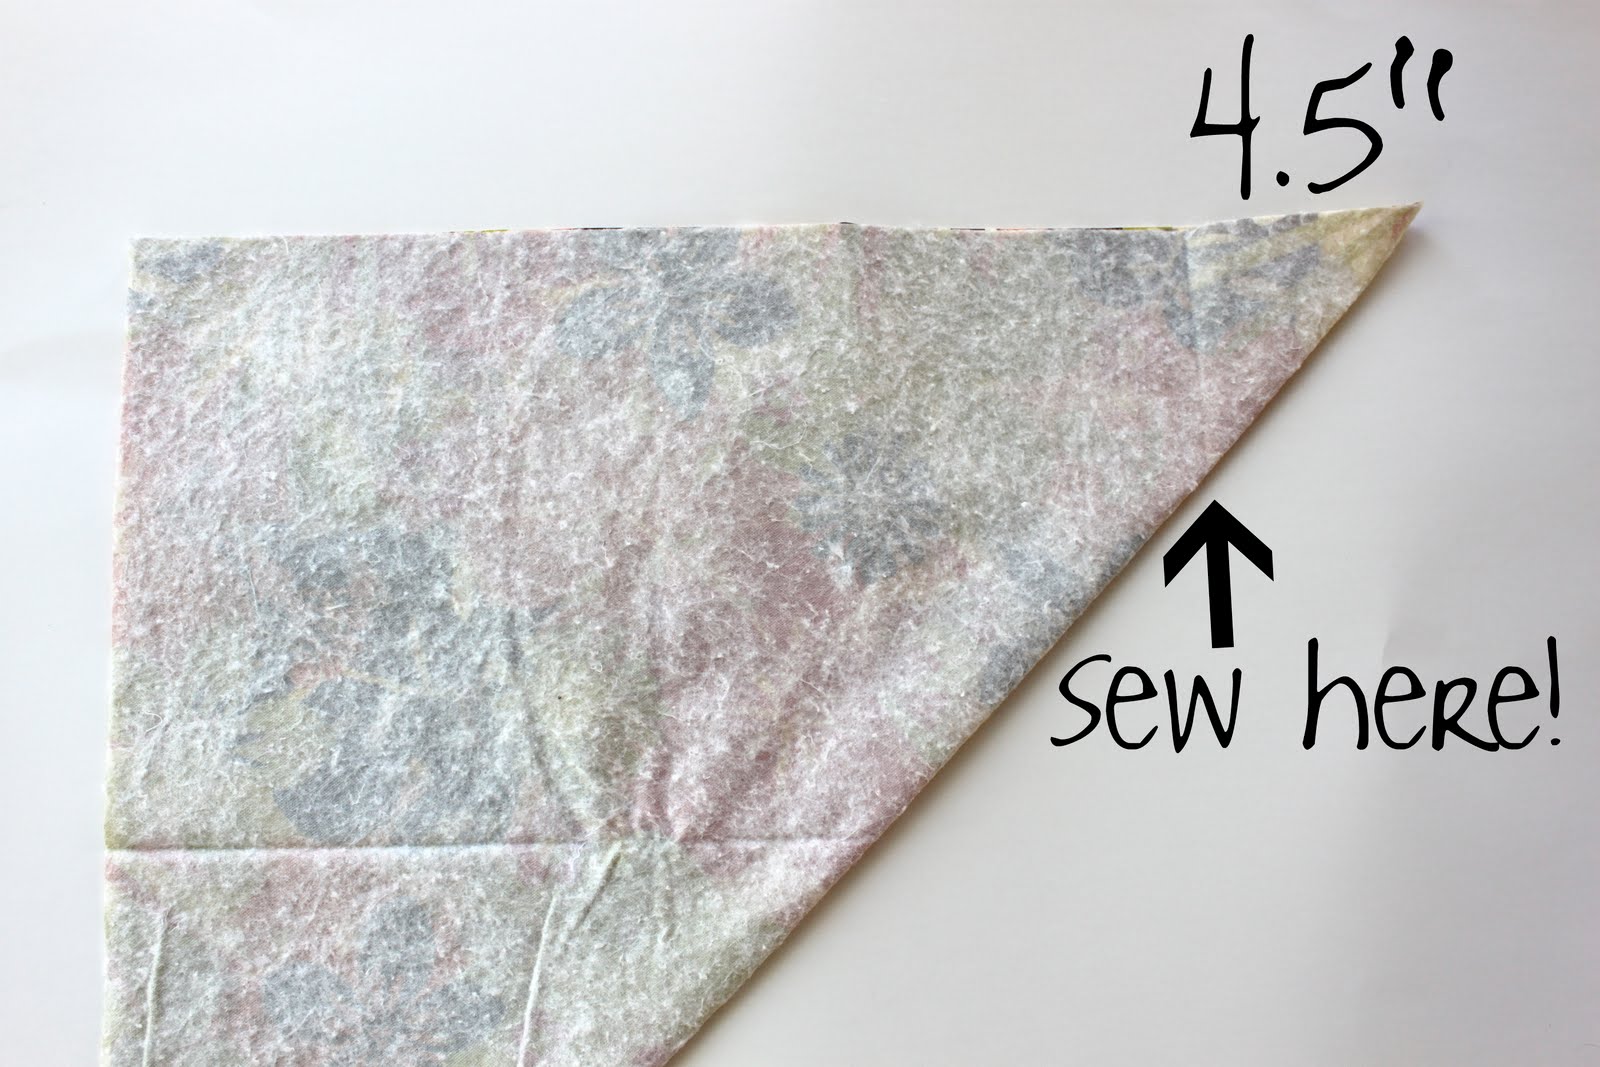 Then, measure 4.5 inches in from the tip and sew a straight line down it like the picture above. Do this with all four sides.
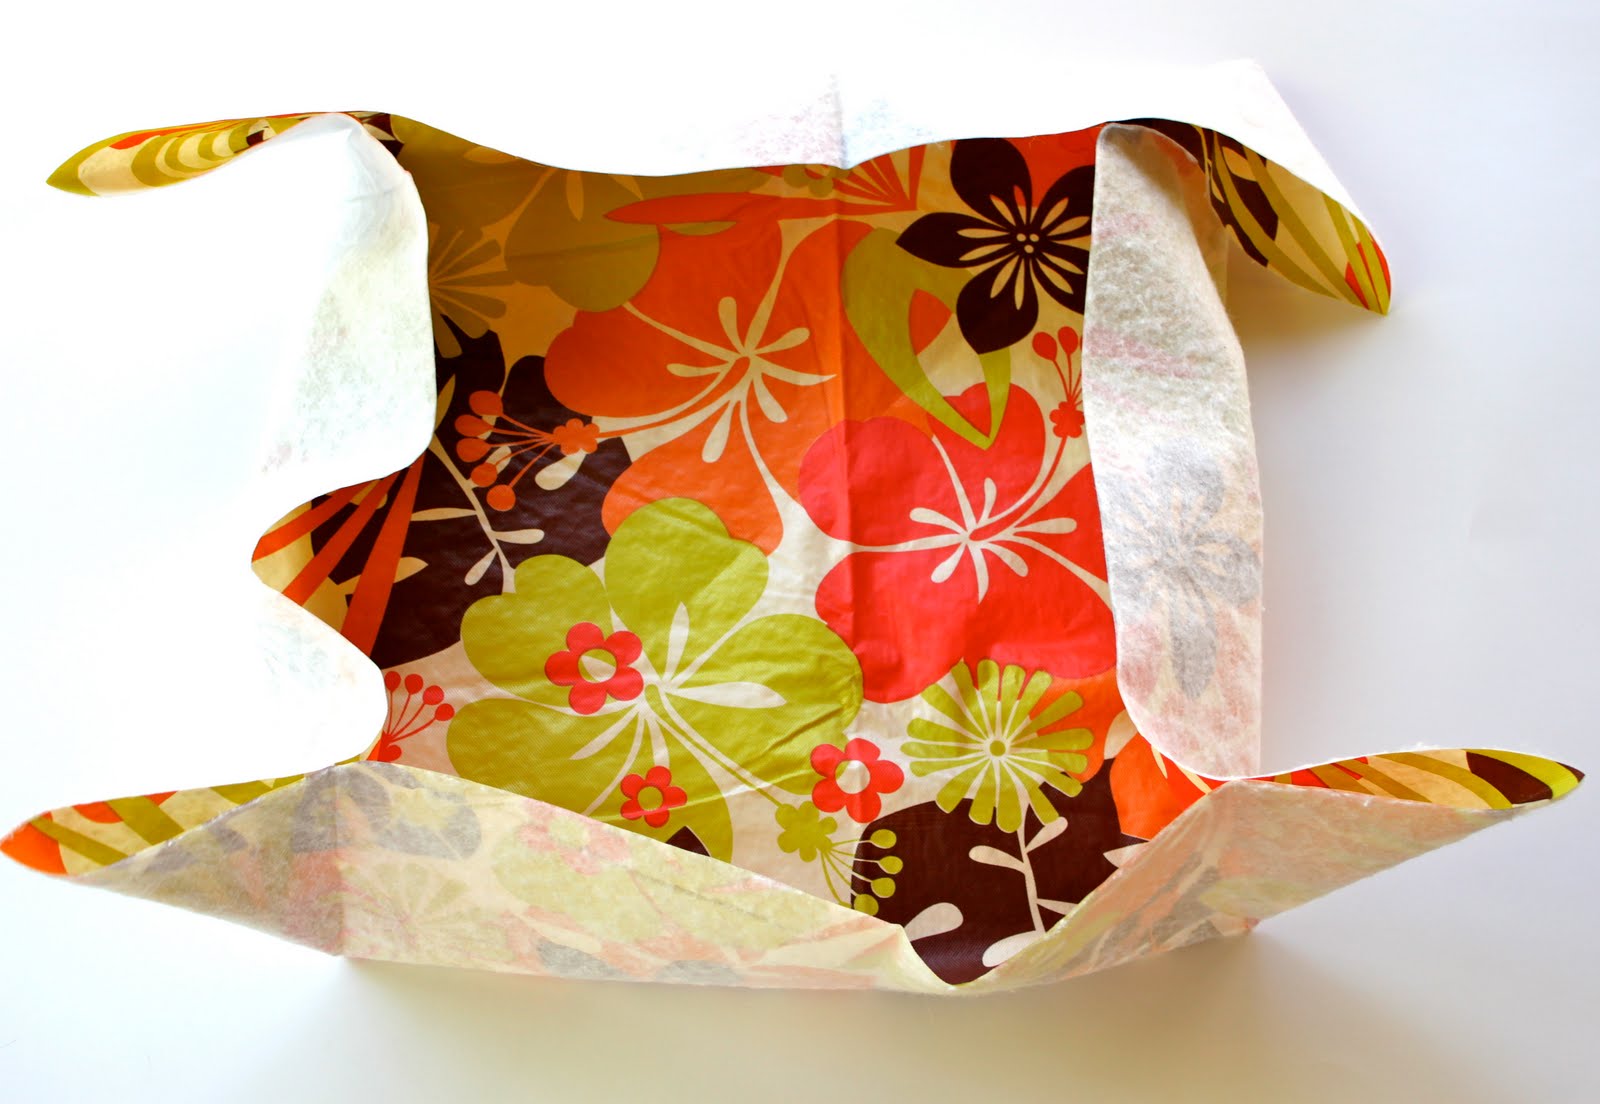
It should end up looking like this (see picture above).
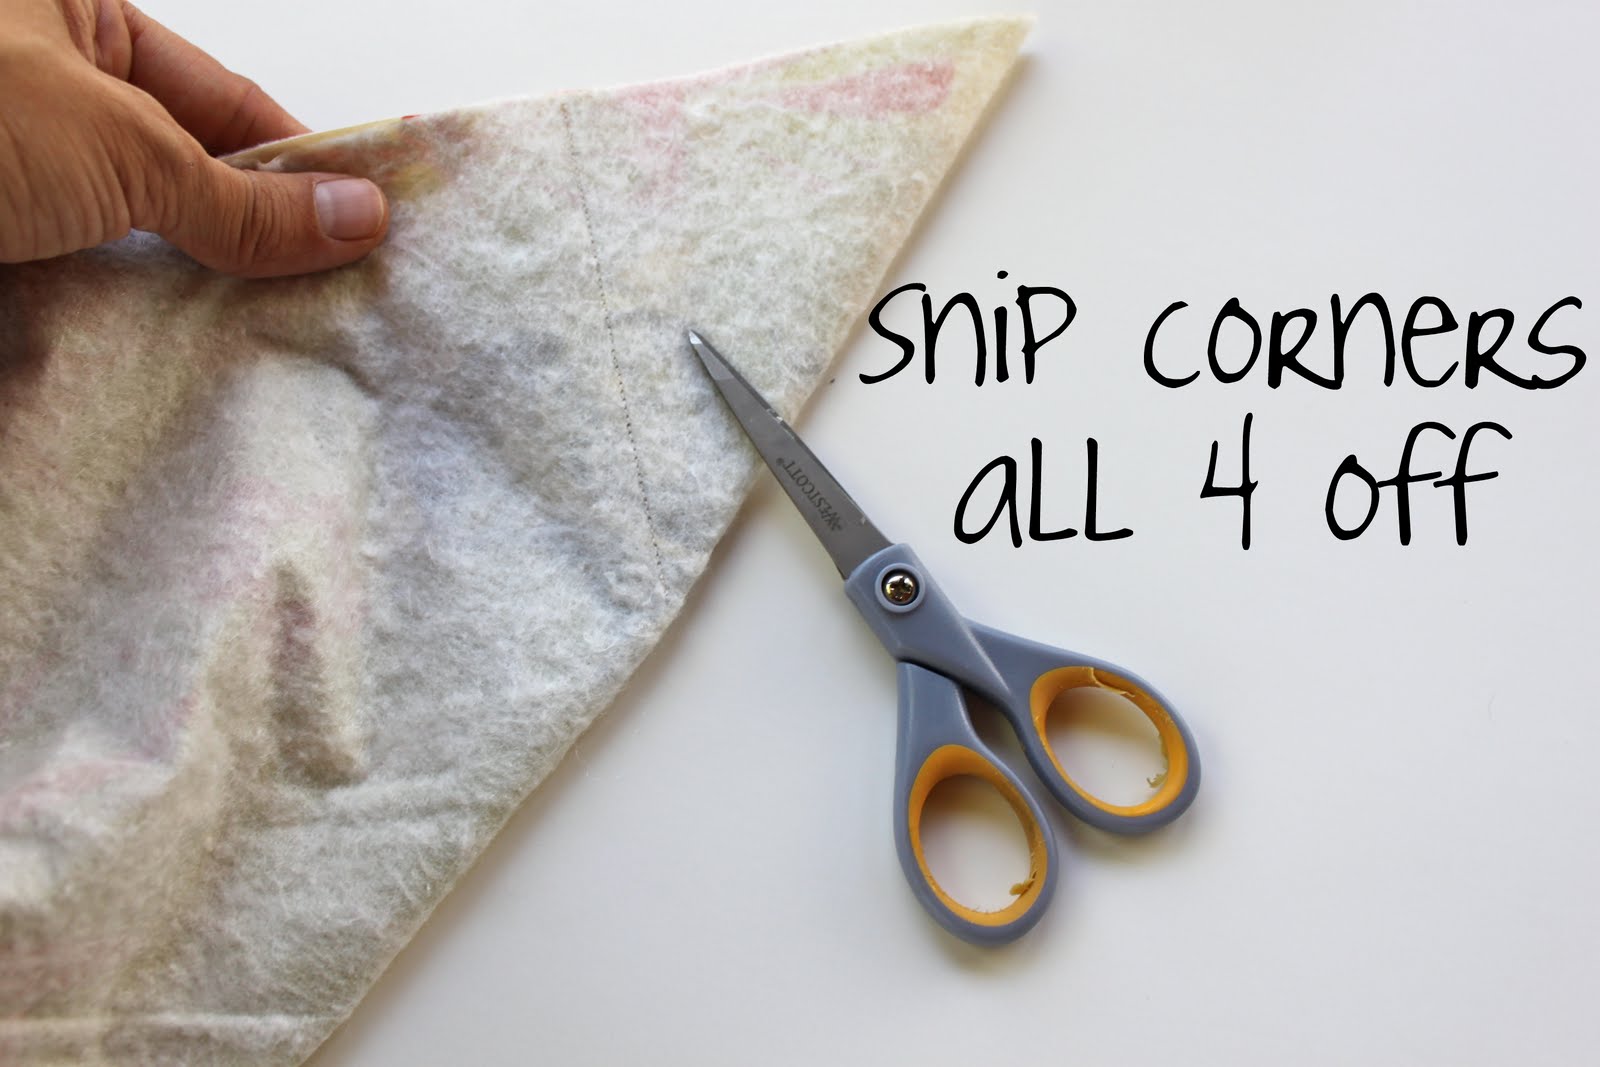 Then, take your scissors and snip off the tips being sure not to cut your stitched lines you just made!
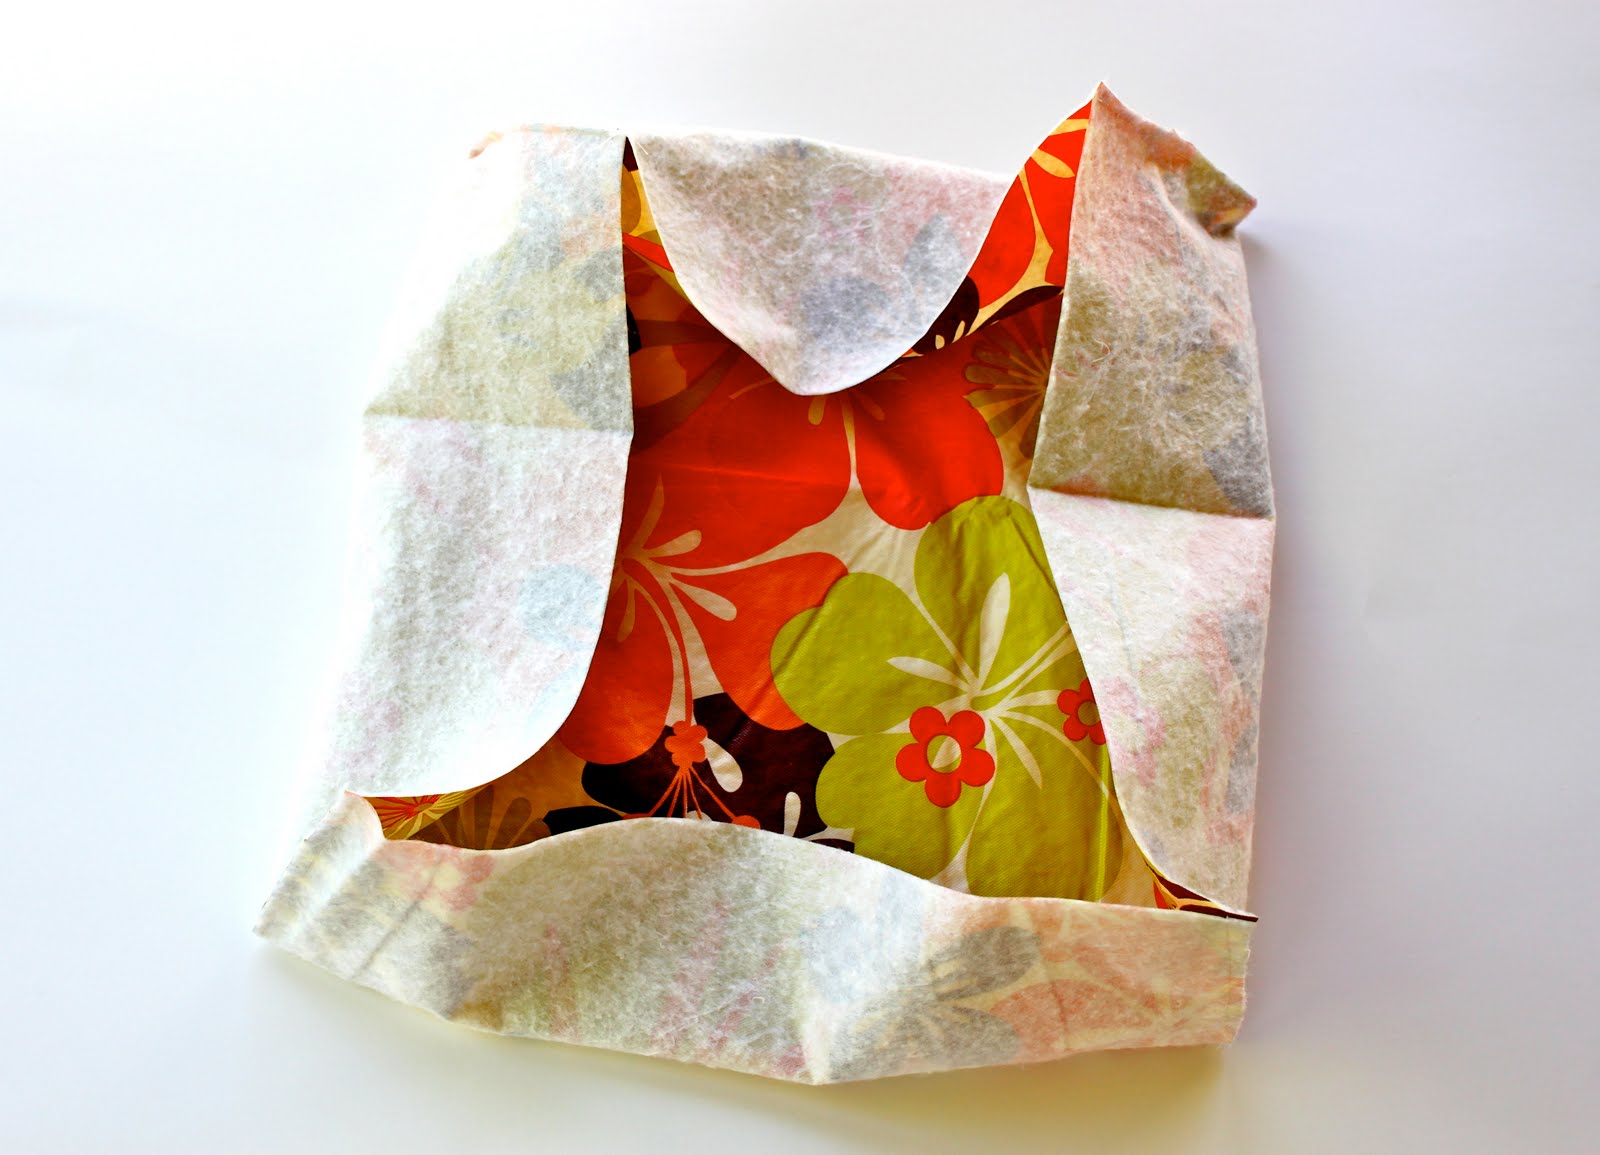 It should look like the picture above (ummm, a basket of sorts?) when all the corners have been snipped.
 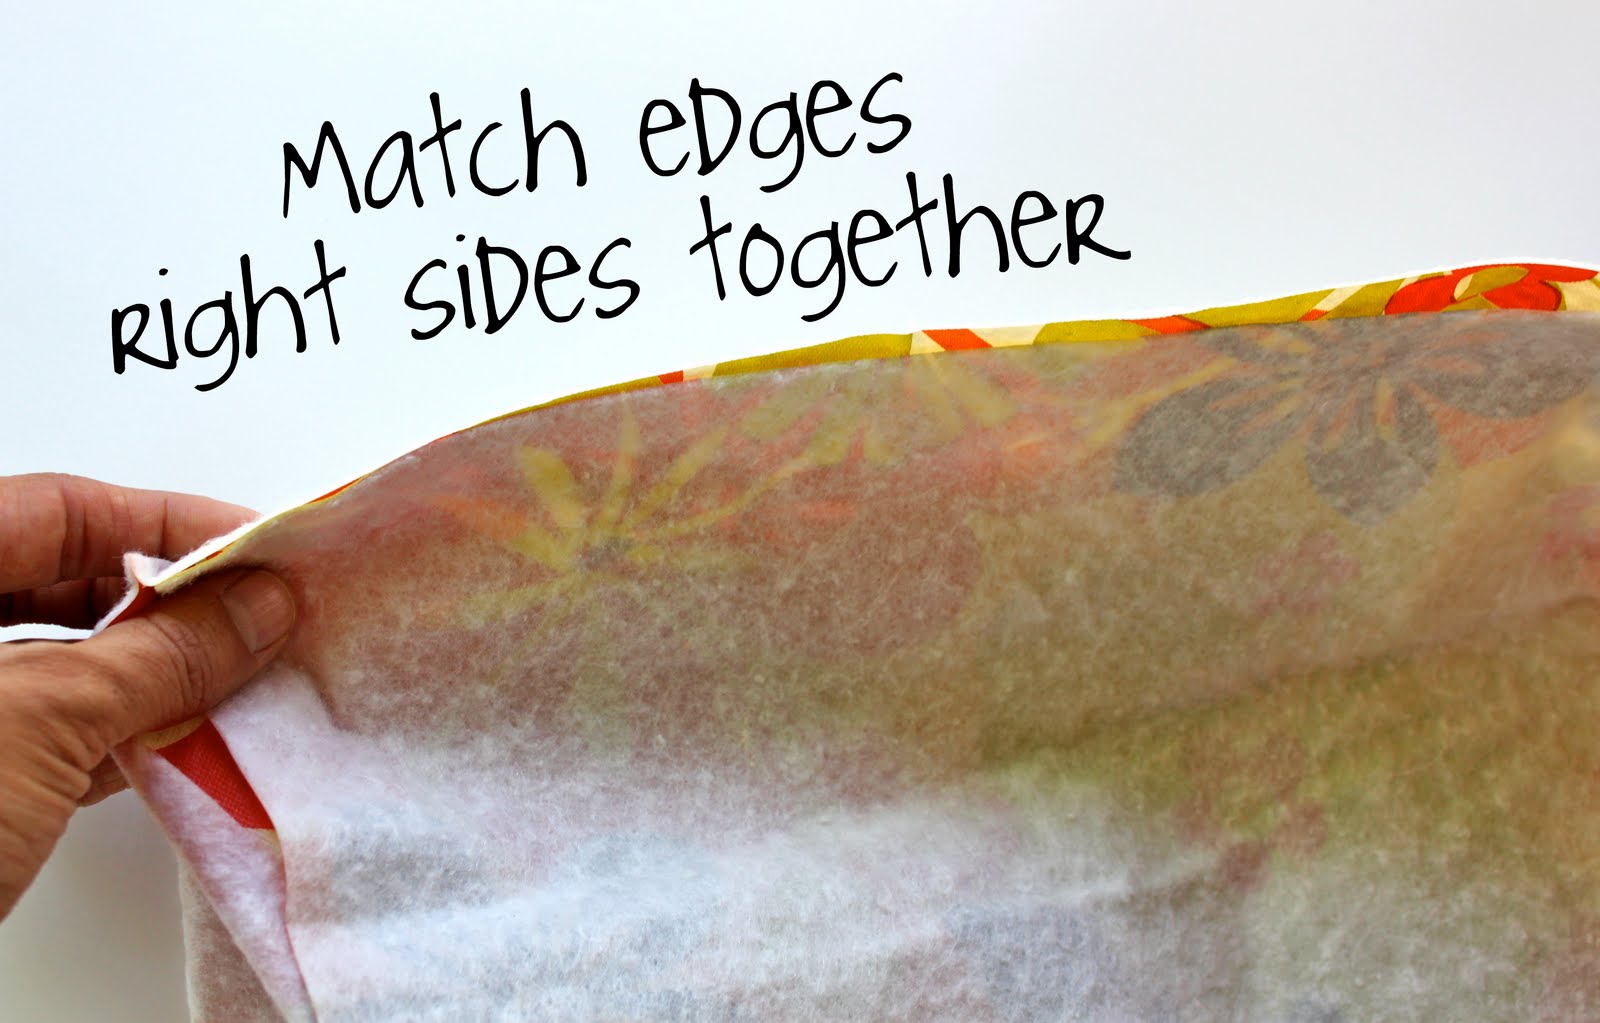 Then, take your smaller square of tablecloth you cut earlier and match the edges up with the previous “bucket” piece from the step above. Make sure right sides are together! Sew with a straight stitch on 3 of the four sides only!
When your done it should look like this!
Now, just flip it right side out and stuff with your poly-fil.
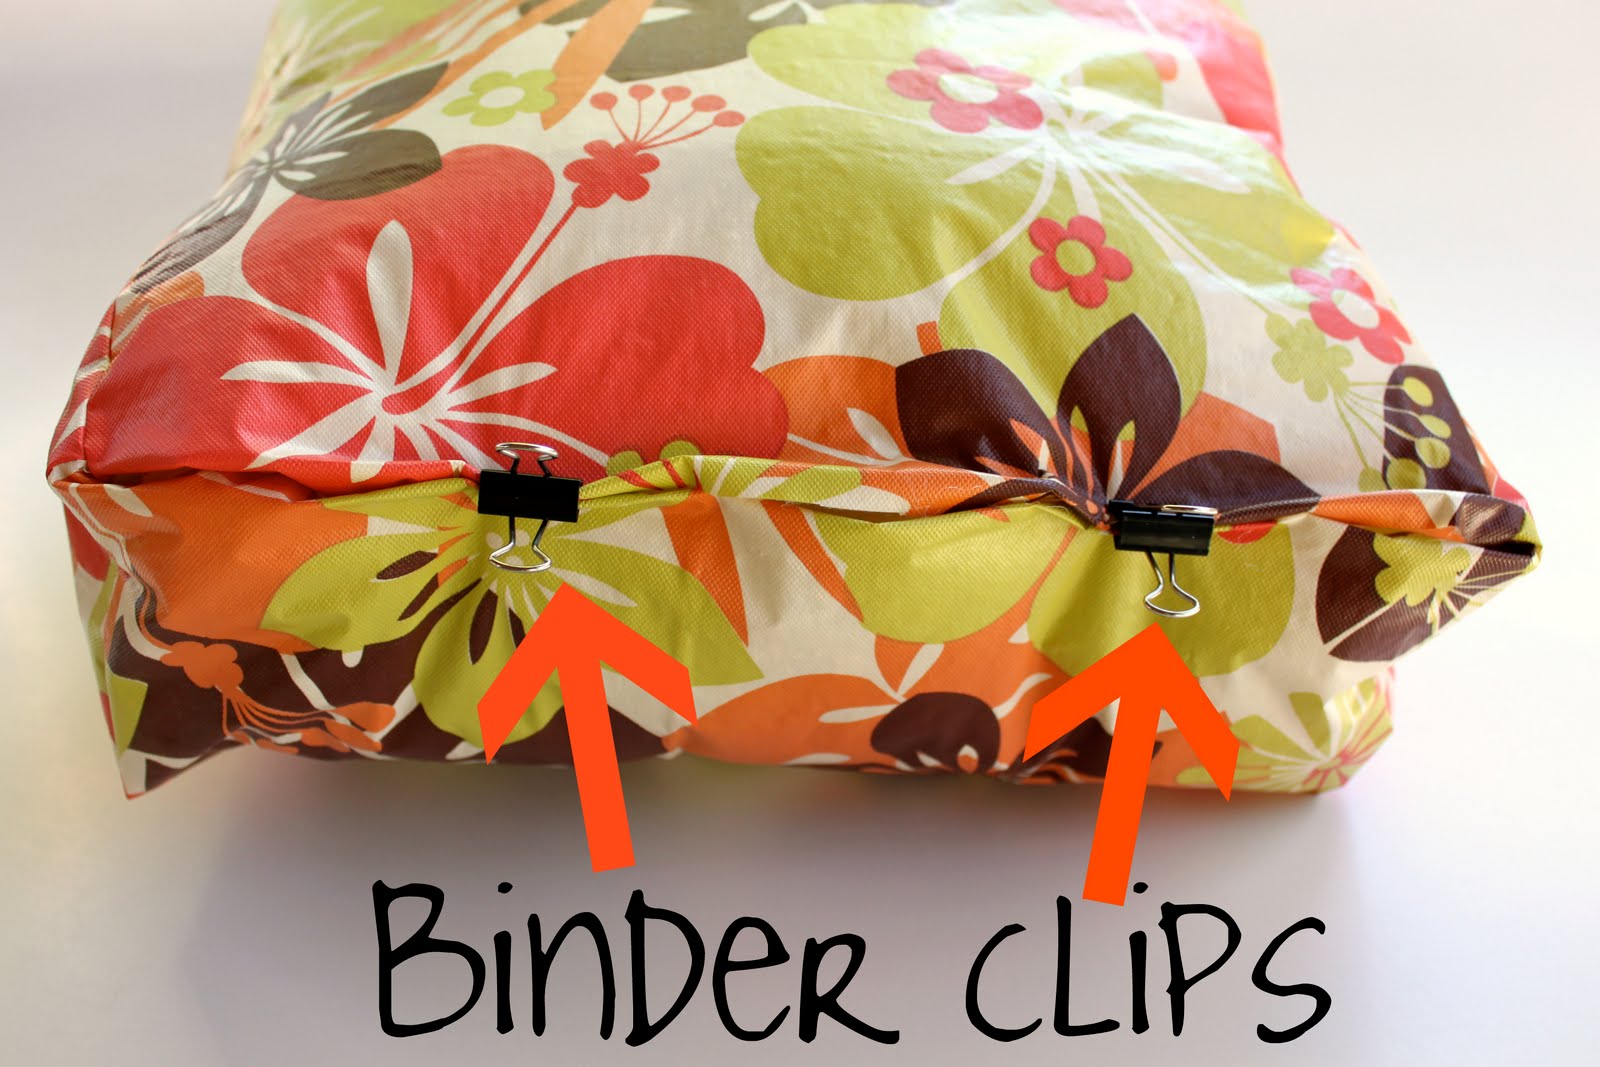 With that last open side, fold the edges in a 1/4 to a 1/2 inch and then what I like to do is take binder clips to hold it together while I hand stitch the opening closed.
That’s it!!
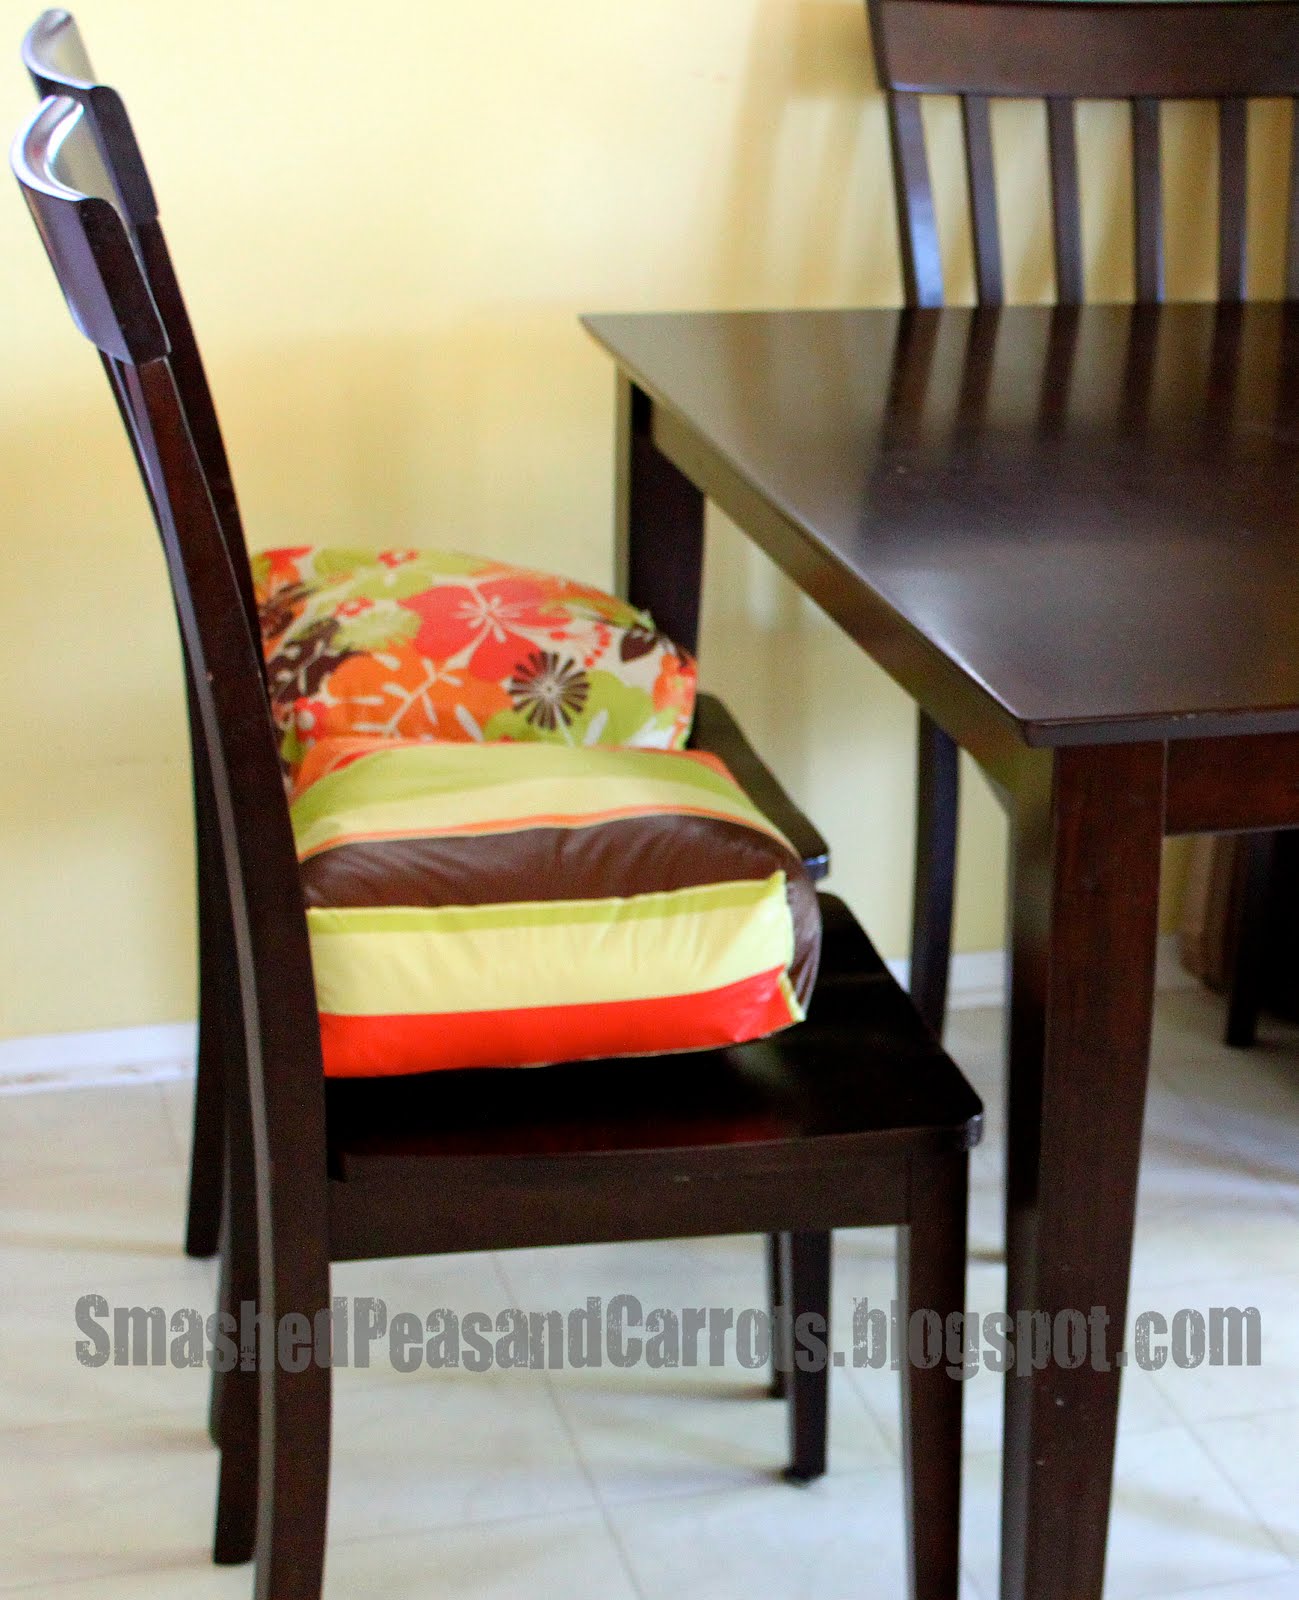
Pretty Booster Seat Cushions looking all gorg at my kitchen table!

Yeah, I’m loving them!!

Uh huh, aren’t they great?

ANNND, they are even better when your kids actually sit at the table because they are so excited to sit on something that boosts them up!
Ya can’t beat that!
Love it!!
(Once again please ignore the half naked diaper-clad child, she loves to be nakie, I ‘m telling myself it’s just a phase…errr, a REALLY long one!!)


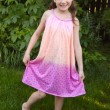
Well, nakie or not, she’s so stinkin’ cute!!
What a great idea for seats…and muli-purpose to boot! Even better!!
LOVE this so much I featured it on Ucreate today! Thanks for this fabulous tutorial!
These are so great! I love your choice of tablecloths and your tutorial is excellent! Thanks…
Great idea. I wonder if you could make it so the back has an overlapping flap, eliminating the need to hand sew it shut? I bet these would be great for outdoors as well.
Just saw this on UCreat! Had to check it out and I am so excited!!!! What a fabulous idea dear! Thank you, thank you, thank you for sharing. What a blessing!
I have been looking for something fun and cute. I have 5 boys 10,9,7, 3 and 1 year old. This is ideal for us! Thanks again.
UCREATE…hahahaha I was so excited!
Oh my.. That last pic had me giggling! THis is a great idea. I have some pretty thick tie on chair pads, which helps my daughter see the top of the table, but these are so much better because you can just wipe ’em off! great idea.
How ya feeling?
Oh my.. That last pic had me giggling! THis is a great idea. I have some pretty thick tie on chair pads, which helps my daughter see the top of the table, but these are so much better because you can just wipe ’em off! great idea.
How ya feeling?
Love them! Is it hard to sew vinyl tablecloths? I think we have the same table and chairs. 🙂
Great idea! Love this. Thanks for the idea.
ps
Our daughter who is 2 also thinks cloths are optional…. lol
I wonder if tie straps or velcro straps could be added to attach to the chair? Do you find them sliding off?
Or maybe attach some of that rubber shelf liner to the bottom to give some traction…hmmm
Hi ladies! Thanks for the love-ly comments!!!
@Tru-You could try an overlapping flap but if you are using poly-fil and are making this for a little one anything like my crazies you may find your poly-fil all over you house. A flap would be great with a foam cushion insert!!
@Emily-Vinyl tablecloths are easy to work with, you may want to try a microtex needle for smaller needle pricks although I used a regular needle in my machine and had no issues!
@Holly-mine don’t slip around at all but it may depend on the varnish of your chairs.
What a fantastic idea. I wish I had it a year or two ago…
I too am wondering if they would slip right off the chair…not that my boys ever get rambunctious at the dinner table or anything 🙂
What a fantastic idea. I wish I had it a year or two ago…
I too am wondering if they would slip right off the chair…not that my boys ever get rambunctious at the dinner table or anything 🙂
I thought I was the only one with pictures of my little one running around with only a Target diaper on! hehehehe Glad to know I’m not alone!! Cute project, too! 🙂
So cute! This is perfect for my 3 yr old. Thanks for the great tutorial!
Jen
So cute! This is perfect for my 3 yr old. Thanks for the great tutorial!
Jen
Yes please! I actually just ordered oilcloth to make Burke a booster seat (wish I would’ve seen your vinyl tablecloth idea first)!
We’d love it if you’d link to this at our Friday Fun Find party! 🙂
Yes please! I actually just ordered oilcloth to make Burke a booster seat (wish I would’ve seen your vinyl tablecloth idea first)!
We’d love it if you’d link to this at our Friday Fun Find party! 🙂
best part, you can find holiday table clothes like this and just make one for all of the season 🙂
thanks for sharing~
Great work,good thinking,novel idea!!Andrea in Ireland
Great work,good thinking,novel idea!!Andrea in Ireland
So cool. Great instructions!Thanks!
I Love these! Great idea! I think we have the same table and chairs as you too! 😛
Great idea!! Thanks for sharing!
what a great idea! (and we have the same table and chairs)
Great job! I featured this at somedaycrafts.blogpsot.com!
Love all the things you can do with a vinyl tablecloth. Great idea. Cute kiddo.
looks great and simple.. but why vinyl tablecloth? can i use normal cotton? or poly cotton?
I first saw these on UCreate (now they’re everywhere!) and I love love LOVE this idea. I have been saving some vinvyl tablecloths for something, I just didn’t know what!
Thank you! Thank you!
I am so stealing this idea. Perfect for travelling, too, I would think. Thanks for the great idea 🙂
The colors you picked are so fun! Thank you for sharing so many great ideas.
Oh, I so can’t wait to try this! I have two toddlers who would love this!!!
Love the stinkin’ cute nakey picture. Those are the best! Thanks for sharing your ideas with us!
You’re amazing! You’re 33 weeks pregnant and still going strong with your blog! I’m in awe of your skills! I’m going to try making these for my daughter and niece and nephew. Thanks!
You’re amazing! You’re 33 weeks pregnant and still going strong with your blog! I’m in awe of your skills! I’m going to try making these for my daughter and niece and nephew. Thanks!
Would love it if you would join me for my 2nd linky party going on right now!!
http://lifeinmypjs.blogspot.com/2010/06/pajama-party-2.html
~Ela
I really like this idea. I’ll have to give it a try!
Love this, what a great idea! I love that they look great while being useful. The perfect combination.
Love this, what a great idea! I love that they look great while being useful. The perfect combination.
What a great idea! I will have to try this if # 2 ever comes along! I love it!! Thanks for sharing such a cute idea!! 😉
oooo I am going to add a handle on mine since I know they will be taken all over the house!
Fantastic idea and so cute! Thanks for sharing!
Abigail
These booster seats are such a great idea! I am going to have to make them for my 2 youngest children. I just came across your blog and am so excited I did!
-Angie
These booster seats are such a great idea! I am going to have to make them for my 2 youngest children. I just came across your blog and am so excited I did!
-Angie
I think it is really cute! I need one for my little boy. Thanks for sharing! 🙂
I think it is really cute! I need one for my little boy. Thanks for sharing! 🙂
I once made this with gusset, but i love this way better, faster and easier, can’t wait to make one soon, thanks for sharing this …..
I first saw it …..it’s very good idea and look great
and useful for me.
thank you for your sharing (Great tutorial).
Your gorgeous tablecloth prints make ME want to sit still and eat! :>) Very, very cute – I linked on my weekly roundup – thanks for sharing!
This is so AWESOME!! I am totally going to make a couple for my kids! Thanks for the spectacular idea!!!
This is so AWESOME!! I am totally going to make a couple for my kids! Thanks for the spectacular idea!!!
I just found your blog. I l.o.v.e. this! It’s awesome and I can’t wait to make my own for my daughters. They are going to love them! Thank you so much for sharing! I look forward to following your blog and being inspired more!
I love this so much – i’ve been looking for something like this but cant seem to find anything anywhere – I’m going to make one! You’re very inspiring! 🙂
I featured this over on my blog great idea
http://mayshomemade/blogspot.com
Such a great idea! I linked to your tutorial on my blog for my Saturday Pattern Sharing.
So I tried these out and they work GREAT!!! Thanks for posting the pattern. I just wanted to say that I stuffed mine with old grocery bags instead of polyfil, and they are fantastic. Gives it a little more body and support for the short kids, with just enough cushion. Love your blog!
Thank you thank you thank you!!! I am just learning to sew (as in “never too late to teach an old dog…” :-P) and your tutorial has been amazingly easy for me to understand 😀 (Although, must admit managed to cut first piece wrong way… O_o). Loving them; made 2 already and have 1 more to go for my son. Might make smaller ones for us too 😉 XOX
OMG these are soooo awesome!! I will for sure be making some! thank u so much, brooke
brookedouglass@yahoo.com
Girl Boy Girl Inspired
Really cute! I’m featuring it on my blog:
seemesew.blogspot.com
Oh my garshk, I just discovered this tutorial. I soooo need to make these for my homeschoolers who need boosted to ‘puter height for keyboarding at the dining room table. Questions…do you think it would work the same with fabric (measurements, etc.)? Also, I might add those non-slip shower stickers to the bottoms to keep them from sliding (question being, is sliding an issue?) Finally, do you think I could use a foam form for greater firmness??? Thanks much.
Hi Toni!
Yes, they probably would work just as well with fabric, I just used the tablecloth because of wipe up issues with food, they do no slide around on my chairs! I would think you could use foam but you want it to be pretty firm. I used the polyfil because it was much cheaper and I could stuff it pretty firm! Have fun making them!!!
Thanks so much for your response. I *love* how simple these are and they look MUCH better than traditional booster seats.
Blessings,
Toni
I LOVE this idea!! My only question is do the cushions slide on the chair, my husband thinks I should try to add a wooden flat piece under the bottom to keep it from sliding. I think it would wobble since the seats are not flat like the board would be…can you help our debate 🙂
Oops, here’s my email…
mallorie_1985@yahoo.com
I love this! May I feature it on SewCanShe.com? please drop me a line to say yes at caroline@sewcanshe.com.
Thanks!
Thanks for the super simple but wonderful idea and easy to follow tute. I made two today and am hoping to phase out the phrase “bottoms down” from my parenting vocabulary.
Here is an idea, place a piece of the shelving that comes on a roll under the seat, then it shouldn’t slide.
Awesome! I just bought a vinyl tablecloth hoping to use it for a sewing project and this is awesome! I saw a similar project using oilcloth in a sewing book I got from the library but this simple tutorial is wonderful!
Still waiting to hear if I can feature this on SewCanShe.com. Please let me know! caroline@sewcanshe.com
Thanks!!!!!
Thank you for this great idea, Maggie!!
Found you via SewCanShe- this is a fab project! Love your simple instructions- thanks for sharing! Hope you have a great week 🙂
I got your tutorial from SewCanShe’s blog. Thank you for sharing. Here is the one I made…
http://www.flickr.com/photos/kathygrom/7298080124/in/photostream
LOVE THIS!! I have two little boys and another on the way. Didn’t want to buy another high chair or booster seat and this solves that problem! Plus, they’re so cute! (And don’t worry about the naked baby..My 2 1/2 year old loves to strip and sleep naked. We wash a lot of bedding here.)
Great idea and tutorial!!
Just what I was looking for! I’m going to make one for my four-year-old tomorrow. Our dining table is very high!
I am so excited to make these! I’m wondering if you could put some dots of puffy paint on the bottom to make them non-slip. Just another idea. Thanks for a great tutorial!
Thank you for this tutorial!! I made this as recommended with a vinyl tablecloth and later recovered the original boosters with the leftovers of that 1st tablecloth as my girls wore them out (poked holes in it, etc) I am ordering oilcloth to remake a 3rd time as these are fabulous, but the flannel backed vinyl doesn’t hold up to my kids.
These are brilliant. Just made one and works a treat. Thank you so much for sharing 🙂
That’s a really neat idea! Your daughter is adorable too!
These would be a good idea for older kids too, for floor and patio pillows. The vinyl tablecloths are great for easy cleaning at any age, not just the babies. They could be used for watching TV, playing video games, pizza parties, sleepovers and just general family living. They can be made any size, from booster seat to big-kid-on-the-floor size. Very nice tutorial. Thank you
Fantastic idea. I’m going to adapt this for my husband – nope, he can reach the table – just!!! However, he complains that he can’t lean against our headboard as it is metal – I bought a pattern to make some cushions for him to lean against but these instructions are much easier and probably more effective AND vinyl is wipe clean so any hair products etc that leave a mark can be easily removed. Would never have thought of using a vinyl tablecloth in sewing – what an inspired idea. Love this website/bloggy-thingy! thank you, thank you, thank you!
Hi, thanks for the tutorial, I love your cushions! I stuffed mine with a square of upholstery foam and topped it with memory foam ‘worms’. My vinyl keeps tearing where I’m hand sewing. How do you stop this from happening? I’ve ended up securing my 4th side with velcro, which isn’t ideal once the kids discover they can open it and pull out all the stuffing…
Hi Emma!
Oh no! I didn’t have that problem so I’m not sure what to say…maybe change your needle out to a smaller mending needle? Sorry I can’t be of more help!
Love,
Maggie
Hi there!! Im going crazy and I hope you can get back to me soon. I have done exactly what the directions say and have gone over and over it again, but mine isn’t turning into a ‘box’ and I feel like the measurements of 4.5″ in on the edges is wrong….I can not figure this out!! any help would be appreciated.
Thanks
Heather
Hmm, I am not totally sure why this is not working out for you Heather. The measurements have worked for many others who have made these booster seats. Can you give me more info so I can try to help?
Love,
Maggie