*This post is in partnership with Nickelodeon. All ideas and content are 100% my own, as usual.
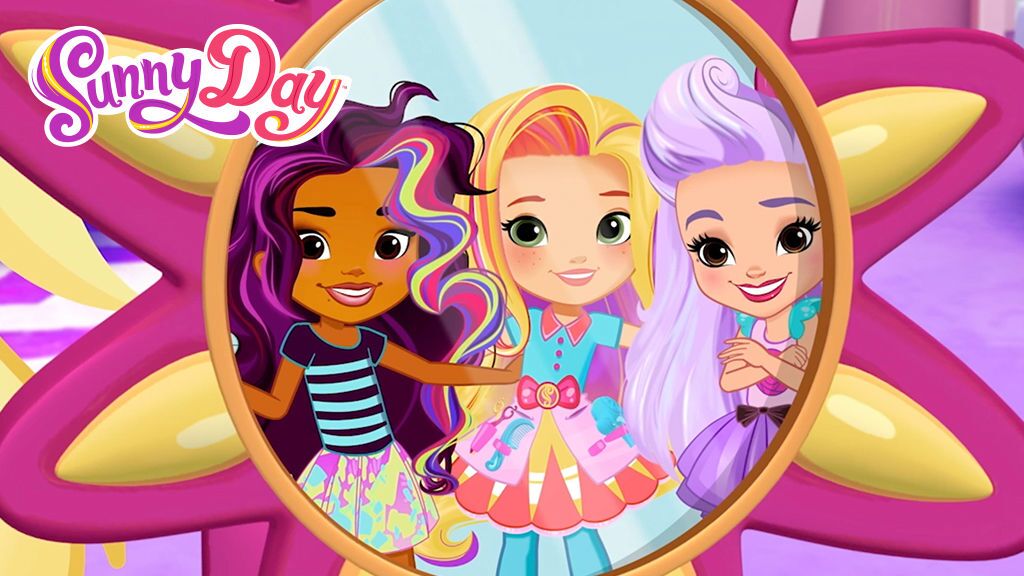
If you have little girls, you will want to learn how to make these cute Braided Ribbon Hair Clips! They can be made in so many colors to match just about anything and are inspired by the cute kids show, SUNNY DAY. You can watch Sunny Day weekdays on Nickelodeon.
My girls and I were inspired to create some cute hair clips after watching more than a few episodes of Sunny Day. It is a cute show all about Sunny Day who is a talented 10 year old and a master hairstylist and salon owner. With her friends Rox and Blair and a can-do attitude, Sunny is ready to save the day one hairdo at a time!
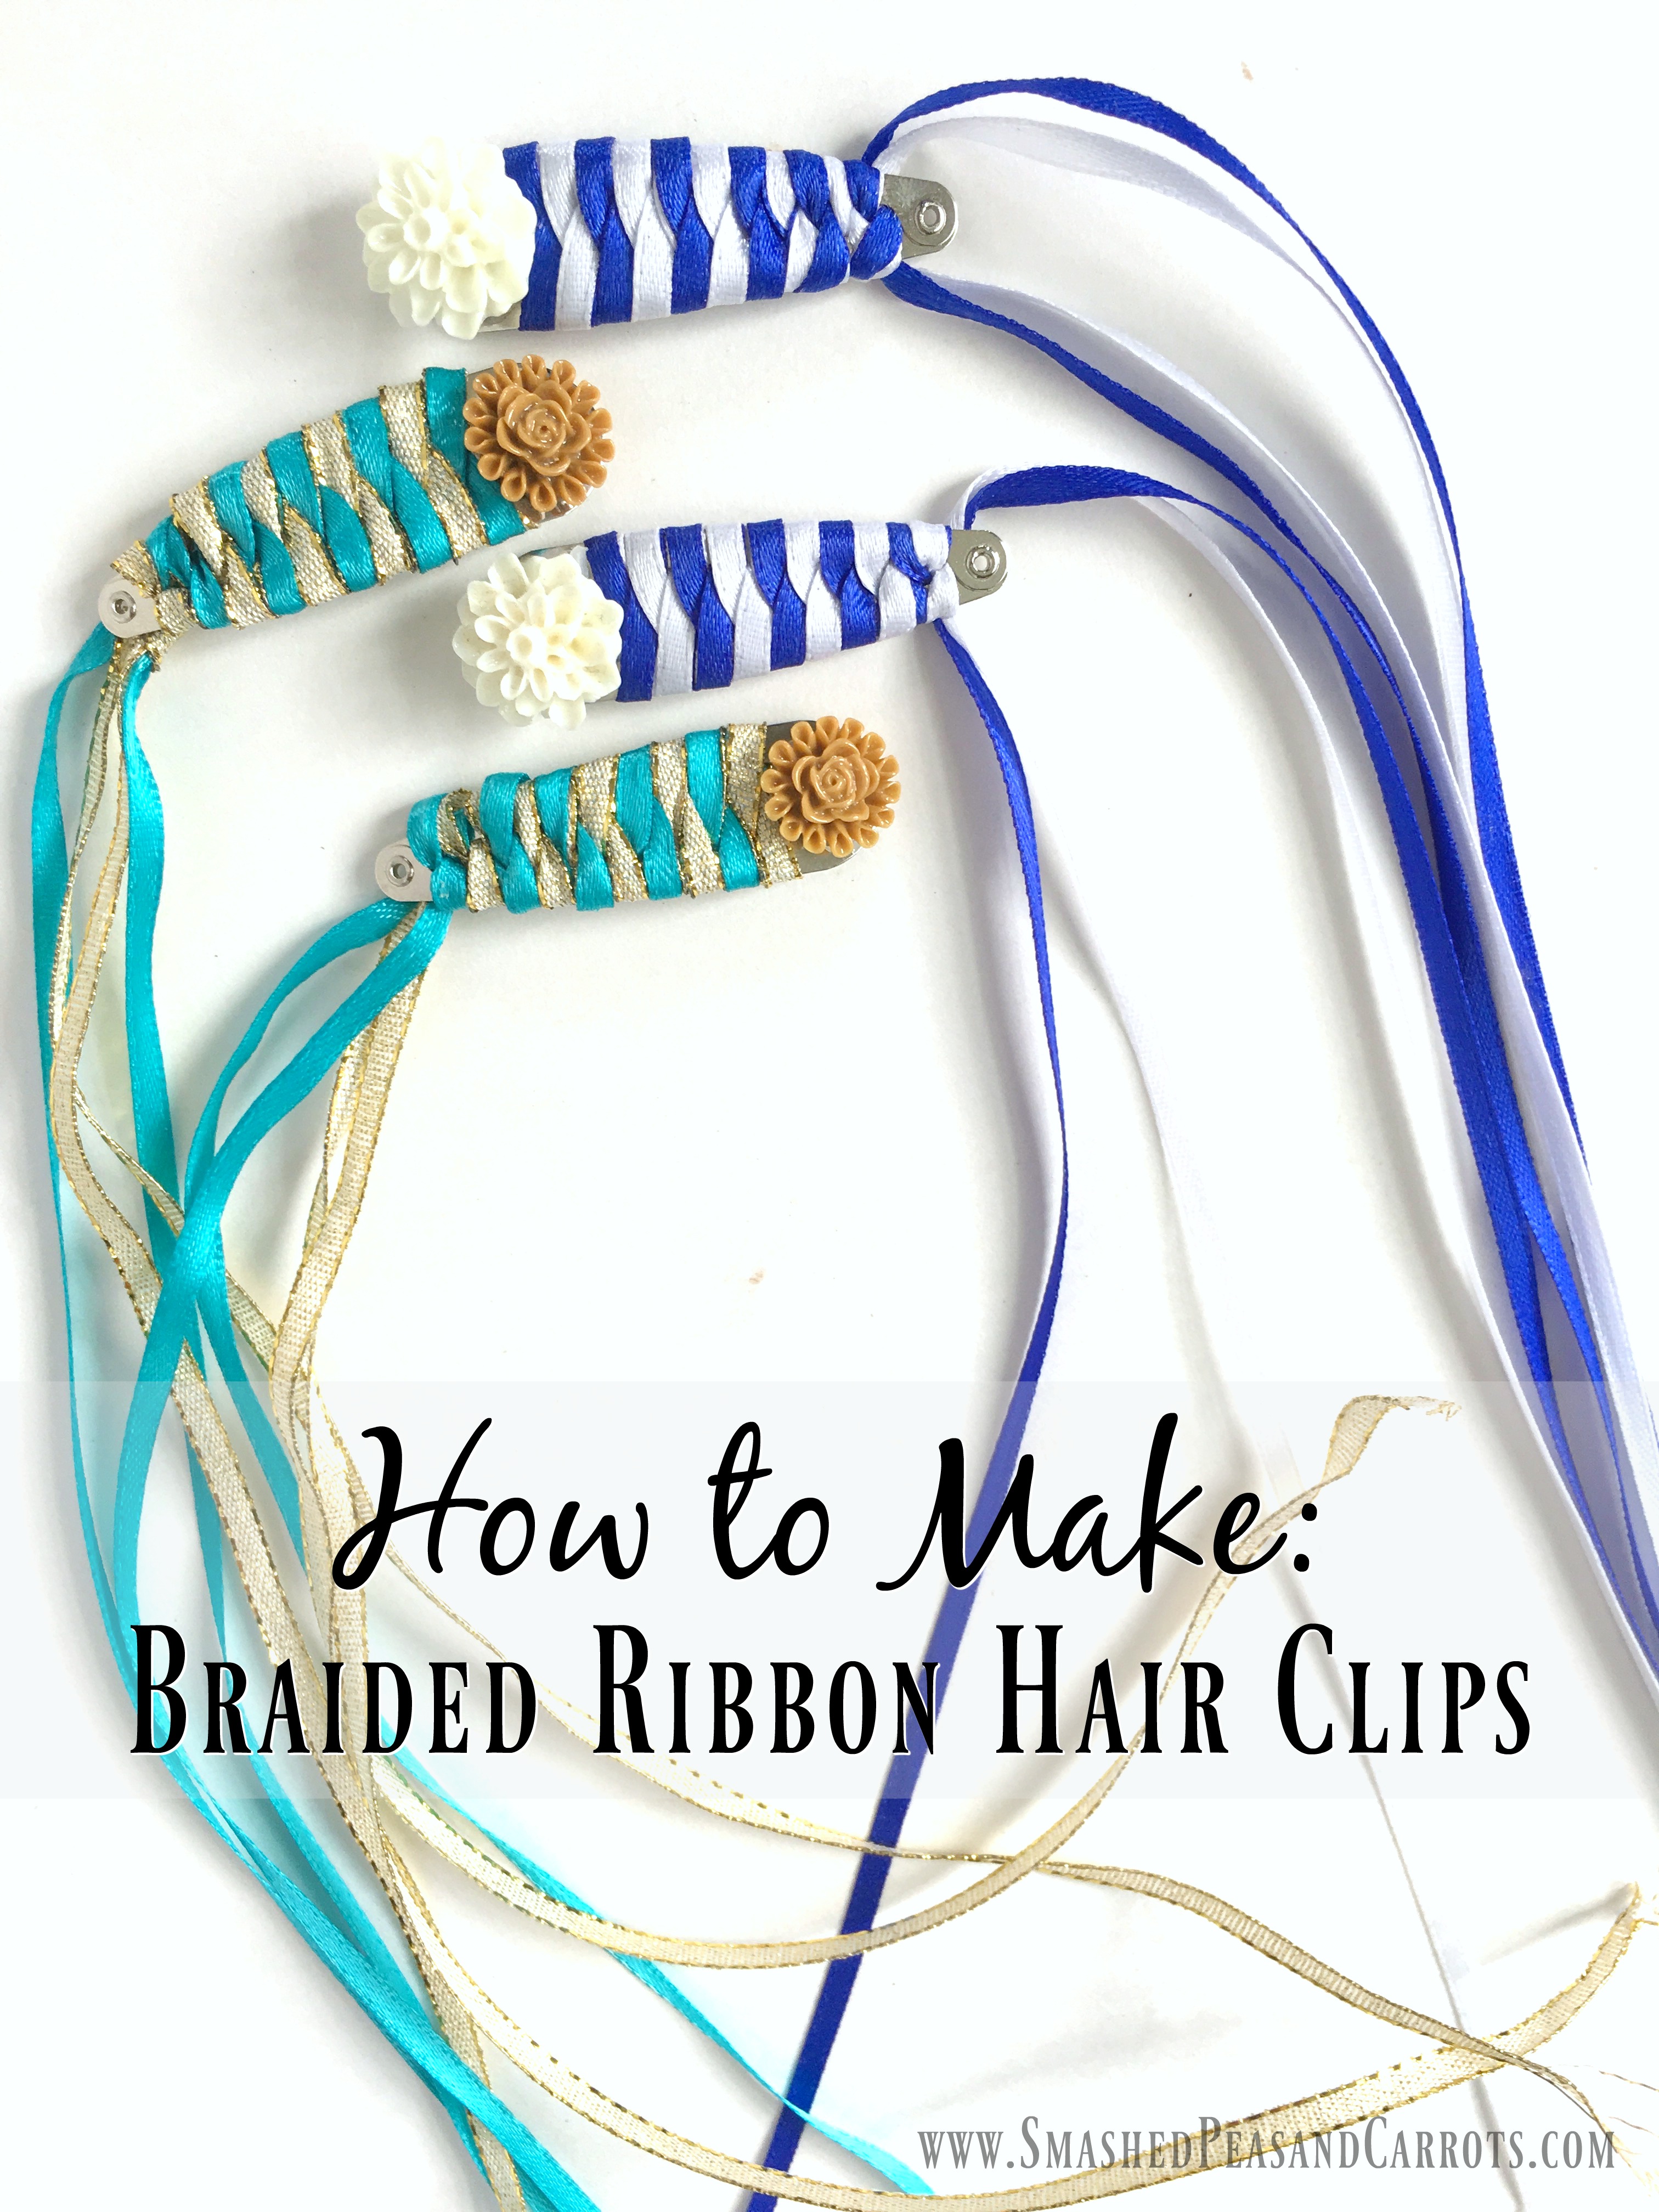
Having two girls, we are never short on hair accessories in our house! And now that my girls are old enough, we love to make them together, it’s easy fun on a weekend. We head to our nearest craft store (my girls’ favorite place to shop!) and then afterwards we head home to create all things cute while chatting about school, friends, and all their activities. If you know my girls, you know they are never lacking in the things to chat about department! 🙂
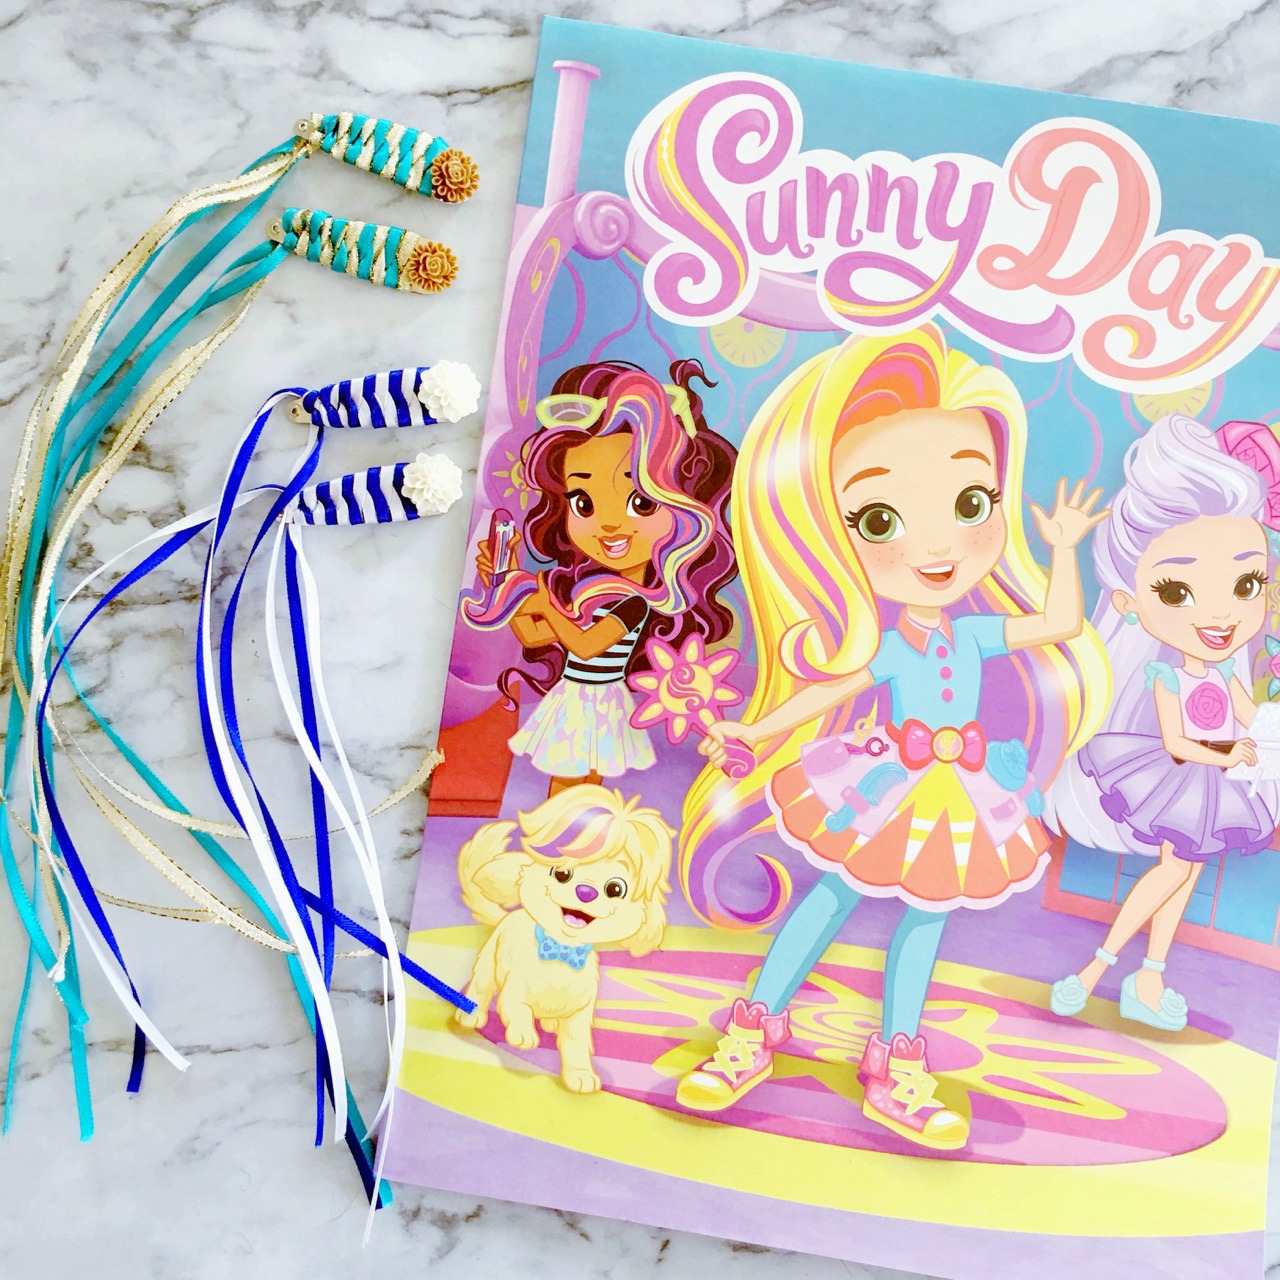
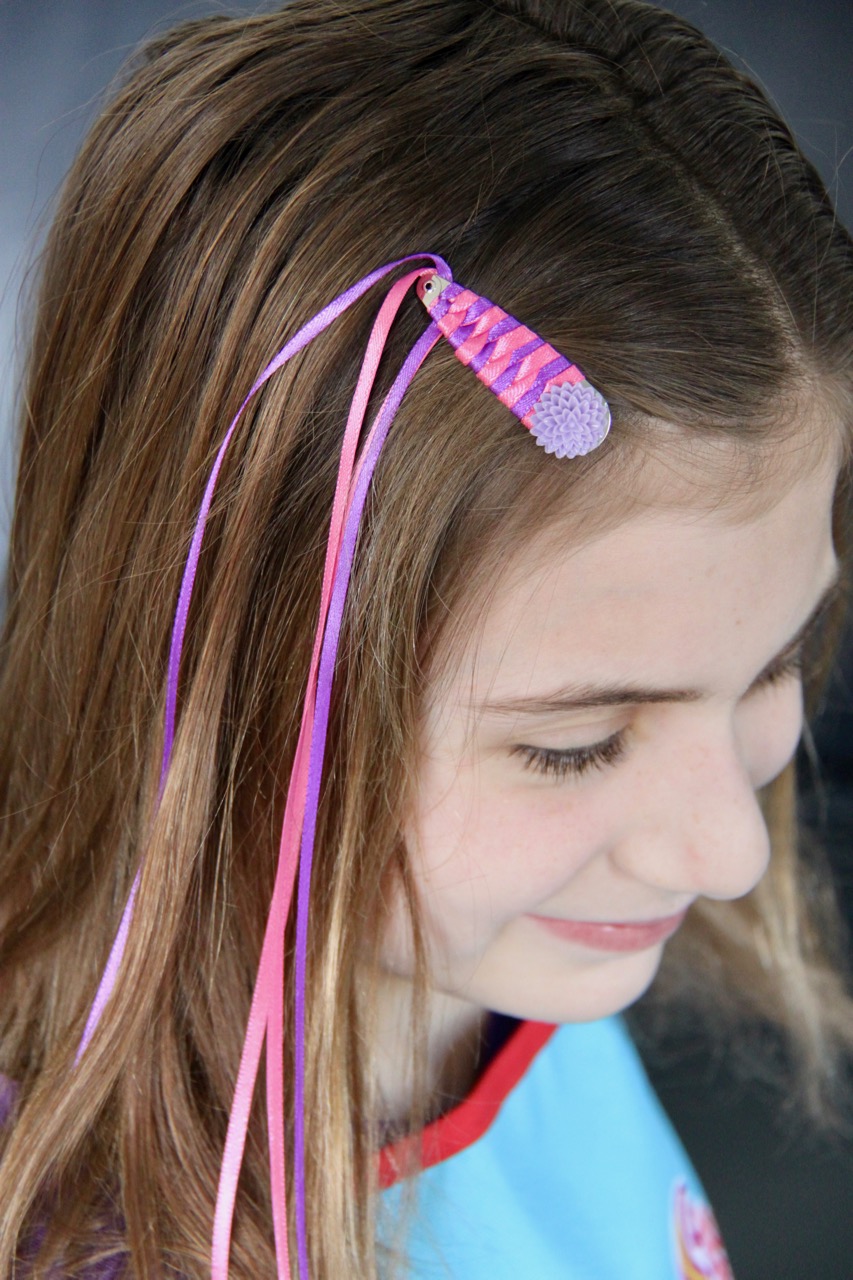 I mean, how cute do those look! My girls love the Braided Ribbon Hair Clips because they look like their hair has some fun color in it, which this momma also loves since it means no bleach and hair dye involved!
Braided Ribbon Hair Clips
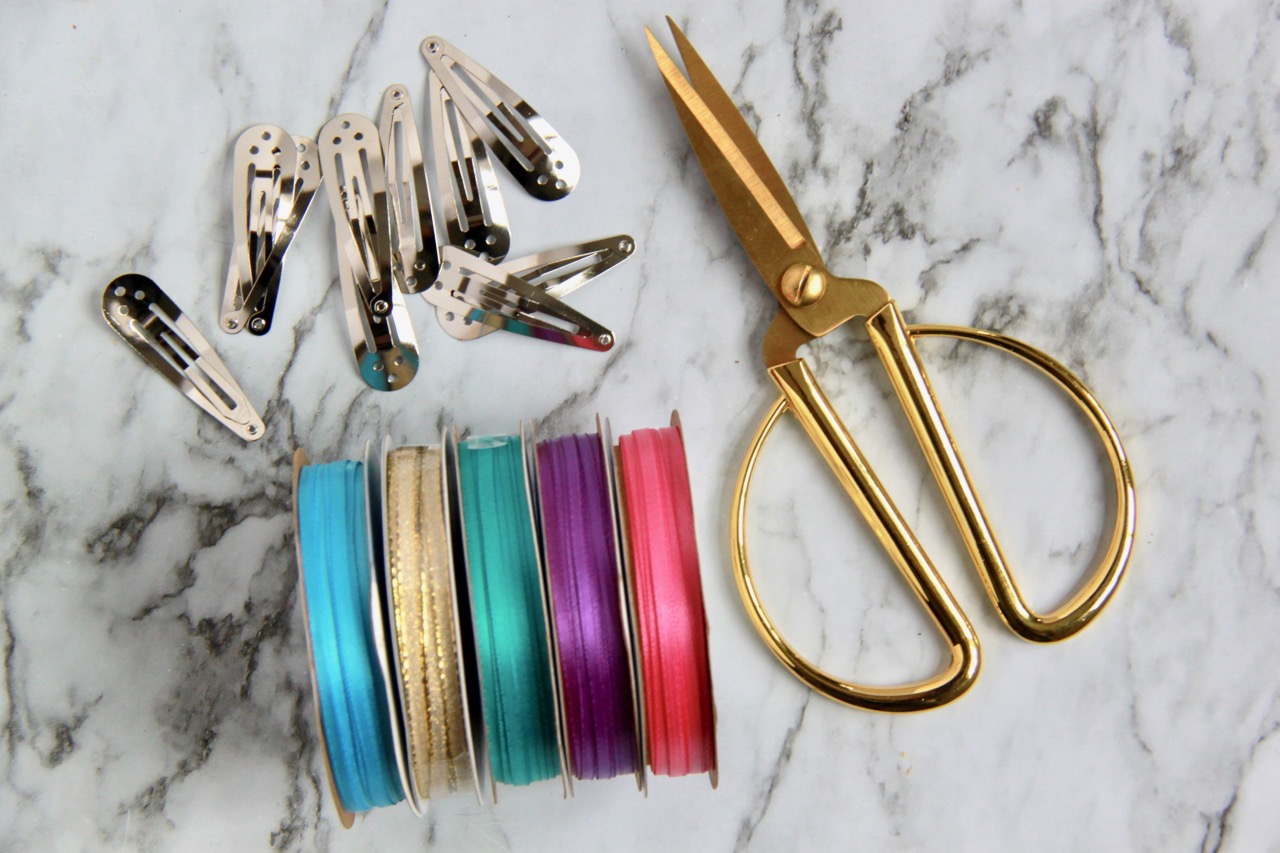
You will need the following to make your own:
- 1/8 ” ribbon (3-4 feet per color per clip, depending on how long you would like the excess ribbon to be!)
- Metal snap hair clips
- Scissors
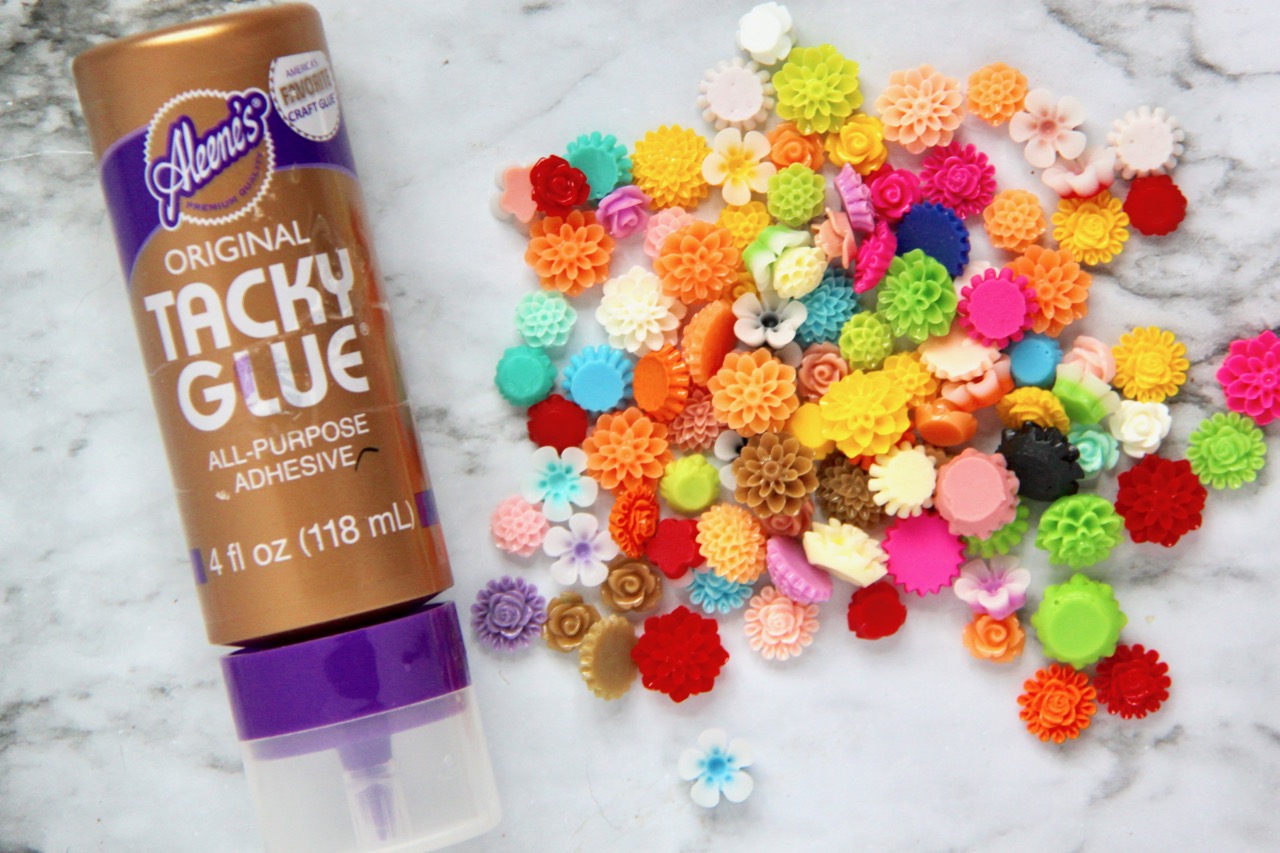
And if you’d like to add embellishments to one end of the clip, you will also need:
- Tacky Glue (or a hot glue gun depending on age of child)
- Cabochons or other cute embellishments
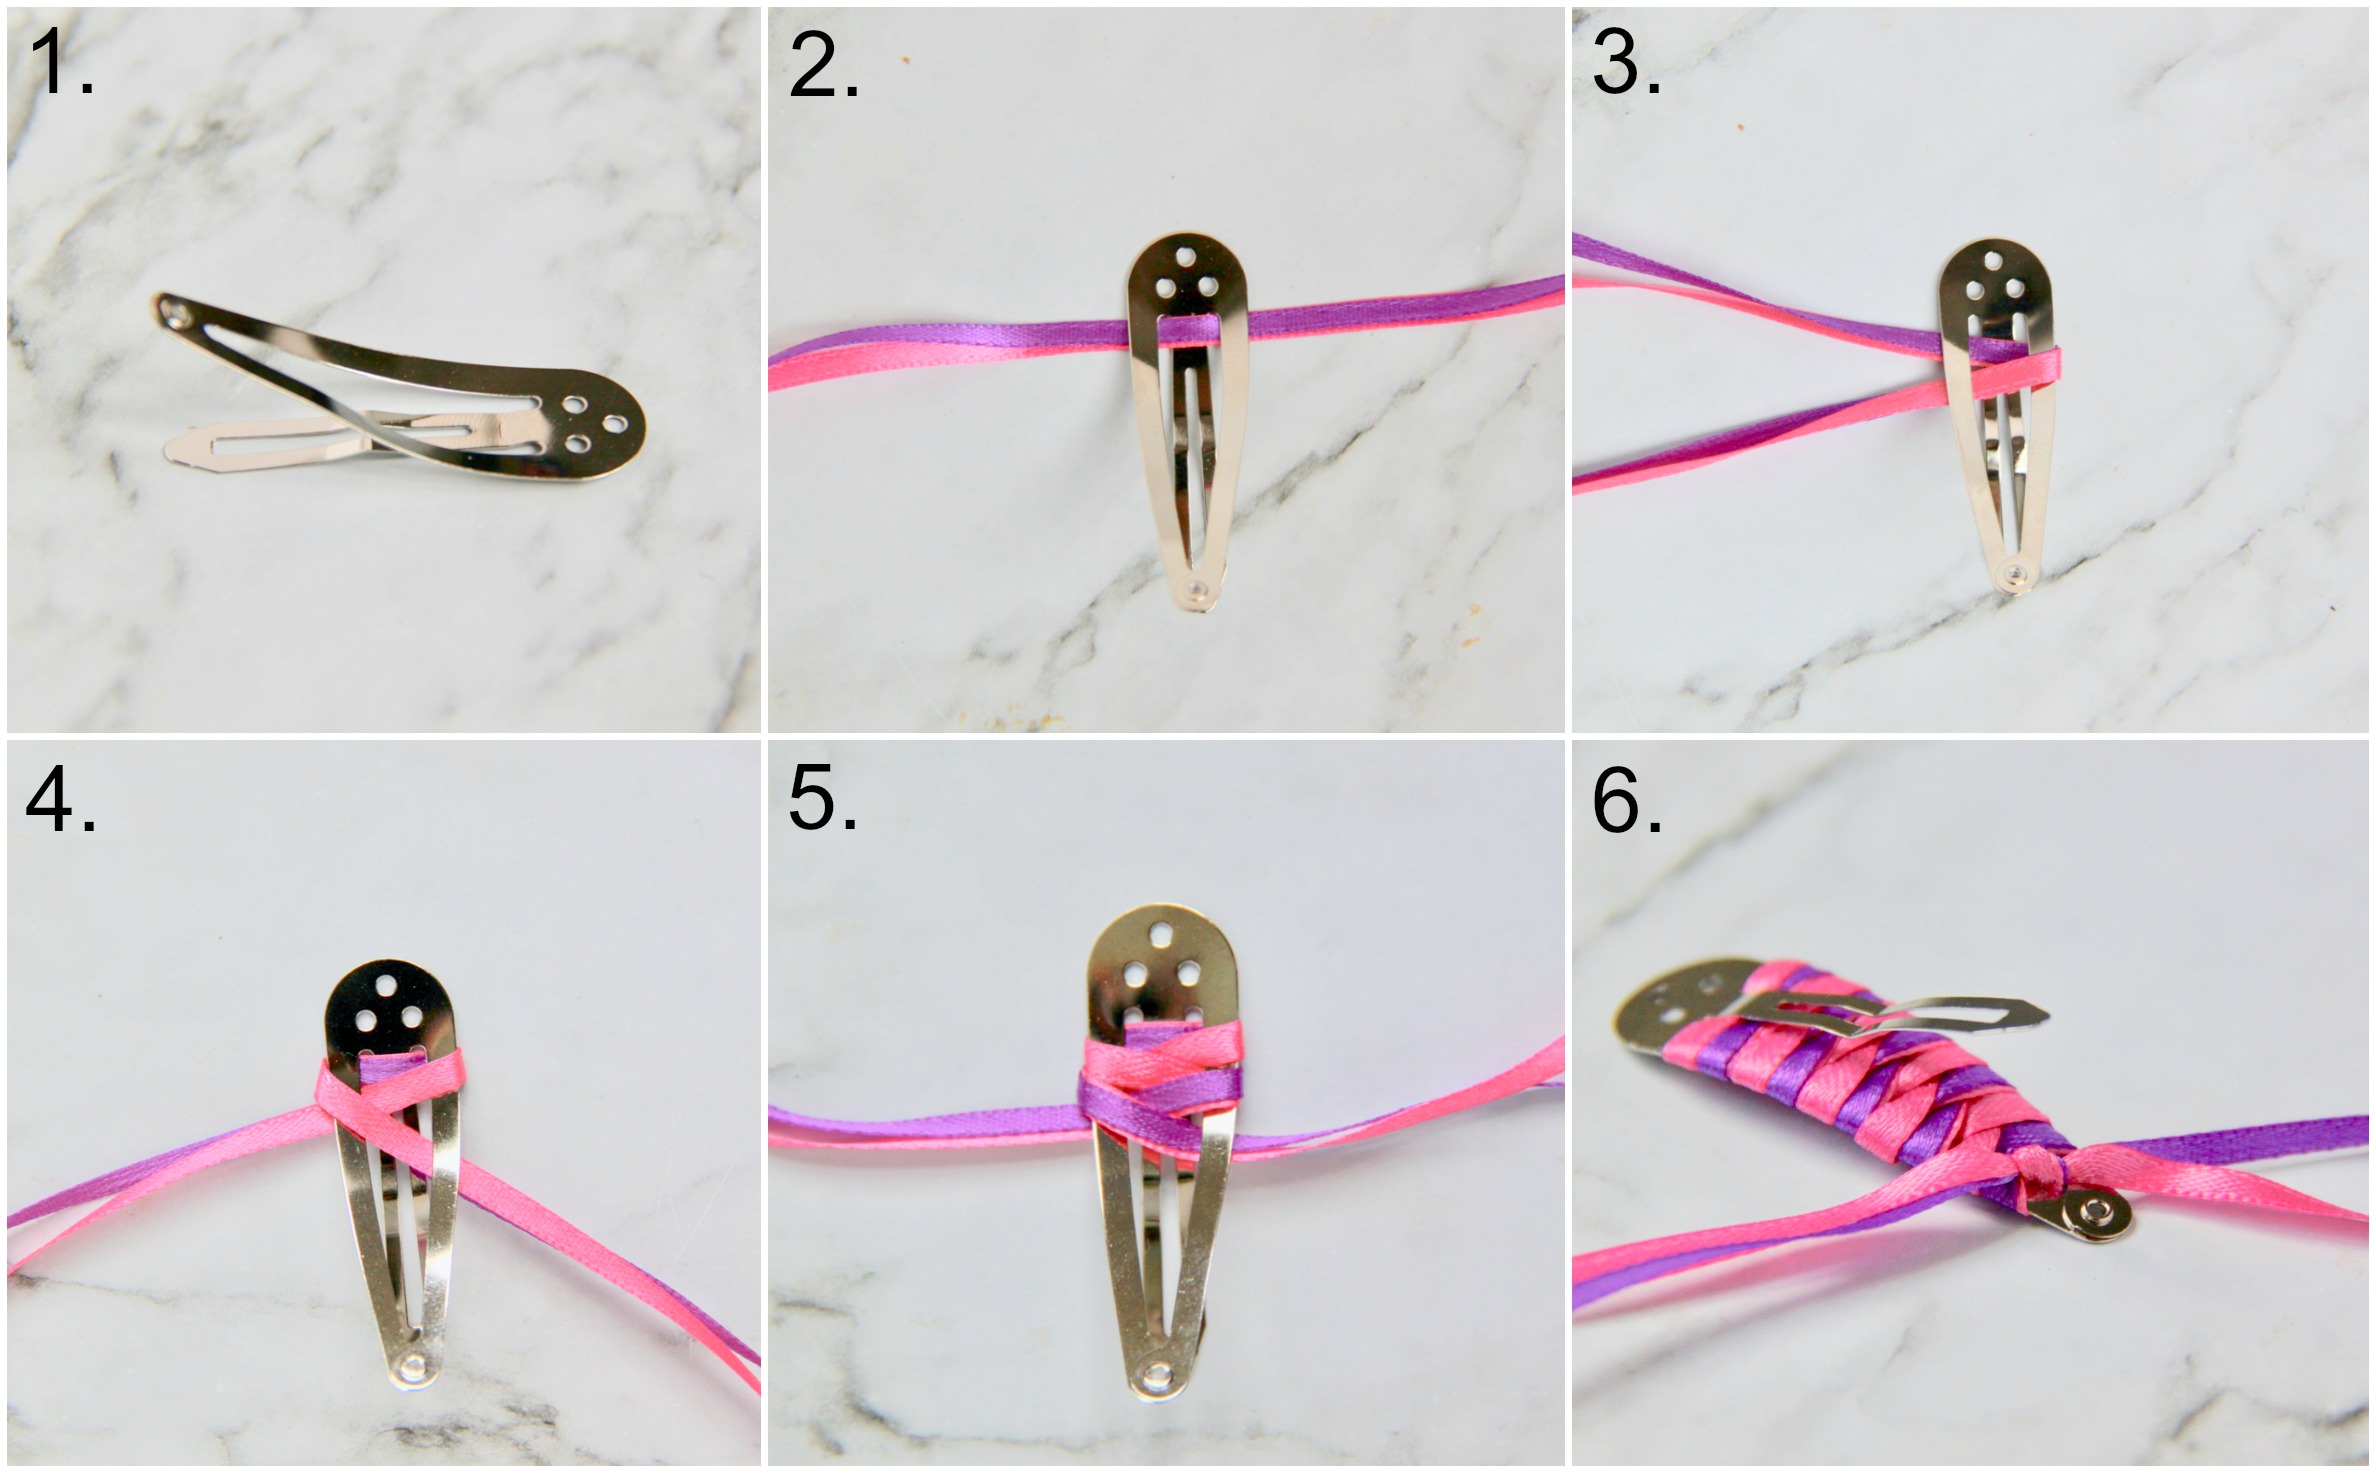
And here is how we make our Braided Ribbon Hair Clips:
- Open your clip so the larger side is up and the smaller side is down on your work surface.
- Place your clip open side down (facing you). Thread two different colors of ribbon through the top making sure they are centered on the clip and laying one on top of the other.
- Take the ribbons on the right side and pass them around the clip edge and then though the top of the clip on the opposite side.
- Do the same with the two ribbons on the left side.
- Now, do the same as you did in Step 3, note that now the bottom ribbon color will be showing on the top side.
- Continue doing this until you get to the end of the clip (we get about 10 rows of braiding). Tie the ribbons into a knot when you are finished.
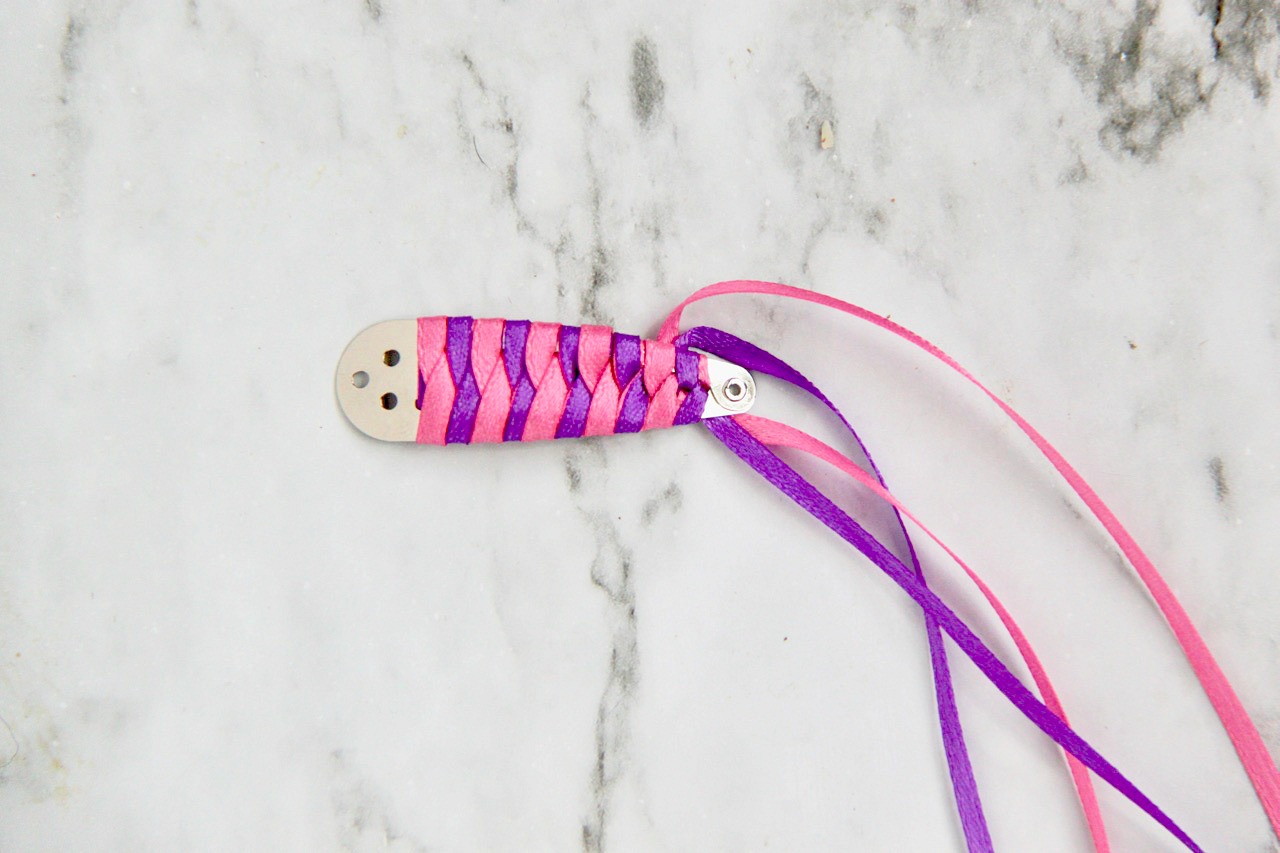
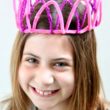
And when you are all done, your hair clip should look like this!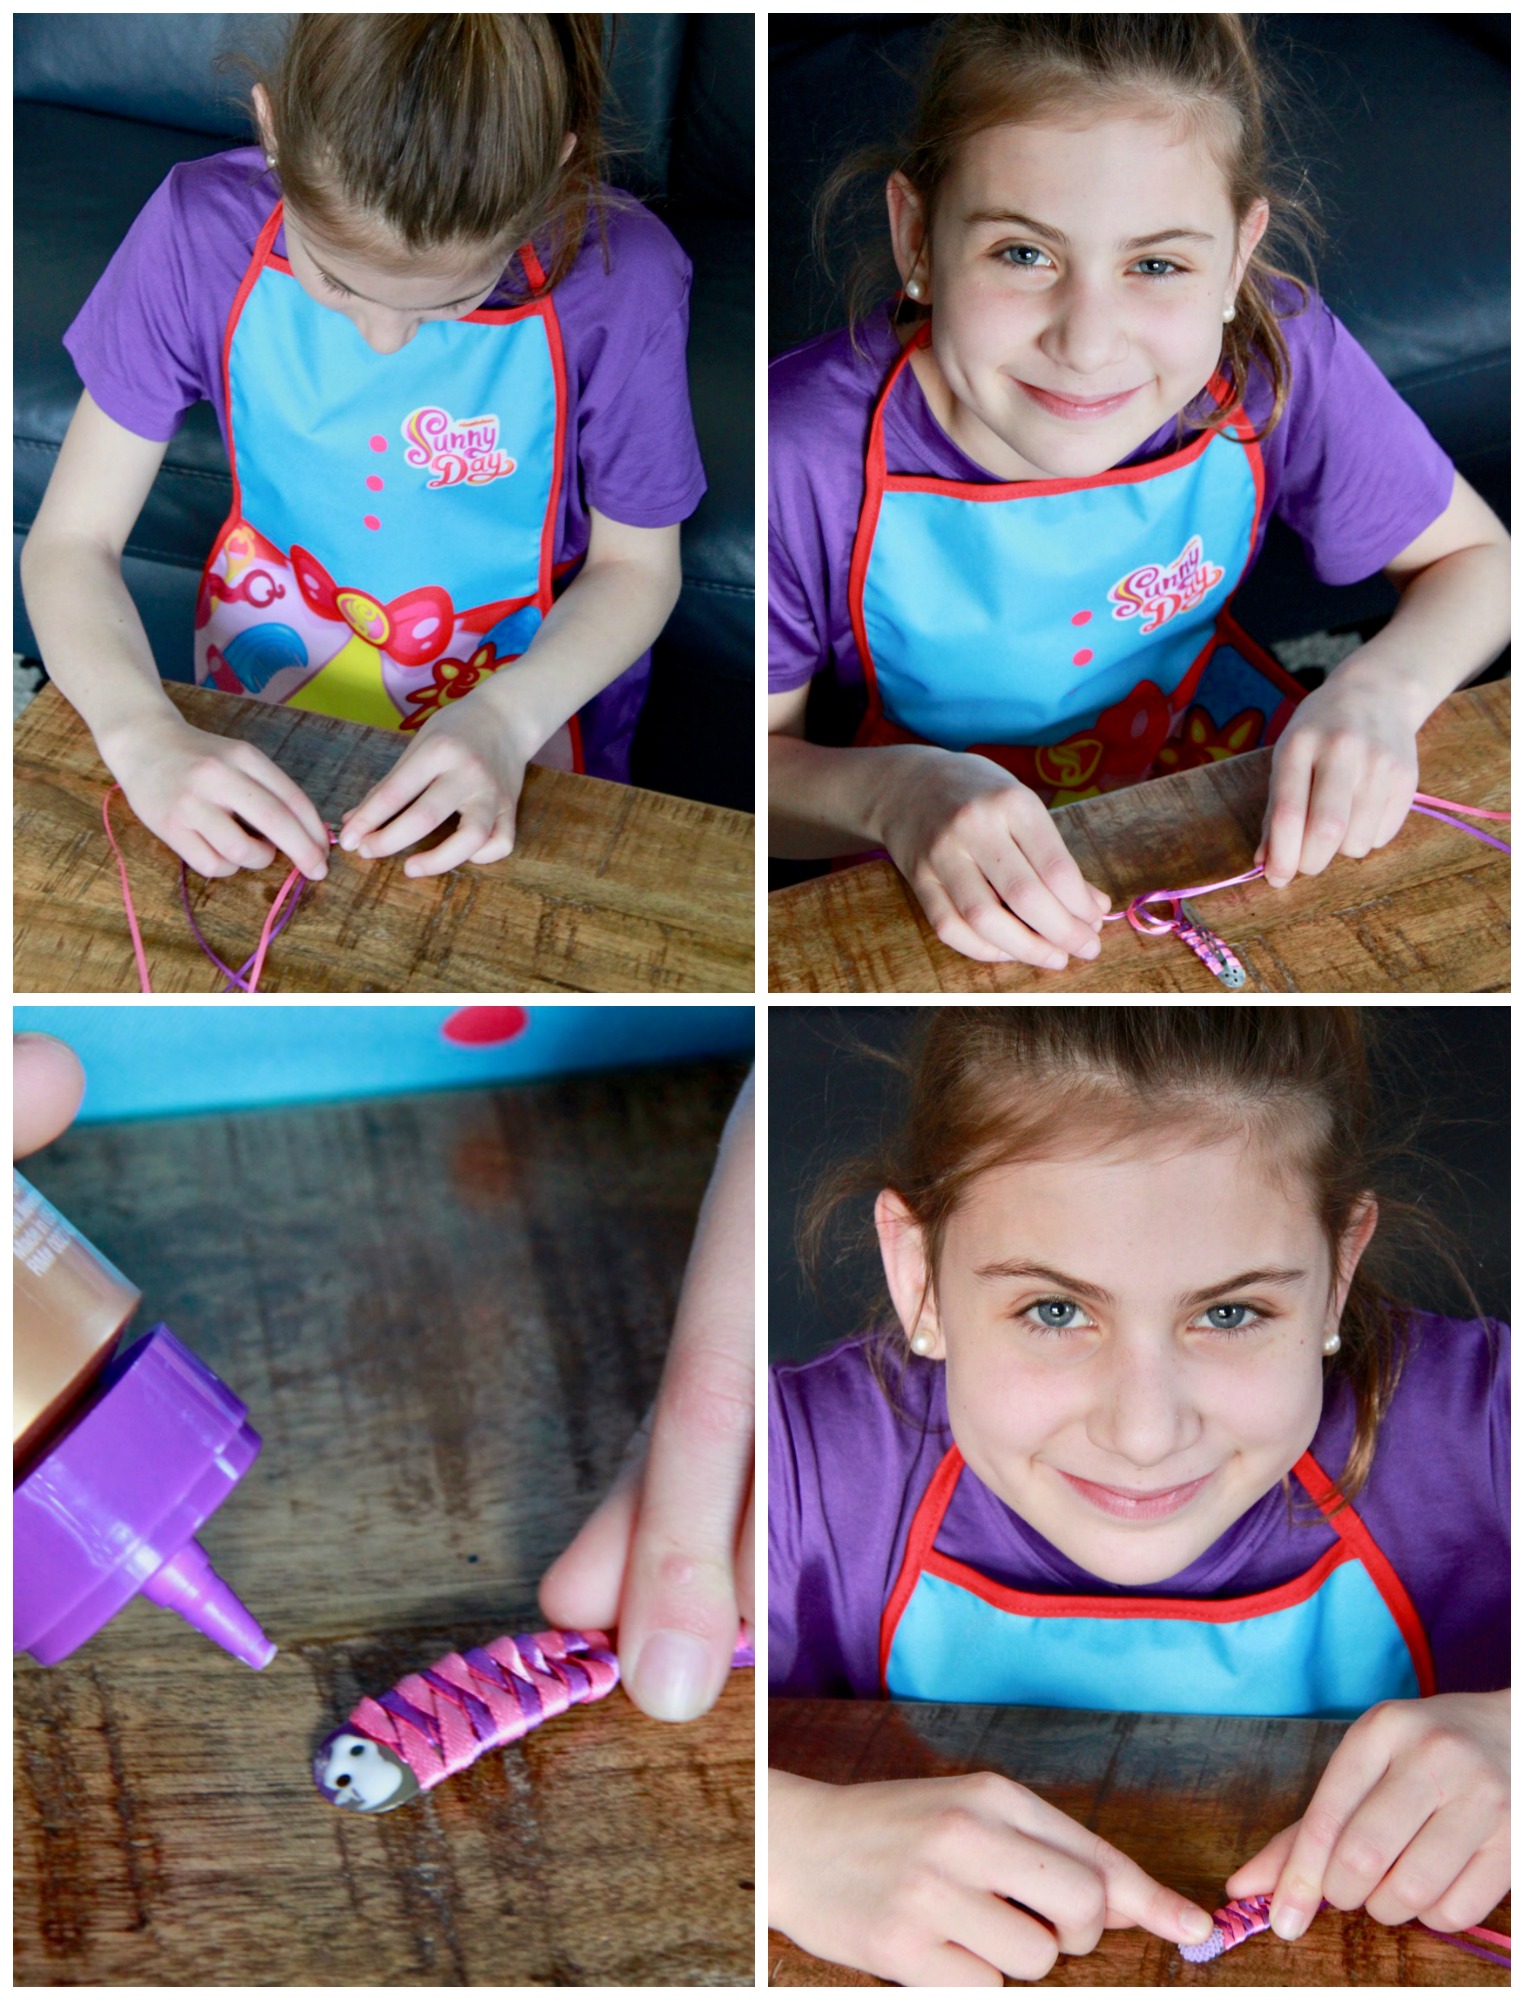 And here is my Penelope, crafting her heart out!
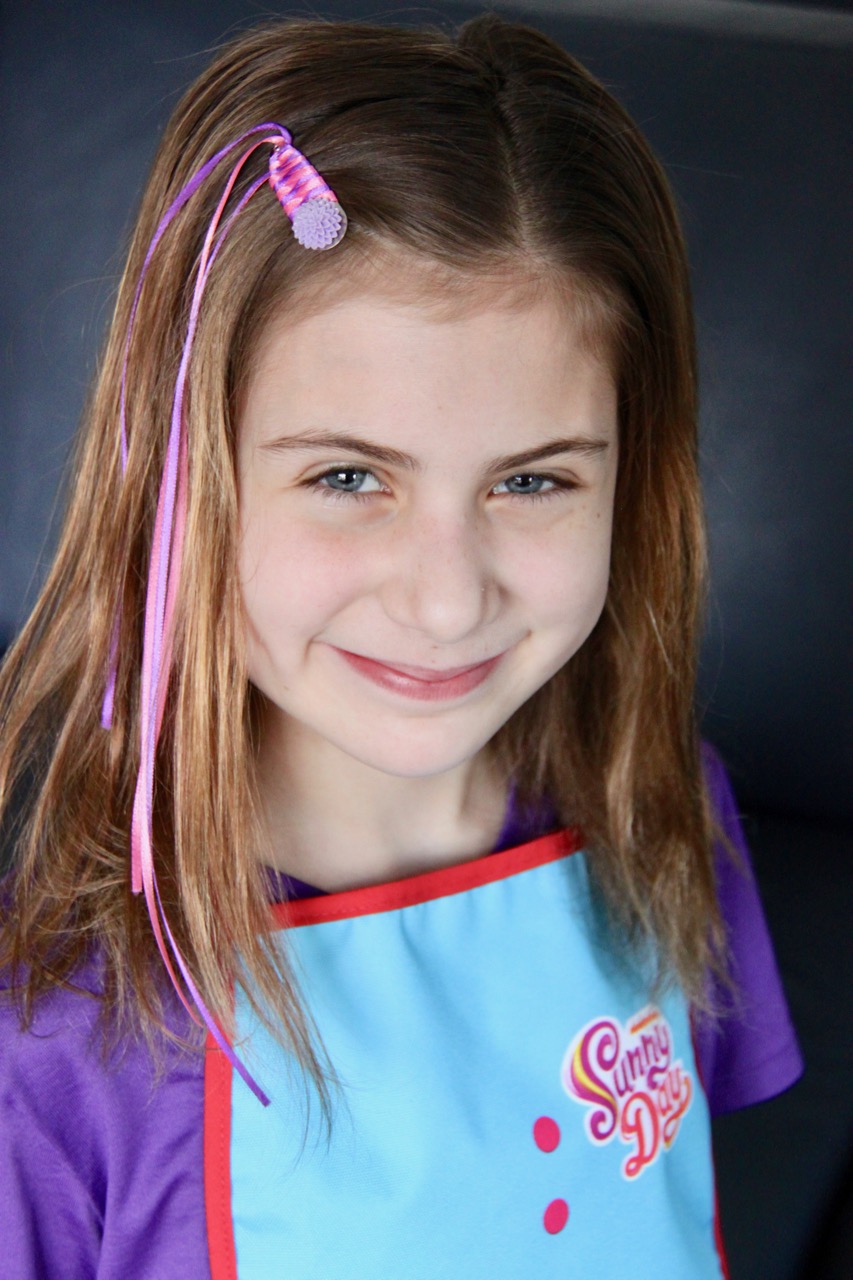
This looks like a school picture to me, I swear that background is just the back of my sofa!
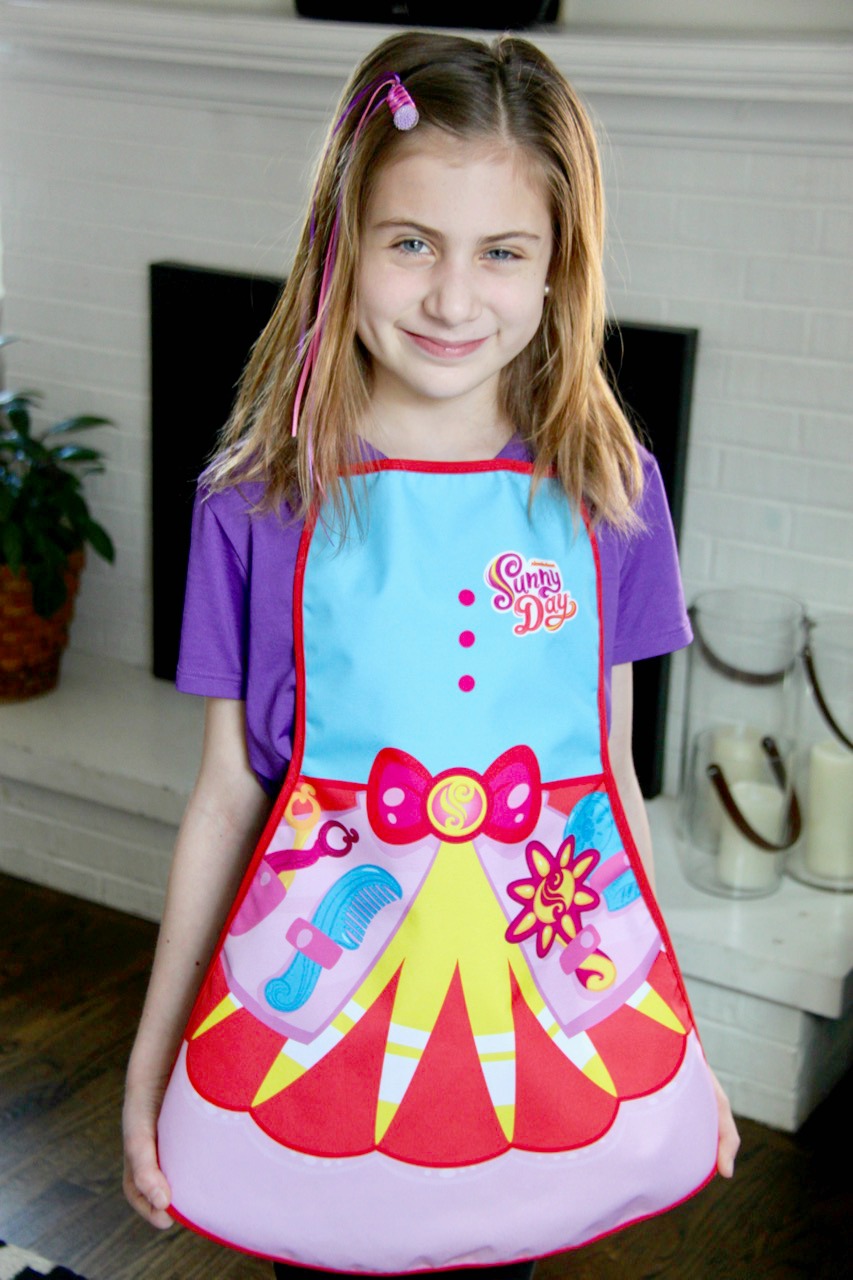
Have a Sunny Day! For more Sunny Day inspired styles check out the Style Files on Nickjr.com/sunny-day
For more easy recipes, crafts, tips and tricks please LIKE Smashed Peas and Carrots on Facebook or follow me on Instagram or Pinterest for more great ideas like these:
Thanks for stopping by today!
Love,
Maggie
