**Hi everyone! Here is my guest post I did over at KojoDesigns earlier this summer! Thought I’d post it here for all those who may have missed it!
I’m so happy to be here today to share some pink goodness with y’all! Isn’t this series so much fun…I love seeing all the fun, bright-colored projects that all these talented ladies keep coming up with, it suits my happy personality just fine! 🙂
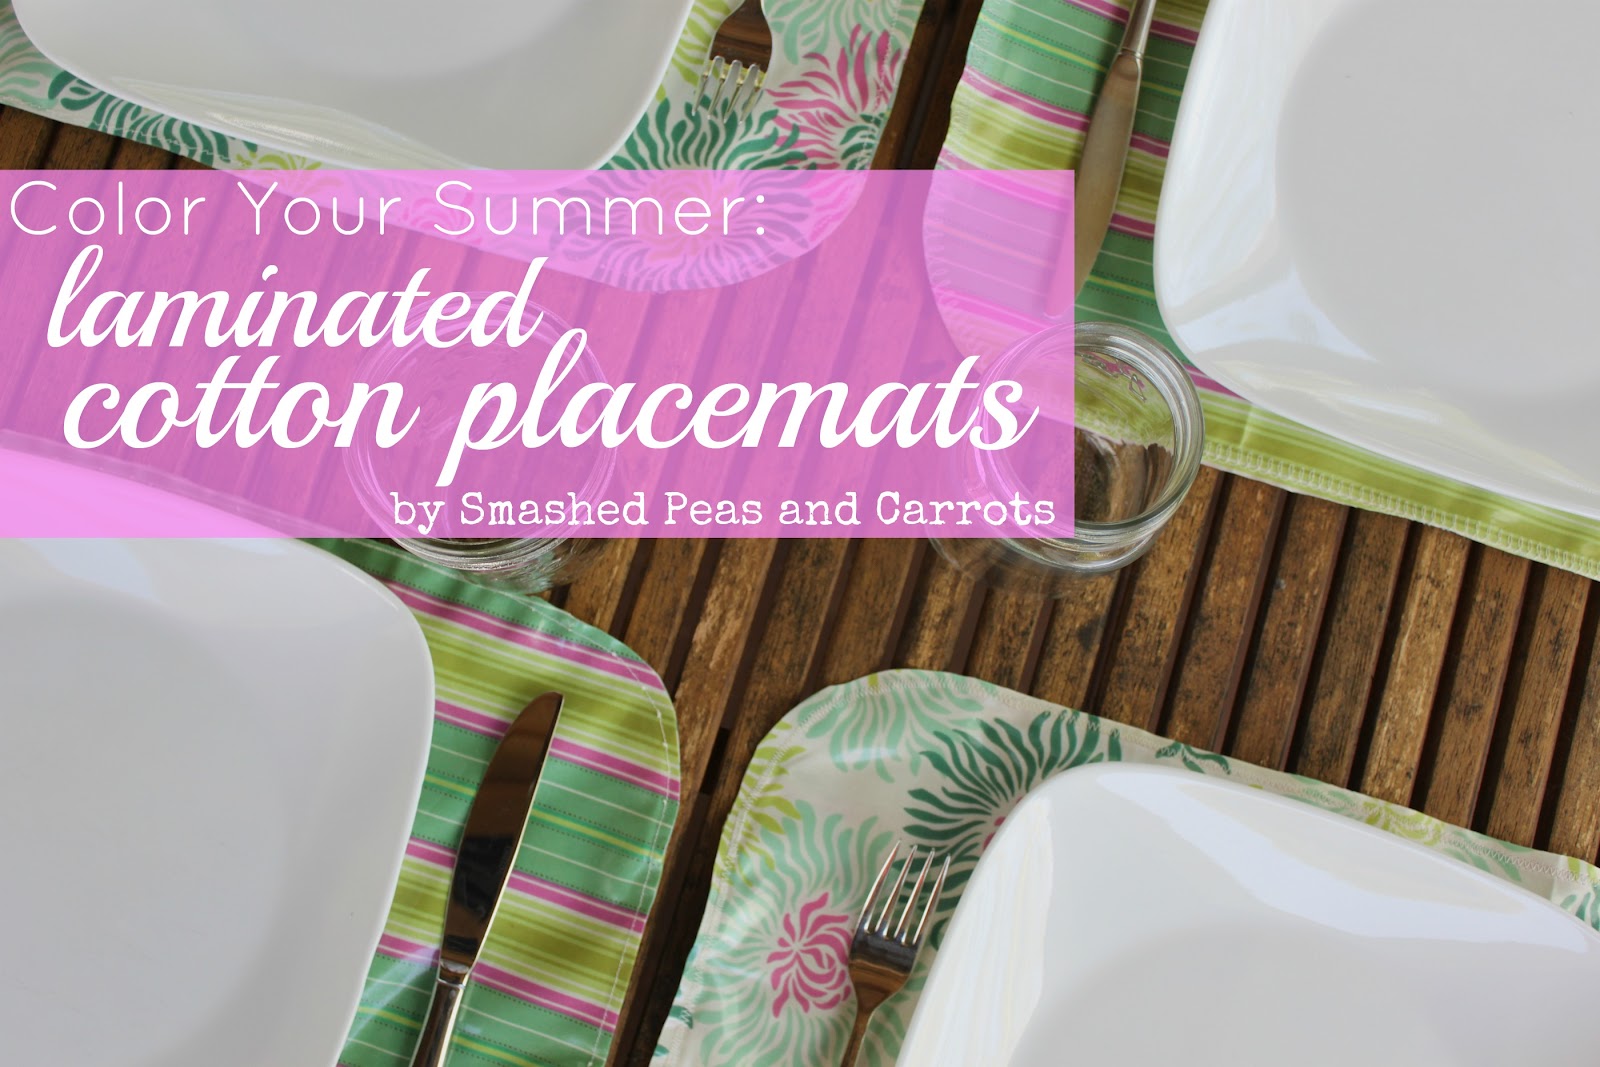
Today, I wanted to share a simple yet stylish project with you for making your own laminated cotton placemats. I love using laminated cotton as it wipes off dirt and messes easily and makes cleaning up a breeze. Plus it is a bit more food-safe than oilcloth so it works perfectly for this placemat project as well as things like baby bibs and tablecloths!
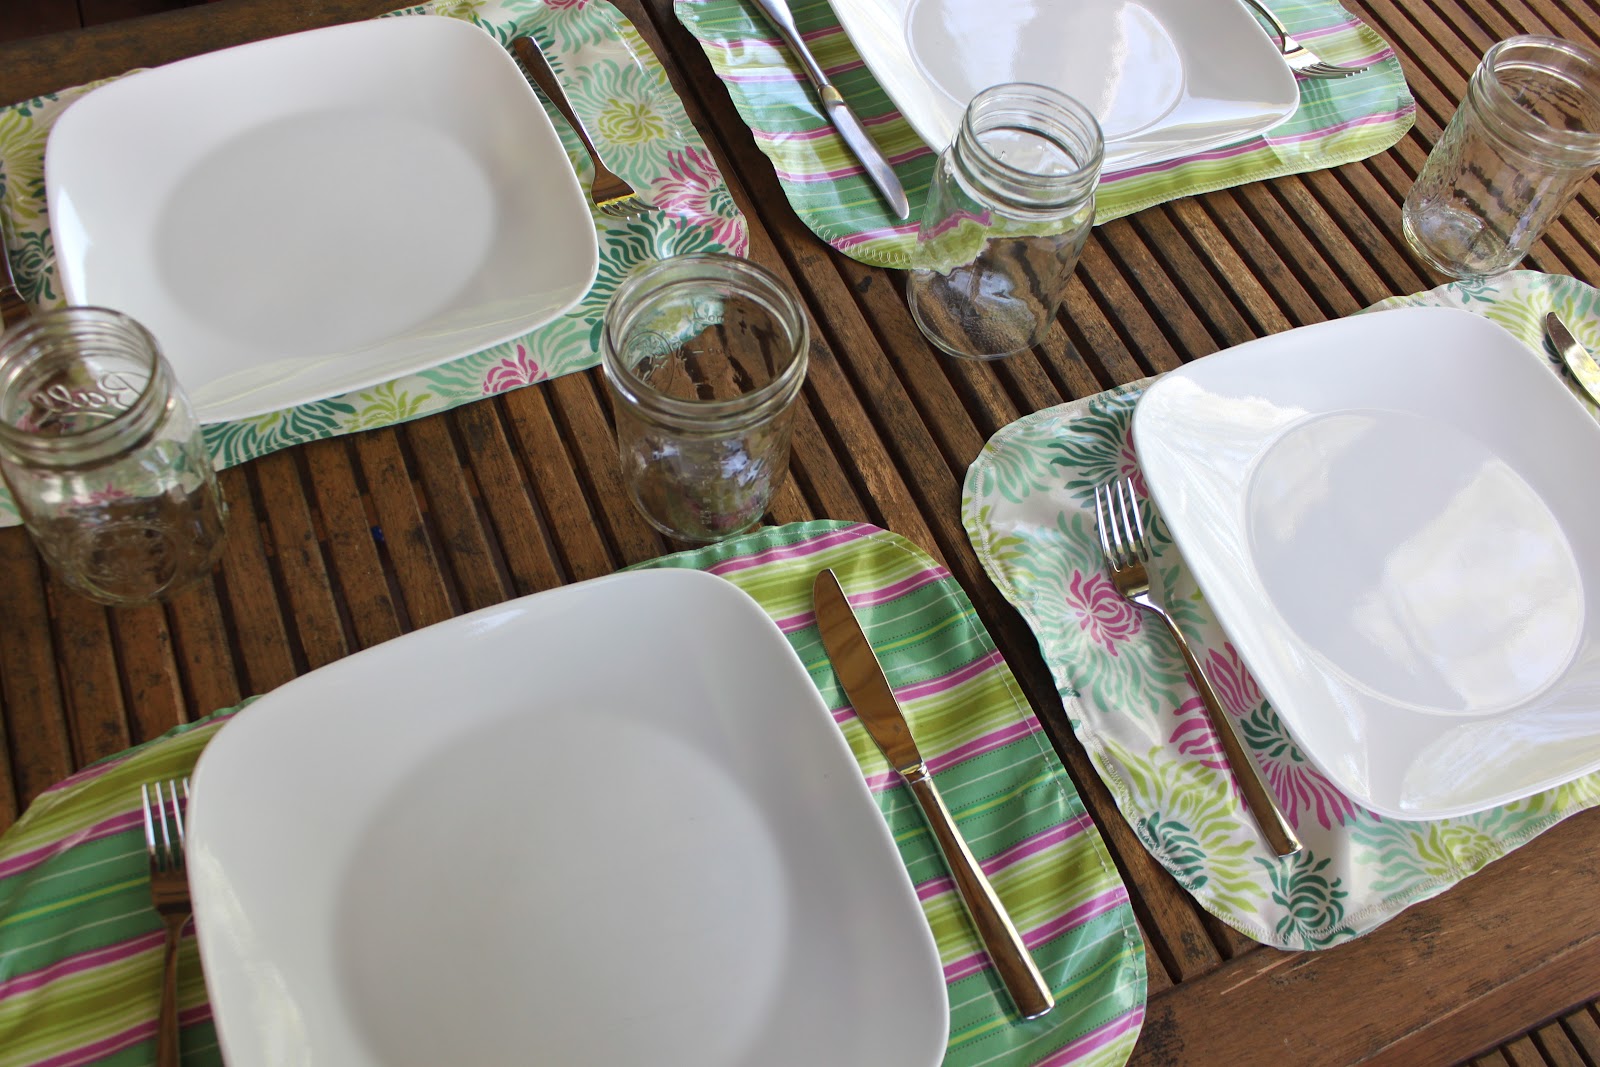
I love using these placemats when we eat outdoors (which is usually everyday in the summer!) especially with my 3 little ones and their messy eating habits! They are perfect to use as you just wipe them off and re-use them for breakfast, lunch, and dinner…no washing machine necessary, momma’s everywhere rejoice!
Let’s get started making a few, shall we?
Laminated Cotton Placemats (makes 4)
4 fat quarters of laminated cotton (in two coordinating colors if you want front and back to be different!)
microtex needle
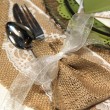
rotary cutter and self-healing mat
small bowl
thread

I used Heather Bailey’s Freshcut line for these particular placemats, I just love the pops of PINK color in these pretty prints! I bought my laminated cotton at Oil Cloth Addict on Etsy, I love this shop and the multitude of oilcloth and laminated cotton that Kelly, the owner, sells! You will be able to get 2 pieces of placemat per fat quarter, each placemat will measure 13 x 18 inches.
*A fat quarter of laminated cotton actually measures 18 x 27 inches which is bigger than a quilting cotton fat quarter!
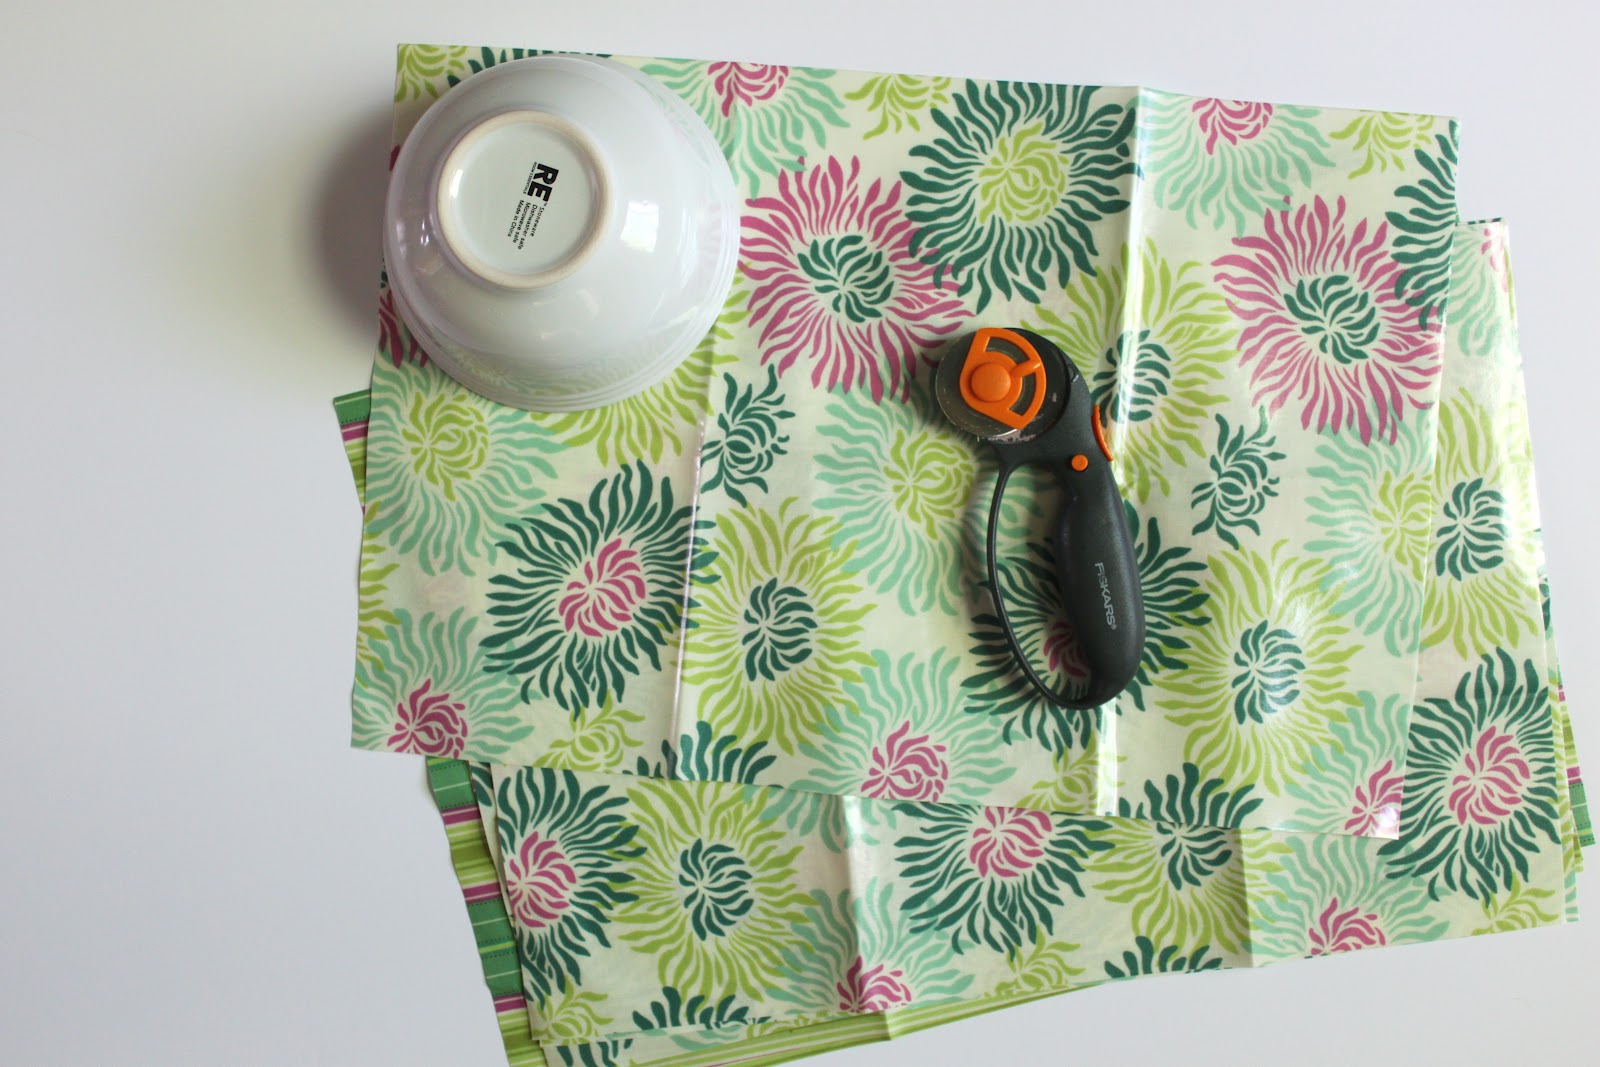
First, measure and cut your laminated cotton into 8 rectangles in the dimensions of 13 x 18 inches. Then grab a bowl and flip it right side down so that it can be a guide to help you round each corner. Using your rotary cutter and mat, trim each corner.
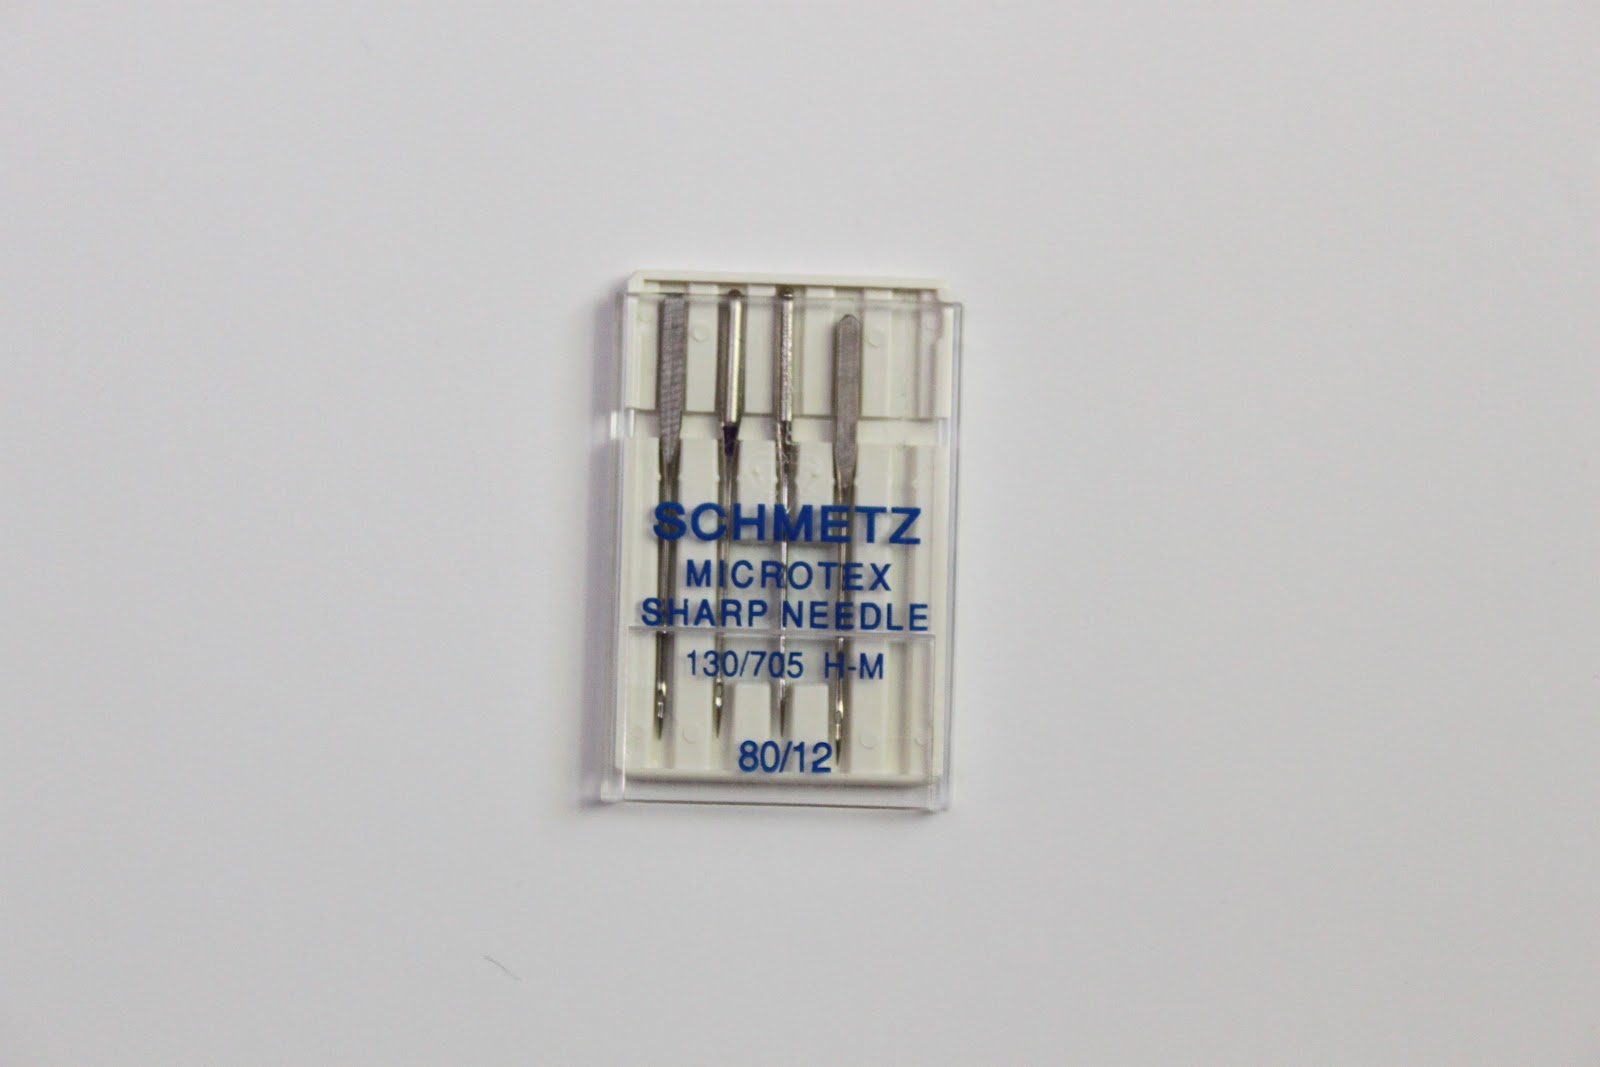
Next grab a microtex sharp needle and put it in your sewing machine in place of your regular sewing needle. This needle will help you sew laminated cotton and oilcloth easier as it makes a smaller hole when puncturing through the oilcloth and laminated cotton.

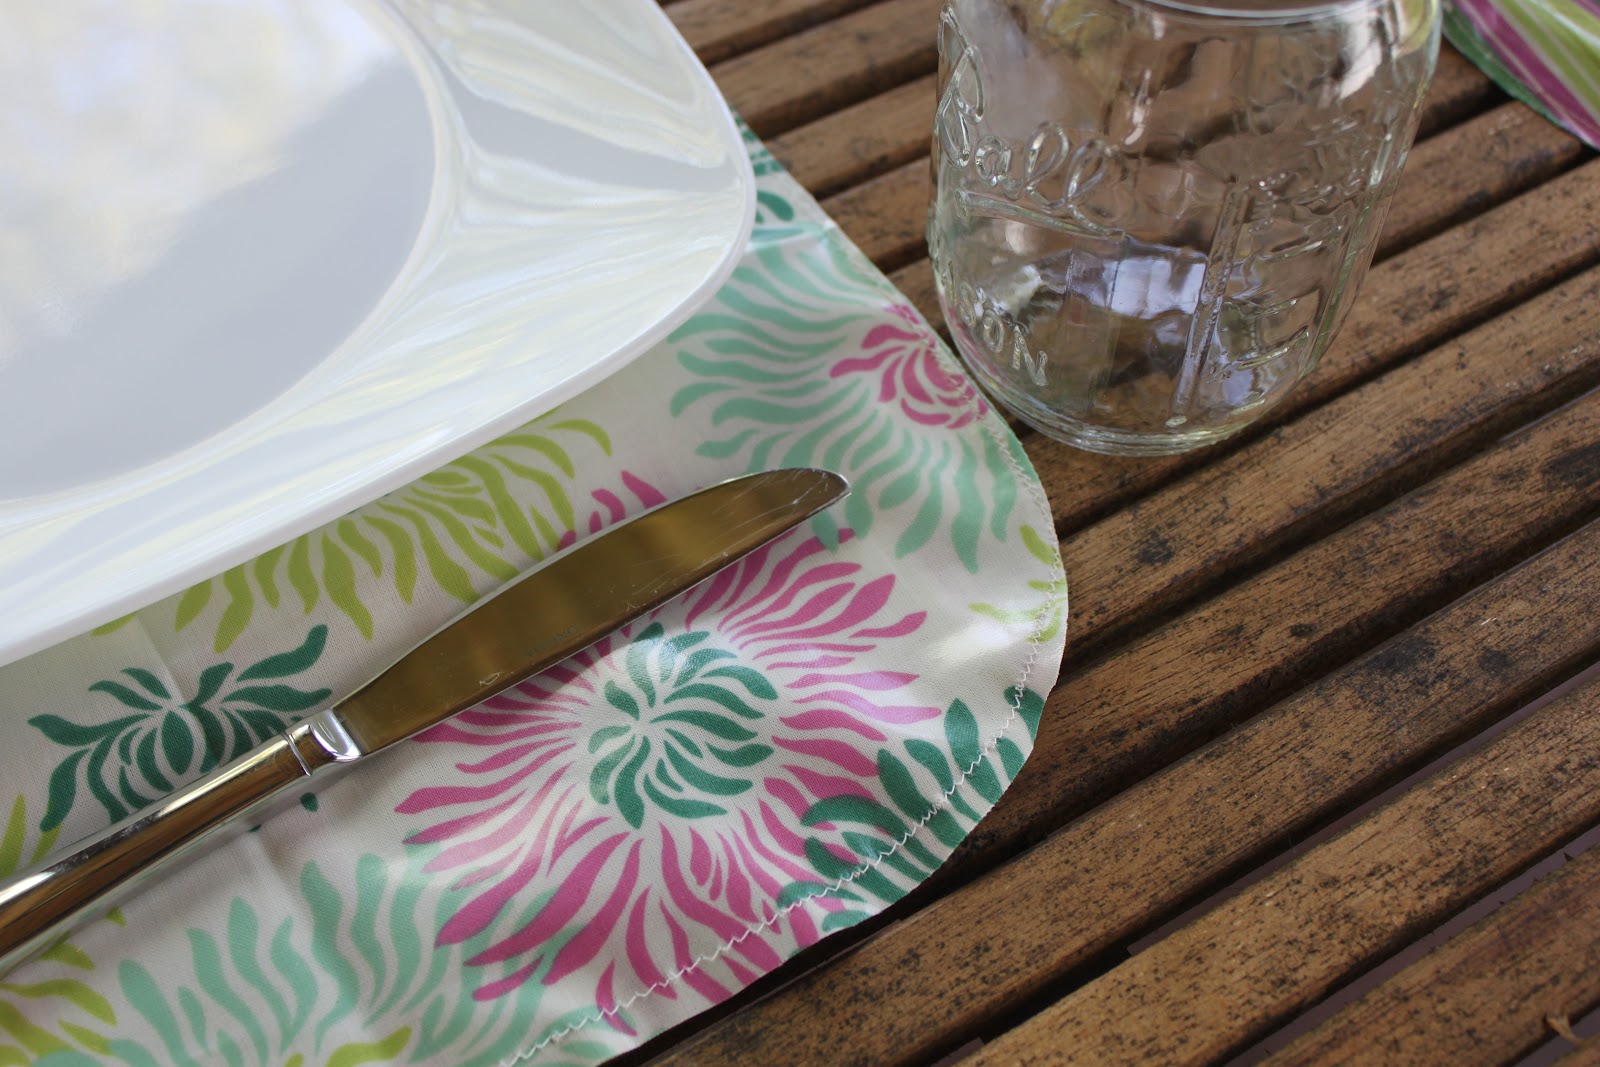
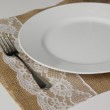
Then take two pieces of laminated cotton, I used two coordinating prints for the front and the back, and place them wrong sides together. Sew around the entire placemat with the stitch of your choice being careful to go slowly and help guide the laminated cotton through your machine as it can be a slippery material to sew with at times. I used a 1/8 to 1/4 inch seam allowance depending on the stitch I chose so feel free to do what you love or try something new!
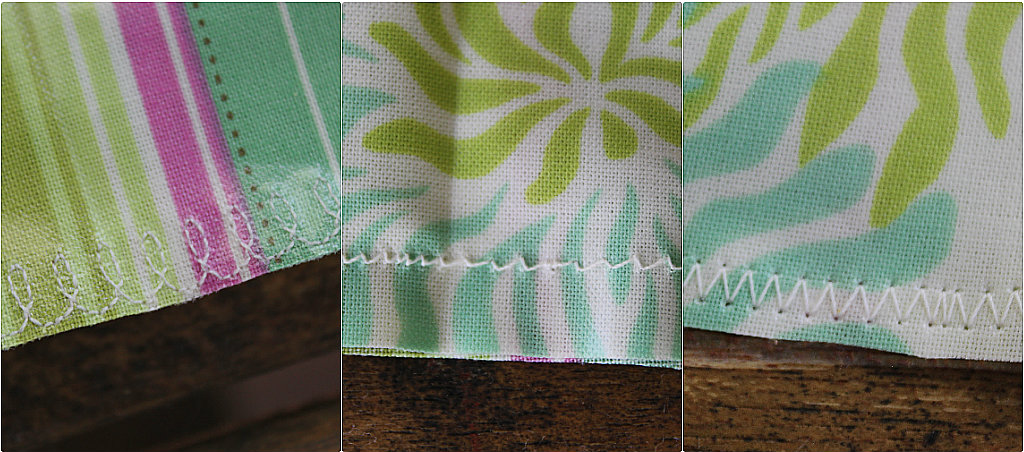
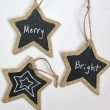
Because we use these often in the summer months, I chose different stitches just to make them even more unique. Above are 3 of the decorative stitches I decided to use. You can also use a simple straight stitch if you don’t have decorative stitch options on your machine.
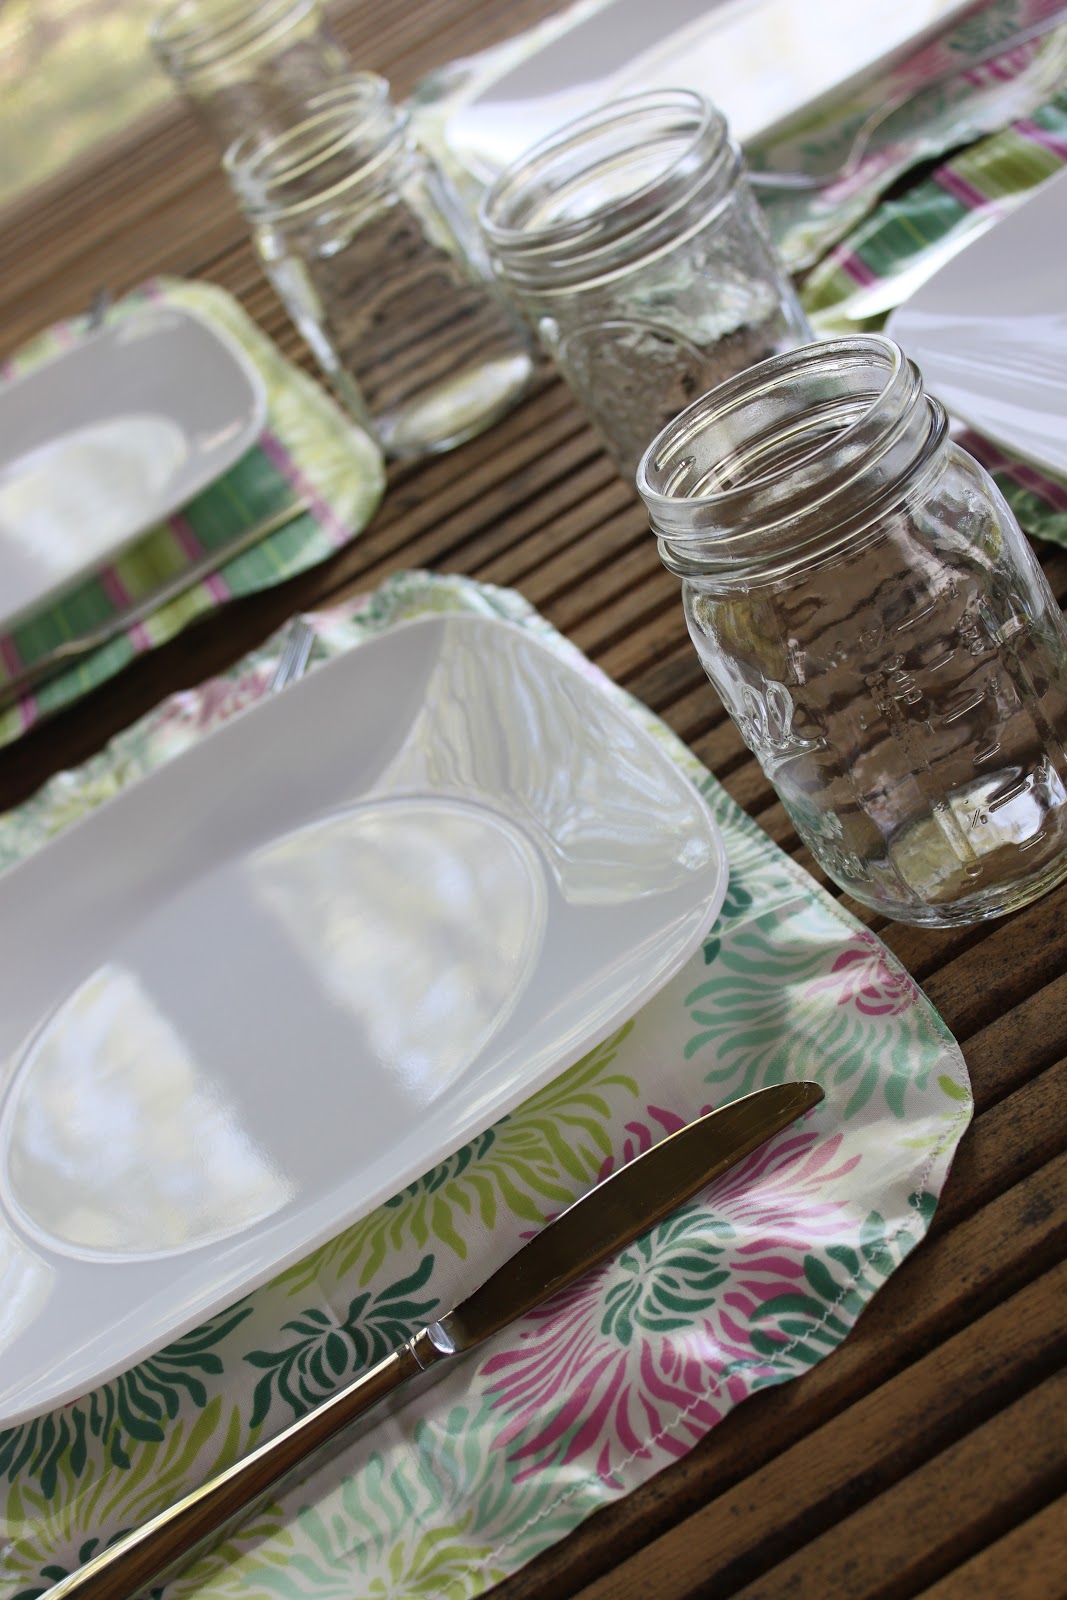
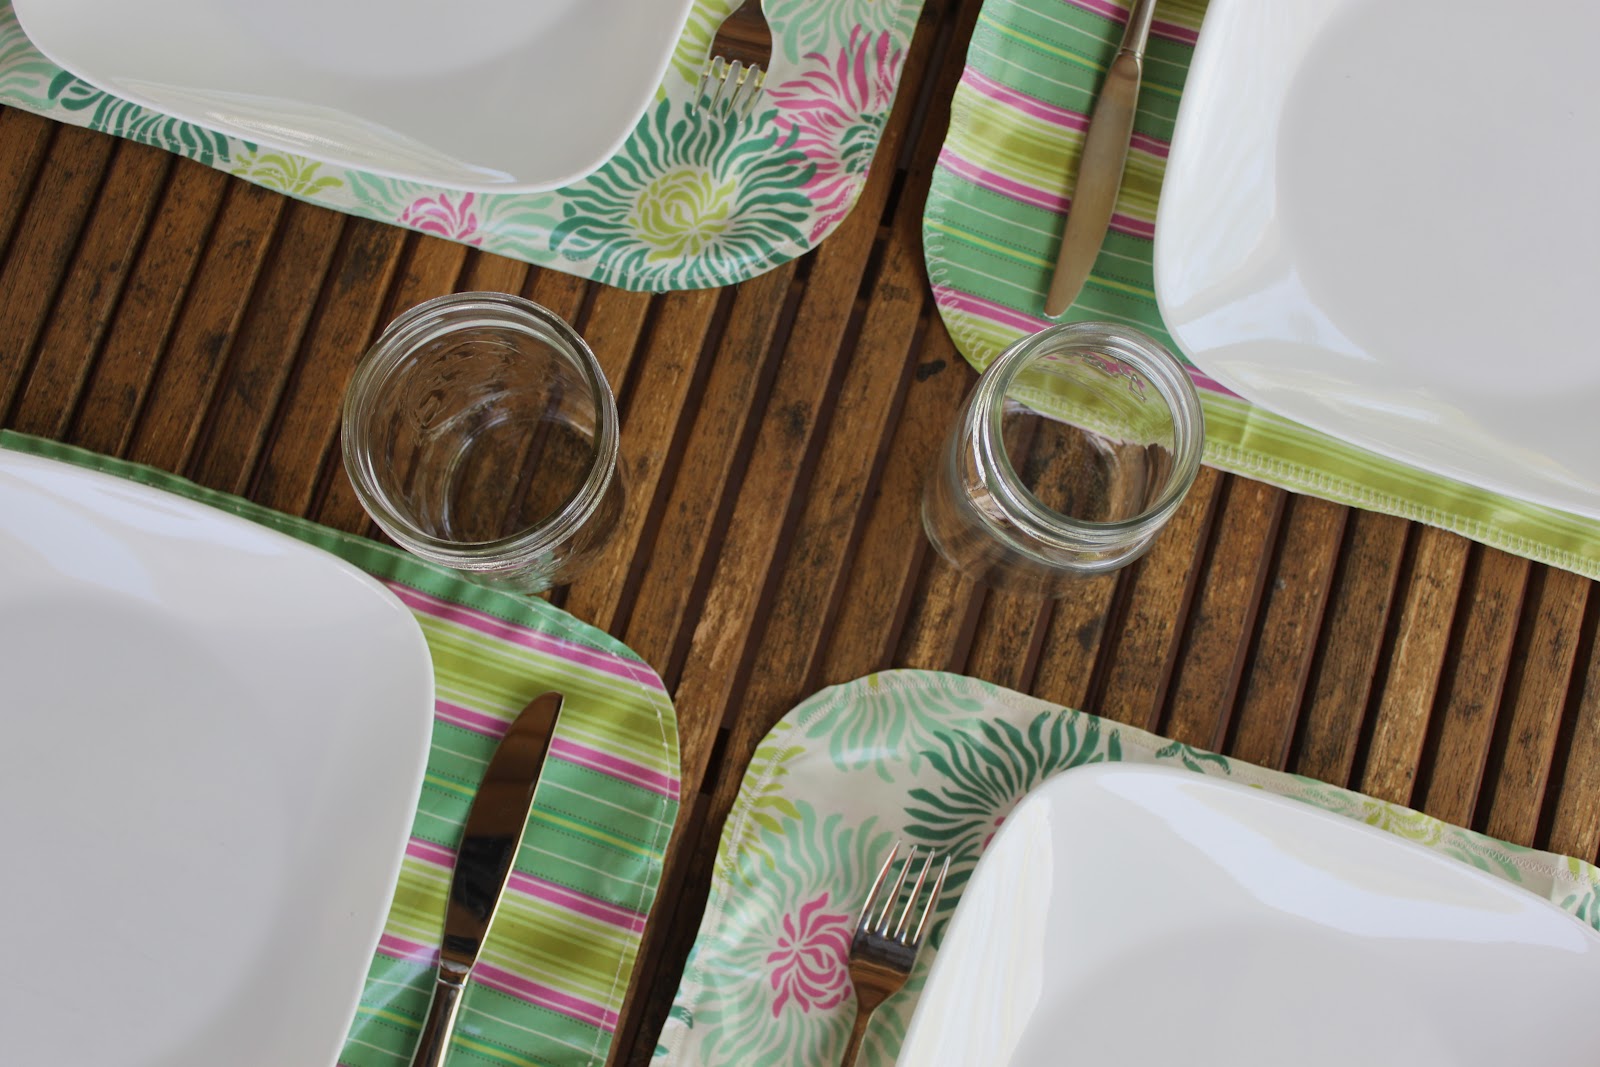
And there you have it! Simple and stylish placemats for your table!
XOXO,

WOW, GREAT IDEA 😀
Thanks for the tips
XXX
Loly
you are welcome to visit my blog 🙂
http://abudhabifood.blogspot.com
Hi Maggie! I recently started following your blog and i LOVE everything I read!!!! I have a quick question for you! I just read your Tut on shower caps, and what is the difference (if any) between laminated cotton fabric and iron on vinyl…
(Just bought my first sewing machine 2 months ago!)
Thank you so much!!
Beth
Hi Beth!
Laminated cotton is regular cotton fabric that has been treated with a polyurethane coating on the right-side of the fabric to help make it waterproof. Since it’s done via the manufacturer it makes for a nice, pliable fabric to work with. You can make laminated cotton yourself with iron-on vinyl. It serves the same purpose but since you are doing it yourself the outcome is a bit thicker so it may not work for all ‘waterproof’ type projects. Hope that helps you some!
XOXO,
Mags
thanks for sharing.