Yesterday, I decided to stop by our local Goodwill to see if I could find any neat vintage linens or pillowcases that I could use to create something lovely. Unfortunately I couldn’t find much in that arena but what I did find was a bargain. Check it out:
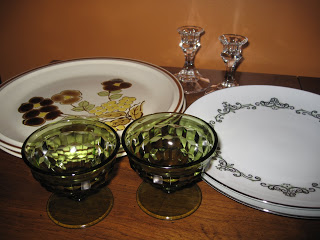 I found these great ceramic plates with the flowers on them, two beautiful china plates, two glass candlestick holders and these two funky vintage dessert cups. So rad! And they were all 99 cents each…what a deal!
So, I brought them home and started thinking about what to do with them…hmmm…then I came up with something that I totally could always use more of….appetizer stands/cake stands/cupcake stands/cookie stands!!!! How cool and one of a kind!
This is all you need to create them for yourself:
Decorative Pedestal Platters
Dessert Cups, Candstick Holders, Vases, Mugs, Teacups (basically look for something that has a nice base that you could adhere glue to it) You also want to make sure that that it is stable and strong enough to hold a plate, bowl or saucer on the top without tipping!
Plates, Platters, Saucers, or Bowls
Gorilla Glue (this stuff rocks!)
Wash and dry your items so they are ready to glue (and use!). I placed just a small amount of gorilla glue on the lip of the candlesticks and used a toothpick to smear it around. IMPORTANT!! Gorilla glue expands as it dries, so don’t use too much, especially if you are using crystal or clear glass together and you don’t want the glue to be seen! With the dessert cups I found the lip was way to narrow to have the glue sit properly so I flipped them upside down and glued the base of the cup to the plate (smart, I know!) Use your imagination!! When finished glueing, tape the base to the plate or place some heavy books on top so they are weighted down. Wait about 2 hours and you have a new and one of a kind pedestal platter for all of your entertaining purposes…now you can be the hostess with the mostest!
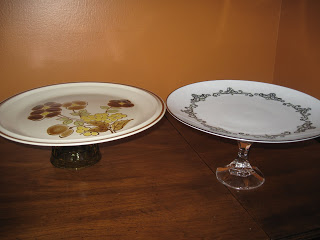
Here are two of my platters! I just love the look of the 7o’s plate and dessert cup…perfect for those crackers and cheese displays. And the china plate and glass candlestick holder are a great way to present cakes or cookies!
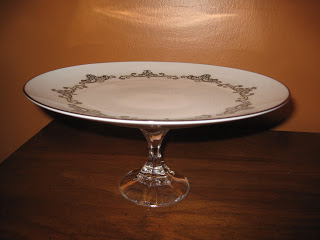
A close up view
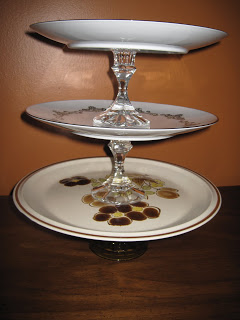
Or…stack 3 of them together like this and have yourself the coolest cupcake stand or dessert tier platter!
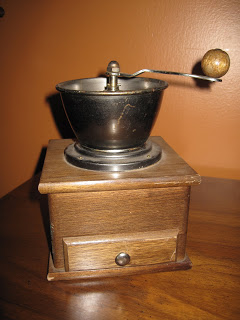
And check out this super sweet old wooden coffee grinder I also found! How cool is that! Goodwill hunting is so much fun…and affordable!

I think I recognize the brown floral plate. My mom had that set in yellow when we were growing up.
What a fun project.
Thanks for the comment on my Dust Mop cover. I am so glad I inspired you to try it! I am thinking it could easily be made out of flannel scraps to be used as a wet mop. The best part about knitting is that you can do it while you sit and watch a show, unlike sewing. 🙂
I also Love the bib clips! I wish I had been doing more making of things when my kids were needing all those kinds of things.
Katrina