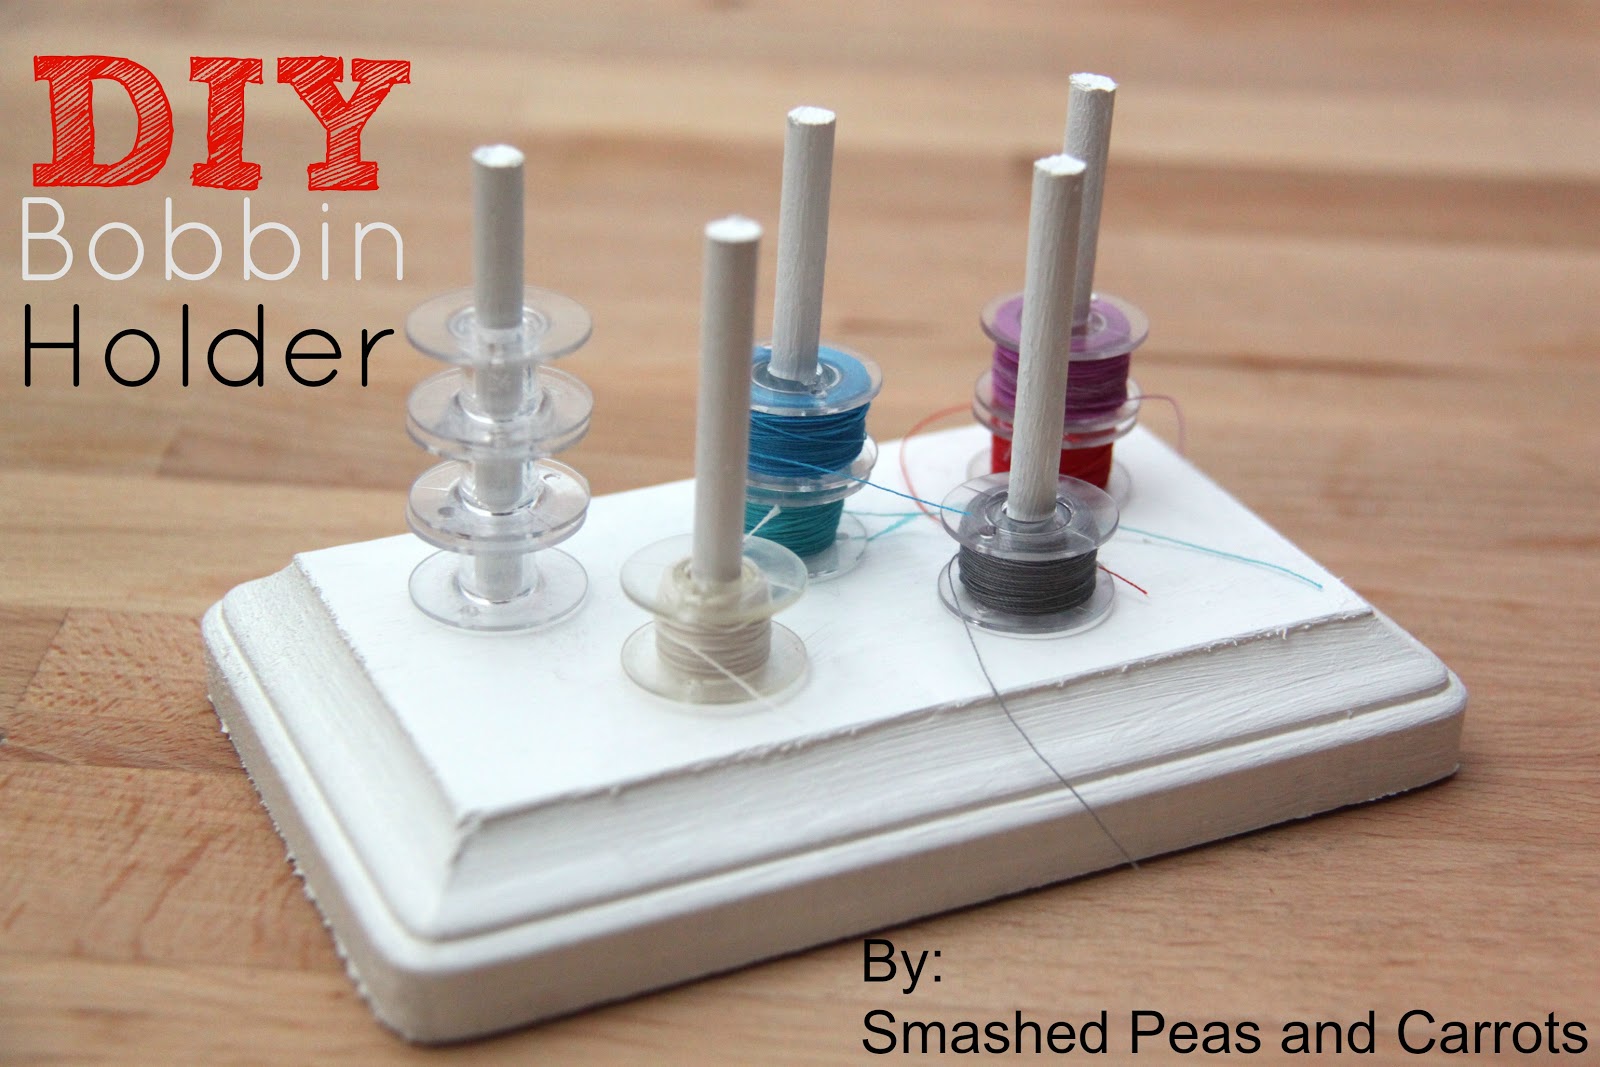
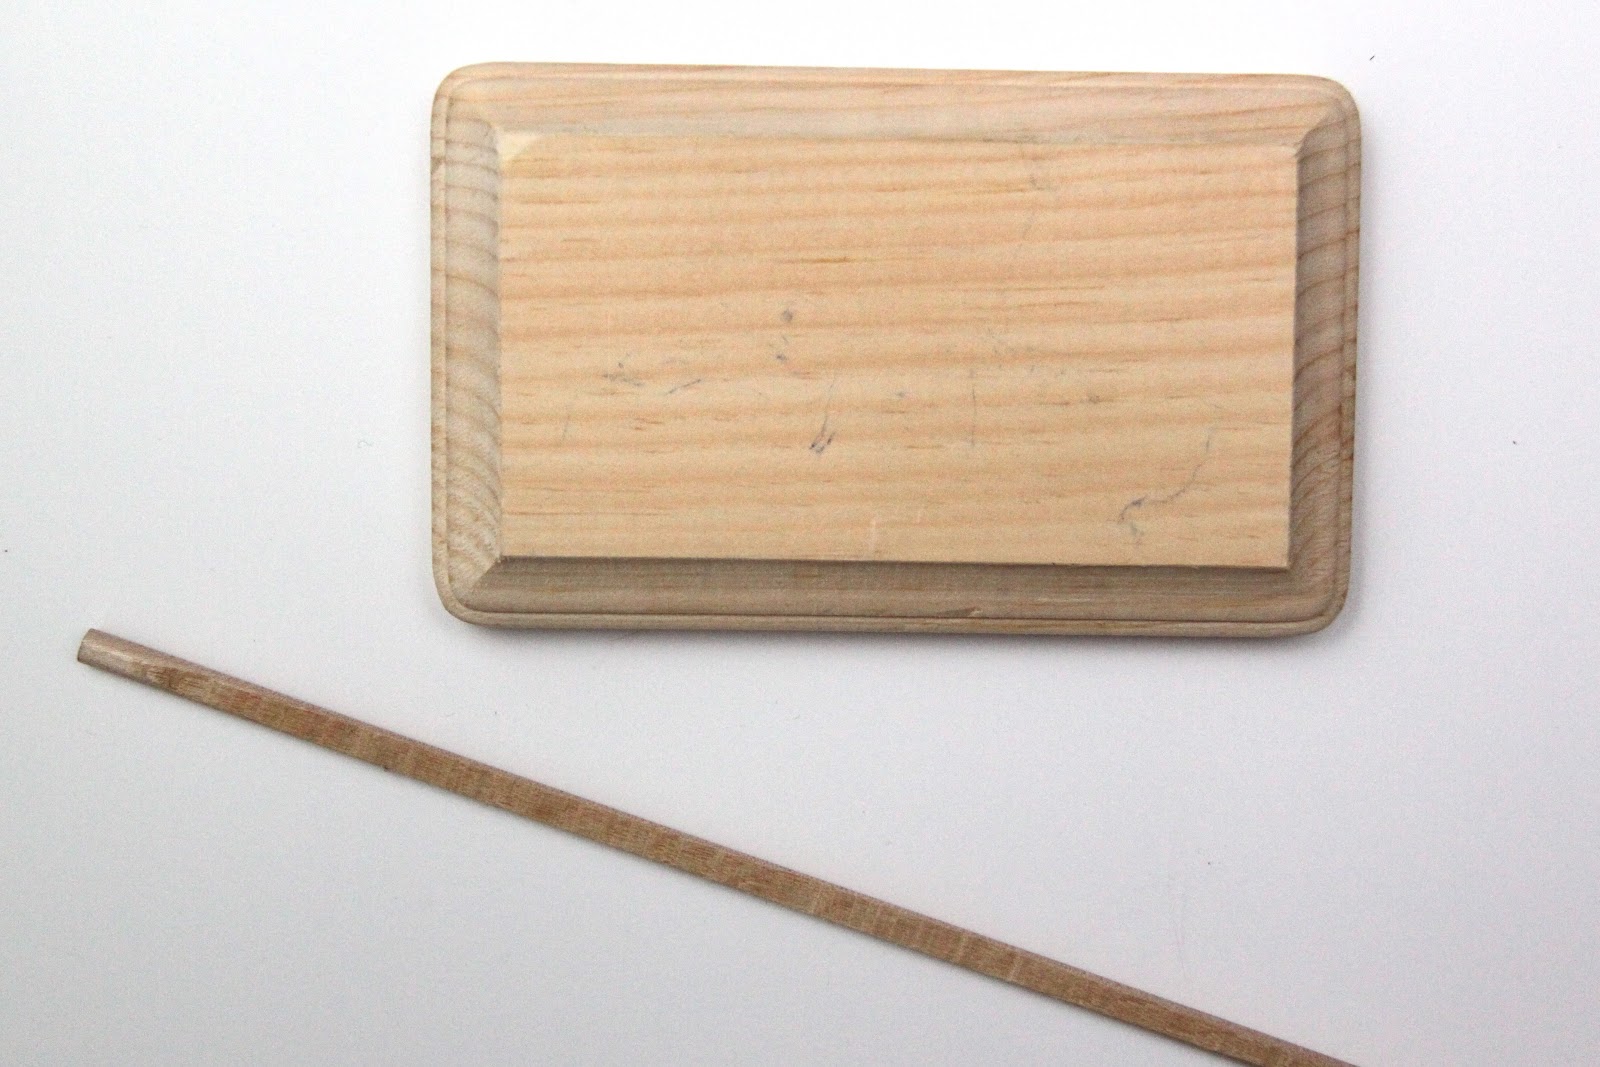
Smashed Peas & Carrots

Inspiration For Living Creatively - DIY Crafts, Sewing, Recipes, Crafts & More

  • Press
  • Disclosure
  • Collaborate
  • Contact
  • Facebook
  • Twitter
  • Pinterest
  • Instagram
  • Dots
  • Google Plus

Become a Subscriber

never miss a thing!

  • Home
  • About
    • Advertising
    • Disclosure & Safety Disclaimer
    • Privacy Policy
  • Recipes
    • Appetizers
    • Bento Lunch
    • Beverages
    • Smoothies
    • Breads
    • Breakfast
    • Casserole
    • Crockpot
      • Visual Library
    • Dairy Free
    • Dessert
    • Gluten Free
    • Main Course
    • Holiday
    • Instant Pot
    • Paleo
    • Party Food
    • Salad
    • Side Dish
    • Soup
    • All Recipes
  • Tutorials
    • Children
    • Adult
    • Home Decor
    • No Sew
    • Sewing
      • Children Sewing
      • Adult Sewing
      • Home Decor Sewing
      • Sewing Basics
    • Sewing Studio
    • Knitting
    • Kids Crafts
    • Bento
    • Holiday
    • Parties
    • Gift Ideas
    • Natural Living
    • All Tutorials
  • shop
You are here: Home / Tutorials / Sewing / Home Decor Sewing / DIY Bobbin Holder-TUTORIAL
Nov
8

DIY Bobbin Holder-TUTORIAL

| Filed Under: Home Decor Sewing, Sewing, Sewing Studio, Tutorials

I told you I would share how I made my very own bobbin holder in my Sewing Studio Tour post here, and guess what?  Today is the day, holla!
This was seriously one of the easiest projects I have ever made and so inexpensive too!  I bought a small wood plaque at Joann’s, regularly priced at $0.79 and even cheaper with a 40% off coupon, I also bought a long wood dowel at $0.19.  Combine that with some paint I already had on hand and this whole project cost me less than a dollar 🙂
You don’t know just how much this project was begging to be made, it is such a practical and simple thing and was sooo needed in my studio!  There were so many times I was sewing and needed to switch between a few different thread colors and those darn bobbins, they pop out of my hand while switching them and land 53% unrolled onto the floor.  Either that or I am fumbling around for just where exactly I put my extra cream colored bobbins…I like to wind 3-4 extra before starting a new project!  Enter in my Bobbin Holder and all is right with the world 🙂  If you are looking to make one too, I’ll show you how.

DIY Bobbin Holder

1 small wood plaque
1 dowel, mine was 1/4″ round…just make sure it fits your bobbin!
drill with a bit to match the dowel thickness
small hand saw
wood glue
waxed paper
Martha Stewart acrylic craft paint

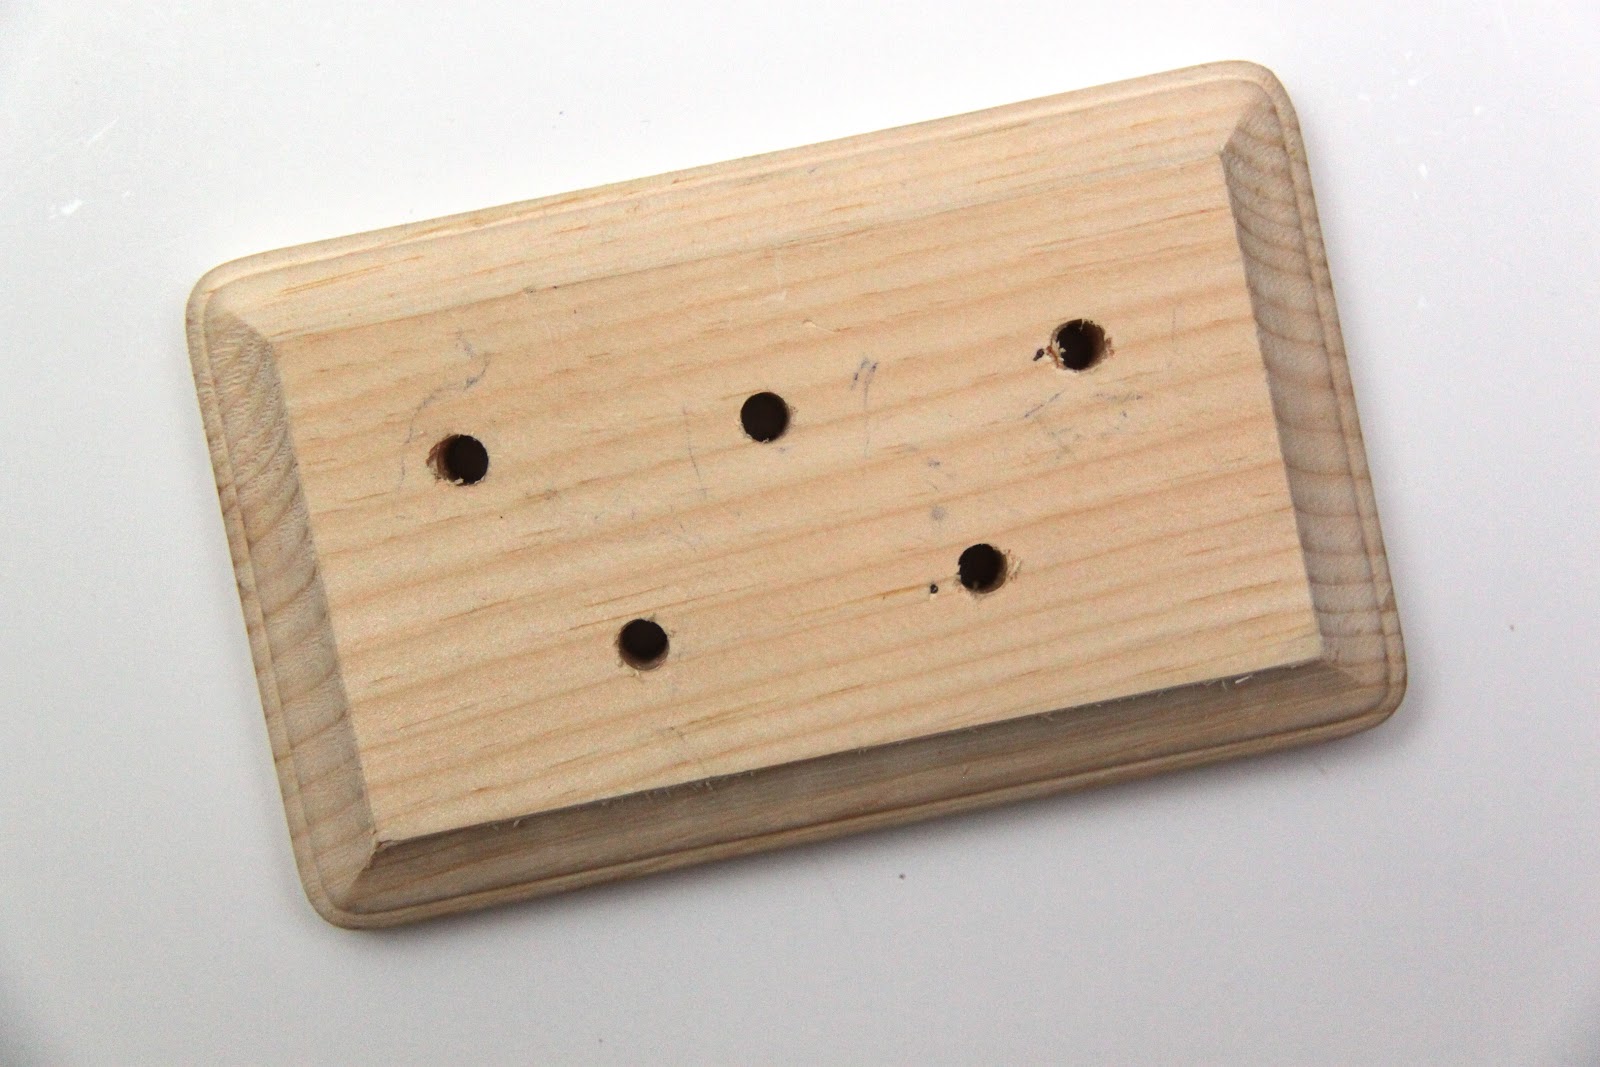
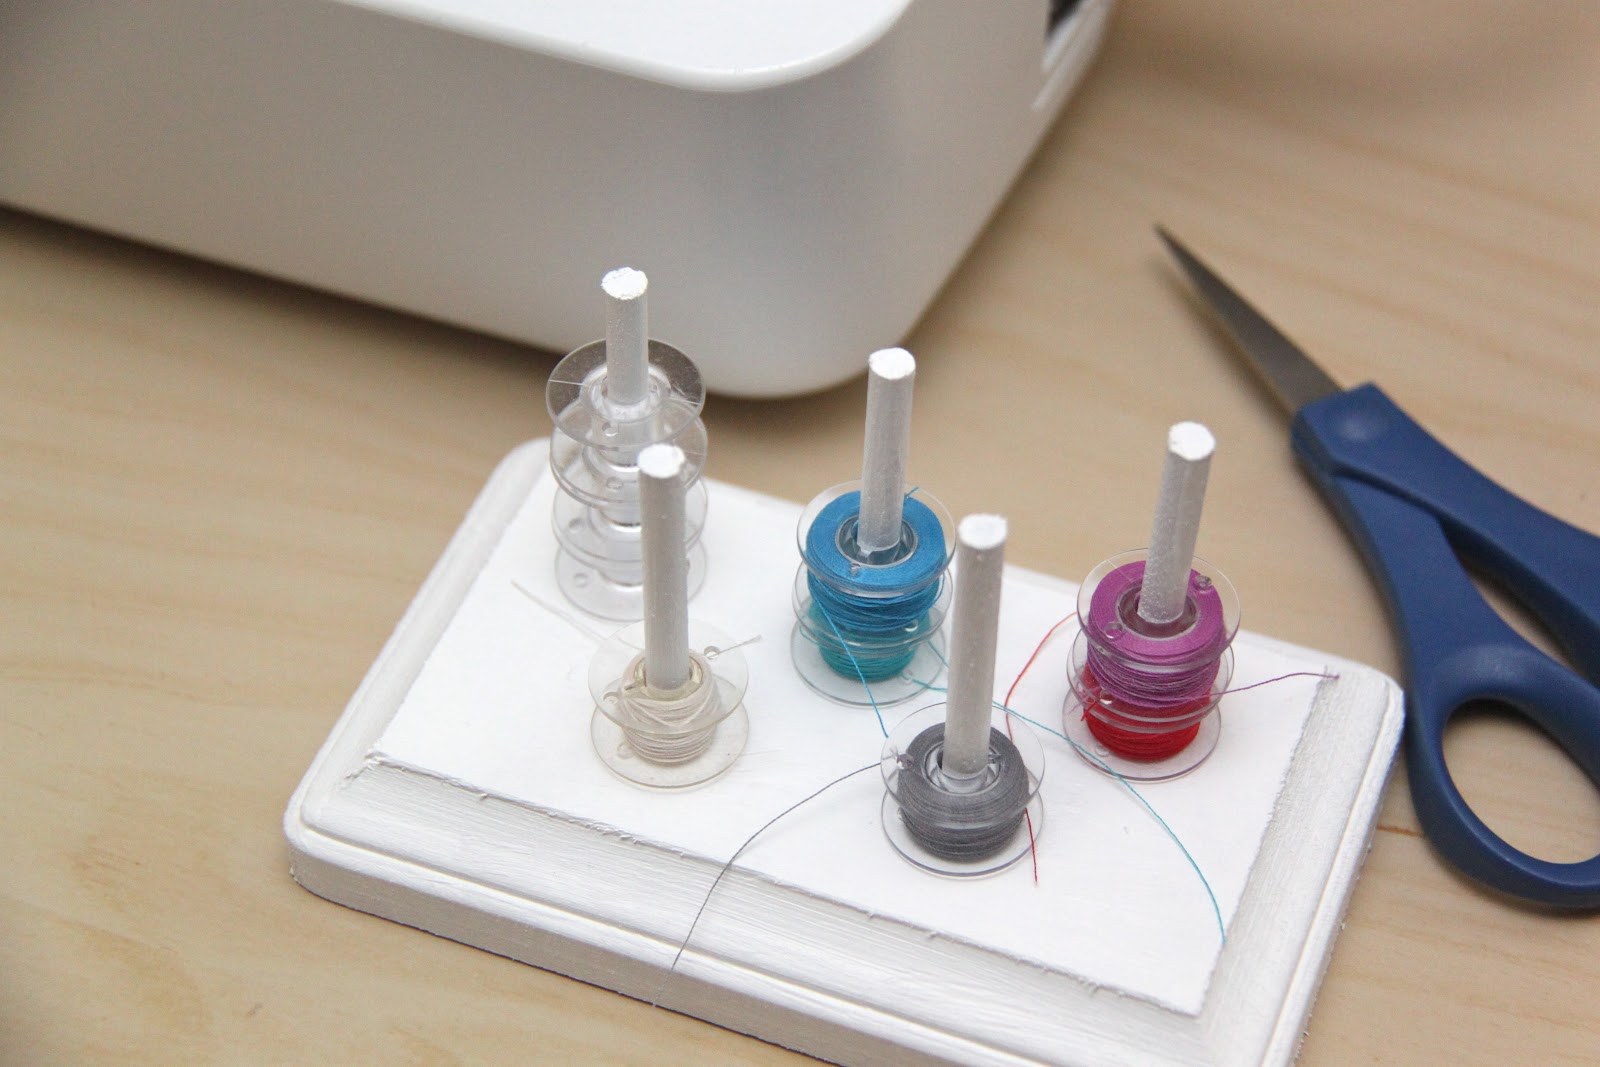
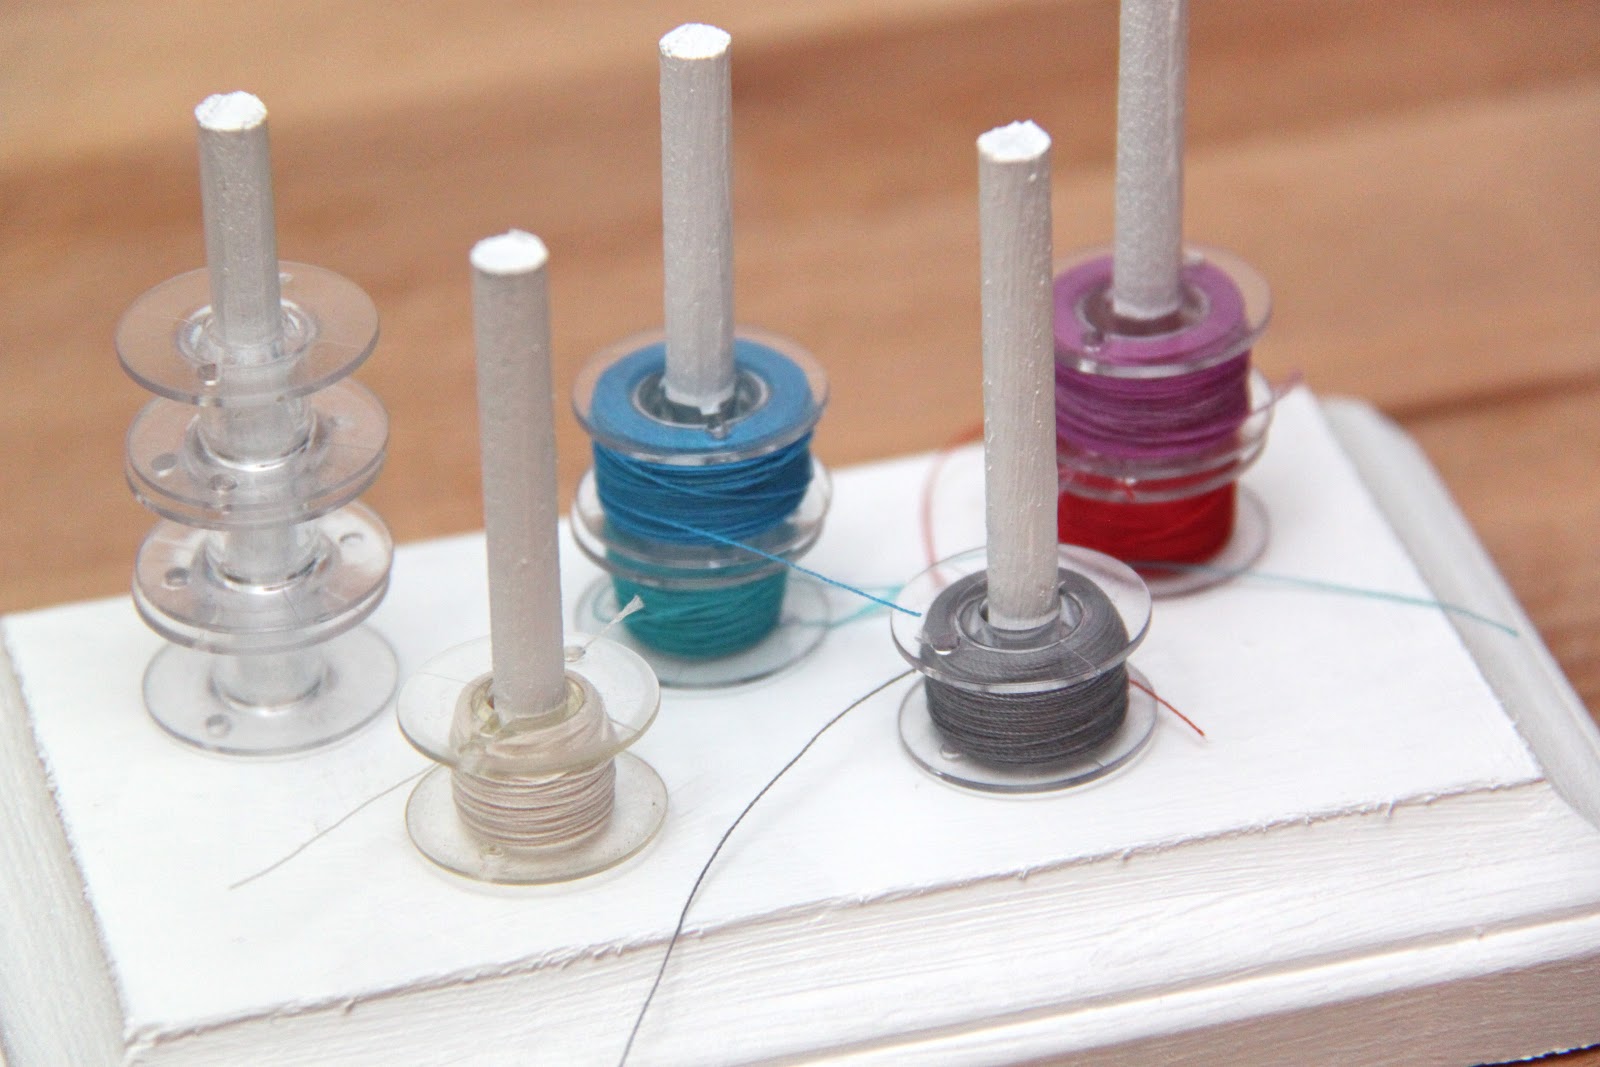
Drill 5-6 holes completely through your wood plaque.  Just make sure you space them out enough so that you can place your bobbins on them!

Cut your dowel into 3.5″ increments with your handsaw, the number depending on how many holes you drilled.  You may want to go higher or lower on the dowel length, so that number is totally personal.  I wanted to be able to fit 3-4 bobbins on each dowel…make sure you take into account the thickness of your wood plaque before you start sawing!

Then place your plaque on waxed paper and add a drop or two of wood glue to each hole before placing the dowels in.   The waxed paper will protect whatever surface you are working on from the glue plus it will not stick to the wood glue!  Let dry for a about 30 minutes.

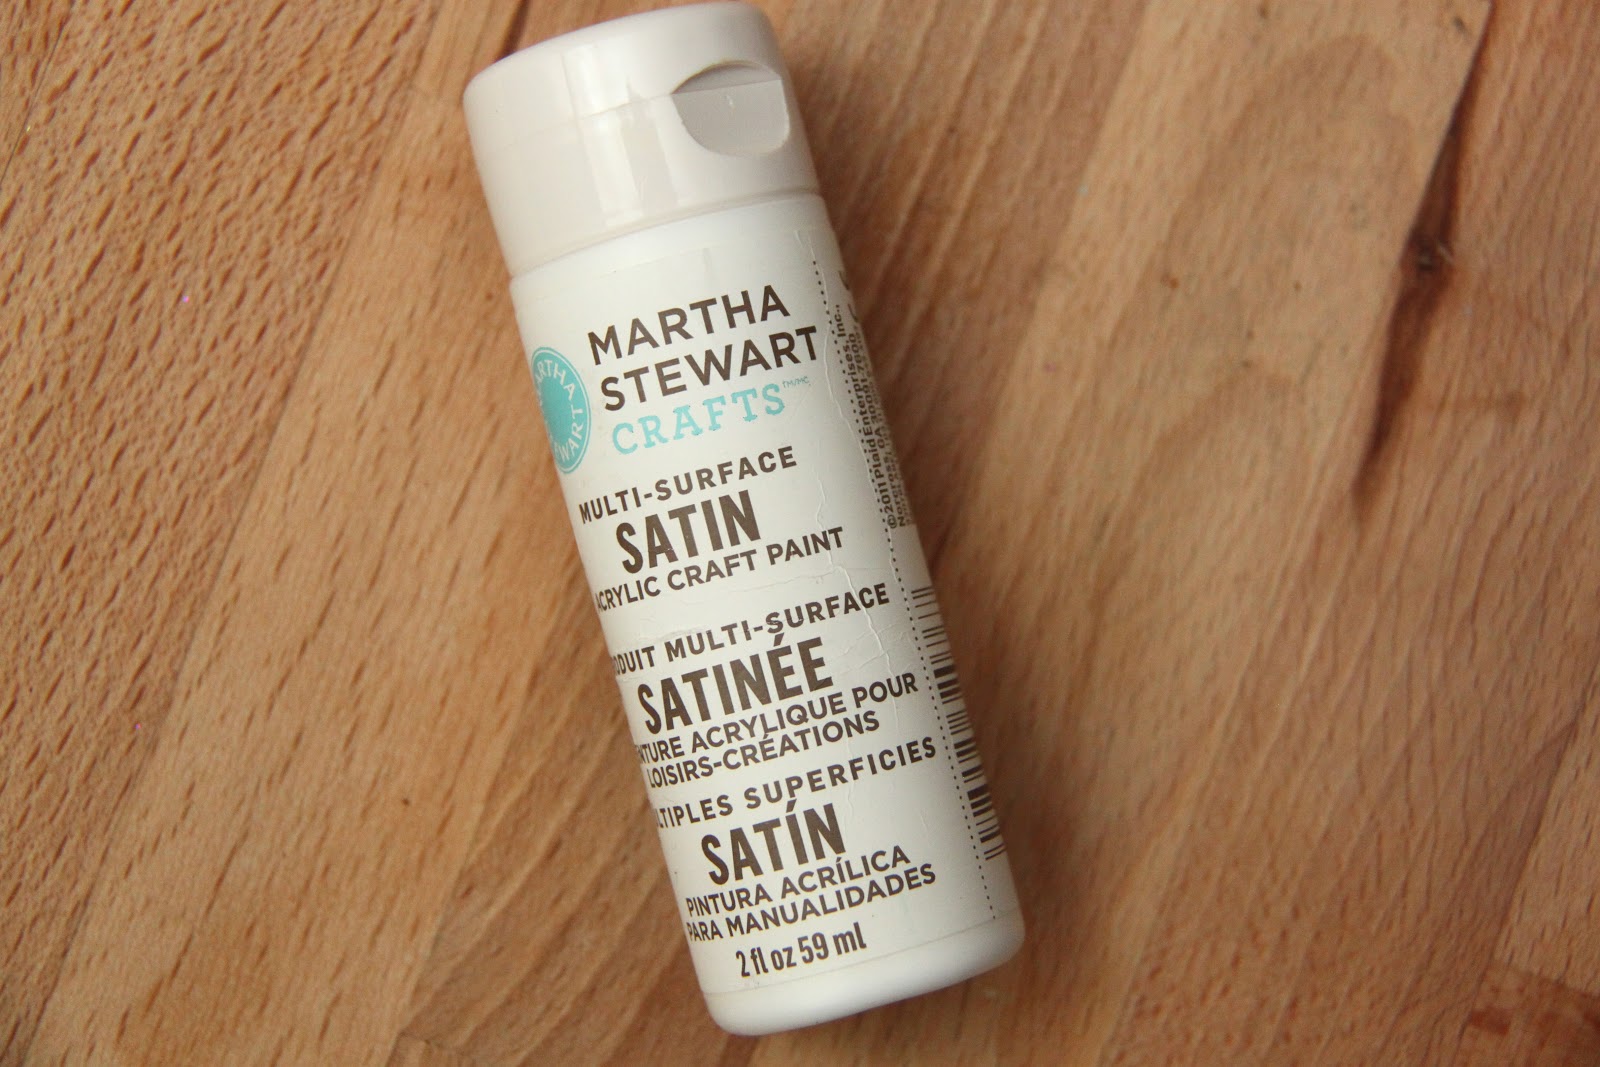
Once the glue is dry paint your new bobbin holder in any color your heart desires!  I used Martha Stewarts Multi-Surface Acrylic Craft Paint in White Satin.  You could also use spray paint.  Since I hand-painted this I gave it two simple coats just to make sure I had nice even coverage.

And there you go.  So easy, so simple, and soooo necessary (well for me, that is!)
Happy crafting and thanks for stopping by today!
XOXO,

    You may also like -

    Glittered Chalkboard Ornament TagsGlittered Chalkboard Ornament Tag TutorialTutorial: Easy Frosted Glass Chevron PatternTUTORIAL: Magnetic Paint Craft Pumpkins with Magnetic LettersTUTORIAL: Gold Accented Decoupaged PumpkinsTUTORIAL: Ikea Raskog Kitchen Cart Makeover

    Become a Subscriber

    never miss a thing!

    Comments

    1. Entwined Essentials says

      November 8, 2012 at 3:34 pm

      Cute and a great idea, thanks for the tip!

    2. Jessica at Me Sew Crazy says

      November 8, 2012 at 3:59 pm

      Very clever Maggie!

    3. TDT Designs says

      November 8, 2012 at 4:30 pm

      Love it! Now you can go to the plumbing dept at Home Depot or Lowes and buy clear flexible pipe then cut circles the size of the inside of the bobbin and then a slit and it will fit over the bobbin so you dont have strings everywhere 🙂 if you need more info Im at teresasdt at gmail.com.

      • LuLu says

        January 6, 2017 at 3:55 pm

        First I cut 6″ sections of the tubing>
        Next, with a dark Sharpie, I mark my tubing in 1/8″ increments while at my cutting mat.
        Sometime later, using paper scissors or Tonic (by TIm Holtz) scissors, I cut the 1/8″ pieces
        I store in a small, clear , re-used covered food container. (good movie or TV task)

    4. Grandma G says

      November 8, 2012 at 4:47 pm

      Brilliant! I need one! And I was just about to give you the same suggestion that TDT Designs did. 🙂 Works great!

      • Sandi says

        May 17, 2013 at 10:59 am

        Thank you, thank you. What a super idea.

    5. Sheleen Addison says

      November 8, 2012 at 6:06 pm

      Very good idea, I am going to try a longer, narrower version to fit on my window ledge, thank you for the idea

    6. Charity says

      November 8, 2012 at 7:18 pm

      This is cute! I need something like this for all my bobbins. =)

    7. diystylecindy says

      November 8, 2012 at 11:29 pm

      LOVE this so much I wanted to share it with our DIYStyle.net FB audience 🙂 Thanks for the great organizing idea!!

    8. Anonymous says

      November 9, 2012 at 5:26 pm

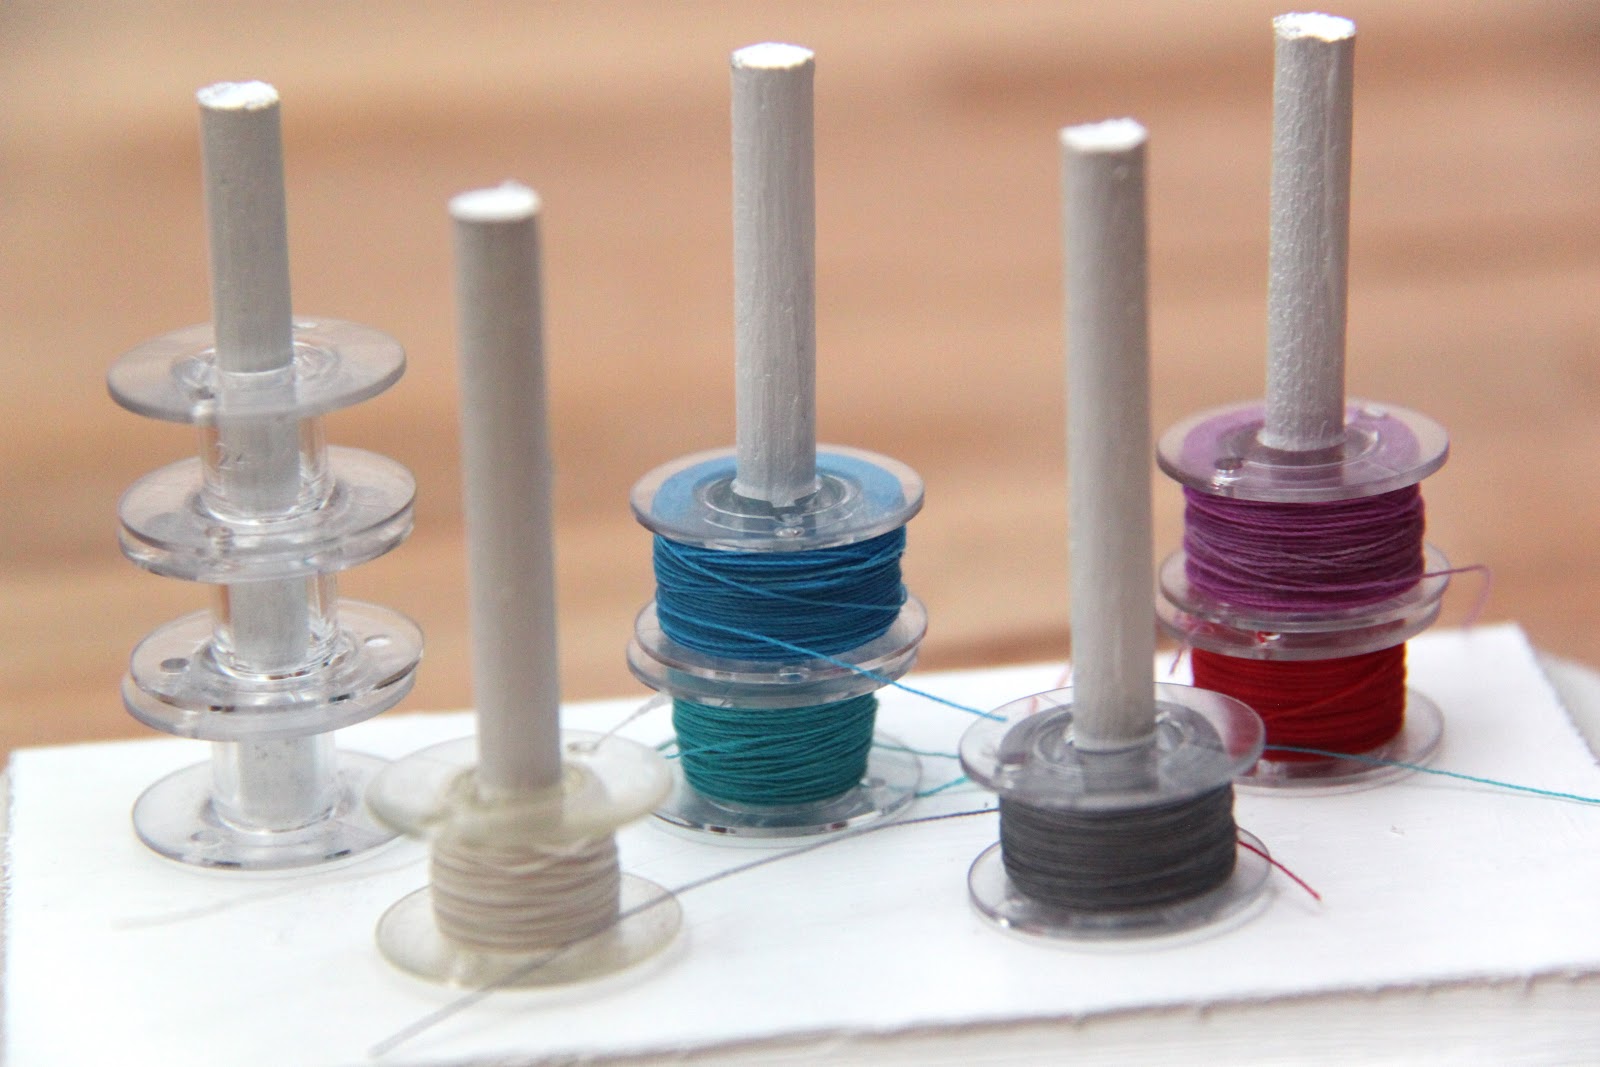
      will your matching spool of thread fit also? so great when working with those projects that need thread changes!

    9. Gingham Skies says

      January 7, 2013 at 2:17 pm

      So tired of chasing runaway bobbins! This is brilliant!

    Trackbacks

    1. 10 + Tricks for Keeping Your Bobbins Under Control | says:
      July 18, 2014 at 10:00 am

      […] […]

    Welcome to Smashed Peas and Carrots. You can read more about me HERE
     photo designTeam.png
    Follow on Bloglovin

    Popular Tutorials

    Highlighter Valentine Card with Free Printable

    Highlighter Valentine Card with Free Printable…

    Play Doh Valentine Card Free Printable

    Play Doh Valentine Card Free Printable…

    Elderberry Syrup Recipe

    Elderberry Syrup Recipe: Natural Cold and Flu…

    Teacher Survival Kit

    Teacher Survival Kit with FREE Printable…

    Notebook Paper Pencil Pouch Teacher Gift Idea

    Notebook Paper Pencil Pouch Teacher Gift Idea…

    Free Silhouette File Teacher Canvas Bag Gift Idea

    Free Silhouette File: Teacher Canvas Bag Gift…

    Popular Recipes

    No Bake Energy Bites Recipe…

    Chocolate Coconut Cups {Gluten and Dairy Free}…

    DIY Taco Seasoning Recipe…

    Sugar. Cookie. Icing. {The Recipe}…

    French Dip..Crockpot Style!…

    Crockpot Banana Bread…for Real!…

    My Sponsors

     photo FatQuarterShop-175x175.png

     photo cdf15248-e6f8-4276-abc0-c145e2451c35.jpg


    Blog Archives

    Posts by Topic

    Stay Connected

    • Facebook
    • Twitter
    • Pinterest
    • Instagram
    • Dots
    • Google Plus

    Join me on Facebook

    Copyright Smashed Peas and Carrots © 2025 · All rights reserved · Design by Emily White Designs

    Copyright © 2025 · Smashed Peas & Carrots Custom on Genesis Framework · WordPress · Log in