Ahhh! We are officially on summer break and that means lots of hanging out outside…to the pool, to the beach, to the zoo, to the park!!! Finally! And of course with all those adventures means constantly losing my sunglasses because I never remember where I left them. Either that or they get broken by one of my adorable little children (love you guys!!!) Good times. So to lessen the loss of my sunglasses (or the breakage of them for that matter!) I thought I would whip up a few cute DIY Sunglasses Cases so that I had a pretty place to keep them. Because we all know that saying, ‘a place for everything, and everything in it’s place’ totally works and is a saying for a reason!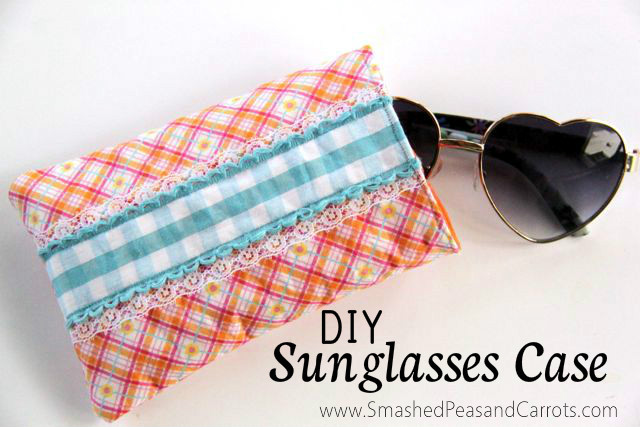
And can I tell you that since I have made my DIY Sunglasses Cases I have known exactly where my sunglasses have been Every. Time. For reals, peeps. It is a summer miracle!!
I wanted to share my easy sewing tutorial with you as part of the Summer Sewing Series from Polka Dot Chair. If you head on over, you will find a glorious amount of fun summer sewing ideas you can try out…all summer!! Now isn’t that grand?
And in case you were in need of a cute place to store your sunglasses and, let’s be honest, who doesn’t need a little pretty in their life? Here is the tutorial…Enjoy!
DIY Sunglasses Case
2-5 x 7 inch pieces of fabric (outer)
2-5 x 7 inch pieces of fabric (inner lining)
2-5 x 7 inch pieces of craft fuse (I like this one here)
Trim for added prettiness measuring whatever width you like by 7 inches in length. (optional)
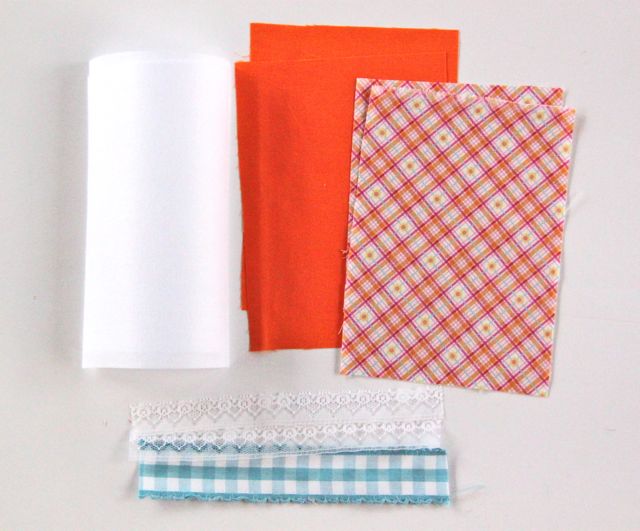
Ahh. Okay, so we have the materials to start our summer sewing project! All fabric and craft fuse needs to measure 5 x 7 inches. This will fit your larger framed sunglasses that are totally in style now. If you have a smaller pair or a child’s pair you may want to go as low as 4 x 6 inches! But check it first…or make a muslin!
First, iron the craft fuse (shiny side) onto the wrong side of your outer fabric.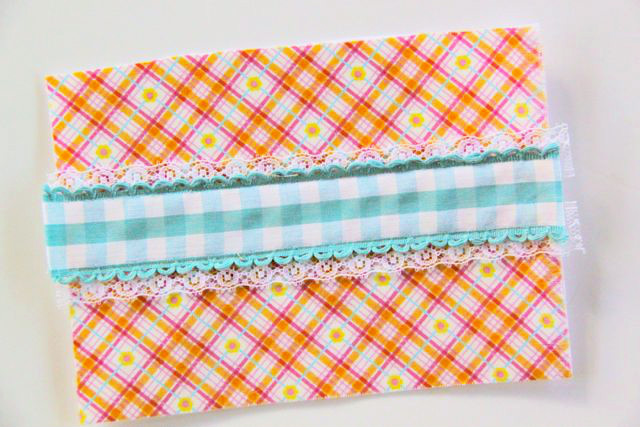
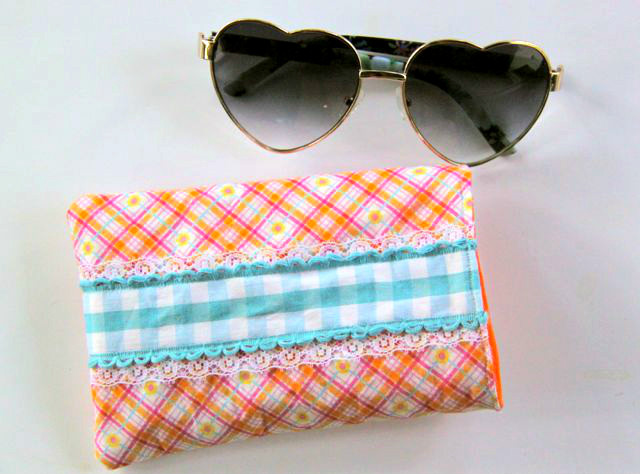
Next (if you are adding trim!), sew your trim to the right side of one piece of the outer fabric wherever you see fit. You can see I chose the middle.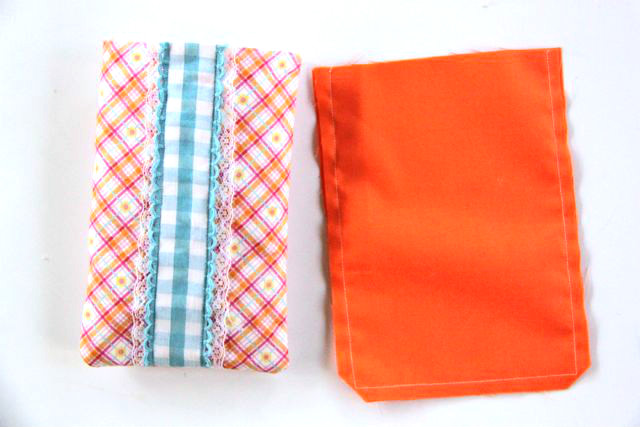
Then, with right sides together, using a 1/4 inch seam allowance sew the outer fabric pieces together leaving the top (or one short side) unsewn. Clip the corners at the bottom, making sure not to clip throughout the seam you just made! Do the same for the inner lining fabric.
Next, flip the outer fabric pocket you just made so that it is right side out (like in the picture above) and push out the corner at the bottom with a chopstick or an unclicked pen.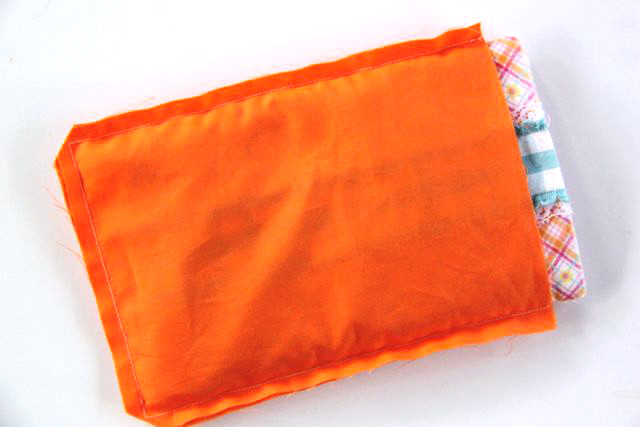
Now, take the outer fabric pocket and stuff it gently into the wrong side out (still) inner lining.
Match the unsewn edges together and, with a 1/4 inch seam allowance, sew the top edges together making sure to leave a 1-2 inch opening to flip to inner lining right side out.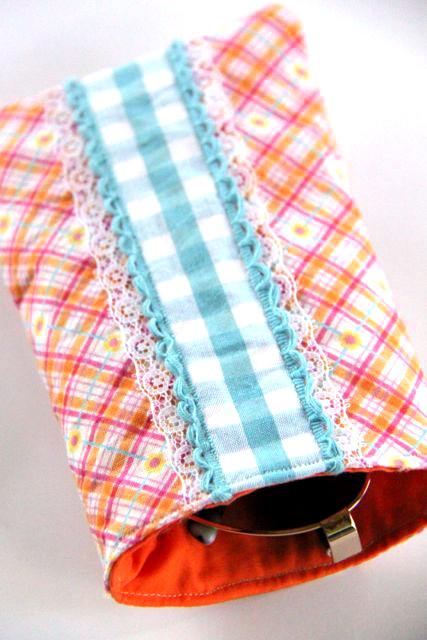
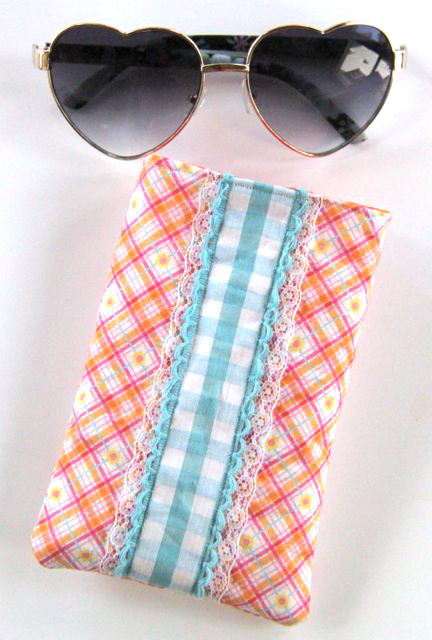
Then, gently flip the inner lining right side out and stuff it into the outer pocket (or you sunglasses case now!) Using a 1/8 inch seam allowance sew a top stitch all around the edge making sure to close that opening as you go!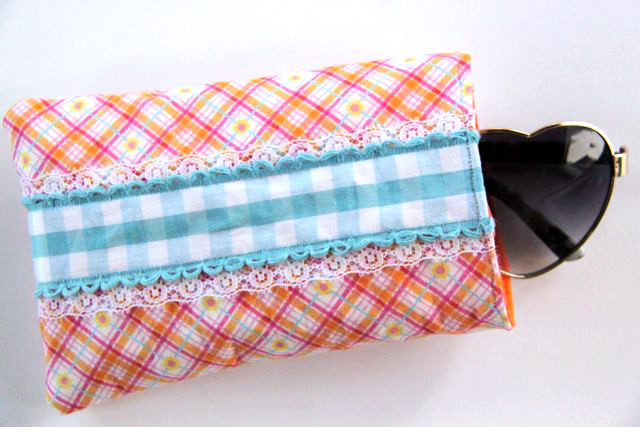 And there you have it, a super quick and totally cute DIY Sunglasses Case just for you!!! (or a friend!) 😉
I hope you have fun making lots of these this summer.
Thanks for stopping by today!
Love,
Maggie


Sure wish there was an option to print this. I don’t sit at the sewing machine with a computer beside me and as I’m disabled, I can’t get up and down to run back and forth so guess I won’t be using your website
So sorry but I have no clue how to even make that an option!
I love these! What a great use for the fat quarters I bought because they were pretty but I had no planned use for;) I love your glasses too. Thanks for a great tutorial.
Yes!! The perfect fat quarter project!! happy sewing!
This is adorable and such a great way to use up small scraps. I think I’ll get my grandson to make one for an “end-of-year teacher’s gift”! Also, I’ve been using old eye-glass cases for my many rotary cutters. I think these will be much prettier in my sewing room. Since I have embroidery capabilities on my sewing machines, a small design or a monogram could be an option. Thanks for sharing this idea. Be blessed.
That would be so lovely to sew a monogram onto these!!!
Oooh pretty!!! I’ve got a Craft Gossip post scheduled for tomorrow morning that features your tutorial: http://sewing.craftgossip.com/?p=88310 –Anne
I need my sunglasse holder to snap shut. How could I change this to do that?
love this, quick and easy and so practical! I may add a small Velcro tab at the top and a strap so I can hang it on the key rack or the rear view mirror when I’m not in the car. Thanks!
Love that addition Cindie!! I’m glad you found my tutorial useful!!! Enjoy your summer!!
I usually just copy the text and paste it to a word doc. Then I go back to my word doc and delete any ads and adjust the size of the photos. Save it and print it. Very easy.
Thanks for this tip Sharon!