Smashed Peas & Carrots

Inspiration For Living Creatively - DIY Crafts, Sewing, Recipes, Crafts & More

  • Press
  • Disclosure
  • Collaborate
  • Contact
  • Facebook
  • Twitter
  • Pinterest
  • Instagram
  • Dots
  • Google Plus

Become a Subscriber

never miss a thing!

  • Home
  • About
    • Advertising
    • Disclosure & Safety Disclaimer
    • Privacy Policy
  • Recipes
    • Appetizers
    • Bento Lunch
    • Beverages
    • Smoothies
    • Breads
    • Breakfast
    • Casserole
    • Crockpot
      • Visual Library
    • Dairy Free
    • Dessert
    • Gluten Free
    • Main Course
    • Holiday
    • Instant Pot
    • Paleo
    • Party Food
    • Salad
    • Side Dish
    • Soup
    • All Recipes
  • Tutorials
    • Children
    • Adult
    • Home Decor
    • No Sew
    • Sewing
      • Children Sewing
      • Adult Sewing
      • Home Decor Sewing
      • Sewing Basics
    • Sewing Studio
    • Knitting
    • Kids Crafts
    • Bento
    • Holiday
    • Parties
    • Gift Ideas
    • Natural Living
    • All Tutorials
  • shop
You are here: Home / Tutorials / Adult / DIY Yoga Mat Sling Tutorial
Dec
3

DIY Yoga Mat Sling Tutorial

| Filed Under: Adult, Adult Sewing, Christmas, Fabric, Gift Ideas, Sewing, Tutorials

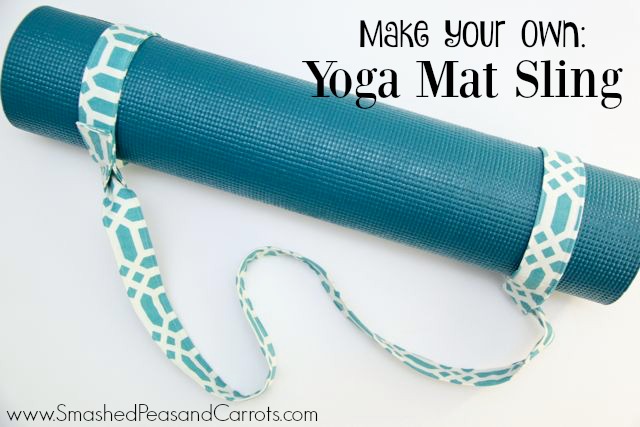
Hi lovely friends! I shared this post over at Skip To My Lou last month and today I am bringing it home! If you practice yoga or have a friend or family member who does you are going to love this fantastic handmade gift idea! The tutorial I am sharing for this DIY Yoga Mat Sling is a quick and simple one and it will get lots of use on the way to class. As a bonus, it also works as a strap for using during class for those balancing poses! There is nothing better than giving a pretty gift and a pretty AND useful gift is even better!
Quick and Easy DIY Yoga Mat Sling // SmashedPeasandCarrots.com


Quick and Easy DIY Yoga Mat Sling // SmashedPeasandCarrots.com

To make this Yoga Mat Sling you will need the following:

Two 6 x 30 inch pieces of home decor or other heavy weight fabric

Iron and ironing board

Coordinating thread and sewing machine

Quick and Easy DIY Yoga Mat Sling // SmashedPeasandCarrots.com

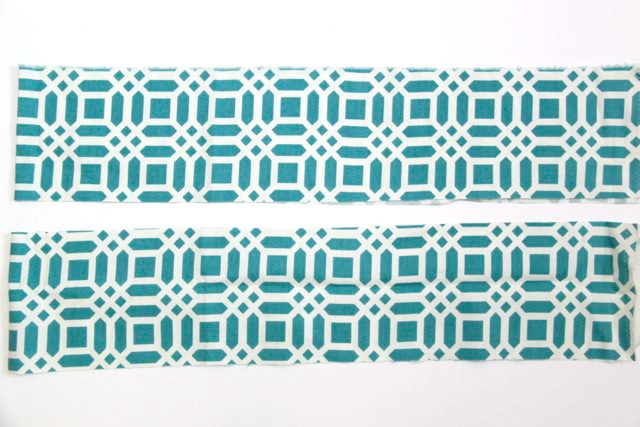
1. Cut two 6 x 30 inch pieces of home decor or other heavy weight fabric.


Quick and Easy DIY Yoga Mat Sling // SmashedPeasandCarrots.com

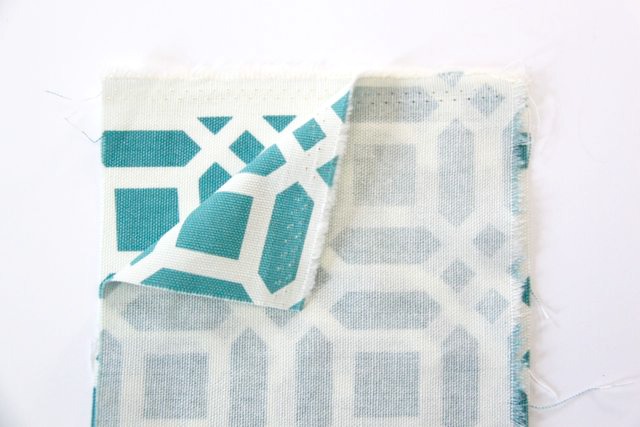
2. Place two of the short (6 inch) ends together, right sides facing, and sew with a 1/2 inch seam allowance to make one long strip of fabric.

Quick and Easy DIY Yoga Mat Sling // SmashedPeasandCarrots.com

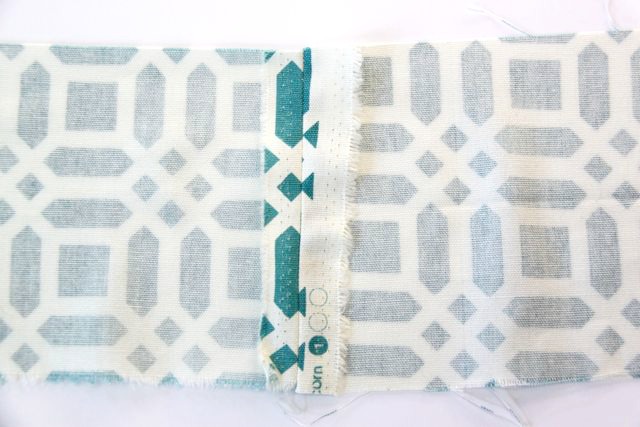
3. Open up the seam you just made and iron it flat.

Quick and Easy DIY Yoga Mat Sling // SmashedPeasandCarrots.com

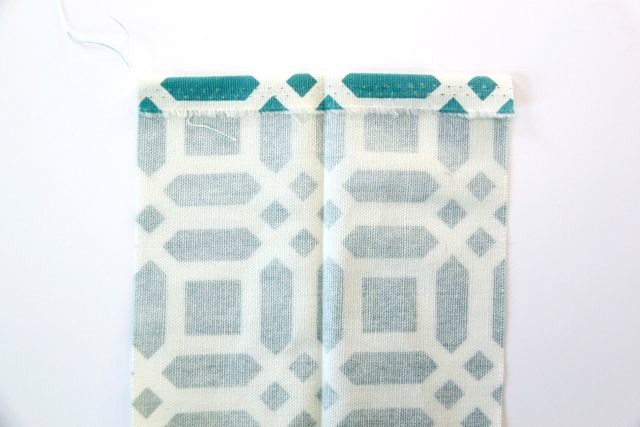
4. Fold down each of the short raw edges of the long fabric strip you just sewed together 1/2 inch towards the wrong side and iron flat. Then fold the entire length of fabric (hot dog style) in half and iron the fold flat too (you can see the crease down the middle in this picture!)
Quick and Easy DIY Yoga Mat Sling // SmashedPeasandCarrots.com

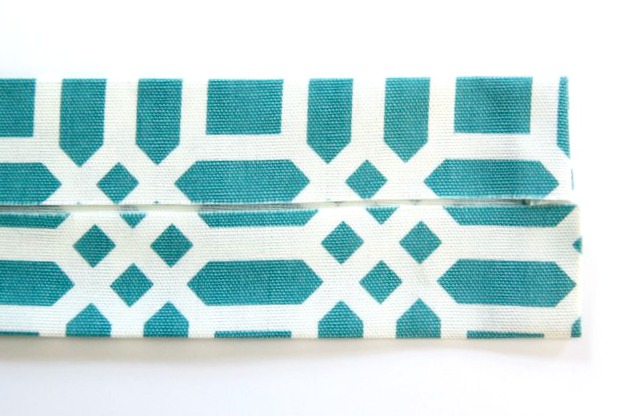
5. Next, unfold the strip and, with it right side up on your ironing board, fold each side to the center line and iron flat down the length of the fabric strip.

Quick and Easy DIY Yoga Mat Sling // SmashedPeasandCarrots.com

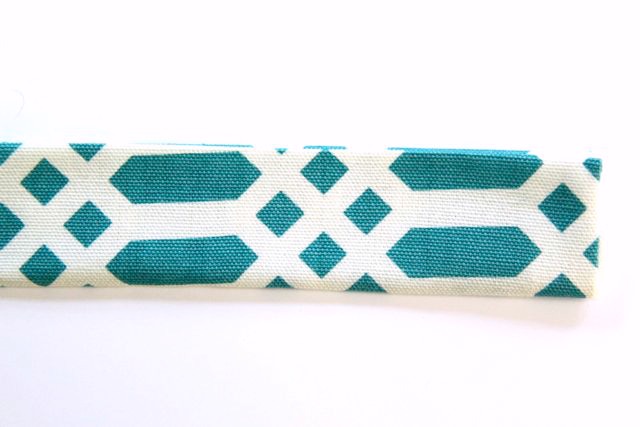
6. Next fold the strip of fabric down the middle, making sure the raw edges are inside. Iron down the length of fabric. Now, sew all the way around the entire strip of fabric using a 1/4-1/8 inch seam allowance depending on what you like the look of best.

Quick and Easy DIY Yoga Mat Sling // SmashedPeasandCarrots.com

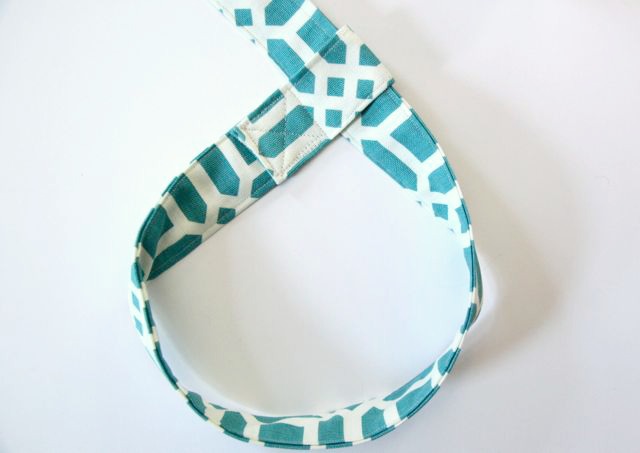
7. To make the loops that will go around the yoga mat, take each end of the strap and wrap it around the strap itself anywhere on the length of the strap (I usually do this about a foot or so from the end). Make sure to fold the strap about 2 inches past the length of the strap so that you have room to sew it in place.
Quick and Easy DIY Yoga Mat Sling // SmashedPeasandCarrots.com


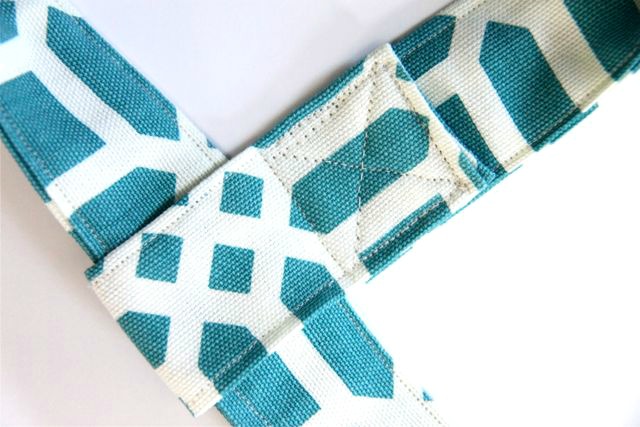
8. Then sew in place using a box and an “X” to reinforce the stitches.
Quick and Easy DIY Yoga Mat Sling // SmashedPeasandCarrots.com

Quick and Easy DIY Yoga Mat Sling // SmashedPeasandCarrots.com

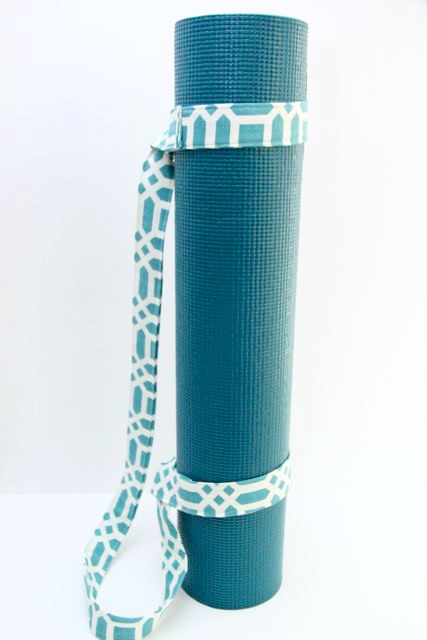
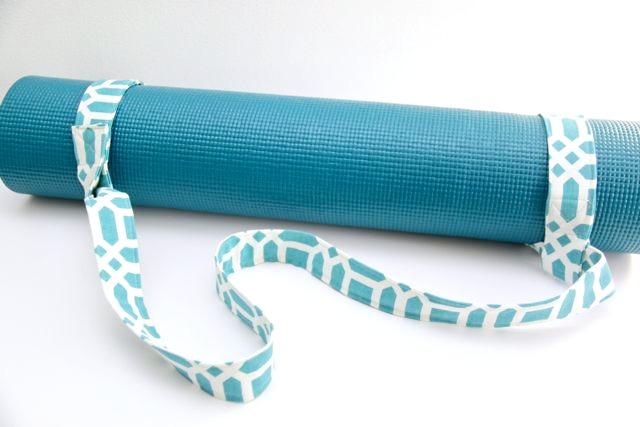
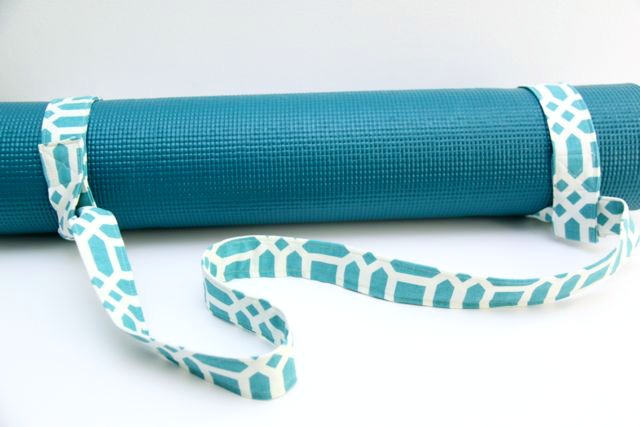
Now you can loosen the loops up and place them around each end of a rolled up yoga mat. Cinch the loops down and throw the middle section around your shoulder…you or your yogi friend are ready to head to class. Namaste!

Thanks for stopping by today!!
Love,

Maggie

You may also like -

Radio Flyer Book Gift Idea: 100 years of America’s Little Red WagonRadio Flyer: 100 years of America’s Little Red WagonNotebook Paper Pencil Pouch Teacher Gift IdeaNotebook Paper Pencil Pouch Teacher Gift Idea'Sweep the Leg' Free Silhouette Cut File‘Sweep the Leg’ Free Silhouette Cut FileEaster Silhouette Cut FilesFree Easter Silhouette Cut FilesGnome Felt Finger Puppet TutorialGnome Felt Finger Puppet Tutorial

Become a Subscriber

never miss a thing!

Welcome to Smashed Peas and Carrots. You can read more about me HERE
 photo designTeam.png
Follow on Bloglovin

Popular Tutorials

Highlighter Valentine Card with Free Printable

Highlighter Valentine Card with Free Printable…

Play Doh Valentine Card Free Printable

Play Doh Valentine Card Free Printable…

Elderberry Syrup Recipe

Elderberry Syrup Recipe: Natural Cold and Flu…

Teacher Survival Kit

Teacher Survival Kit with FREE Printable…

Notebook Paper Pencil Pouch Teacher Gift Idea

Notebook Paper Pencil Pouch Teacher Gift Idea…

Free Silhouette File Teacher Canvas Bag Gift Idea

Free Silhouette File: Teacher Canvas Bag Gift…

Popular Recipes

No Bake Energy Bites Recipe…

Chocolate Coconut Cups {Gluten and Dairy Free}…

DIY Taco Seasoning Recipe…

Sugar. Cookie. Icing. {The Recipe}…

French Dip..Crockpot Style!…

Crockpot Banana Bread…for Real!…

My Sponsors

 photo FatQuarterShop-175x175.png

 photo cdf15248-e6f8-4276-abc0-c145e2451c35.jpg


Blog Archives

Posts by Topic

Stay Connected

  • Facebook
  • Twitter
  • Pinterest
  • Instagram
  • Dots
  • Google Plus

Join me on Facebook

Copyright Smashed Peas and Carrots © 2025 · All rights reserved · Design by Emily White Designs

Copyright © 2025 · Smashed Peas & Carrots Custom on Genesis Framework · WordPress · Log in