So, we (meaning me) have been making some Father’s Day gifts for the man of the house this week. Better late than never, right? Yeah, I’m on top of this stuff.
Buuut, before we get into the gifts let me first show you the little bag I made to give one of his gifts in…similar to the Tiffany-Inspired Jewelry Bag I showed you how to make here but just a wee bit more man-ly. Oh, and the hubs is sworn off the blog until Father’s Day so I can show you now without him peeking at any of his gifts, woot woot 🙂
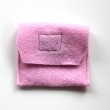
Anyways…without further ado, I bring to you the Drawstring Trinket Bag:
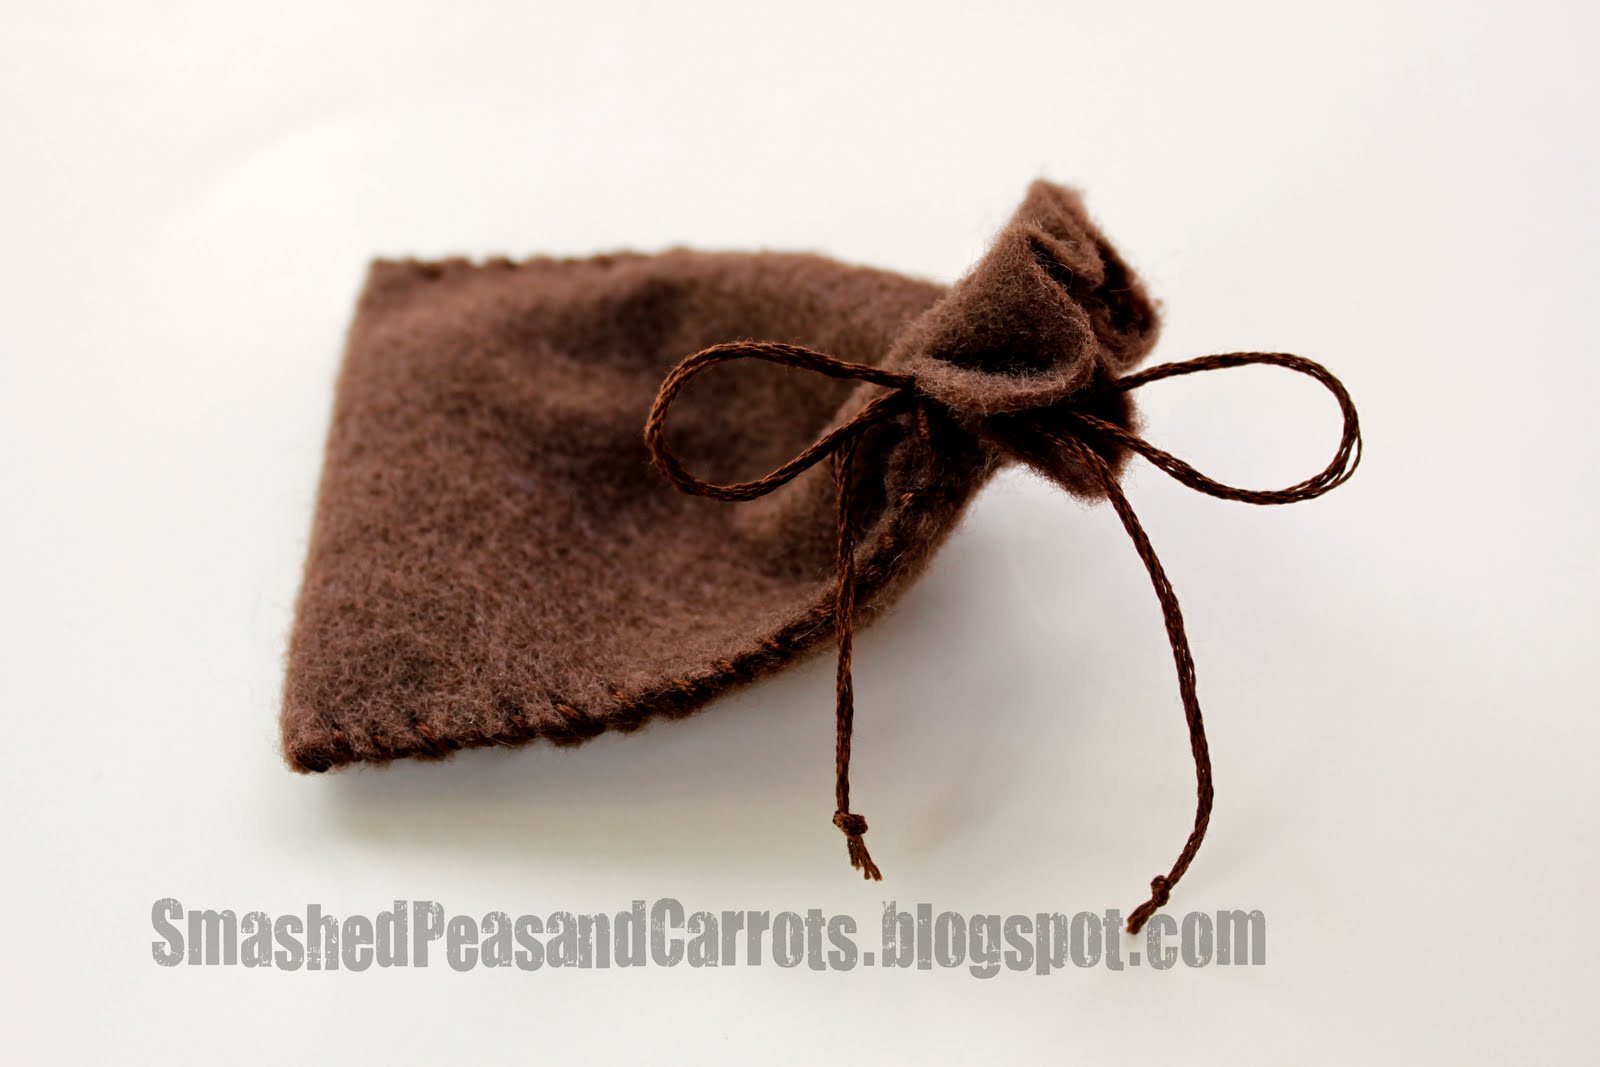
Man-ly isn’t it?

And what’s inside that man-ly bag you ask…yup, none other than a washer key chain ring!
I just love, love, loved this idea from Helping Little Hands. It was the perfect gift for my hubby as he is not into key any-things. He is a minimalist in the things he carries in his pockets. Keys…just keys no tag thingies of any sort. Wallet…small and simple. Phone. That’s it…no man bag needed for him. So, when I found this tutorial I knew I had to make it for him. It’s so simple, and tiny. Just two washers, a jump ring, a twisted up eye pin and a key ring. It shouldn’t add any bulk to his keys at all. LOVE it!
Ok, so to make this cute, I mean man-ly, little bag I’m gifting it in all you need is this:
Drawstring Trinket Bag
2 1/2 inch x 7 inch piece of felt
coordinating embroidery floss
embroidery needle
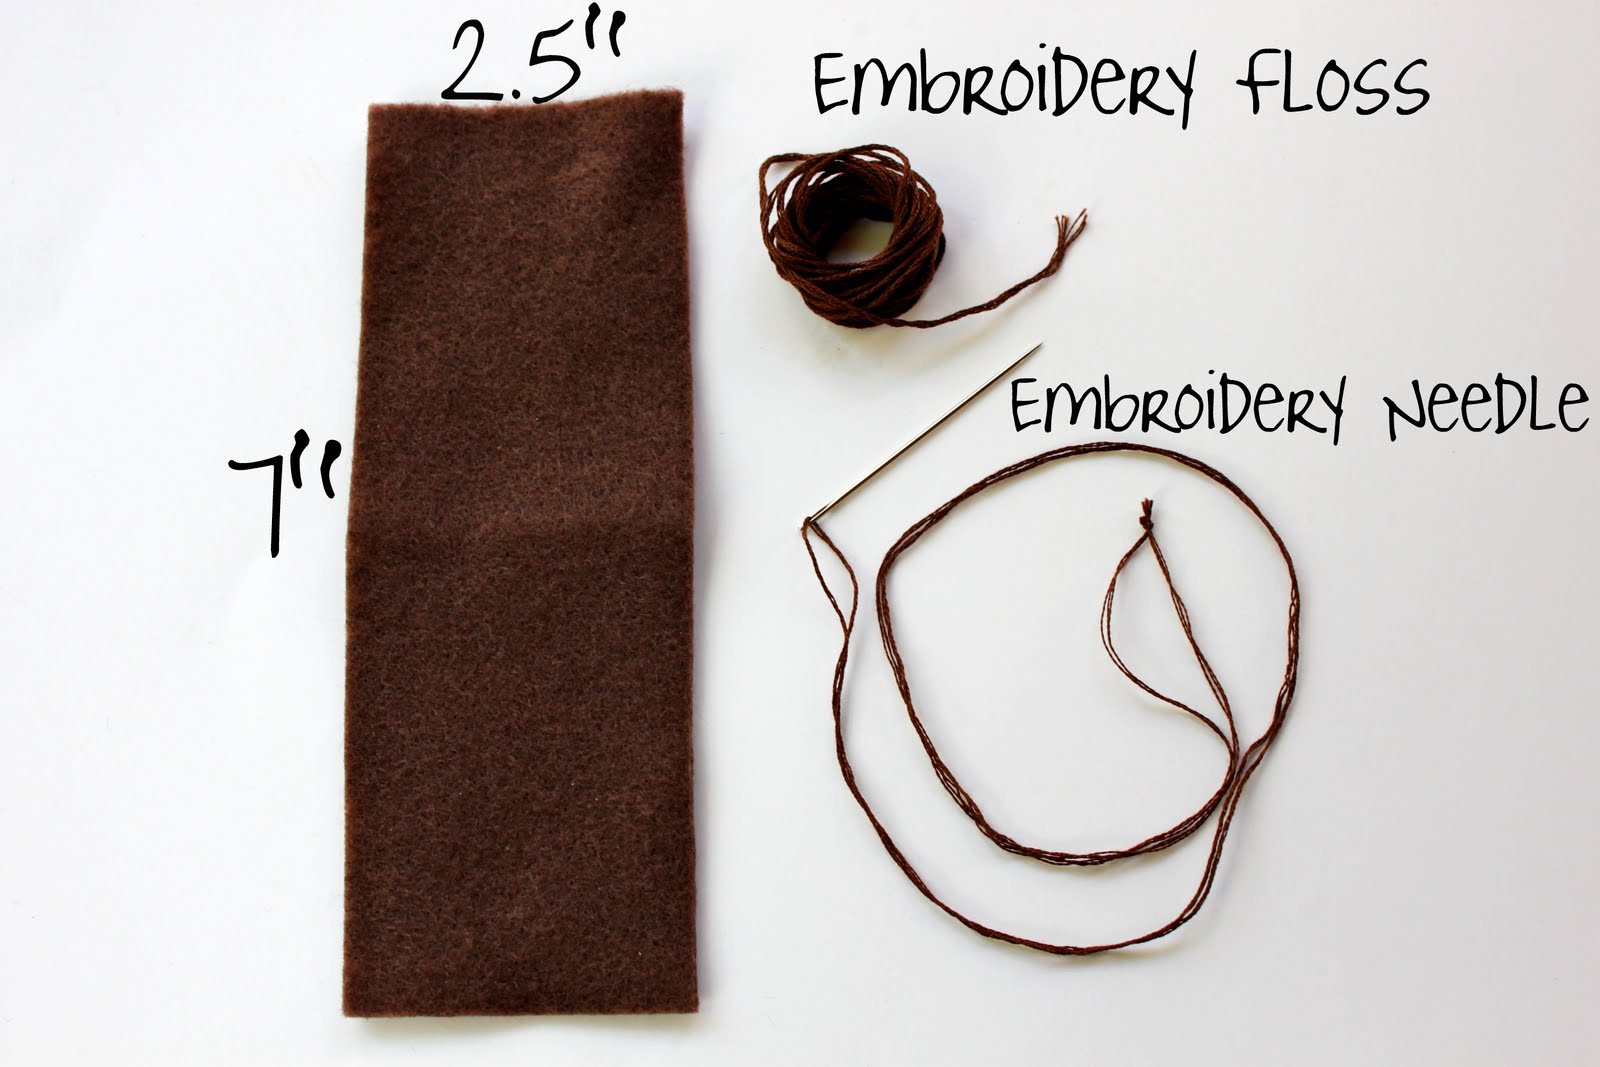
The goods…easy breezy!
(beautiful Cover Girl…aww, c’mon you know you were thinking it too!)
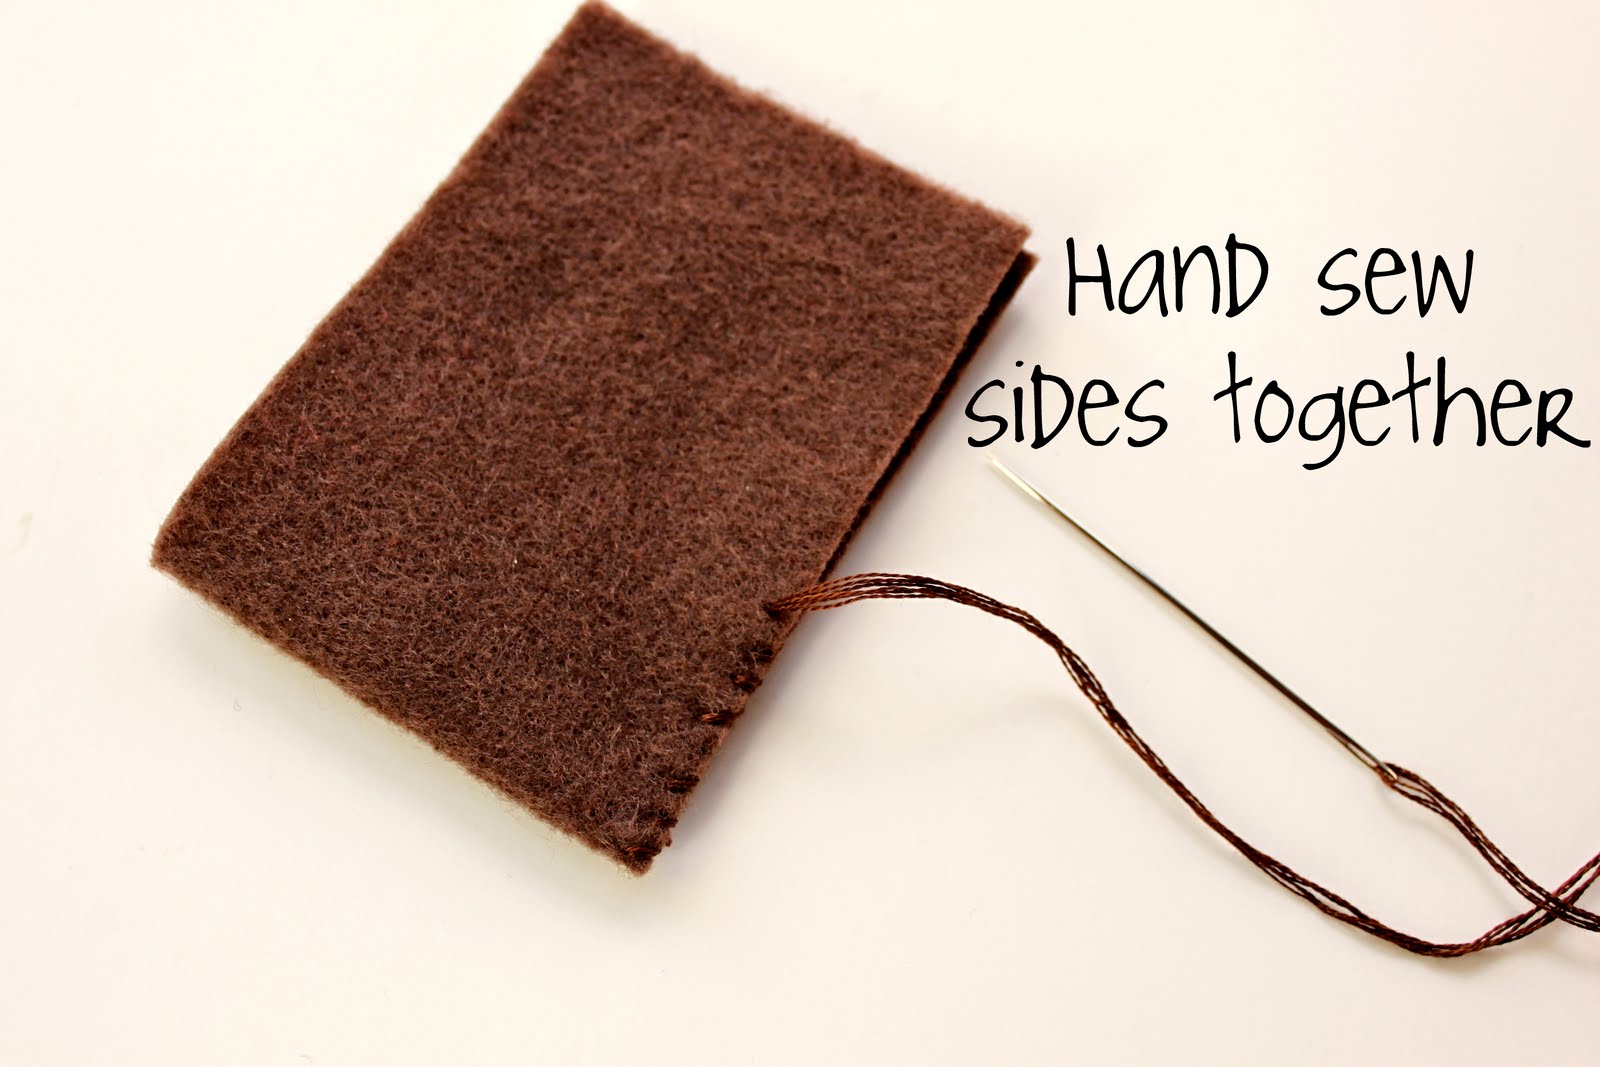 Ok, so first fold the felt in half lengthwise.
Then, hand sew both of the sides, like the picture above. Oh, and I only used 3 of the 6 strands of embroidery floss to do the sides for less bulk!
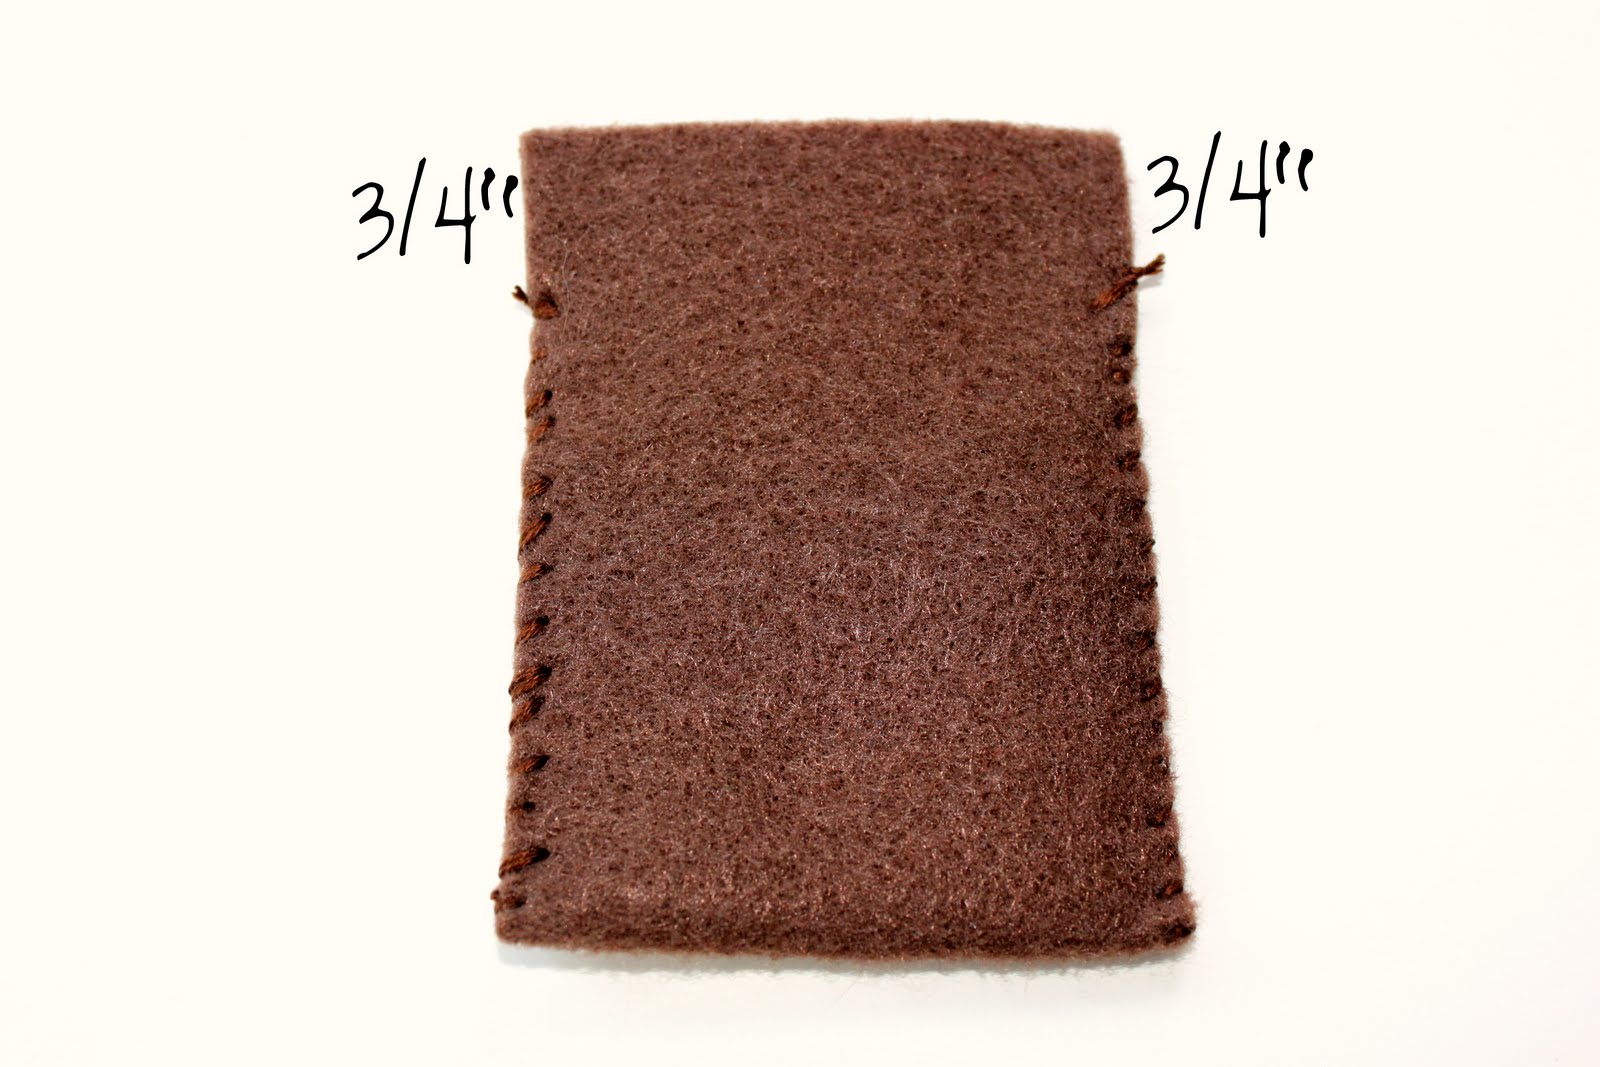 When sewing up the sides, leave 3/4 inch at the top of each side…this is where you are going to cinch bag together with the drawstring.
 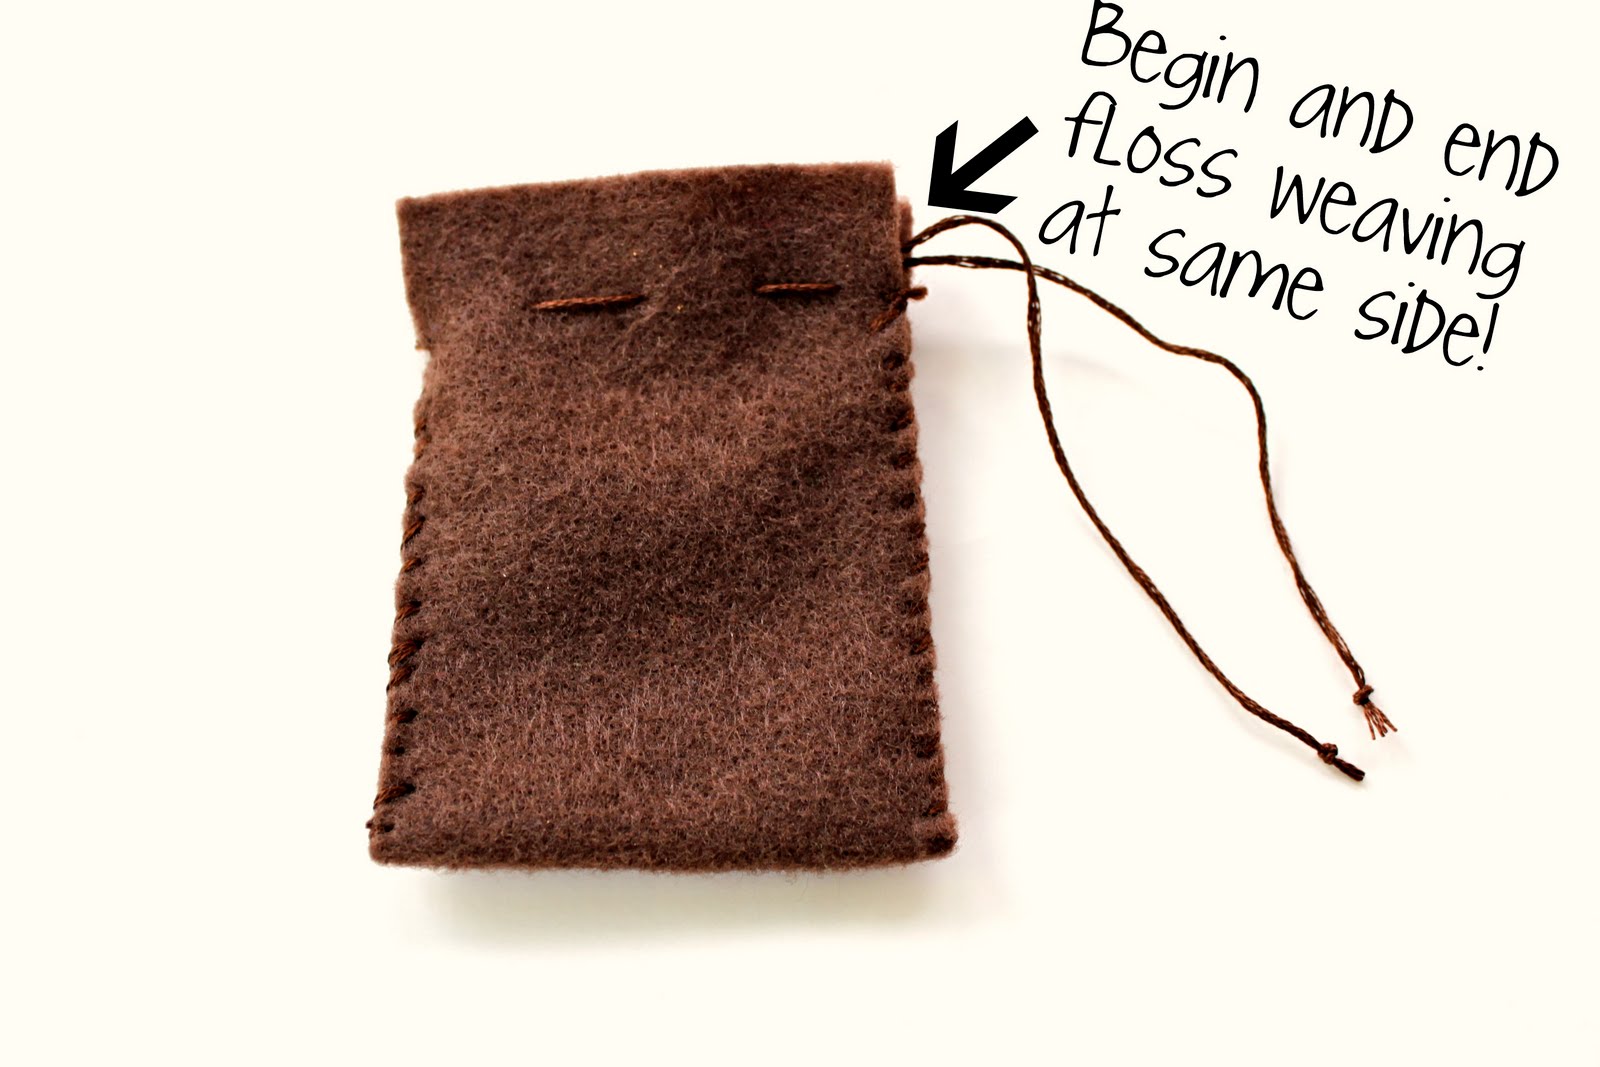 Then, take a 15 inch (or so) piece of embroidery floss (using all 6 stands this time) for the drawstring. Start at one side of the bag and weave the floss through the felt a couple of times and then onto the other side, ending up at the starting side. I also knotted both ends of the drawstring twice to give it a nice finished look.
Then, just cinch it up and tie it with a bow…LOVE!

Aww, let’s just look at what’s inside again…hopefully the hubby loves it!
Want a closer look?
Okay, here ya go:
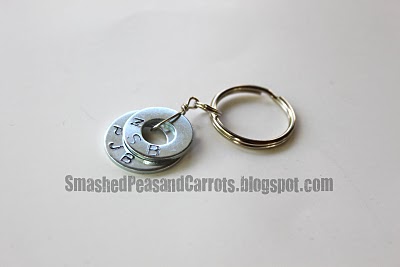
See, I even stamped the kidlets initials on there. To be honest, I intended on doing their names. I first made a washer with Noah’s name and it wasn’t too shabby, then I got to Penelope…are you kidding me??? There is no way that her name was going to fit on a washer and there is no way I was NOT going to screw up just one measley letter and have to start it all over…forget about it!!! So, names were out and initials were in…much easier!
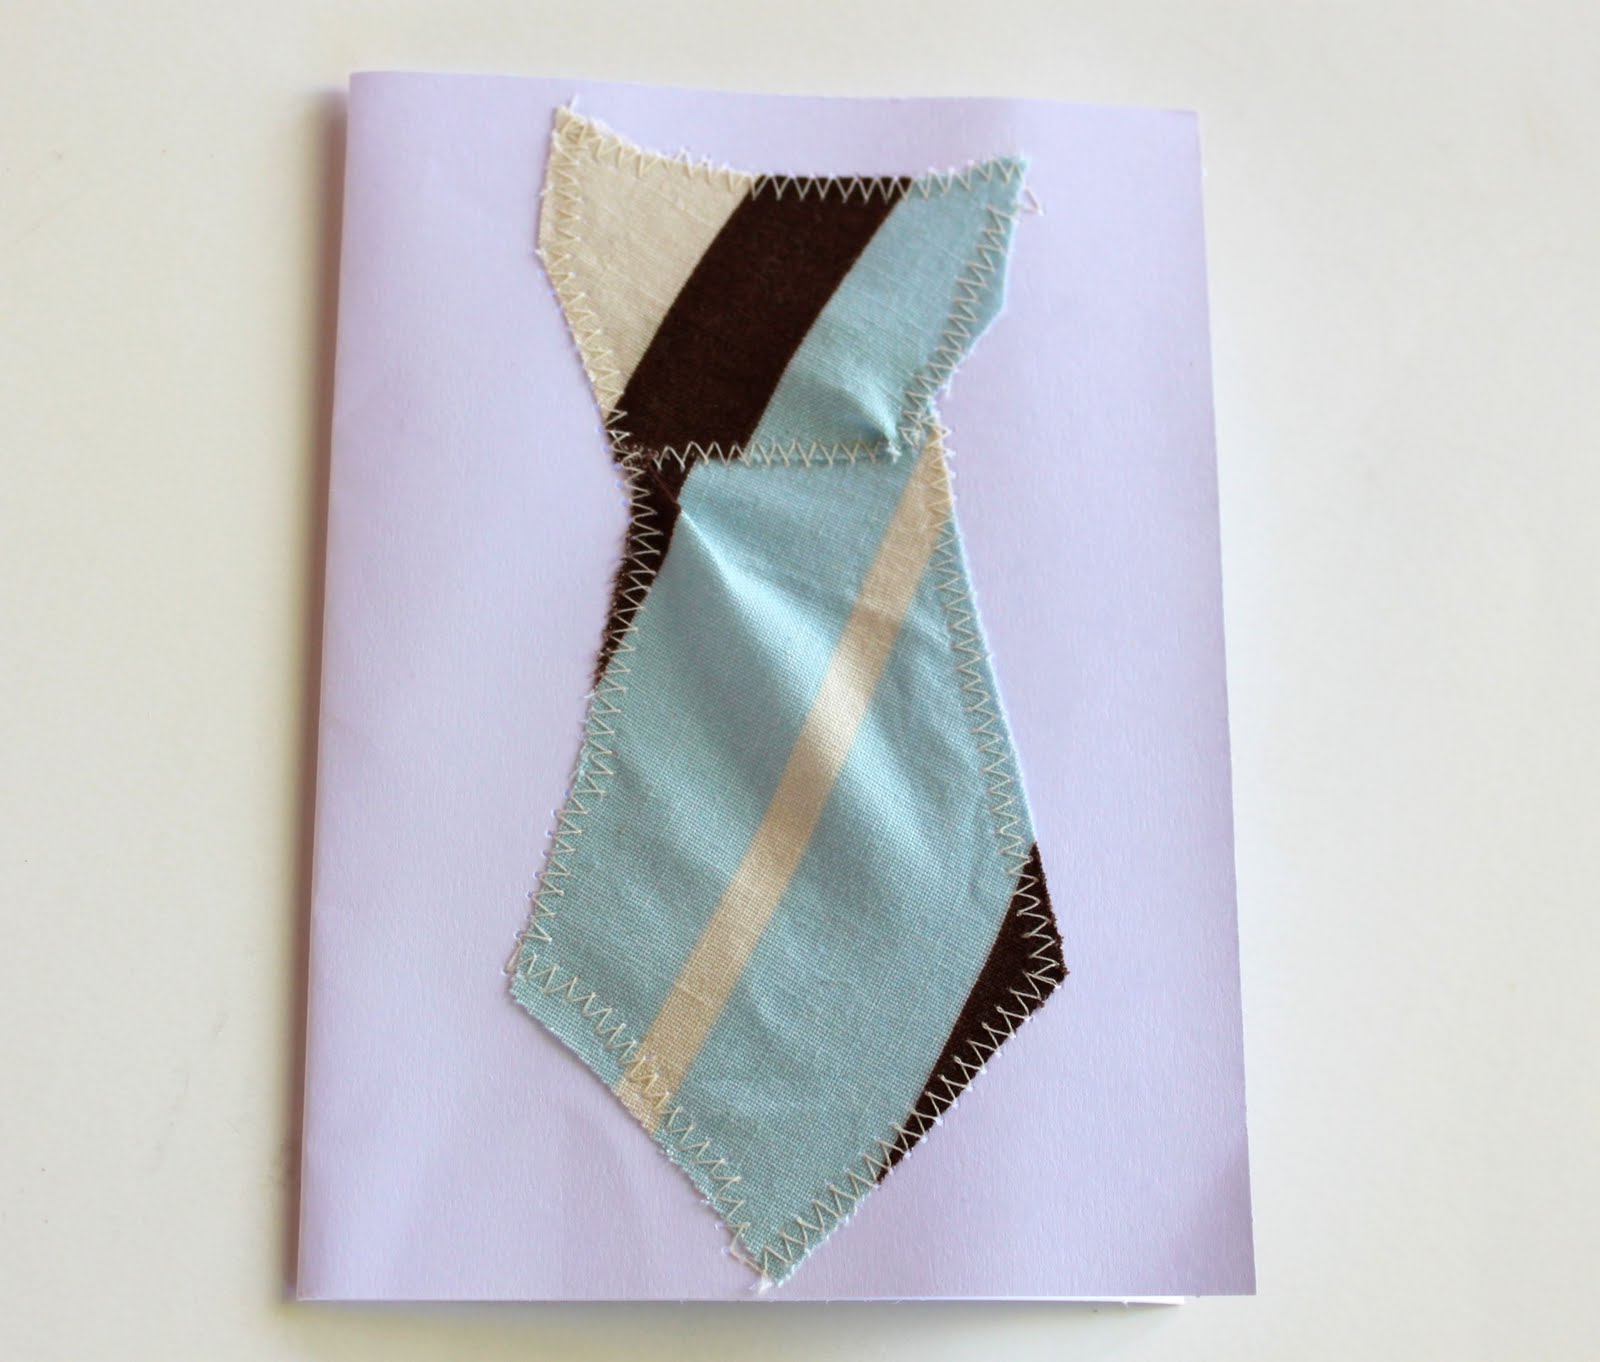 We (I) also made the hubs a fabric tie sewn card…I just love the look of a fabric-sewn card. The inside is full of crayon scribbles…and circles. Noah is really into making circles these days.
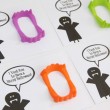
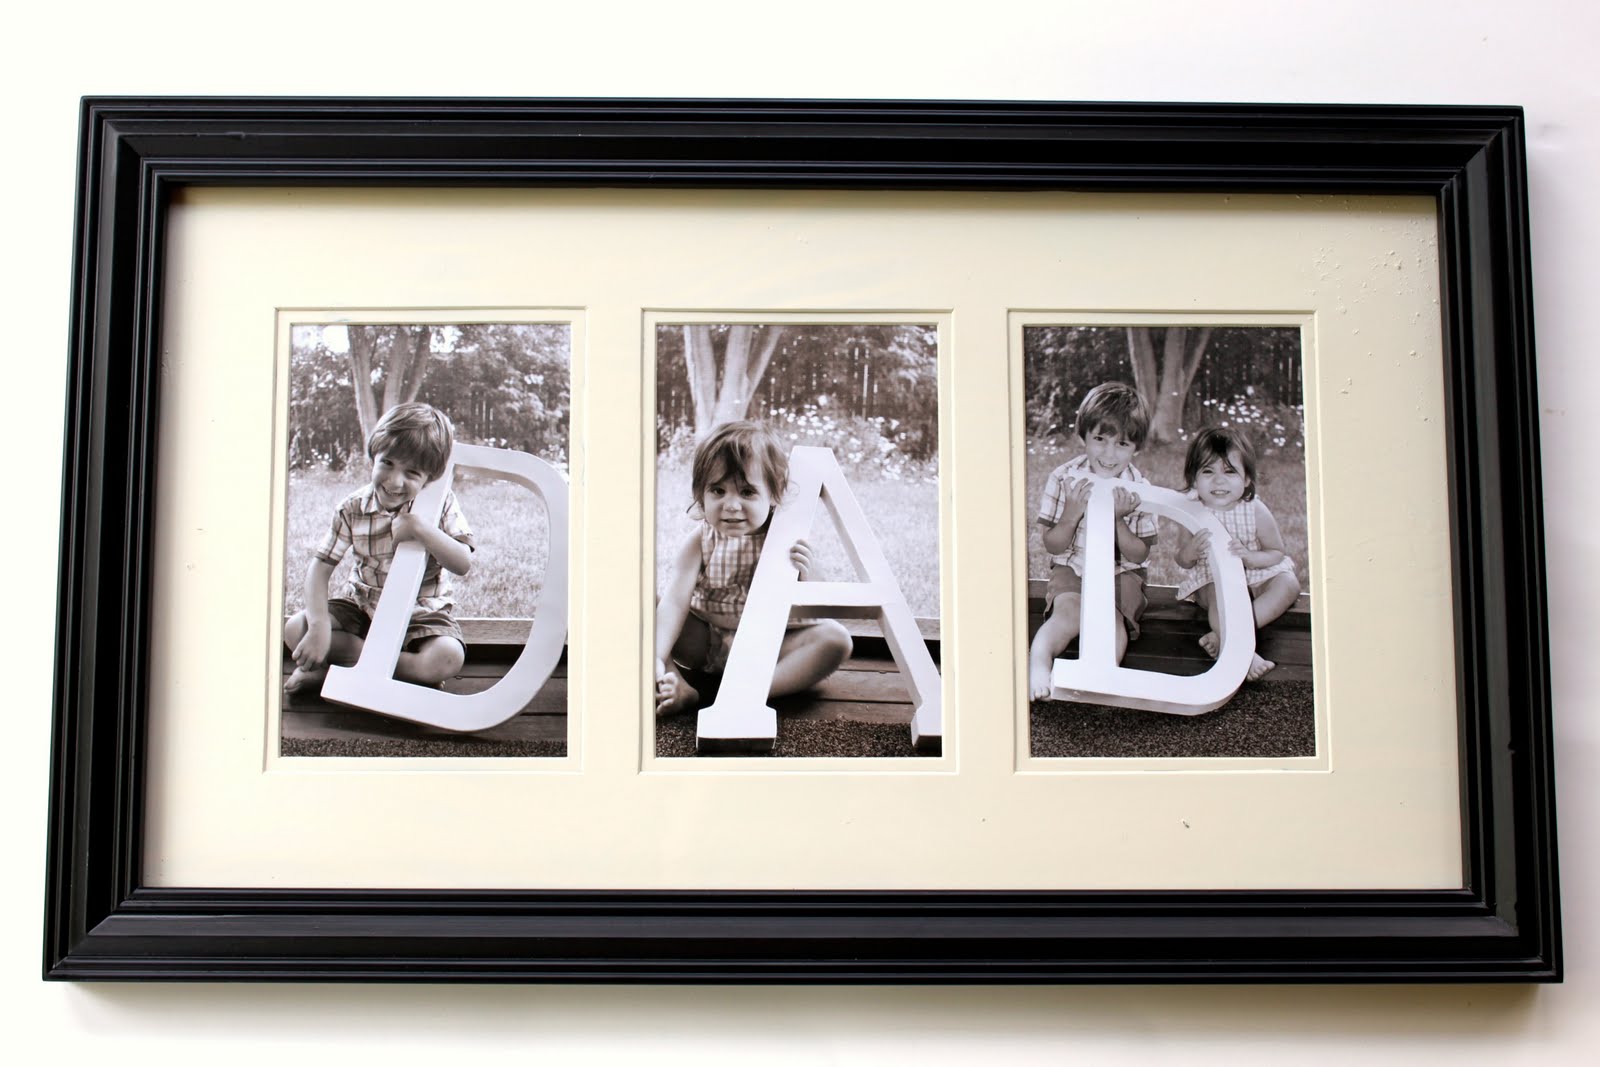 And, lastly…so far anyways…the kids posed for these fun pictures. This was such a fun gift to make and the kidlets loved posing with the giant letters. I found the frame for cheap at Hobby Lobby in the teen girls’ section, it was originally hot pink with a zebra print photo mat, nothing a little spray paint couldn’t change.
 I am totally doing this gift, the picture part anyways, every year now. I completely love the idea of watching my little crazy monkeys change every year and at some point they’ll finally be bigger than the letters they are holding. Oh, and I found this idea at The Brassy Apple. Did I tell you I soooo love the blog world? So many great ideas out there!!! Totally made making my Father’s Day gifts a breeze to do!!!
If you haven’t even thought about a Father’s Day gift yet, you could totally do this picture one in a heartbeat…just use white poster board to make the letters (any size) and send the pics to a one-hour photo place, get yourself a frame of some sort and voila, it’s that easy!
Okay, so that’s all I’ve done for now…have a great weekend, Father’s Day celebrating or not!!


I’m so freakin’ blown away by all of this!! The letter pictures?!? Ah-maze-ing!!!
And, seriously, you hand stamped the letters yourself? Is there anything you can’t do?? Would love a ‘how-to’ on this someday! 🙂
That bag is a great idea, and your keychain turned out AWESOME! Thanks for linking. 🙂
These are awesome…love the stamped washers.
I laughed when I read this post!, I wanted to do the washer stamping, but I couldn’t find a stamp kit that would get here on time. I did the same frame gift though, only I used different letters, (I’ve got 4 teens)and we spelled LOVE.) I put pics up yesterday. I Love the bag, when I finally find a stamp kit… I’ll know how to make the bag! 🙂
Hi, (I tried to use your “email me” tab, but it was sent back “undeliverable”)
I saw you featured on Leca, Unplugged and had just went strawberry picking with my daughters. I let my 6 year old pick a recipe to make and she picked yours. The step by step pictures were perfect for my 6 year old to “read” the recipe. She did a lot of the work herself. We took it to a church event and it got rave reviews. I’d like to post the recipe on my blog http://www.nicoleiskeepingitsimple.blogspot.com.
Check out my site and see if you feel comfortable with it being posted there. How do you prefer I post it? With a link to Leca’s site which would take people to your site, I type out the recipe and reference you, do the same guest post on my site, etc. Let me know what you think is best. I’m really not sure what is “blog etiquette” regarding recipes.
Thanks,
Nicole
Very cool ideas!
LOVE the DAD frame!!! This is going into the ol’ craft journal.
Love your blog!!
Where did you get your big letters? I love that they are so big!
HI Jennifer! If you mean the letters in the photo DAD, I bought the D and A at Joann’s, they are cardboard type letters, and spray painted them white!
XOXO,
Mags
I absolutely love your DAD photo, and I did my own photo, linking back, for my husband this Father’s day. I love your version, but we did what we could. Thanks for the inspiration.