Want to make your own super cute decor to celebrate Easter this year? Then you must check out these adorable Easter Silhouette Cut Files that are free downloads!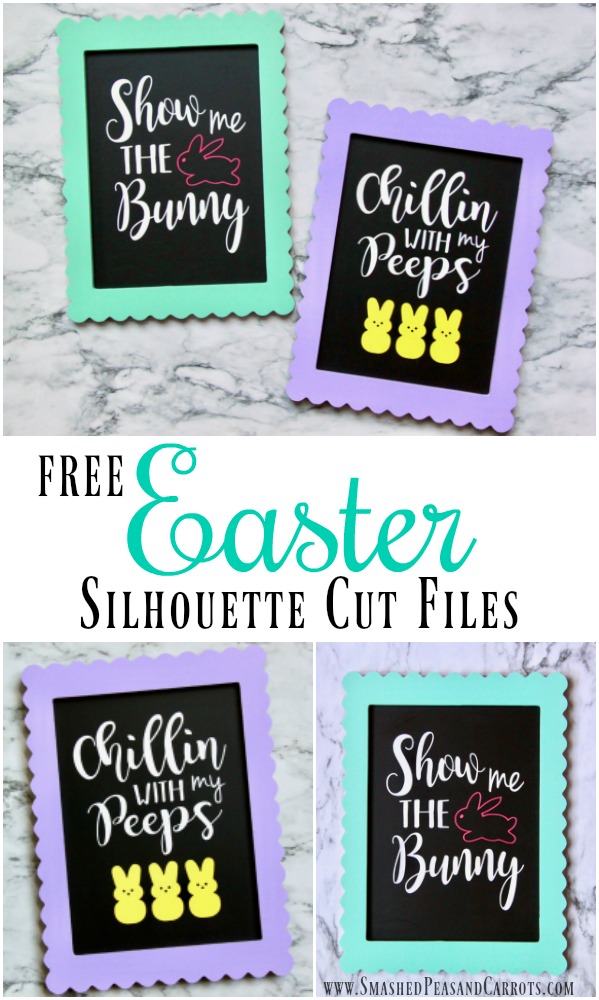
I love decorating for the holidays and Easter is definitely up there as one of my favorite! I love that spring is on it’s way right around the time Easter is here and most of the decorations have those happy spring colors…colors! No more winter grey. Trees are starting to bud and flowers are starting to sprout up from the thawing ground. Then of course there are the eggs, and bunnies, and baby chicks. Signs of new life. So many reasons why around this time of year I start decorating my house in some happy colors!
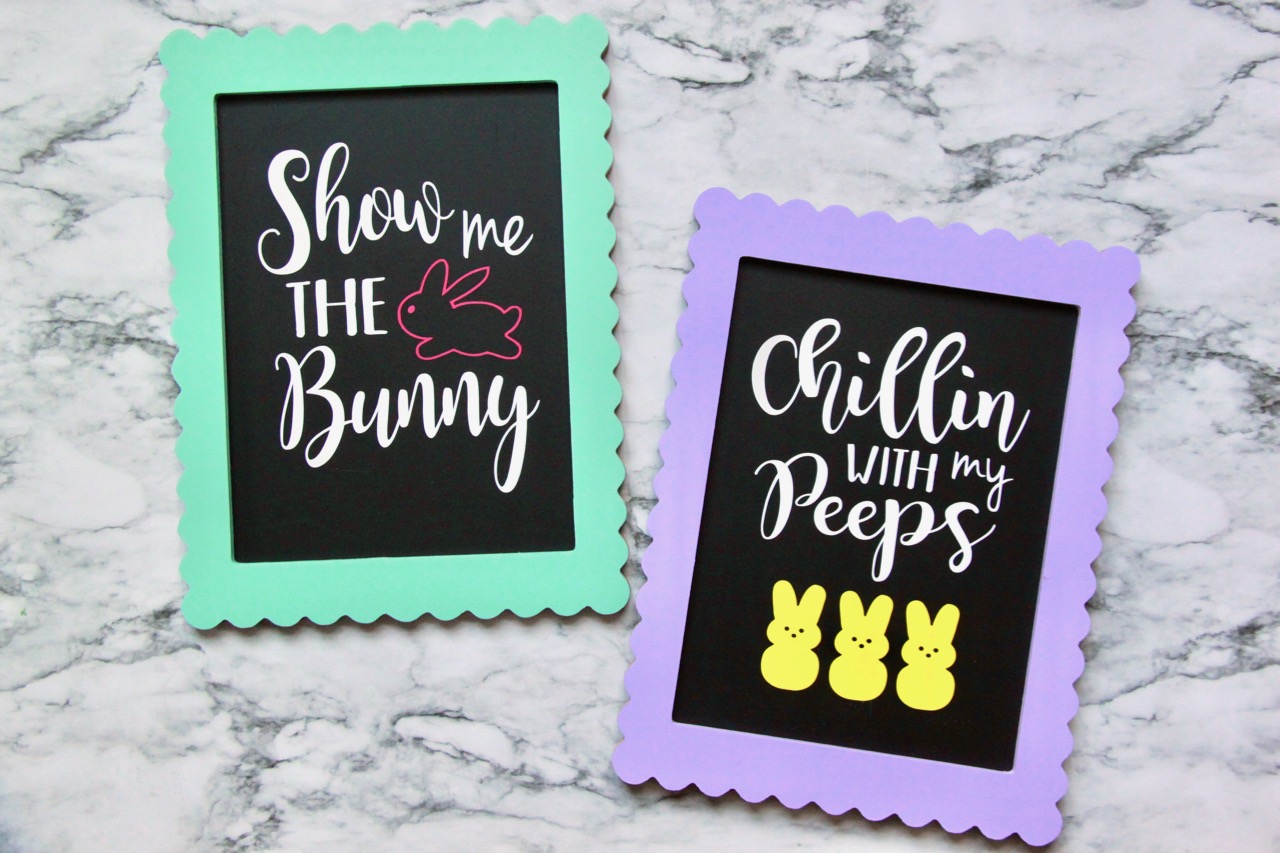
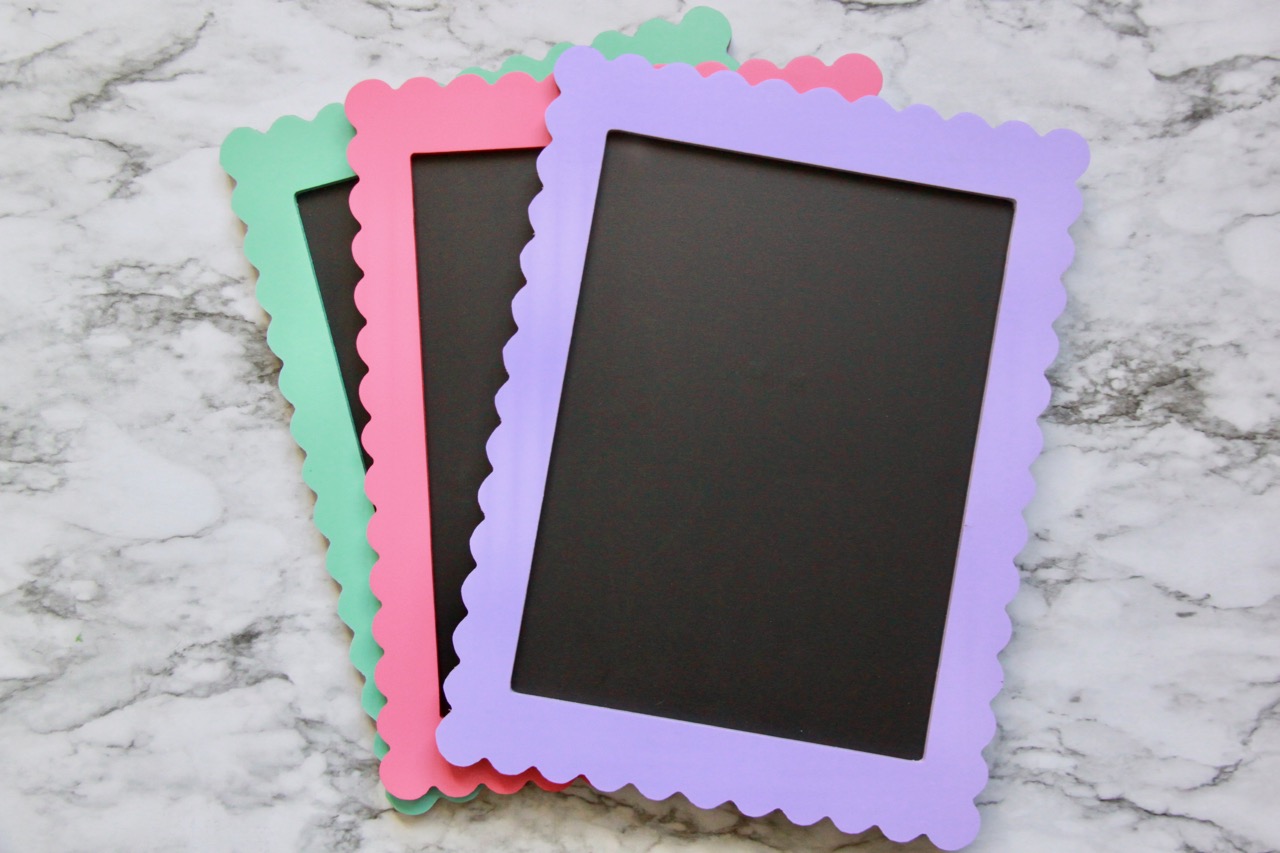
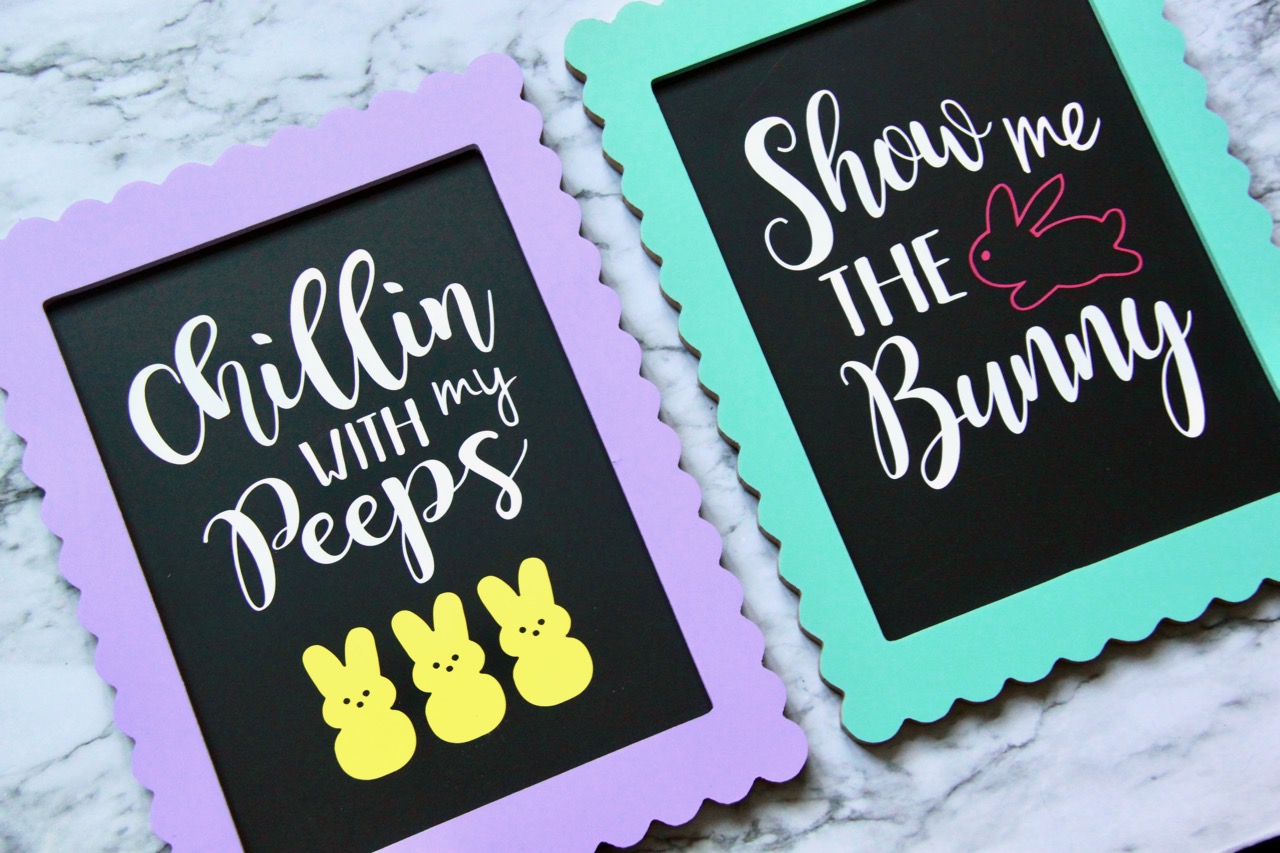
I found these super cute chalkboard frames at the Dollar Spot in Target. They are so colorful and spring-y, aren’t they? I just had to buy a few! And because I love a good piece of chalkboard art, I immediately thought that those scalloped edges and those pastel colors would make for some cute Easter signs. Unfortunately, I am no lettering artist so to make fun signs I always fall back on my trusty Silhouette cutting machine. I just love it for making so many things like personalized mugs and shirts, signs and decor like my Minnie Mouse Disney Shirt or this Personalize Teacher Travel Mug! (affiliate links present)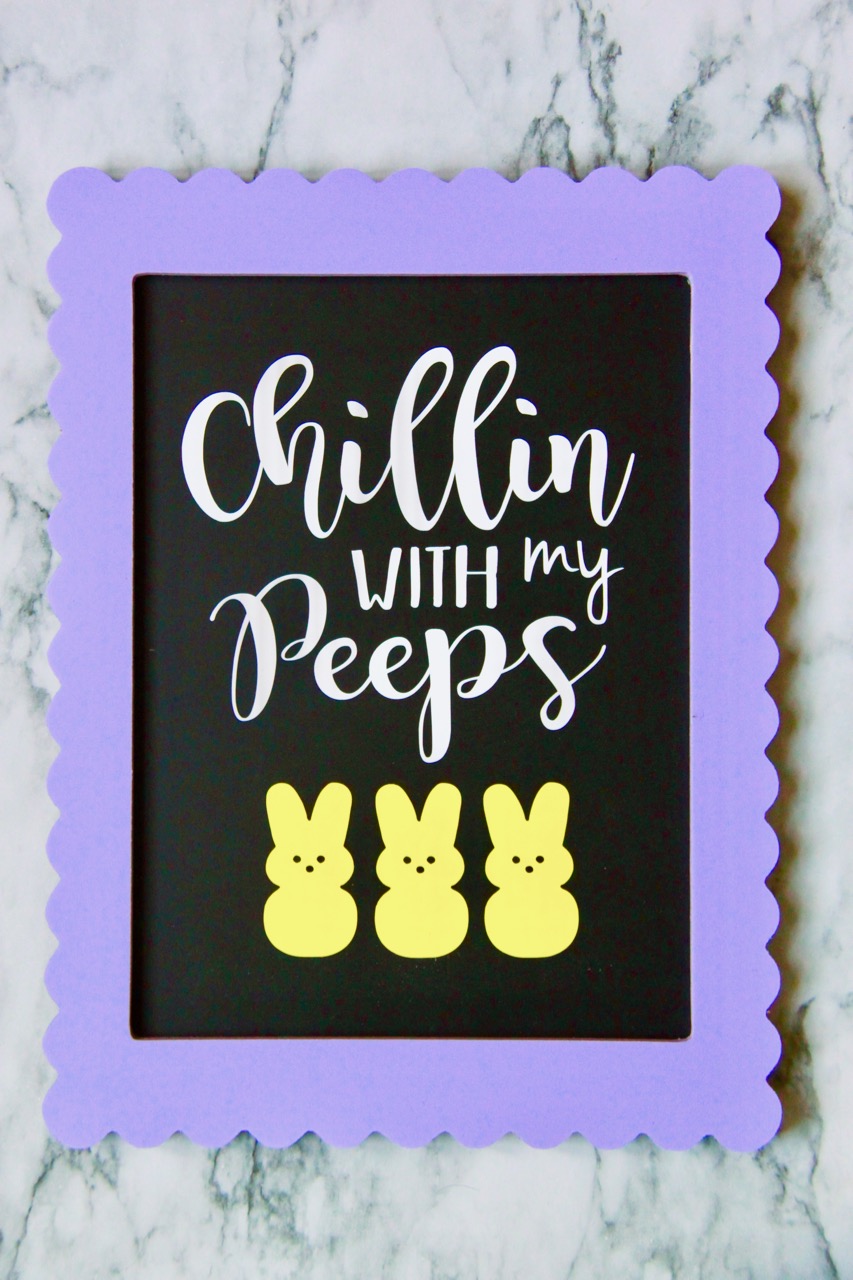 Today I wanted to share the two signs I made with the chalkboard frames using my Silhouette machine. You can find the Silhouette .studio3 files below if you’d like to create your own too!
The first one I made is this cute “Chillin with my Peeps” cut file with chalkboard lettering and cute little peeps bunnies! If you’d like you could even do each bunny in a different vinyl color for all those different peeps flavors.
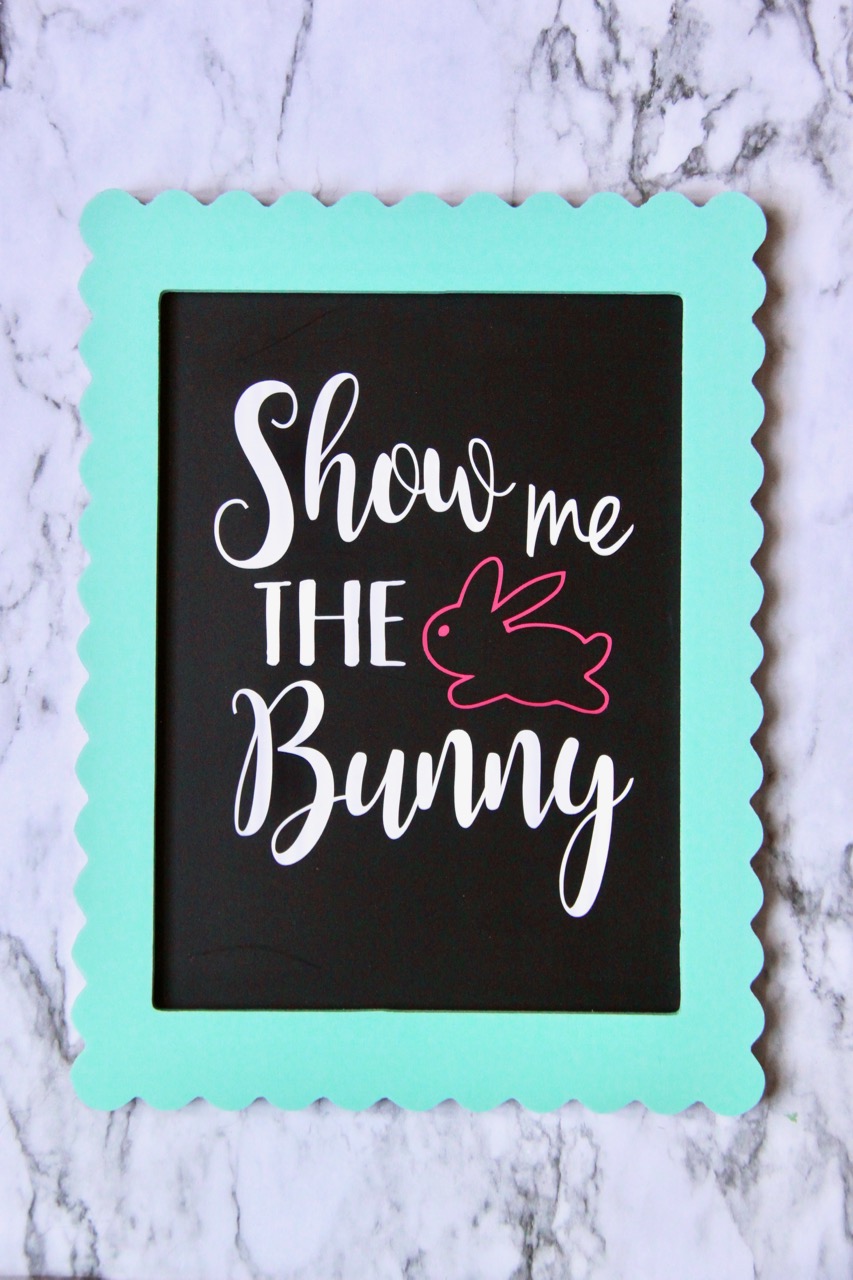
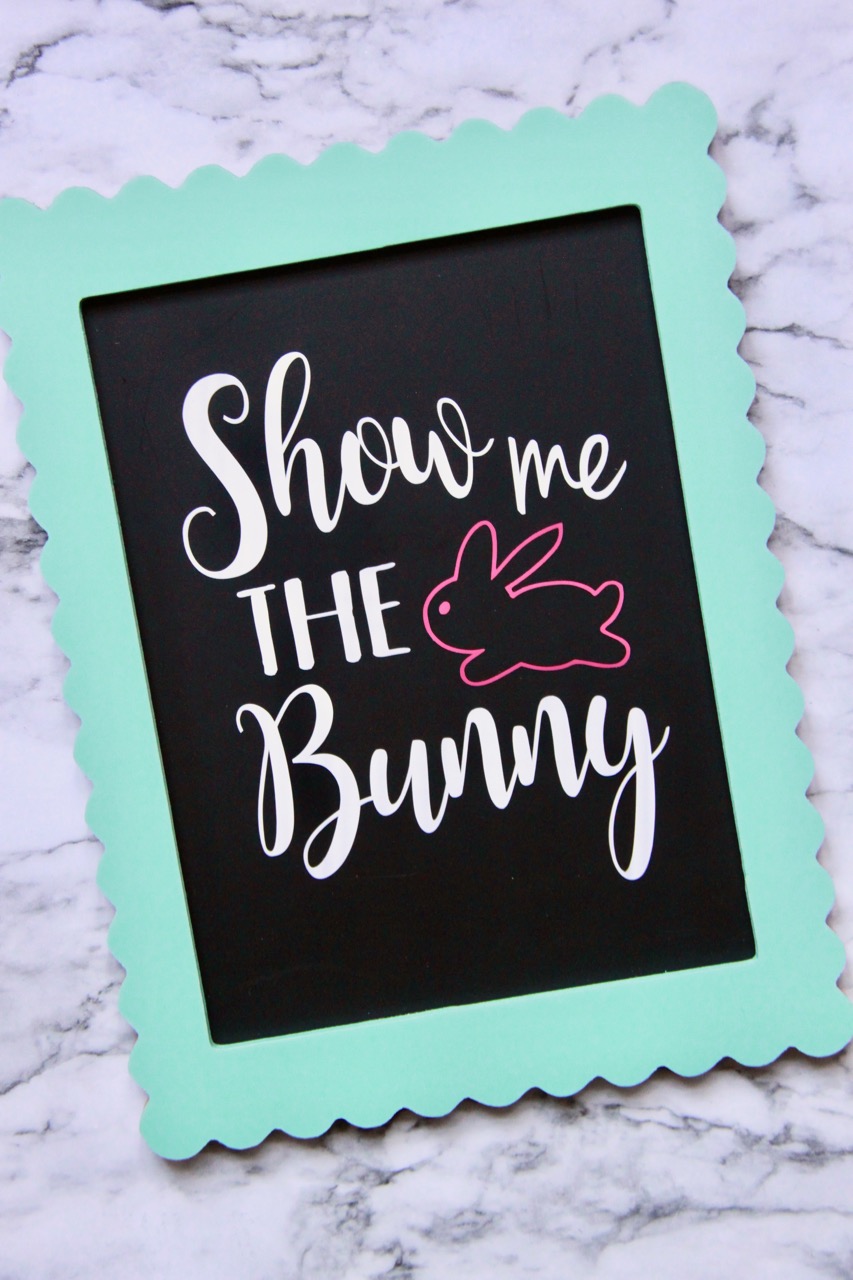
And the other cut file I created was this ode to Jerry Maguire sign, “Show me the Bunny”. My kids thought this sign was so cute but had no clue what it meant, isn’t that hilarious? They were like, “who’s Jerry Maguire?” 😉
Easter Silhouette Cut Files
Here are the links to the two cut files I created! I hope you enjoy creating your very own Easter signs with them!
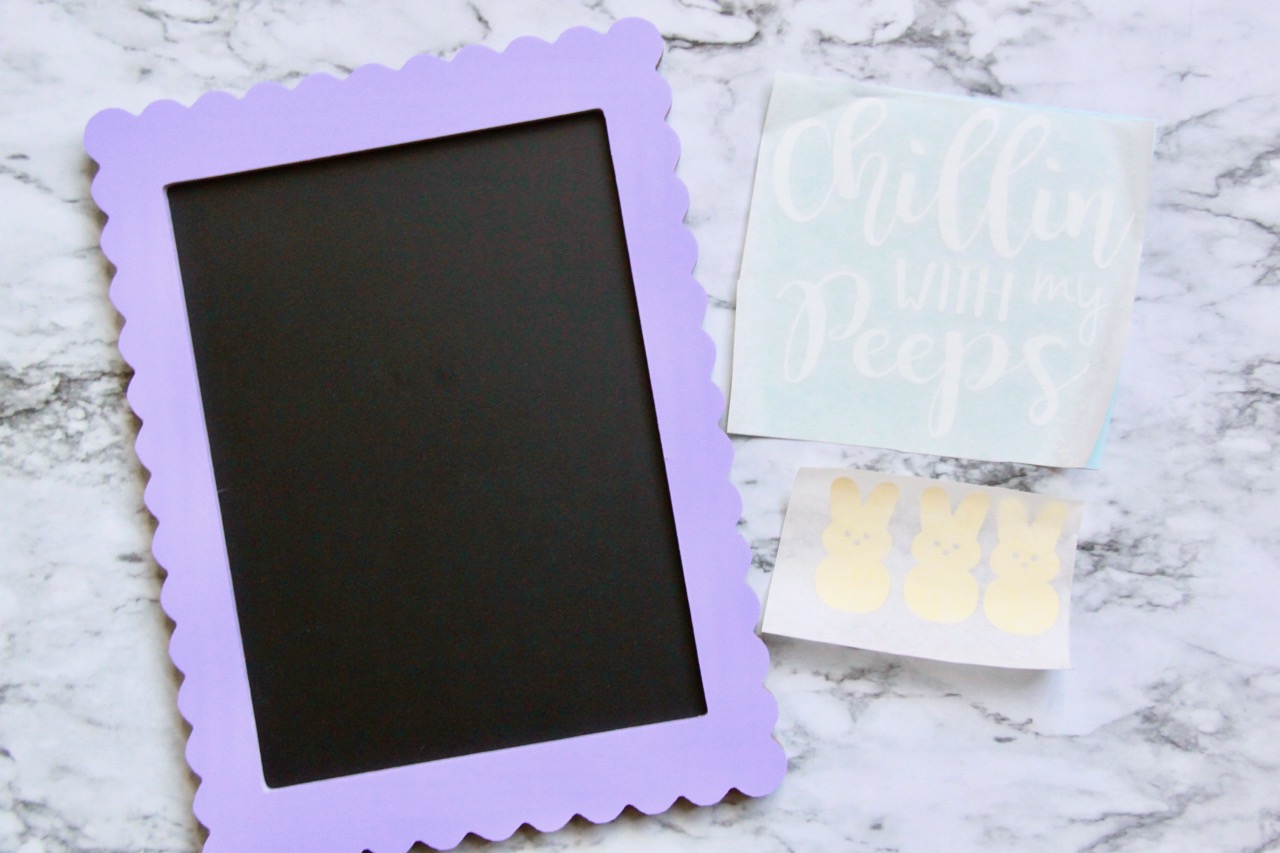 To transfer the cut vinyl to the chalkboards you are going to need some transfer paper. I really like this transfer paper as it is a medium tack so it releases the vinyl pretty easily. It can also be reused a few times which makes it last longer!!!
Just press cut and peeled vinyl onto the transfer paper and then cut to size from the roll.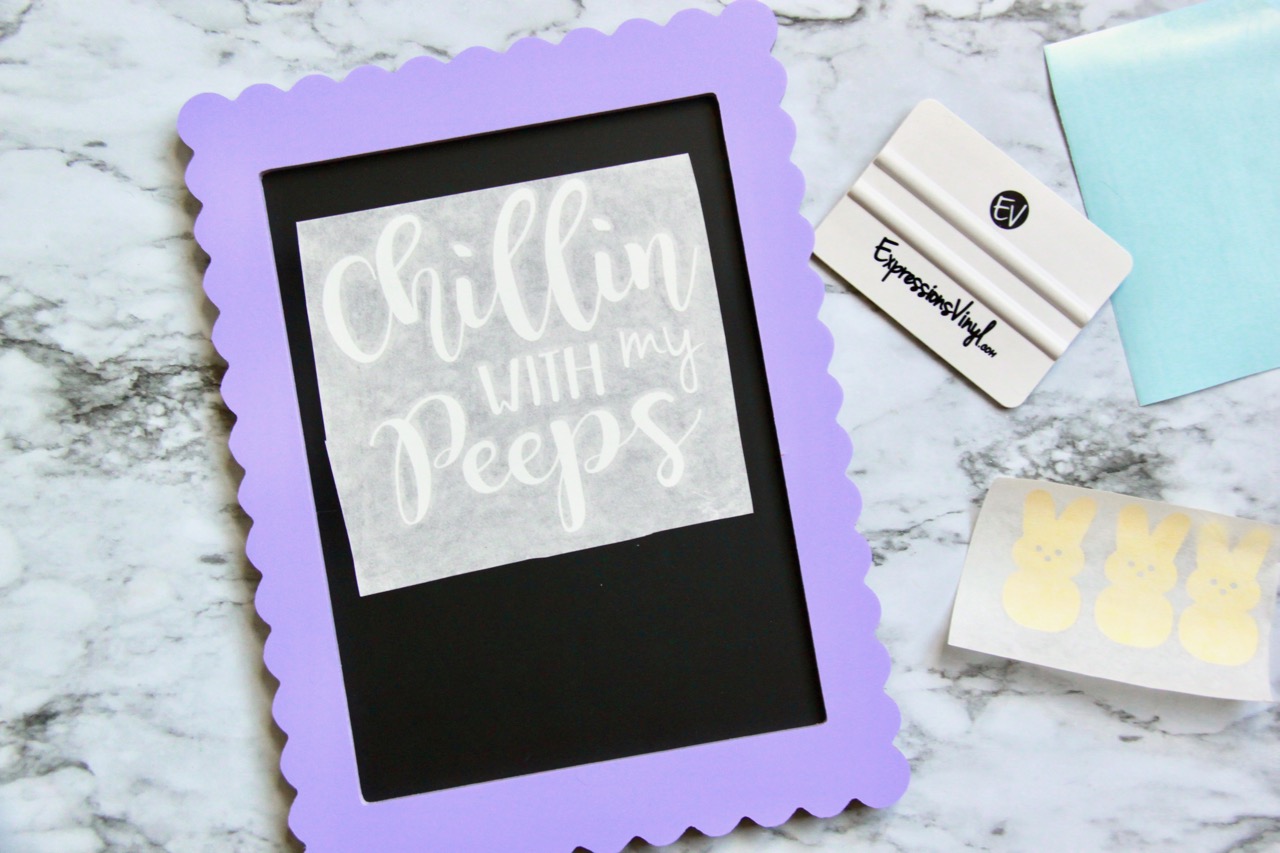 Then carefully place the vinyl where you’d like it on the chalkboard and press it onto the chalkboard. You could use a credit card or gift card to do this or you can get a vinyl scraper like this one which is similar to the one I have!
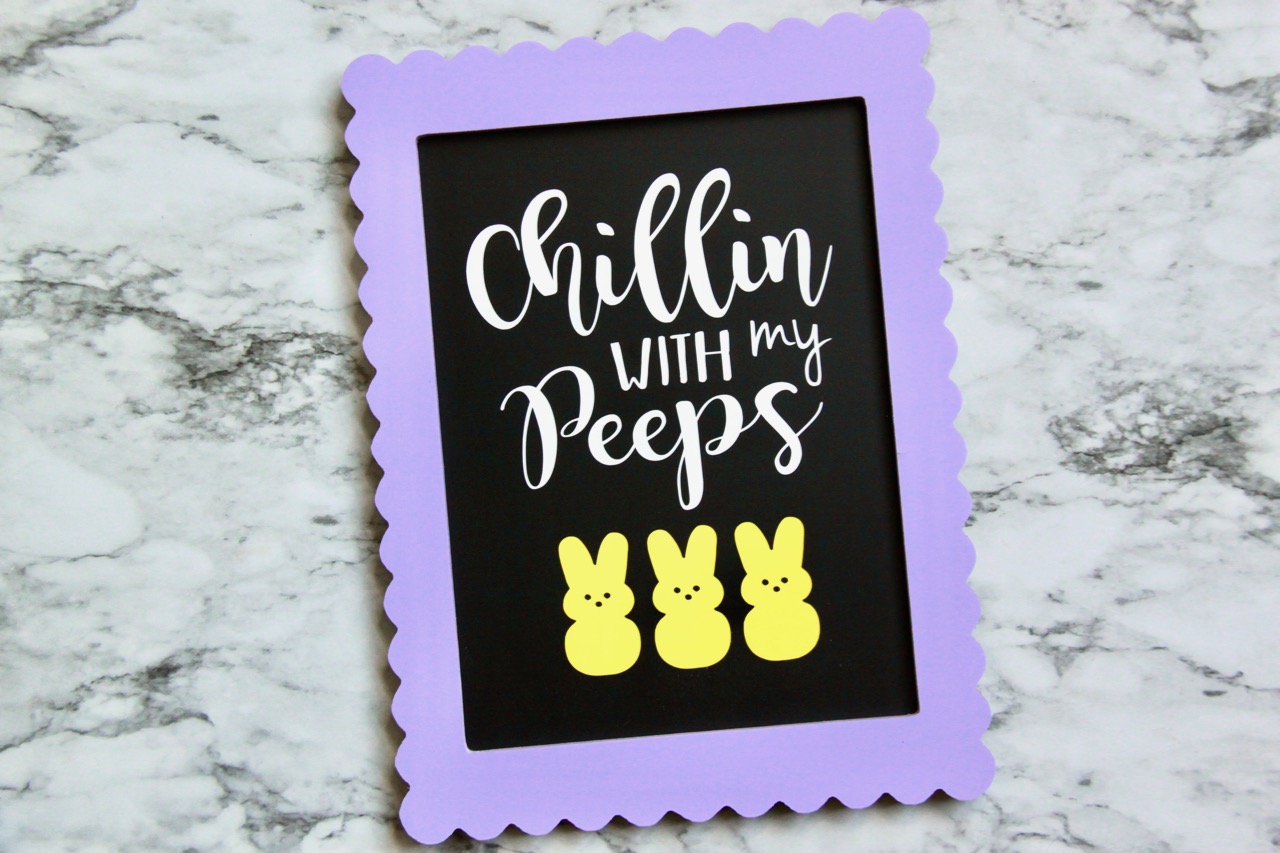 And there you have it! A brand spankin’ new cute Easter Chalkboard sign to decorate your house with this Easter!
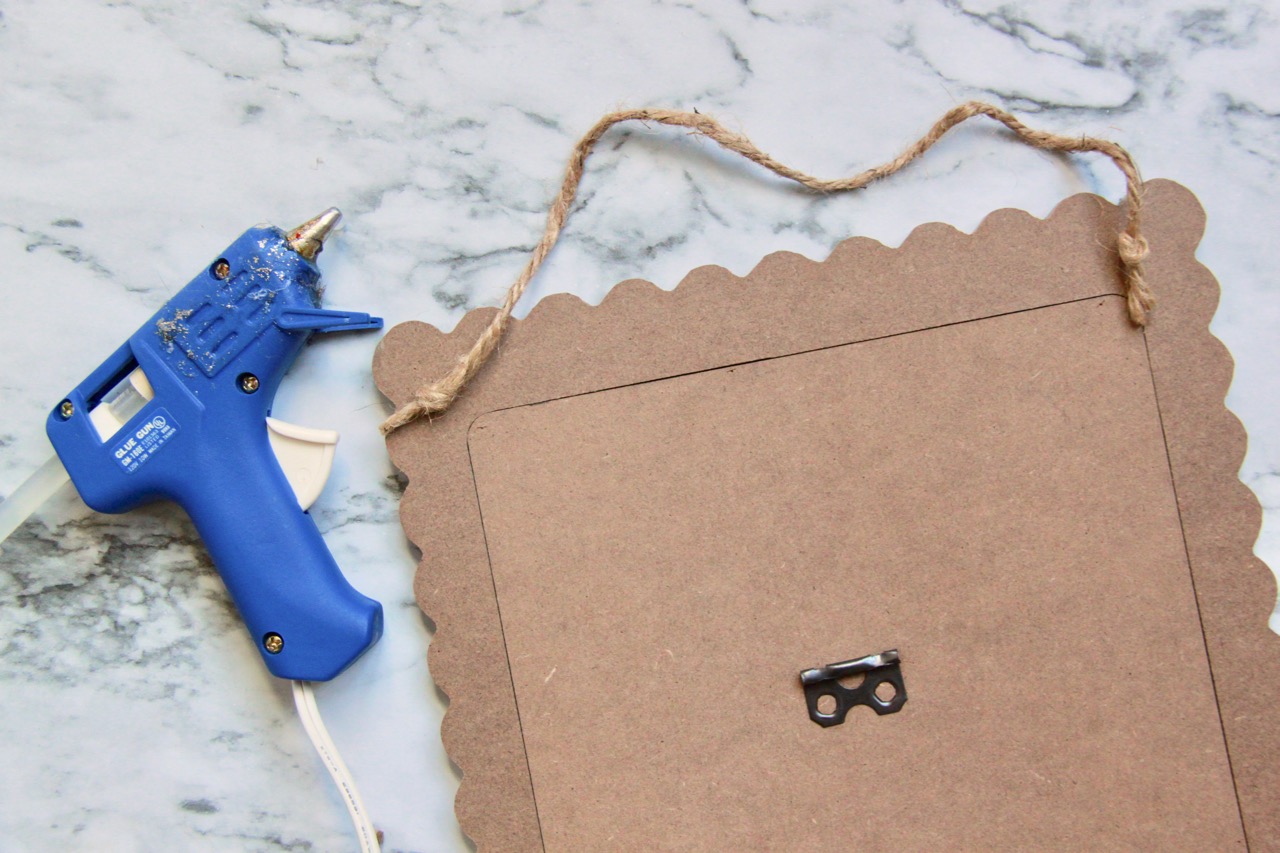 These chalkboard frames only came with a stand to decorate a table or bookshelf but I wanted to be able to hang then on the wall so I grabbed some burlap rope and my glue gun and made my own hangers. Just squeeze some hot glue over the rope and let dry. Easy peasy!
For more delicious and easy recipes and craft ideas please LIKE Smashed Peas and Carrots on Facebook or follow me on Instagram or Pinterest for more great ideas! And if you like this, you may enjoy these posts as well!
Thanks for stopping by today!
Love,
Maggie
