For some reason I cannot quite put my finger on, we are having quite the baby-splosion this August and September around these parts, it’s raining babies I tell you. We are pretty lucky to be enjoying so many sweet little bundles of joy all squishy and small, man they are cuties 🙂 I wonder what happened 9-10 months ago that I, thank goodness, was not a part of? 😉
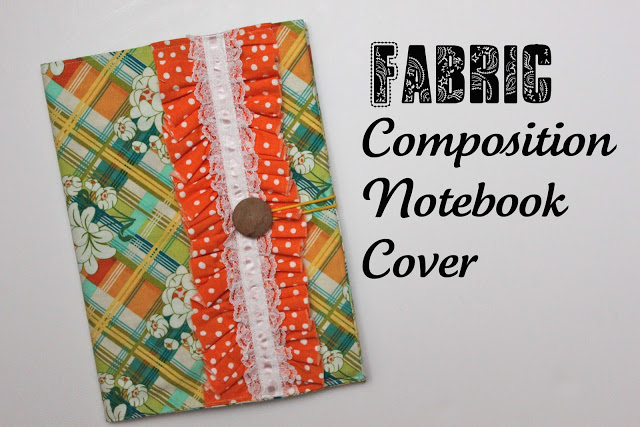
I came up with a fun little gift for a few of the mommas that I thought I would share with you today. It’s a Fabric Composition Notebook Cover that is removable so that you can replace the notebook once it fills up. I thought this would be a pretty little gift that any momma could easily keep in reach and use to jot down all those precious baby notes that they may want to remember when the baby book isn’t handy or just doesn’t give you much space to write. I always use a Baby’s First Year calendar with all my little ones but with Eloise it was really, really hard to find one so I’m thinking they aren’t make them anymore, boo hoo! I like a calendar or a notebook where you can just scratch down something really quick and not worry if it’s perfect handwriting or even a perfectly made thought (hello, new baby mind fog!) Then when you have more time you can always transfer it to the baby book later. Plus it’s a nice log for firsts that aren’t usually found in a baby book, you know…first trip to Costco (lol!), first walk outside as a family…or maybe to jot down when your milk came in or even to write down your nursing schedule to look back at through the months. Okay, can you see how handy it is to have something other than THE baby book to write in!?
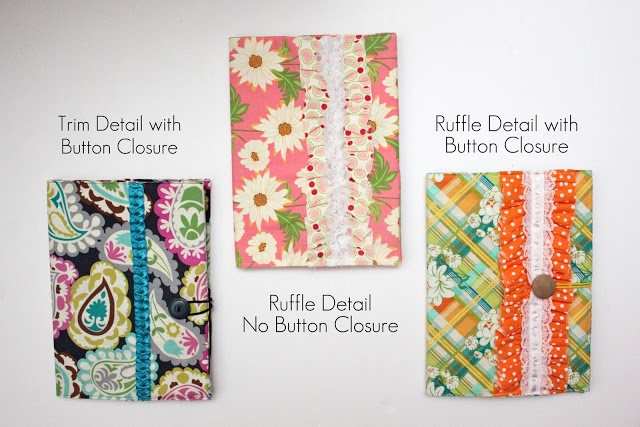
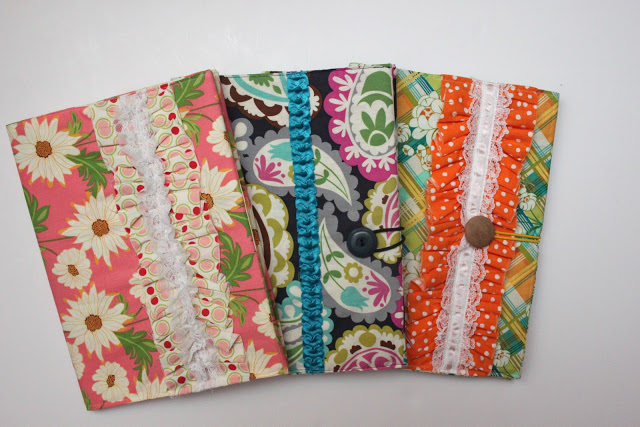
The best thing about this cover is that you can really change it up…add trim, vintage lace, ruffles, a button closure, a tie closure, even no closure…awesome! Options are good 🙂
Okay, let’s get started!
Fabric Composition Notebook Cover
PS. My composition notebooks measured 7 1/2 x 9 3/4 inches
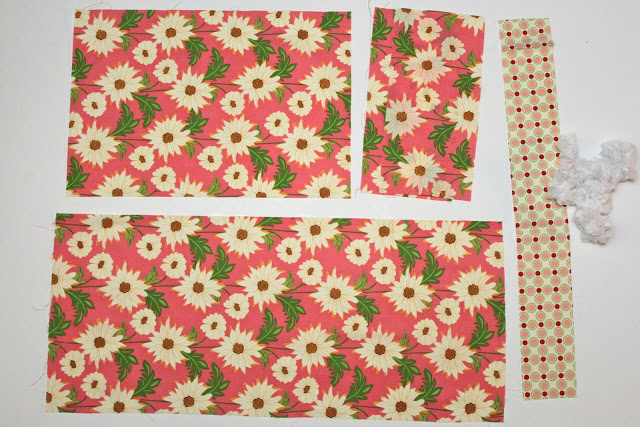
(1) 11 x 25 inch piece of fabric
(1) 11 x 16 inch piece of fabric
(2) 11 x 5 inch pieces of fabric
For Ruffle:
(1) 3.5 x 22 inch piece of fabric
11 inch piece of trim or lace (optional)
hair elastic
button
hand sewing needle and thread
iron
sewing machine
pins
Some of the goods you’ll need to make one of these pretties!
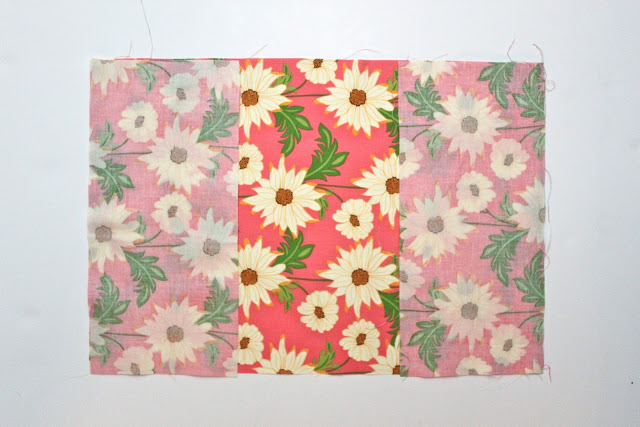
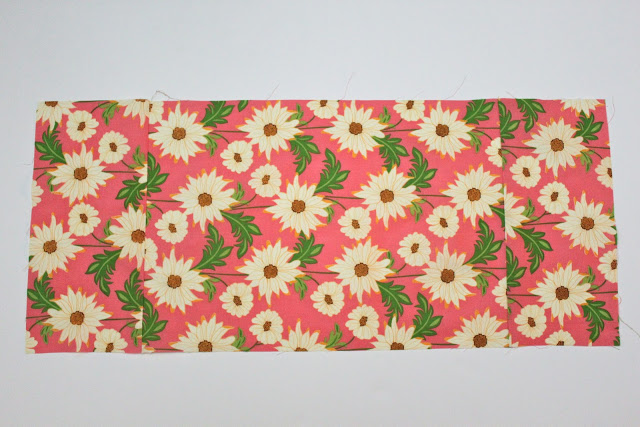
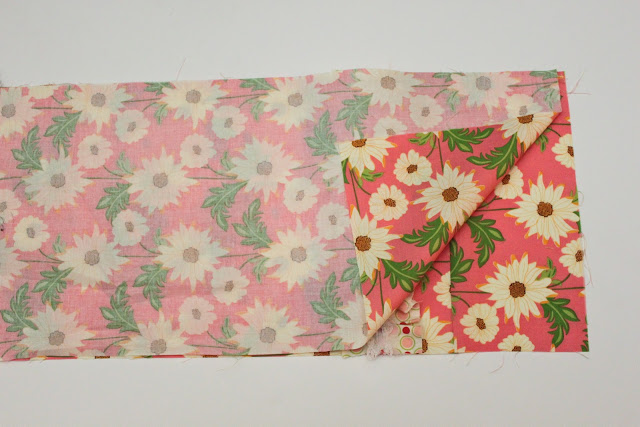
First place the 11 x 5 pieces of fabric so right sides are facing at each end of the 11 x 16 piece of fabric and sew each end with a 1/4 seam allowance. This will make a non-button closure style cover. If you want to add an elastic closure with a button then…
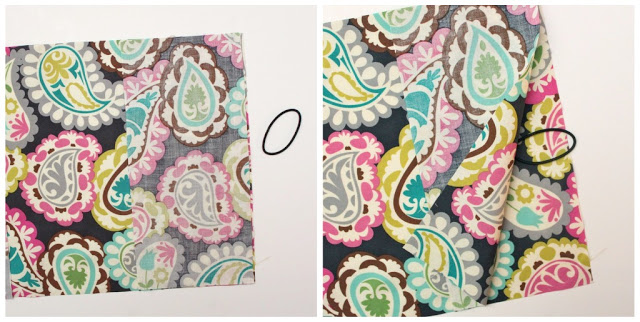
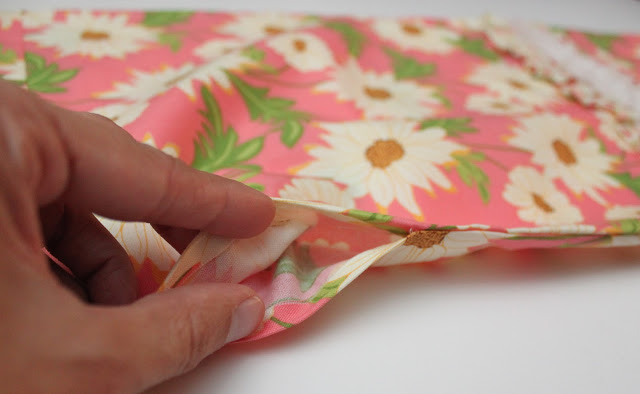
Sandwich your hair elastic in the middle of one side so that the majority of the hair elastic is between the fabric, like the pictures above, then sew each end down like mentioned previously. Oh and sorry about the fabric change here, it’s just for the hair elastic example promise!
Then when you are done with either sewing or not sewing the elastic into one end, flip the ends out flat and press the seams, this will be the outside of your cover.
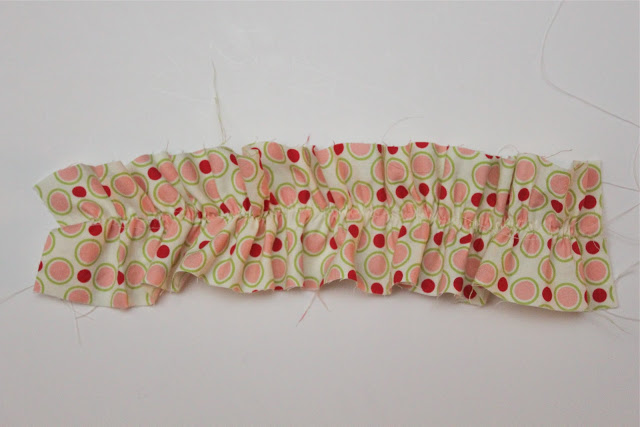
Next take your 3.5 x 22 inch piece of fabric and we are going to ruffle it. Change the settings of your sewing machine to the longest and widest stitch length for a straight stitch. Sew down the middle of your fabric making two different stitch lines and be sure not to backstitch at the beginning or the end. Pull the two bobbin threads at the back of the fabric very carefully so they don’t break and gather your fabric until it is about 11 inches in length.
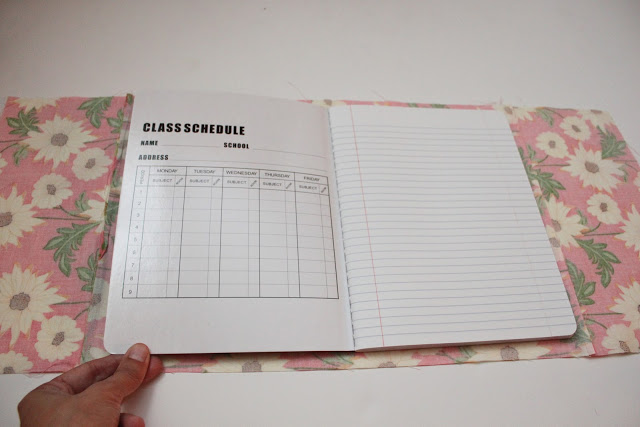
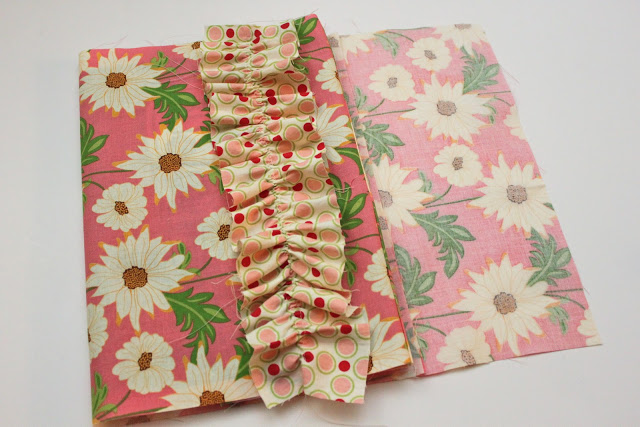
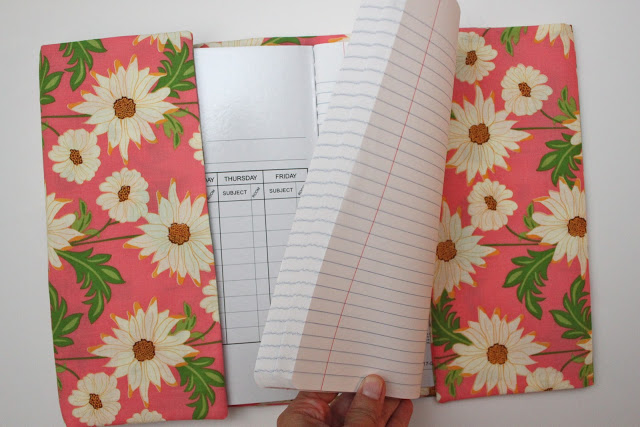
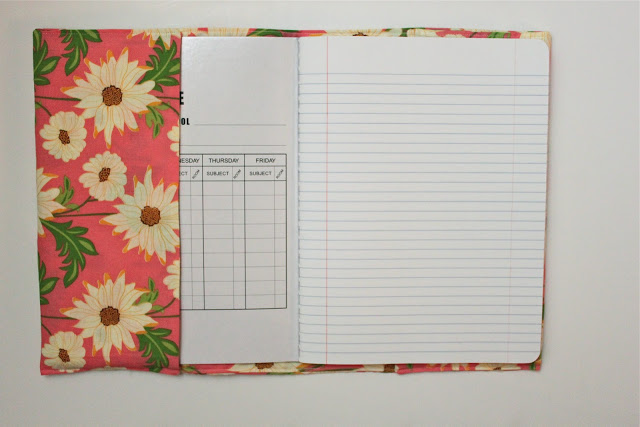
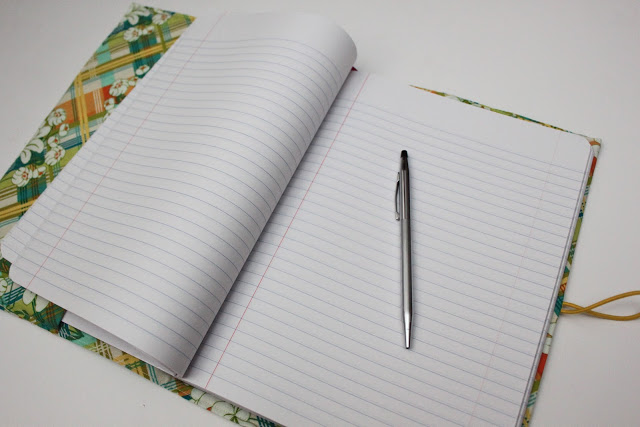
Next open your composition book on top of the outside piece of your cover and fold the ends in getting to get an idea of how your cover will lay.
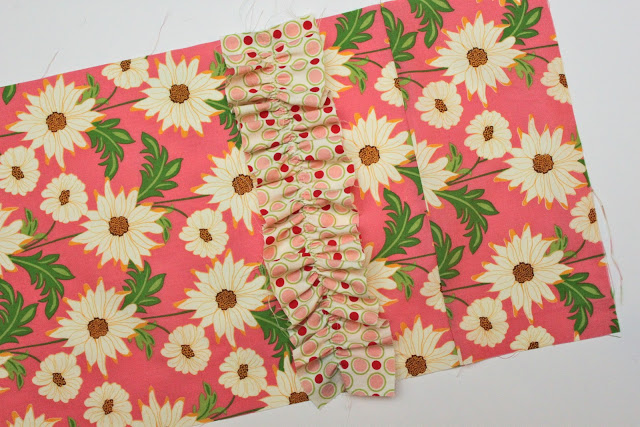
Place your ruffle on the front outside of the cover, wherever you think it will look nice and pretty. I only flipped the front flap in this picture! The open flap should be the one with your elastic closure if you are doing that. If you are doing the button closure you may want to make sure you place the ruffle close enough to the edge of the cover so that the elastic will reach it nice and comfortably.
Take your cover off, pin the ruffle down, and sew it into place.
Next take the 11 x 25 inch piece of fabric and place it on top of the outside fabric piece so that right sides are facing each other. Stitch all around the edges using a 1/4 seam allowance leaving a small 3 inch opening along the bottom edge for turning the fabric right side out. Clip all four corners.
Turn the cover right side out, turn the opening in a 1/4 inch and press the seams flat with an iron.
Now slip the notebook inside the cover and turn the flaps inward so that the seams are right on each edge. Remove the notebook and top stitch along the topmost and bottommost edges of the cover only. You will be sewing down the flaps as well as closing the opening we used for turning. Do not topstitch either edge/side of the flaps!
Then place you notebook inside and you are all done!
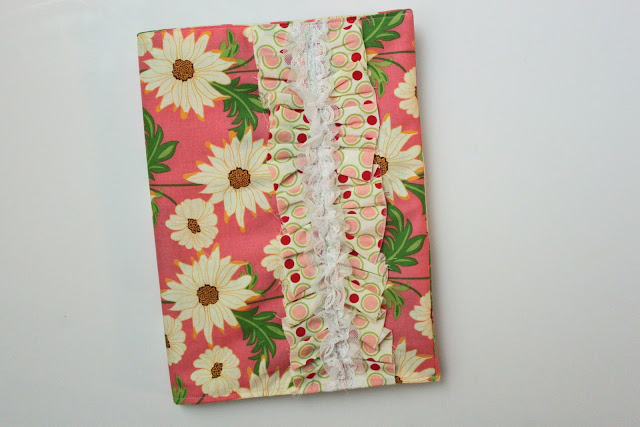
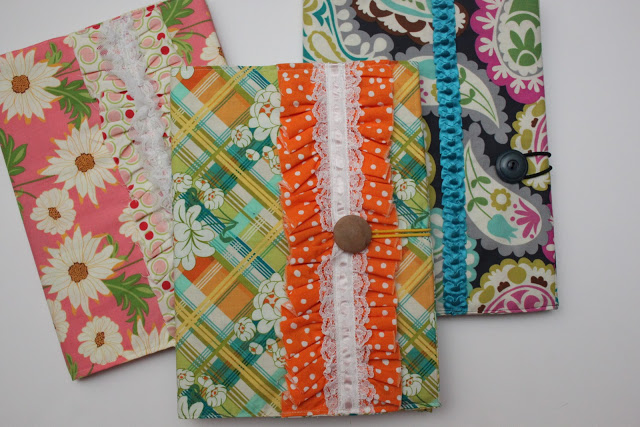
So pretty…sans closure!
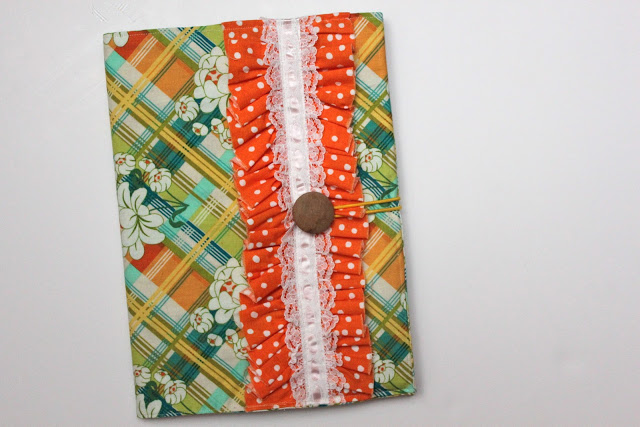
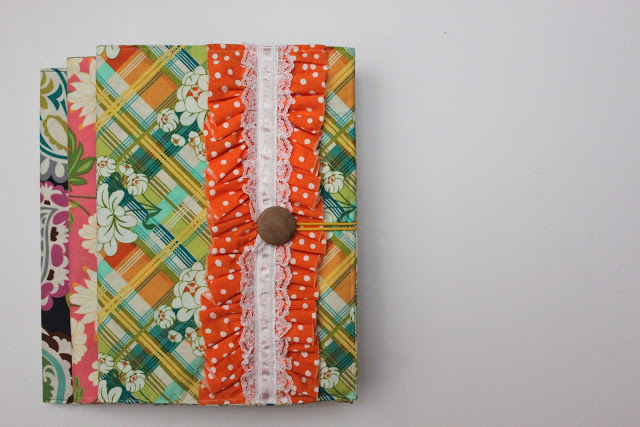
And just as pretty with one!
The perfect gift for a new momma…
or it would even make a great journal for your thoughts, a list-making book, or a coloring/drawing book for your little ones!
Pretty. Lovely. Gifts.
Now go make a few.
PS. if you are interested I can add a few of these to the shop!
XOXO,





Love the tutorial!! I’m thinking teacher Christmas gifts!! Thank you!!
Cathy
I love keeping journals… this is so cute!
I loved this so much I made a few of my own. See them here http://thefamilycircus789.blogspot.com/2011/10/fabric-covered-composition-notebook.html and I totally gave all the credit to you Maggie…thanks!
What a great tutorial! I’ve featured this project as part of Simple Crafter’s Simple Craft Tutorials for this week. 🙂
THANKS for the tut and sharing such an easy, fun project! Love it 🙂
this will make a nice little gift for some of my friends daughters that are still in school, I believe my neice that is in her frist year of college would even like this. I truely enjoy looking at your blog. TR in Hahira, Ga
Hi Maggie! I used your tutorial to cover a composition book – thanks! I’d love for you to check it out when you get a chance. Composition Book & 12-pocket bag
My oldest daughter will be starting Kindergarten this Fall. I will be making some of these for all her friends. Thank you so much for the tutorial.
I am trying to understand why you cuy flaps separately ?! It looks like you ultimately just made them like one big piece of fabric. When you layer them to sew around them, are they folded inward. I am Avery experienced sew it’s an I am not being able to picture this.
Hi Sally!
I cut the flaps separately in order to be able to place the elastic closure that attaches to the button on the front cover in the seam. I know, at first it seems odd but it is the best way to do it. If you are leaving the elastic closure out and just making a simple cover then, yes, you can most definitely sew together two big rectangles!
Love,
Maggie