So. I have had some readers email and write in the comment section about a tutorial for a felt cupcake. How fun, I thought…that would be a really cute felt food to make. So, here is my version of a felt cupcake with frosting. It was actually really easy to do and I actually handstitched it all in one viewing of “Eighteen Kids and Counting“…not sure why I like to watch that show, but I do. There. I said it. Please don’t judge…there are worse things I could be watching, right? Please, tell me I’m right!
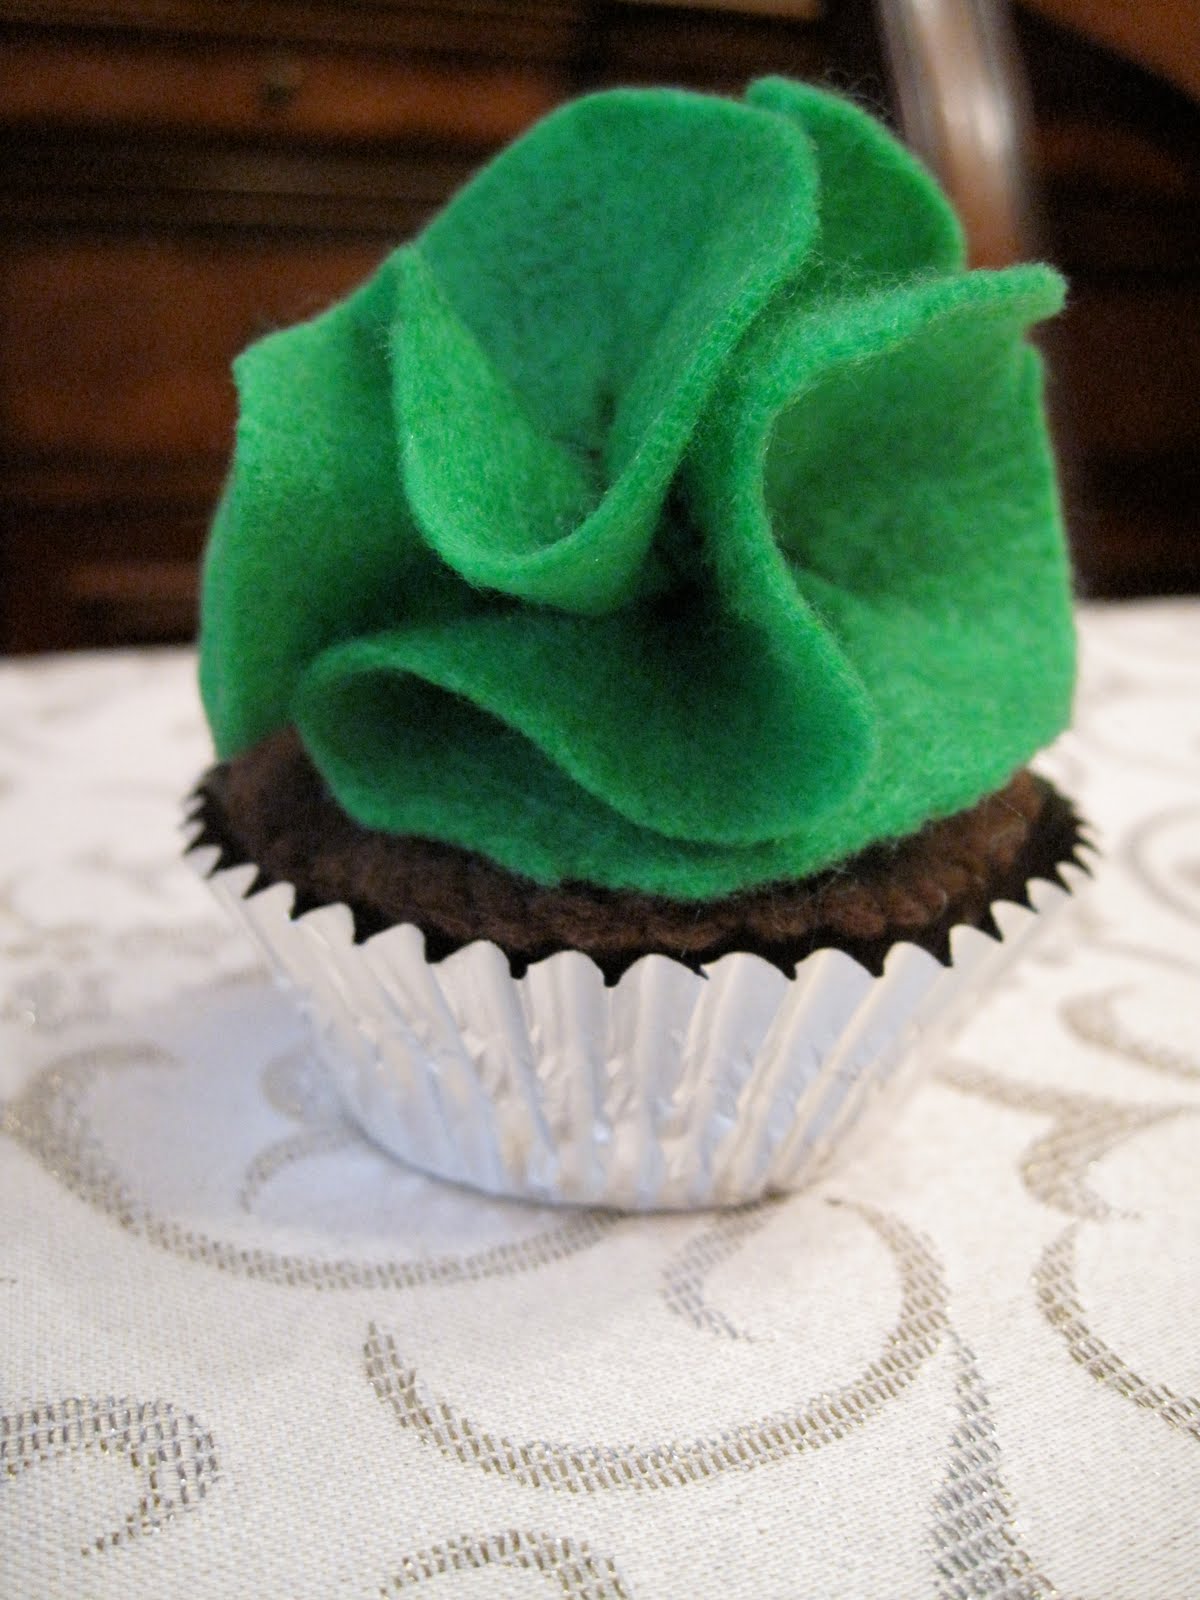
Looks good enough to eat!
Ok, so interested in making one of these puppies? Then, here is what you need:
Felt Cupcake and Frosting
1 brown piece of felt (or a cream colored one for a vanilla cupcake)
1 piece of felt the color of your choice (for the frosting)
polyfil
matching thread
needle
 So, what I did was cut the bottom out from a cupcake liner and then cut the remaining cupcake liner to make a C-shape. These will be your templates for your cupcake! You will also take the cupcake liner (before your start cutting into it) and flip it upside down on your felt so that you can trace a larger circle for the top of the cupcake.
  Then, take your needle and thread and stitch, stitch, stitch your little heart out…sewing together the base, middle section and top of the cupcake together. Make sure to leave a little opening to stuff the cupcake. I handstitched the base to the middle section first, then went up to the top and sewed that in place.
 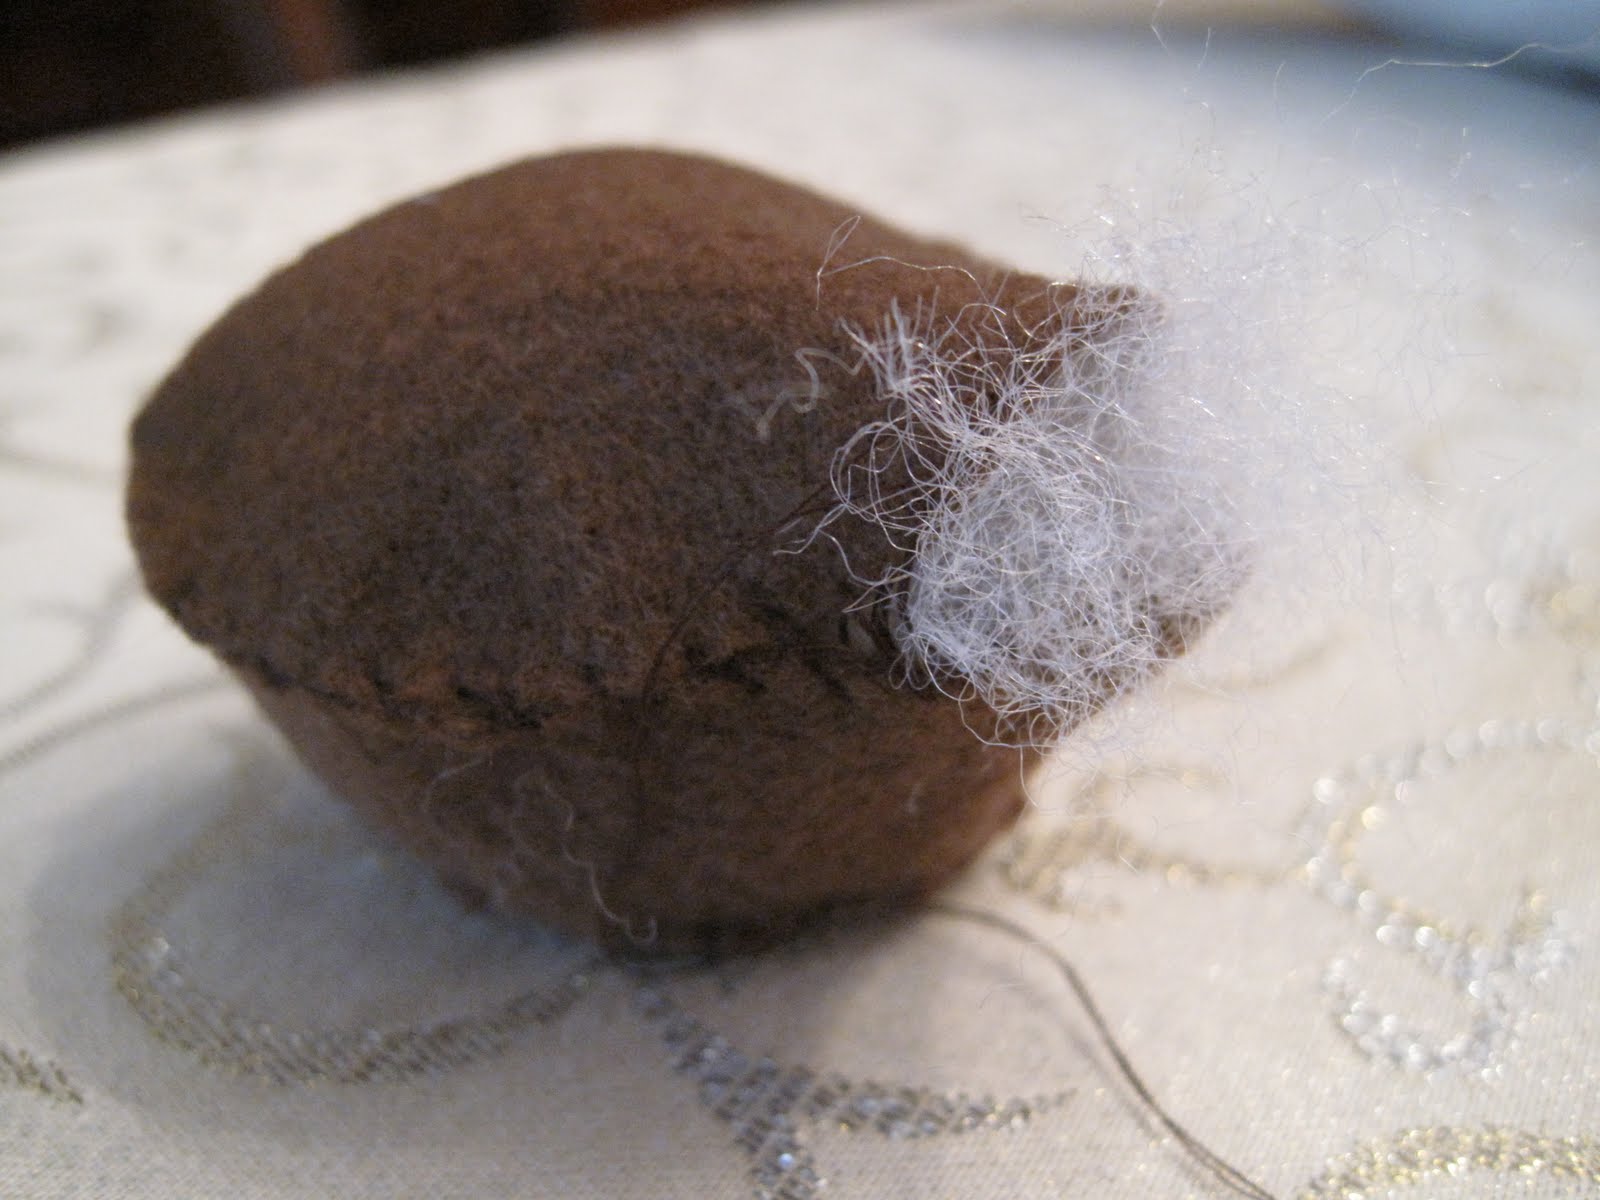 Now, stuff that sucker full, but not too full, of polyfil and sew the opening closed. Looks like a Hostess cupcake now, doesn’t it? Man, I love those!
 Then, just put it in a cupcake liner and there you have it…a lovely chocolate cupcake just for me…eh, Noah and Penny 😉 But wait! I think we are missing something oh-so-vital to this little chocolate beauty…what could it be? Oh yeah…FROSTING!!!
 Oh, Ok, that’s much better! It sure was looking a little lonely, wasn’t it? Wait. Do you want to learn how to make this fluffy stuff? We don’t want an uproar in your home from the littles being upset about no sweet stuff on top of their cupcake, do we!?!
 Ok, so to make the frosting, cut three circles about 3 inches in diameter in whatever color frosting you’d like to have on your cupcake.
 Fold each circle in half and sew a few stitches down the fold.
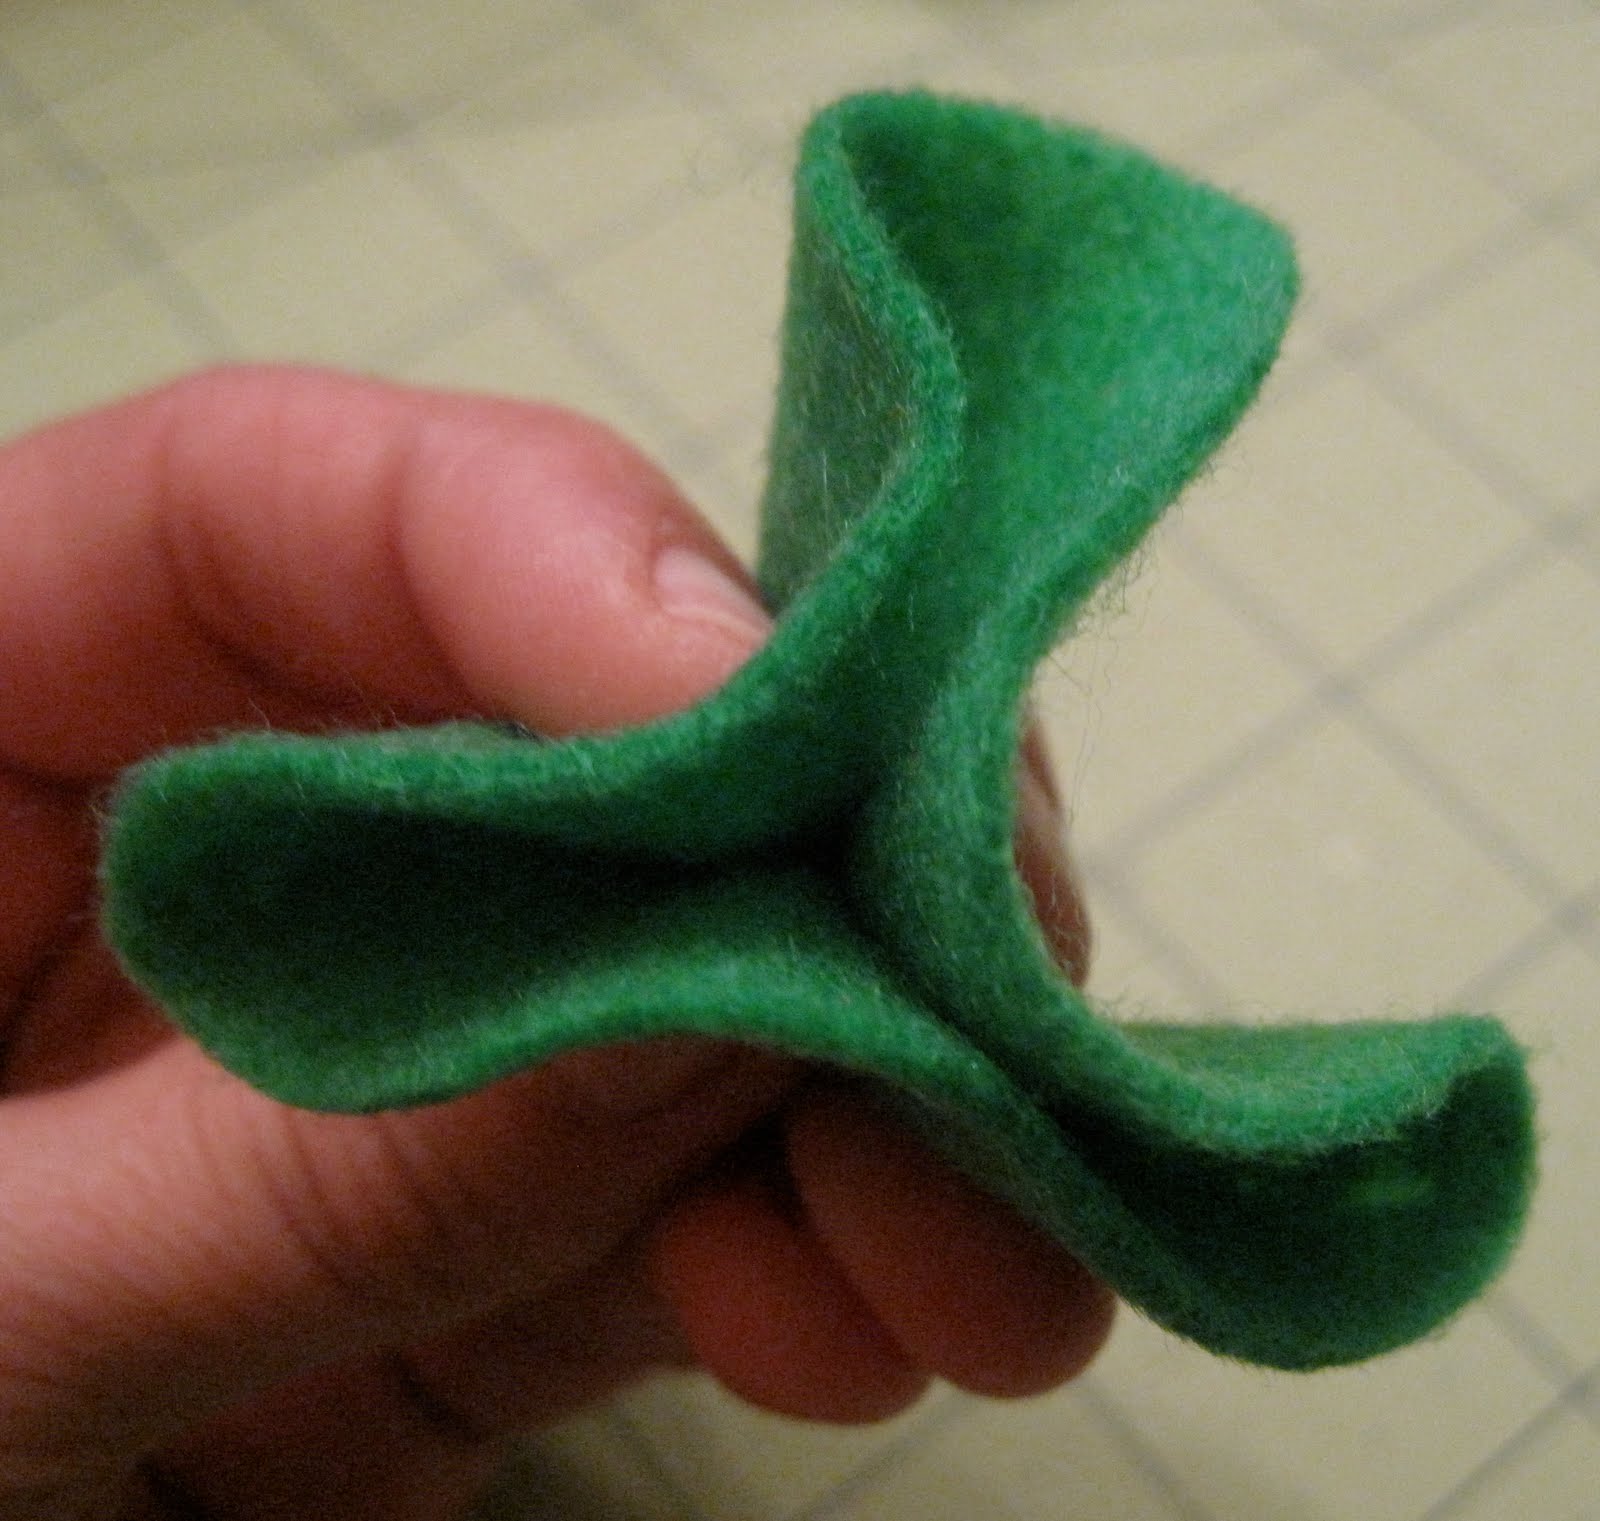 Then, take your fingers and smoosh it to make this sort of shape…not sure what to call it…maybe a smooshed three-leaf clover? Now, go and stitch each section on the fold just like you did earlier. You should have three stitched sections on the underside when done.
 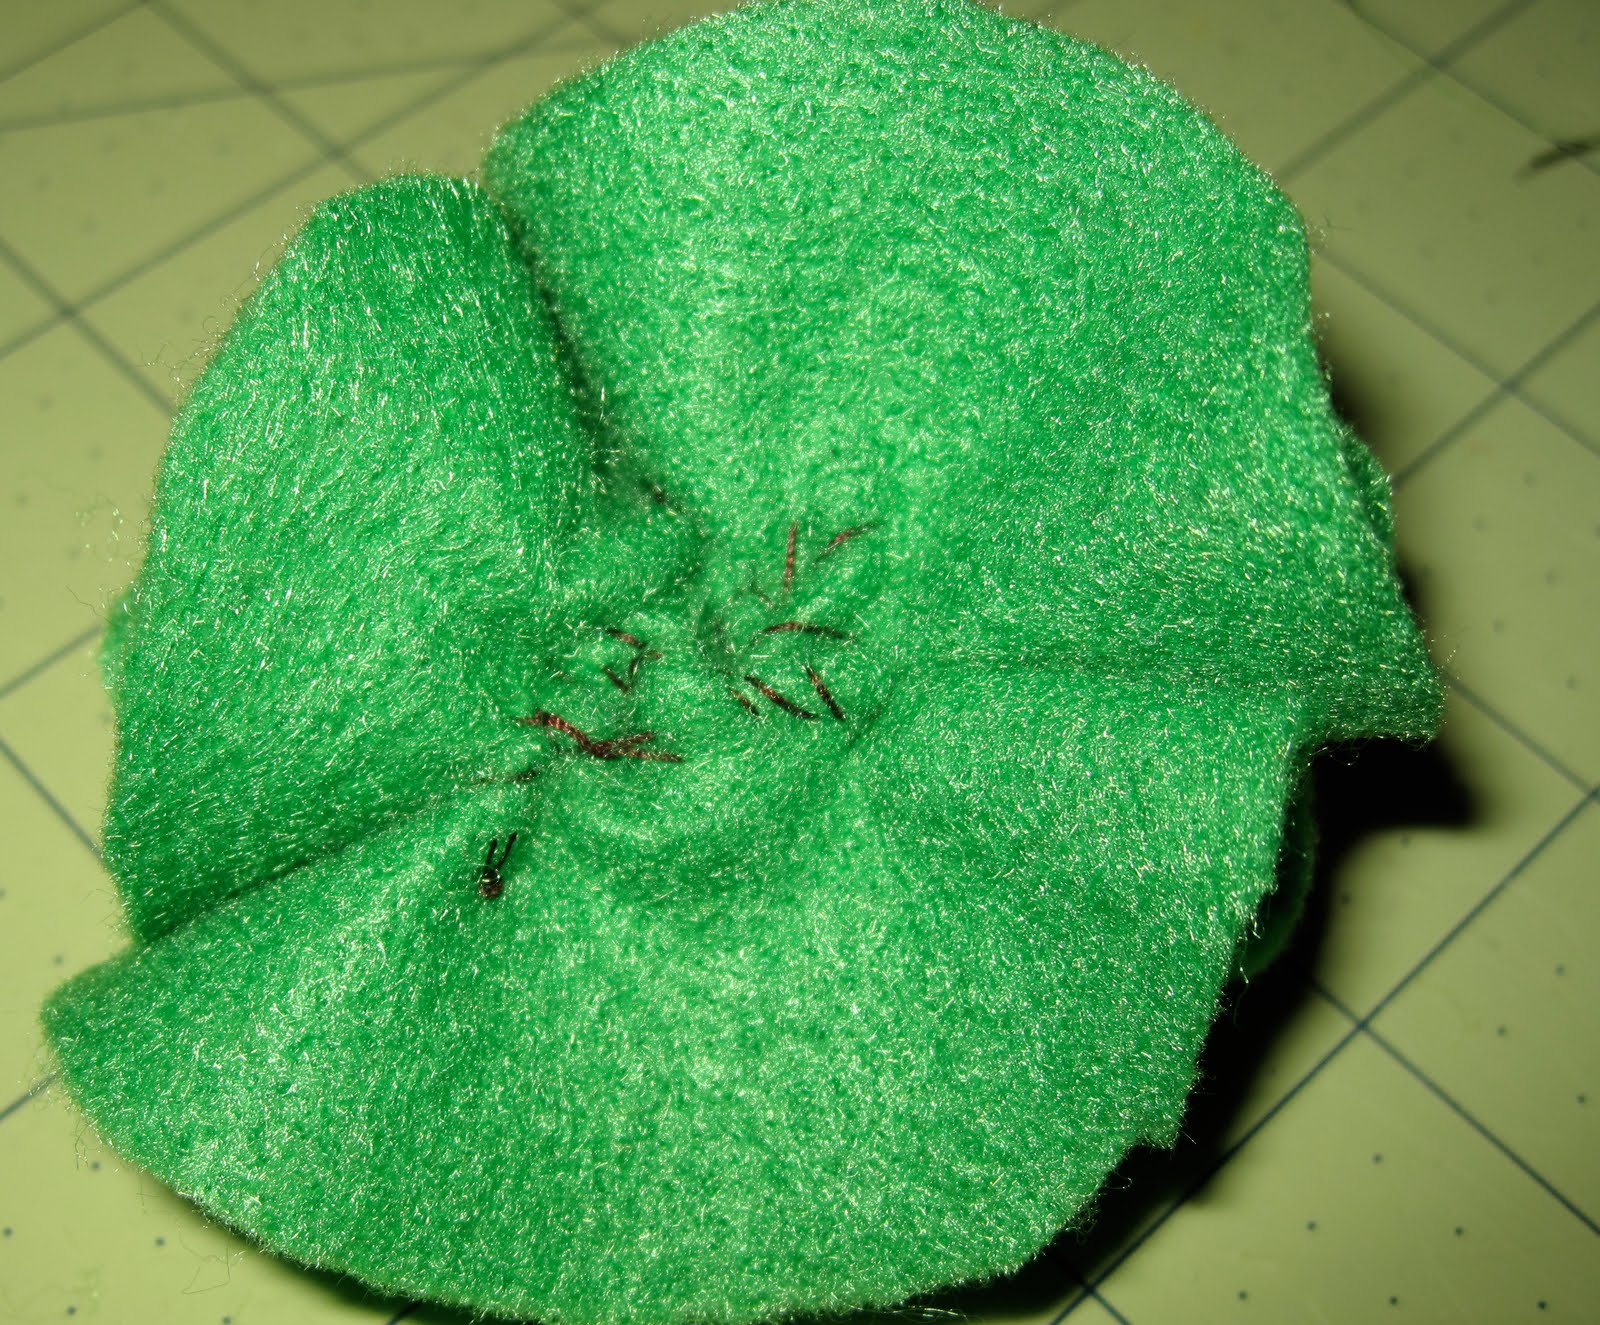 Now, go ahead and sew the three smooshed flower-type things together at their pinched up bases, like the picture above.
 Flip it over and Oooh and Aaahhh…now that’s some frosting on a cupcake! YUM! It looks so good and creamy like it’s right out of a bakery, me likey!!!
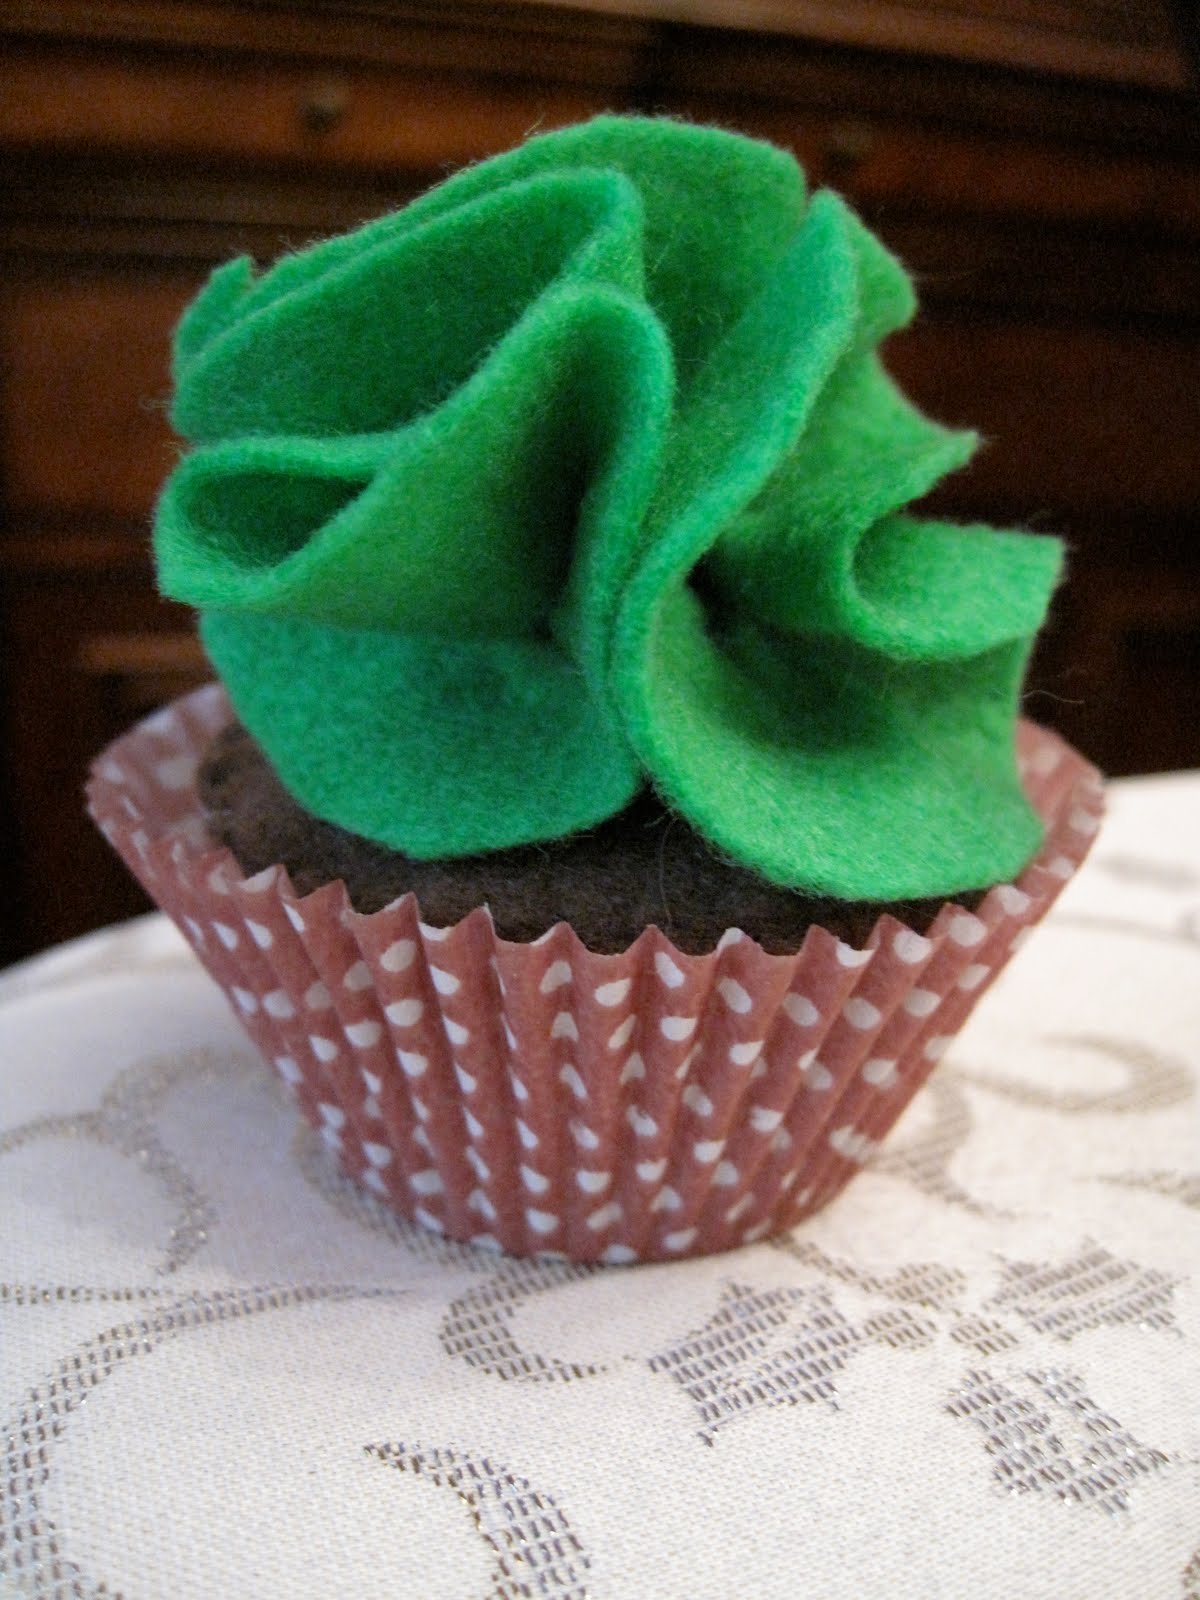 Or, what about we put the cupcake in a pretty decorated wrapper? Ahhh, that’s better!
Stylish and Yummy!
Two of my favorite words 🙂


You DID IT! Thank you! Exactly what I asked for! That is how I pictured it in my mind, but couldn’t get it to manifest from my own two hands! Thank you! It is adorable! And the mini ones will fit perfect in my lil’ girl’s play cupcake pan! rbnewo@yahoo.com
Love a good felt food projects!!!Thanks for linking! See ya next Wednesday for more fun on Blue Cricket Design!
Well aren’t you SMART!!! I just started on some felt cupcakes a few days ago and I had my hubby draw a pattern by measuring the muffin tins, it would have been much simpler to use the liner as the template, like you did! Love your blog, I visit often but I think this is my first comment 🙂
Oh my goodness! So cute! I love the big fluff of frosting because that’s how I like my cupcakes. Yummers! Book marking this for sure. It’s going to be a mostly handmade christmas this year for us! Gotta get working!
aaaaahhhhhhhdorable. i just love this.
I love all your felt food! I should make some for my kids Christmas presents!
Wow this is so cute and you make it look so EASY! Thanks for another great idea! I’m now a follower!
THIS is lovely! It makes me want a cupcake. Very crafty of you:)
Wow it looks just like real and it looks really good
omg i love it!
Thank you so much! I have been searching and searching for a tutorial on how to do the smooshy frosting bit and then i found yours!