It’s finished! I finally have the pumpkin pie and whipping cream tutorial up!!! Wahoo! Sorry about the delay, I was having a baking marathon yesterday and it just got way out of control. So, right about now you can get your felt-on and get to making this before T-Day. This way you and your littles can share in some delish dessert eating after your very own pre-thanksgiving extravaganza before you stuff yourself silly of the real thing…I know I’m going to do just that(yeah, that’s right, I said it, honesty really is the best policy, right!?!)
Oh, and a little…or in my eyes BIG… side note, I have a few of these cute little pies going up for sale in my Etsy shop as well as some Turkey Dinners, holla!! So, if you find yourself running out of time or you just aren’t one to pick up a needle and thread, then you must check out my Etsy shop and buy one! Thanks!!!
Here is what you’ll need to make this oh-so-good Thanksgiving Dinner Finale:
Pumpkin Pie with Whipped Cream
1 sheet pumkin pie colored felt (I found mine at the Hob Lob, Joann’s had nothing, zilch, zip in this color!)
1 sheet tan colored felt
1 sheet white colored felt
coordinating thread
polyfil for stuffing
 First off, cut yourself a triangle from the pumpkin and tan colored felt each. Mine measured about 4 inches at the short end and 5 1/2 inches on the two long edges.
Then, go and cut a long rectangular piece of the pumpkin colored felt measuring 2 inches by 12 inches (you’ll trim this shorter once you sew it together but I think it’s always good to have a little more than less when doing attaching the pieces together!)
For the back edge of the crust, you are going to cut a tan colored piece of felt measuring 4 inches wide by about 3.5 inches.
 Now, take the pumpkin pie colored triangle and sew the long strip around it, like the picture above.
 Next, go ahead and take your tan colored square of felt and line it up with your pumpkin pie insides so that the widths of the square match the short edge of the pie triangle (see the picture above). You are going to sew the two pieces together with the pumpkin colored felt triangle on top of the tan felt about 2 inches, this will give you the crust top at the end of your pie slice. If you click on the picture above you can see a faint line where I am going to sew the two of them together!
Then, you are going to sew up the two vertical edges of both pie and crust on both the right and left sides, see it already done on the picture above?
Next, with the pie slice still wrong sides out, just sew the “bottom” tan colored felt crust on starting with one side of the pumpkin colored felt strip and working your way around. I didn’t sew the back part of the crust together because you still need to have an opening to flip the pie right side out. So, what are you waiting for? Go ahead and flip it right side out and then stuff that baby!
Handstitch the opening shut and you are DONE!
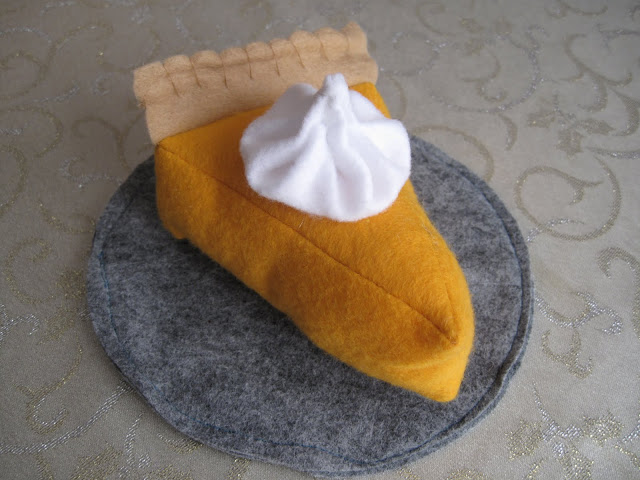
Hurray! A piece of pumpkin pie all ready to eat!

Mmmm…check out these yummy results!
Ok, now onto the best part…the whipping cream dollop! Can I get a woot woot for some Whipping Cream! This pie is not complete without it…in my opinion anyways 🙂
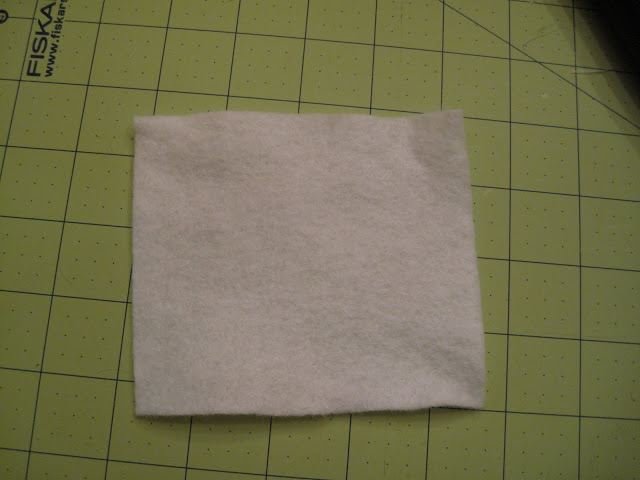
Start by cutting a 4 x 4 inch piece of white felt.
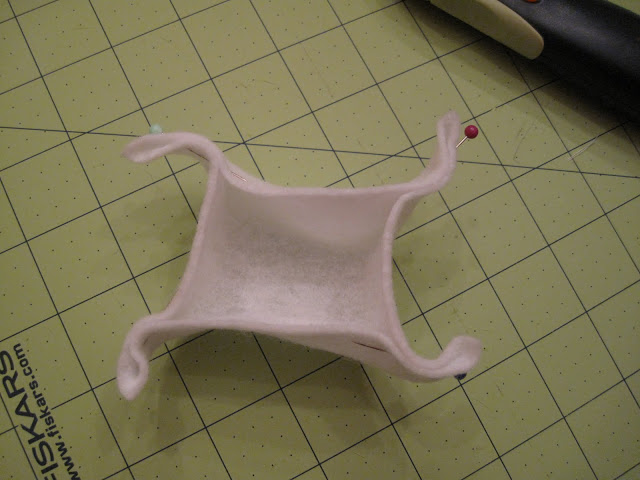
Then, pin the edges together, like so.

Now, take your needle with some white thread and sew the edges together. You only want to sew about a 1/2 inch in, otherwise the dollop doesn’t look as good!
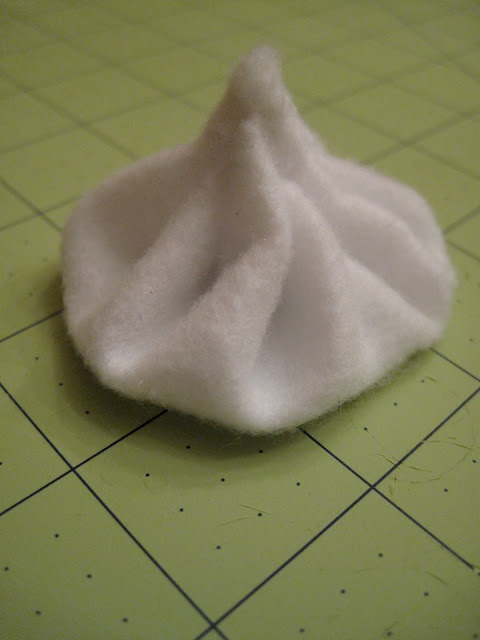
Next, sew through the tips of each edge and pull or gather them together to make one nice point. Push in the rest of the edges to make them look all whipped cream-y and all.
And that’s it!
Hope you understood this tutorial, this one was a hard one to explain!!!


Oh I love your whipped cream the most!! I struggle getting my felt whipped cream the way I want. I love to see new ways! Thanks for sharing.
Anjeanette
You are so talented— I am contemplating making felt food for my DD for Christmas— thank you for this tutorial.
Cute!…I am hosting a tutorial contest this month…if you live in the USA you should enter!
Oh My!!! I am thinking that looks good enough to eat!!! Darling!! Just Darling!!
Mama Holli
I love this! You’re so creative! I’ve linked: http://www.funfamilytips.com/?p=562
What a wonderful gift to give someone on a diet so there not left out.Loved this tutorial very cute!
I just saw this featured on One Pretty Thing…and I’m thrilled! I’ve been making felt play food that I’ve been stashing away for my son’s upcoming birthday, and this pie is now going on my list of foods to make!
Oh it looks just like real and it looks good enough to eat LOVE PUMPKIN PIE !
Love making felt play food 😀