We had Ellie’s big First birthday bash this weekend…the Vintage Milk and Cookies party was a hit with all, wahooo!! I promise that soon, soon, soon I will get pictures up on the blog 🙂 But for now, how about I tide you over with my guest post over at iCandy Handmade’s Fun in the Sun(dress) series!!
:: :: ::
I was so excited to be asked to participate in iCandy Handmade’s Fun in the Sun(dress) series because one of my most favorite things about summer is being able to wear pretty sundresses!! My oldest daughter is growing like a weed and needed a new summer wardrobe…her little sis usually gets the hand-me-downs…so I thought I would make her a pretty sundress that would not only be comfy (as she is such a tomboy because of her older brother whom she copies to no end) but would also be functional as a swim suit cover-up for those days we spend at the beach taking in the sand and sun!
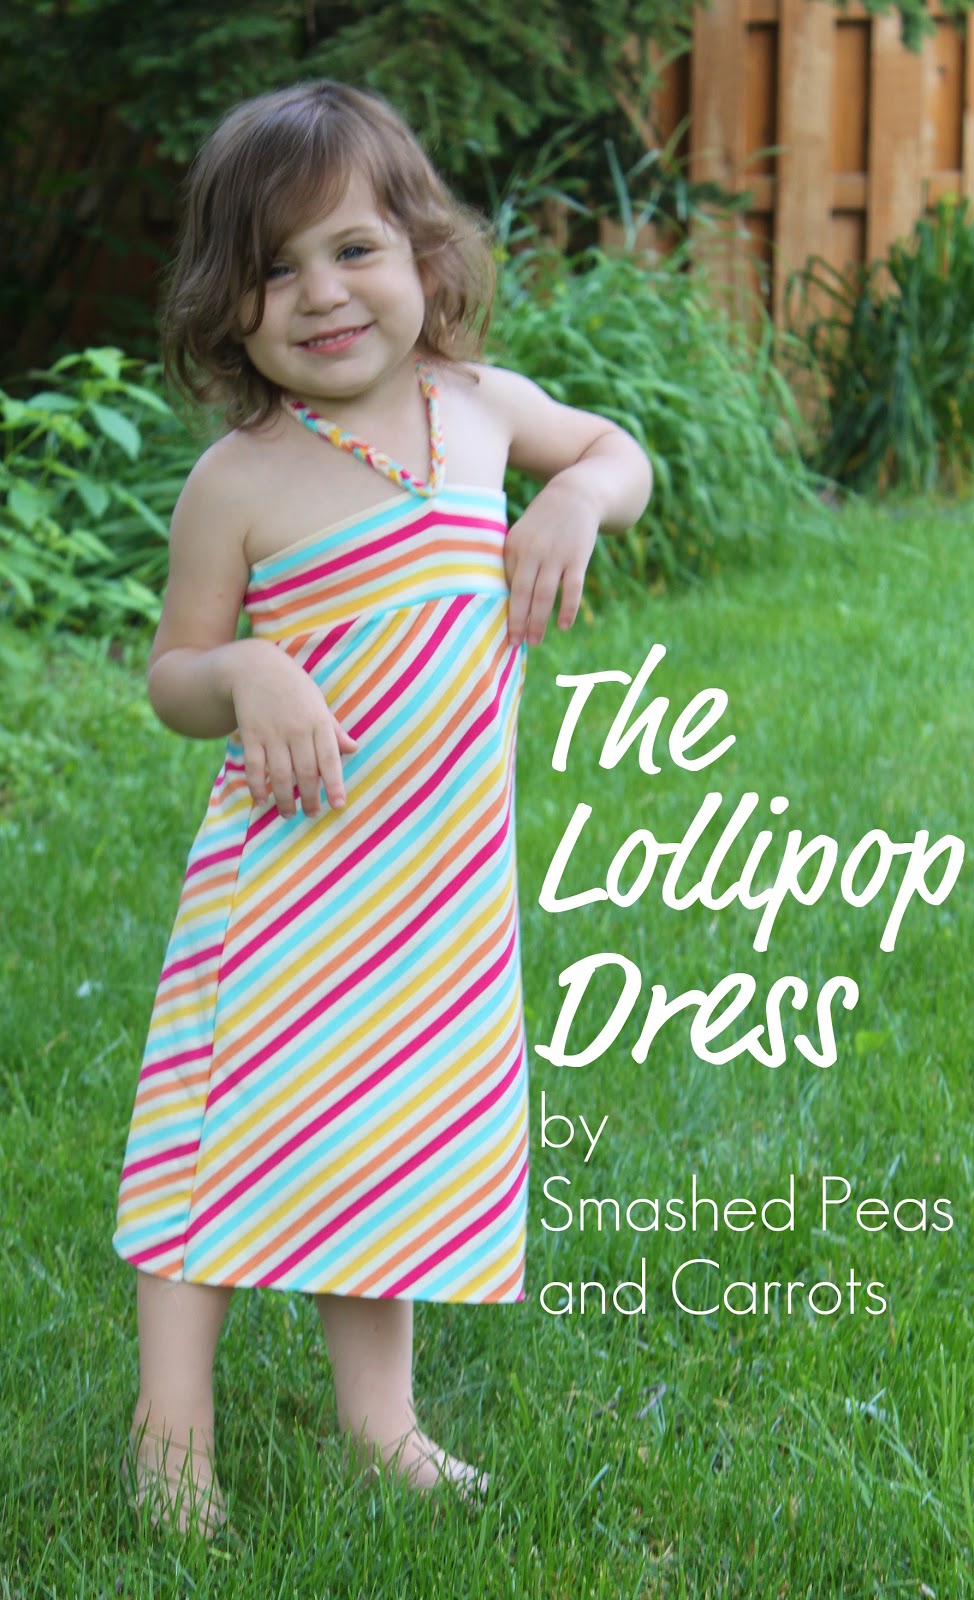
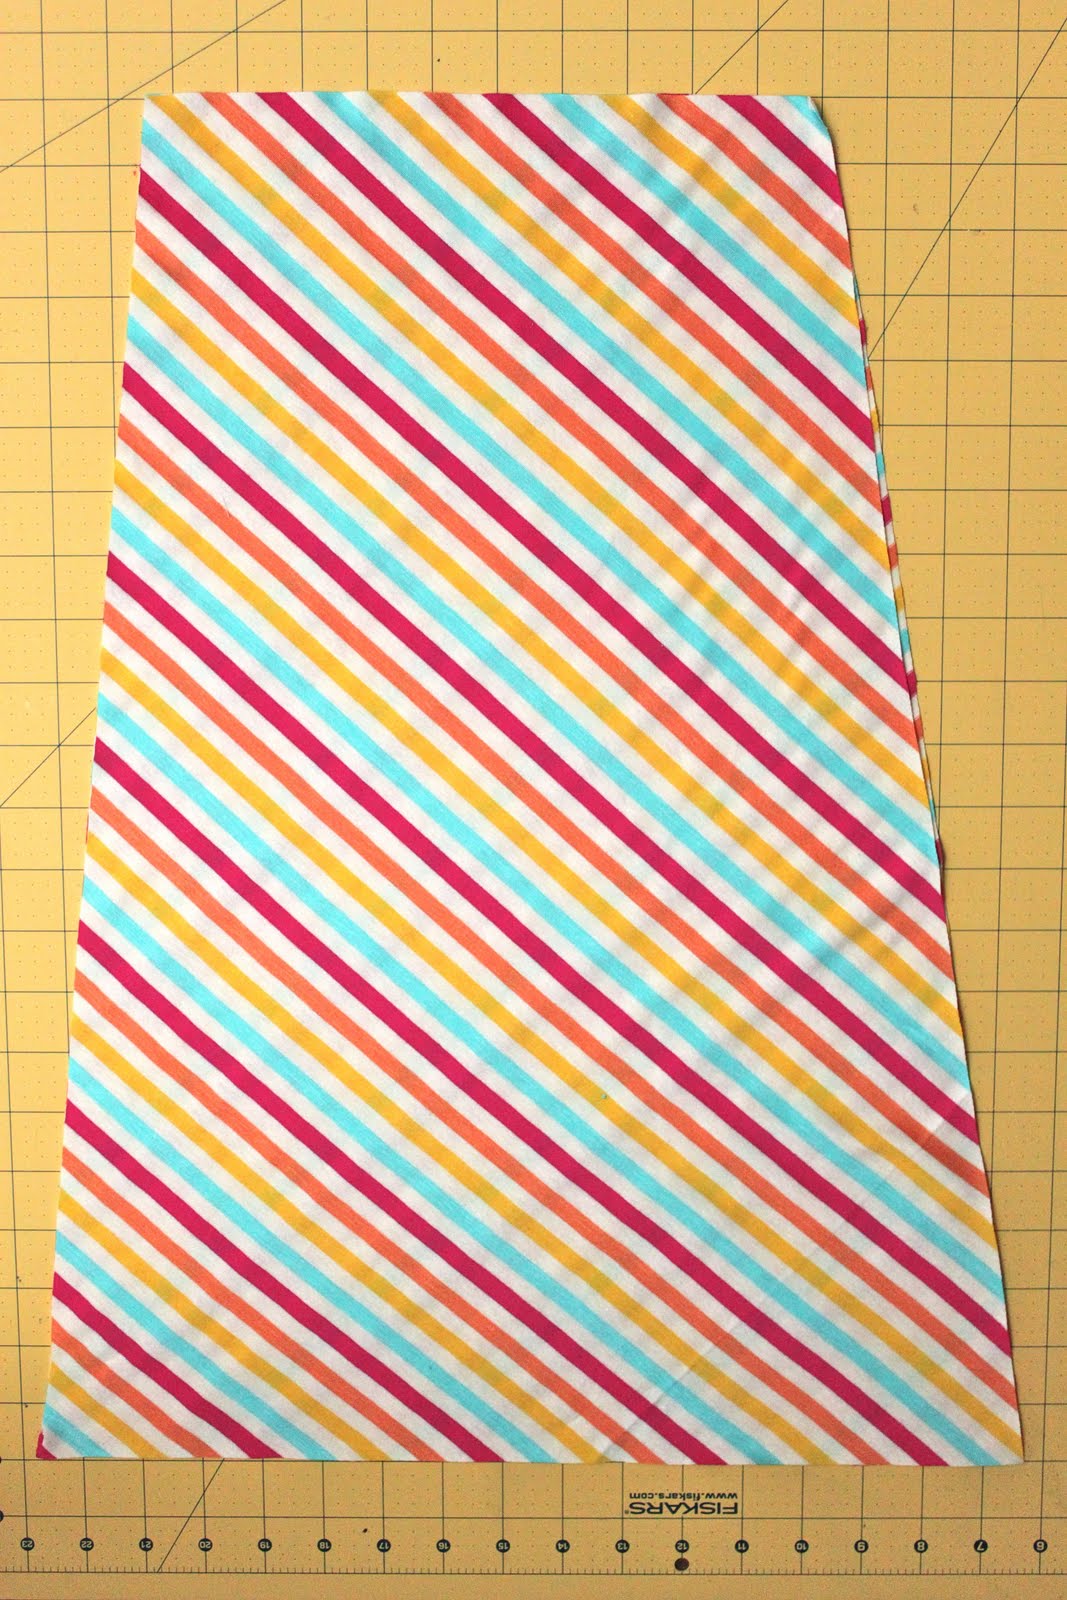
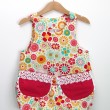
I found this awesome colorful striped jersey knit at Joann’s, I thought would be perfect for a little girl’s dress. Doesn’t it remind you of a lollipop? You can find lots of fun jersey knits at your local Joann’s or Hancock Fabrics in the clearance section as well as for 40% off if you look there every other week or so…this dress only cost me $3 in material!!

The stripes on the knit are all in one direction but I cut the fabric for the main body on the bias to give the dress a little more visual pizazz. This dress is super simple and can literally be whipped up in half and hour. Try making one, you will not be sorry!
The Lollipop Dress
1 yard of fabric (this was plenty for Penelope’s dress, she is 2 1/2 years old and pretty average in height and width)
coordinating thread
rotary cutter and mat
sewing machine and ball point needle
or serger

First, measure your daughter around the chest and divide by 2, this will be the length of the top band of the dress (or measurement A) mine was 10.5 inches. If you have a fairly stretchy knit you will need to subtract about 4 inches from this measurement. Cut out two pieces from your fabric in a rectangle 7 inches in width by measurement A in length. Serge or sew with a zig zag stitch both short sides together with their right sides facing.
Knit has a lot of play so you may need to go back and adjust the sizing…so try it on your daughter before you continue to see if it is snug enough to stay up on her chest!
Next measure your daughter from directly under her bustline down to her ankles or wherever you would like the dress to hit her on her leg, my measurement was 22 inches. To make the body of the dress in an A-line fashion, the top of the dress will be your measurement A and the bottom will be slightly larger for the flared out look of an A-line dress, the length at the bottom of Penelope’s dress was 17 inches. Then just connect the dots for the two remaining sides and cut two pieces out of your fabric.
Now just sew or serge the two pieces of the body of the dress together making sure the right sides are facing each other while doing so.
Okay ladies, measuring and cutting of this dress is the hardest part if you can believe it!

Now you get to construct the dress!! Just fold the top band of the dress in half so that it is right side out and the raw edges are at the top, like the picture above. Your seam should be in the sandwiched in the very innermost part of the fold.

Then with the raw edges of the top band toward the top, shimmy the band over the body of the dress (making sure to have the dress flipped right side out now!) and sew the band to the body of the dress. Flip the band up and you are done!!
Now if you want you can cut 3-one inch pieces of knit that are about 24 inches long or so and braid them together to make a halter-like cord to tie at the neck like I did. Sew or knot the ends together and hand-stitch it to the center top of the band.
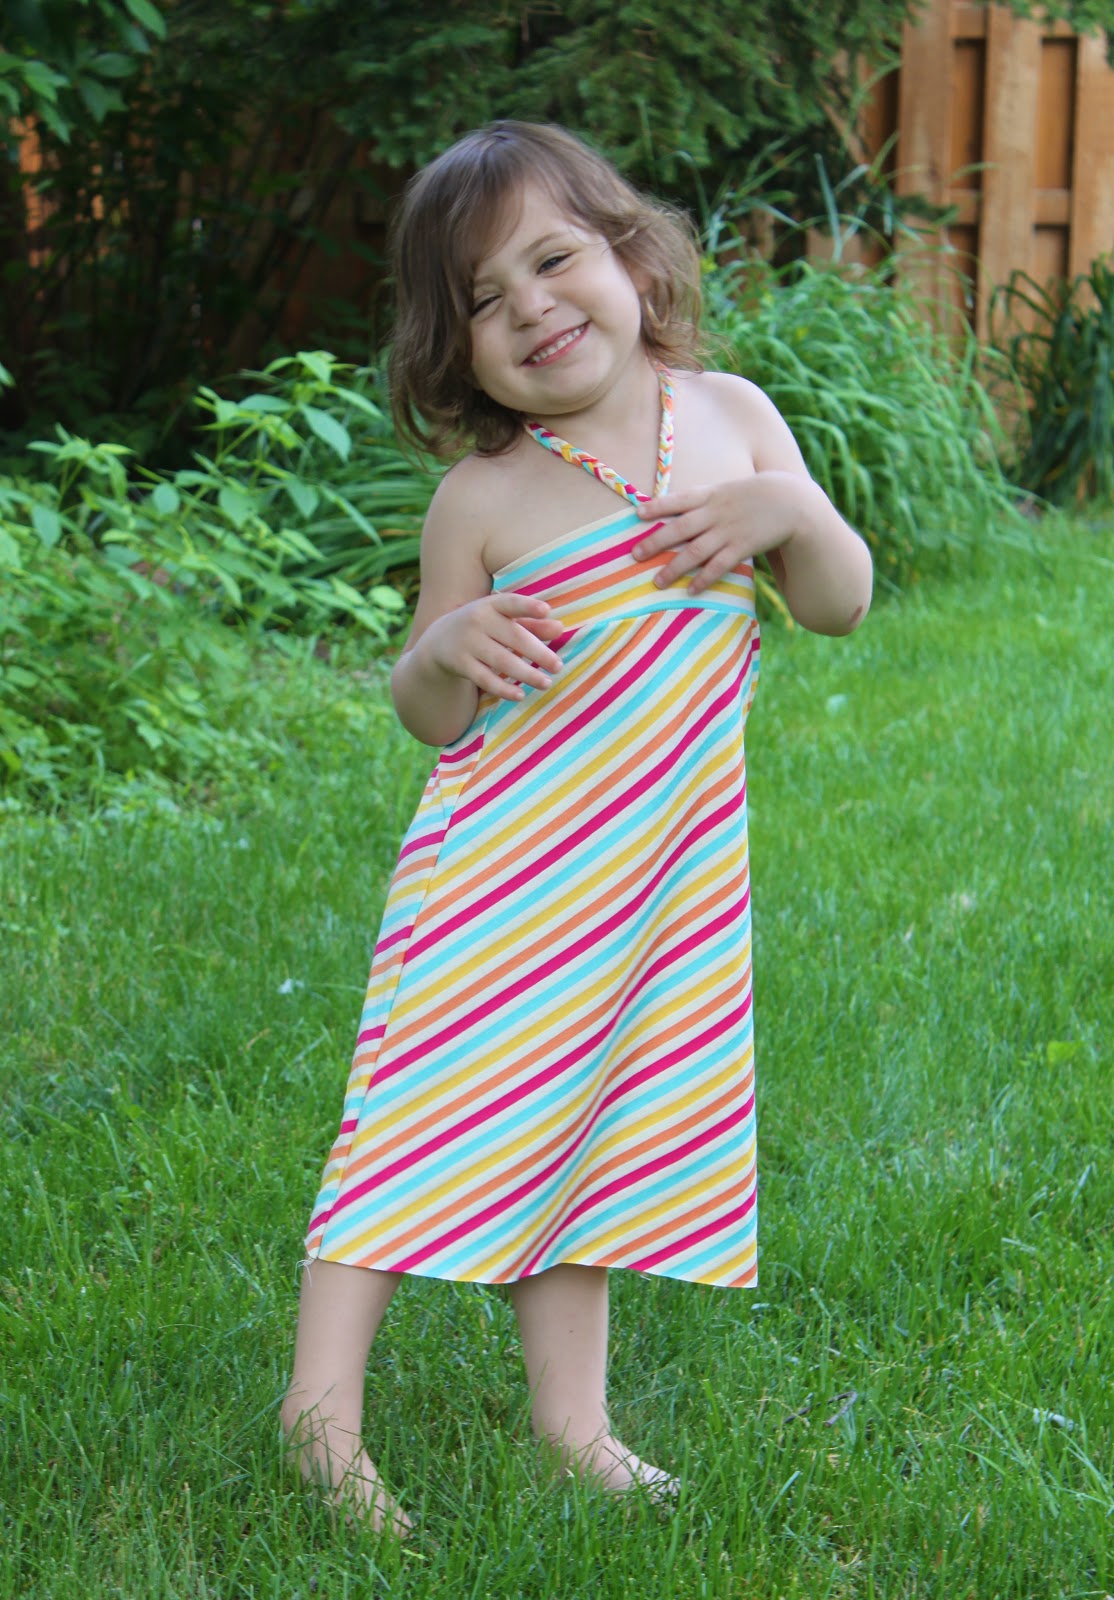
Then have your little one try on her new dress…
And try not to giggle as she gives you her little model poses…where does she learn this stuff from? I swear she is in bed before Project Runway is on 😉

Here you can see a close up of the halter-like tie I braided.
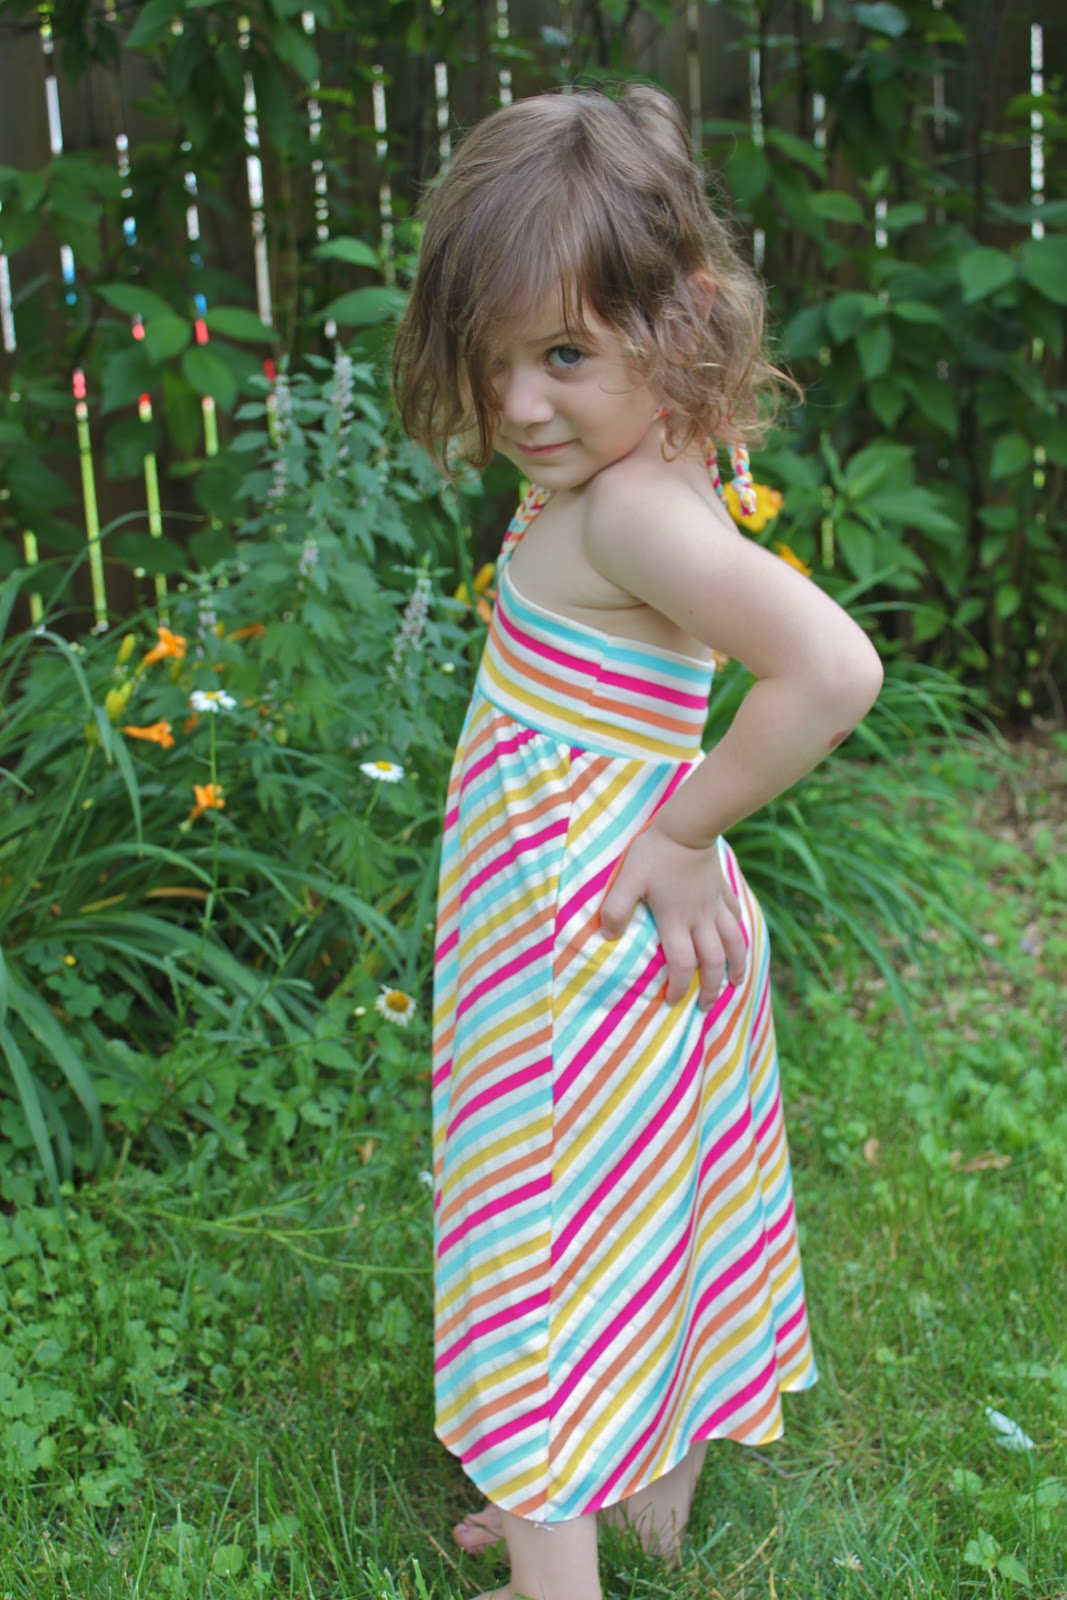
Oh man, this girl is fierce!

Happy Sewing!!
XOXO,
Maggie


I love, love, love it! I hoped to make swimsuit cover-ups this week with some knit jersey I have — this tutorial will be perfect. 🙂
super cute! and it truly looks easy. thanks for sharing!
Thanks to JoAnn Fabric & Craft Stores for posting this blog. I’m going to have to try to make this dress. I love simple things I can make for my 2.5 year old daughter. I am a crafter/artist so I like doing all kinds of things, but my specialty is calligraphy. Check out my blog http://paintjarproductions.blogspot.com/
This dress is adorable! I may scale it up and make one for my big girl in college. Thanks for sharing.
Super cute! I am tempted to make one for myself in an adult size, since I only have little boys 🙂
Oh, Sarah, did it turn out?
I so want one…
excelente está hermoso ya planeo una para la nena tambien, gracias por compartir el tutorial. Y la modelo? perfecta es increible lo que las nenas hacen son divertidisimas.
Hasta pronto.