Smashed Peas & Carrots

Inspiration For Living Creatively - DIY Crafts, Sewing, Recipes, Crafts & More

  • Press
  • Disclosure
  • Collaborate
  • Contact
  • Facebook
  • Twitter
  • Pinterest
  • Instagram
  • Dots
  • Google Plus

Become a Subscriber

never miss a thing!

  • Home
  • About
    • Advertising
    • Disclosure & Safety Disclaimer
    • Privacy Policy
  • Recipes
    • Appetizers
    • Bento Lunch
    • Beverages
    • Smoothies
    • Breads
    • Breakfast
    • Casserole
    • Crockpot
      • Visual Library
    • Dairy Free
    • Dessert
    • Gluten Free
    • Main Course
    • Holiday
    • Instant Pot
    • Paleo
    • Party Food
    • Salad
    • Side Dish
    • Soup
    • All Recipes
  • Tutorials
    • Children
    • Adult
    • Home Decor
    • No Sew
    • Sewing
      • Children Sewing
      • Adult Sewing
      • Home Decor Sewing
      • Sewing Basics
    • Sewing Studio
    • Knitting
    • Kids Crafts
    • Bento
    • Holiday
    • Parties
    • Gift Ideas
    • Natural Living
    • All Tutorials
  • shop
You are here: Home / Tutorials / Holiday / Give Thanks Wall Art Tutorial and Cricut Mini Review
Nov
19

Give Thanks Wall Art Tutorial and Cricut Mini Review

| Filed Under: Holiday, Home Decor, Thanksgiving, Tutorials

Today I’m excited to share with you some fun wall art I made that is currently gracing the walls of our home.  I thought this “Give Thanks” phrase was totally appropriate for the upcoming Thanksgiving holiday as well as it’s a great reminder each and every day to give thanks to all that we have in our lives.
I was contacted not too long ago to review the Cricut Mini and of course I had to say yes.  I was really excited to try out this smaller version of the Circut cutting machine as the advantages of this smaller machine are that it’s lightweight and portable (hello girls night out craft night!) and can still be used to cut lots of different materials like vinyl, craft foil, fabric, and heavy card stock.  Plus there are hundreds of shapes, designs, and cutting cartridges available for immediate download online at Provo Craft’s Project Center.
The Cricut Mini comes with an 8.5 x 12 inch cutting mat (that is the largest size paper you can cut with the mini!), a getting started guide that walks you through set up of your mini, a pack of card stock for making your first project, and a USB cord and cables too as you the mini only works with a computer.
I will tell you right off the bat that I am no techno superstar.  I actually dislike very much having to set anything up or download anything onto my computer…too scary for me!  The Cricut Mini was very easy to do though, truly!  Even for me, and I did it all by myself…no help from Mr. Smashed Peas at all!  🙂
The Step by Step guide was great, and nothing was missed.  It probably took me all of 5 minutes to get it up and running.  There is also a quick video that you can watch that will show you the basics of how to start a project and I thought that was very helpful too.
When you first start a project you will do so in the Project Center (above) by logging in to your account.  To make the Give Thanks. wall art.  I just opened up a text box and sized it to fit the way I wanted to on my 8.5 x 12 inch scrapbook paper.  The Cricut Mini come with a free selection of letters and shapes found in the Cricut Craft Room Basics.  You can always purchase more fonts and shapes but I thought there was enough to choose from with just the free stuff!  Maybe I will buy more in the future as I come up with more fun things to make 🙂
The Project Center is pretty cool because it shows your cutting mat on the screen so you know exactly where your letters or shapes will be.  It is super easy to move them around, increase or decrease the size, and stretch or slant them too.
I printed the Give Thanks. text on one sheet of scrapbook paper and then I deleted the words and added the pumpkin shape to cut out on another sheet.  This way I was able to have a nice layered effect with my project.  When you are ready to cut you just click on the green ‘Cut’ button at the upper right corner of the screen.
After you click the green ‘Cut’ button it will take you to this page next.  Here you will choose what type of material you are cutting…lightweight, medium, or heavy card stock, vinyl, etc.  Then it will give you recommendations for the Depth of the knife, the Pressure and the Speed it will cut out your project as well as the number of time you would like it to cut.  So easy!

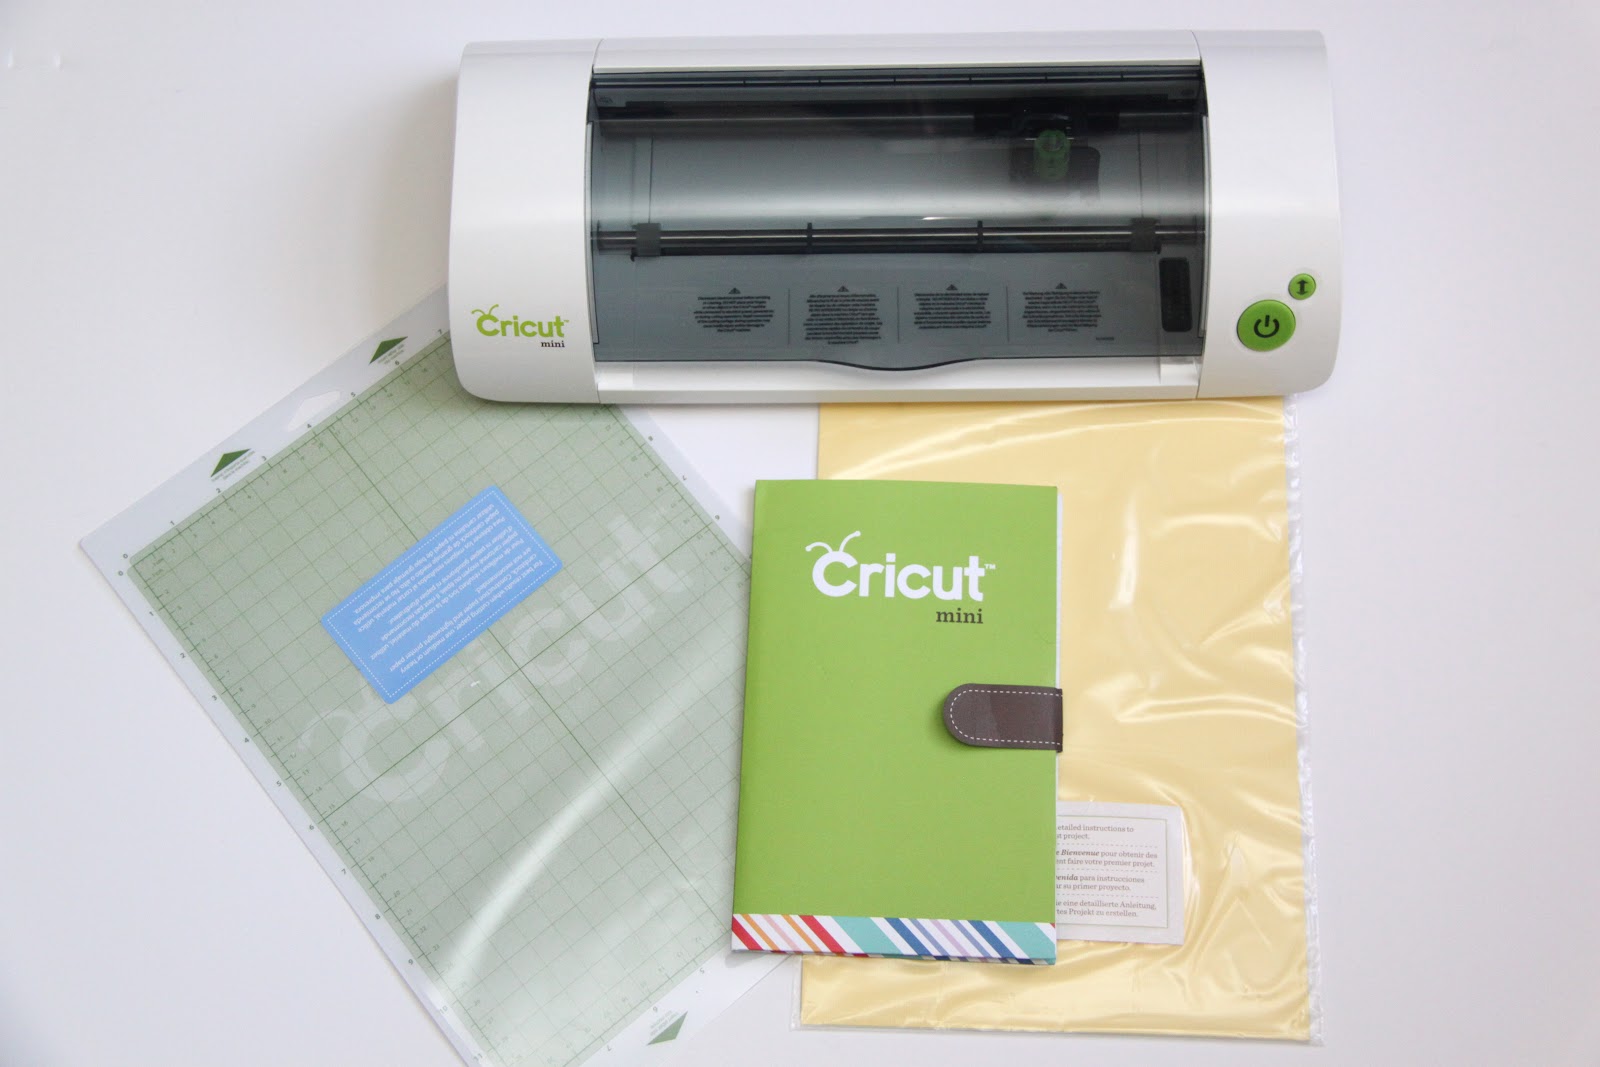
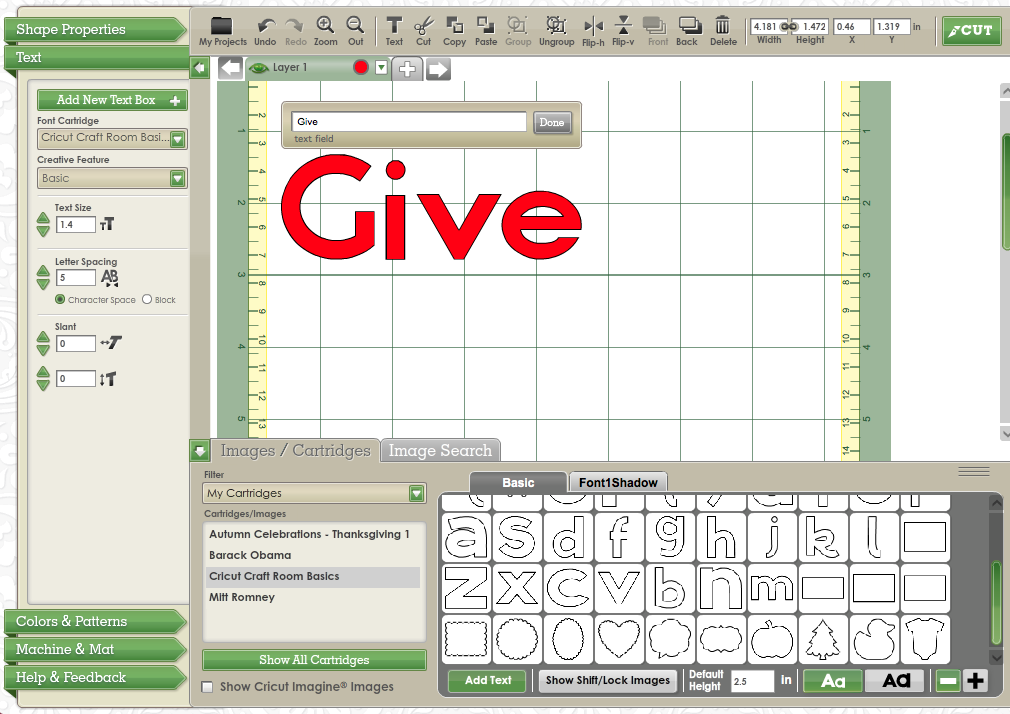
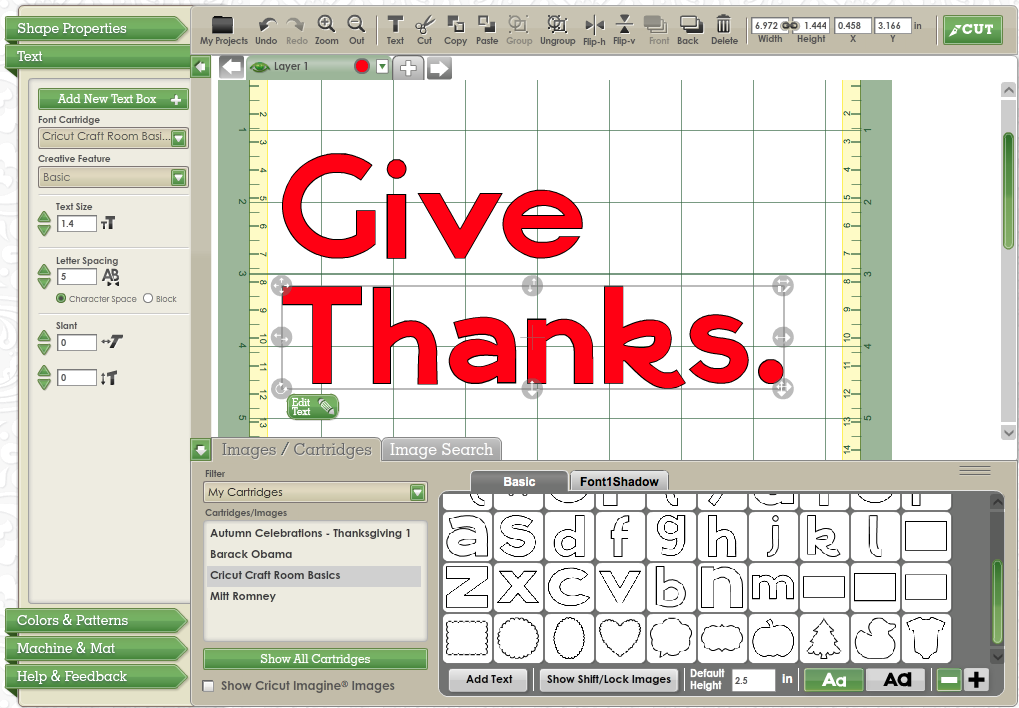
This project cut out in seconds. Seriously it was so quick…and quiet, I was expecting it too be so much louder than it was.  Yay for that…paper crafts while baby sleeps, anyone? 🙂

After it is cut, carefully peel off your project.

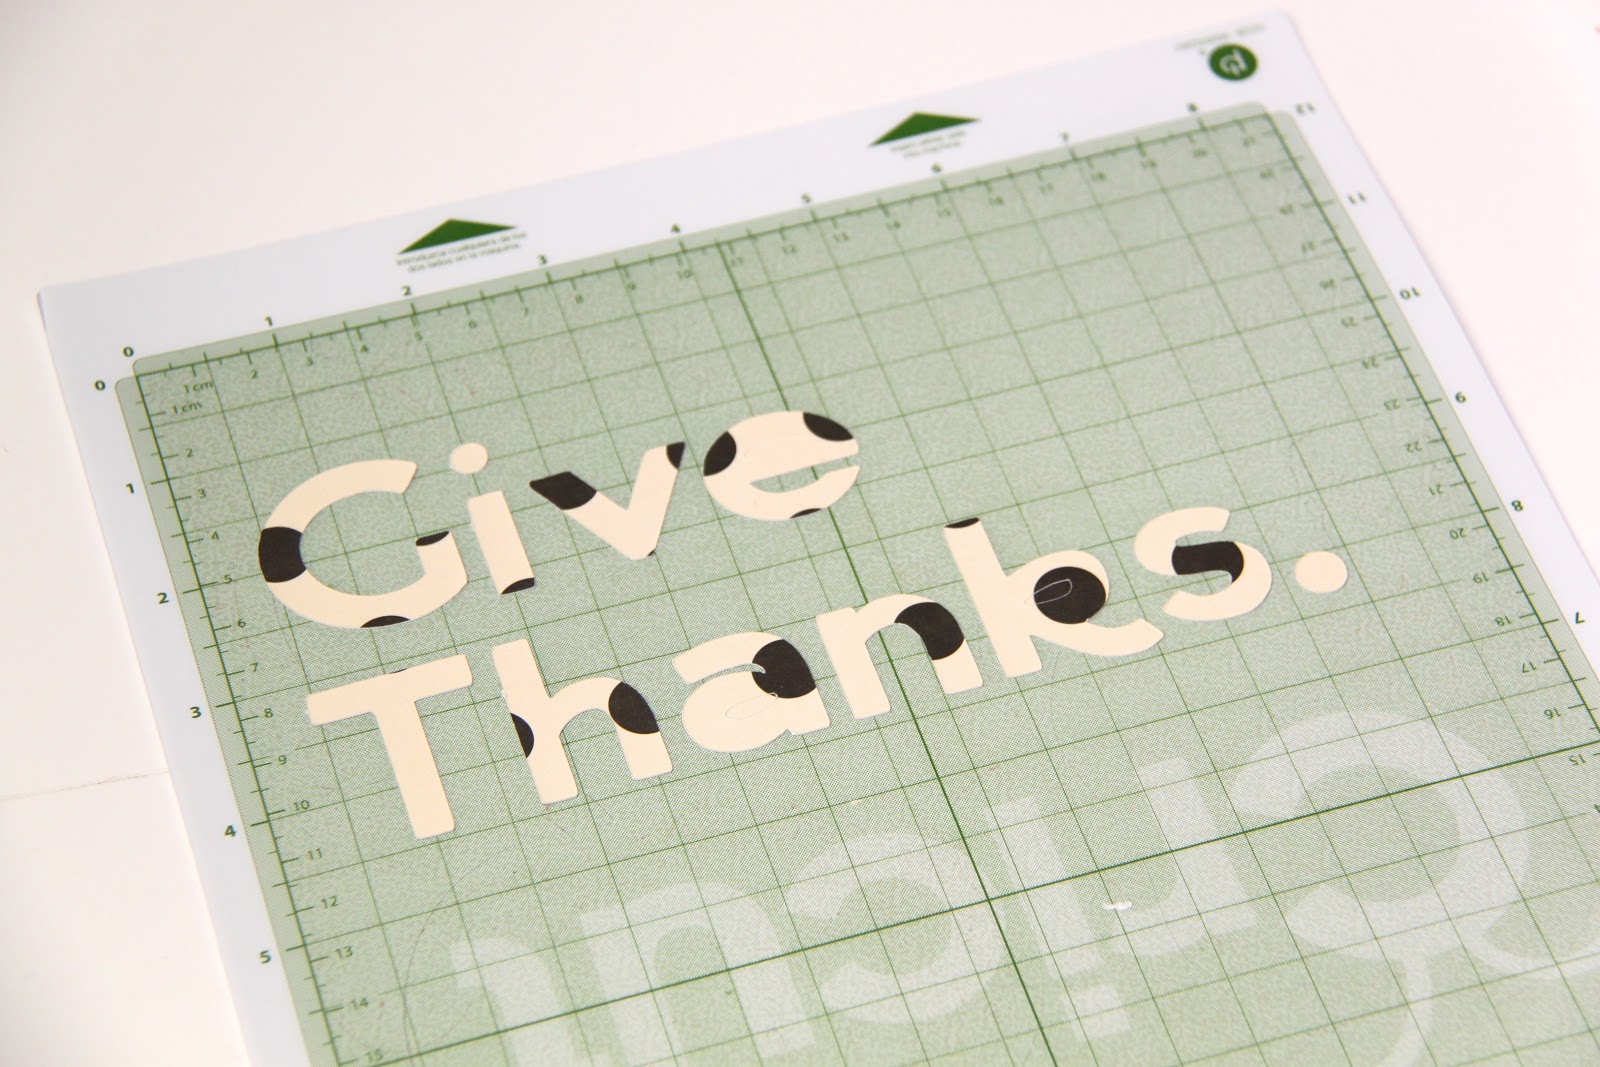
 The mat is pretty sticky, so go slow!  I also saved the letters for another project to do later 🙂

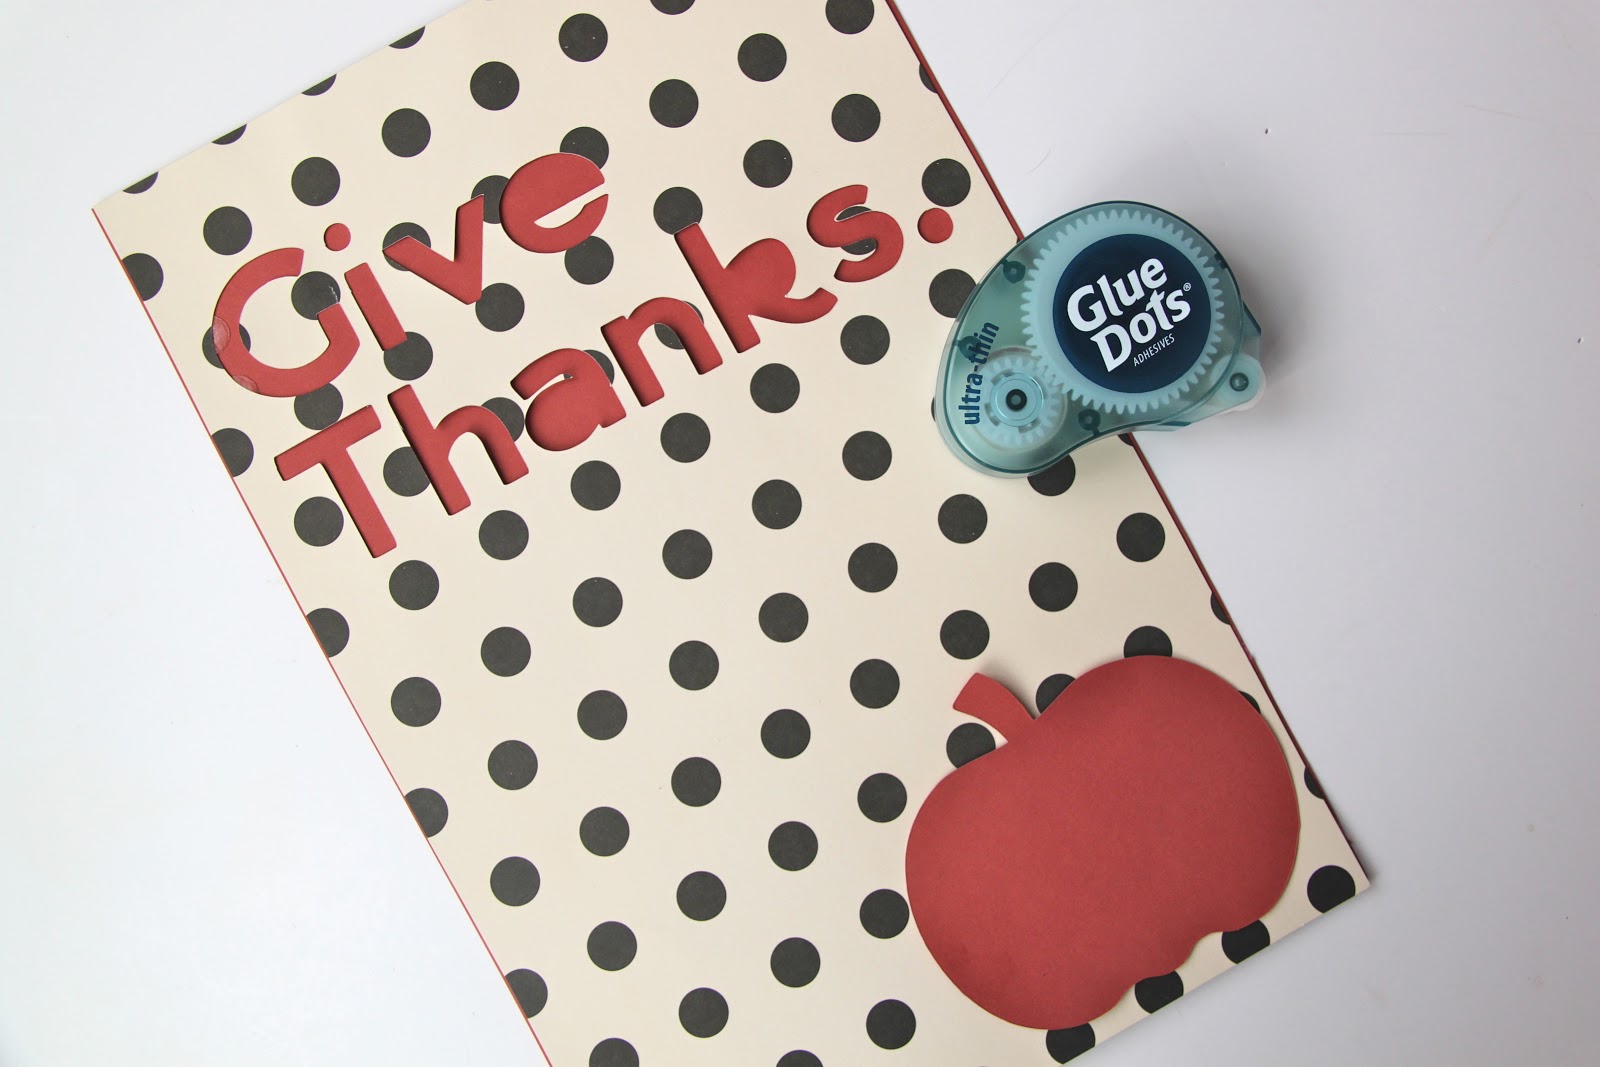
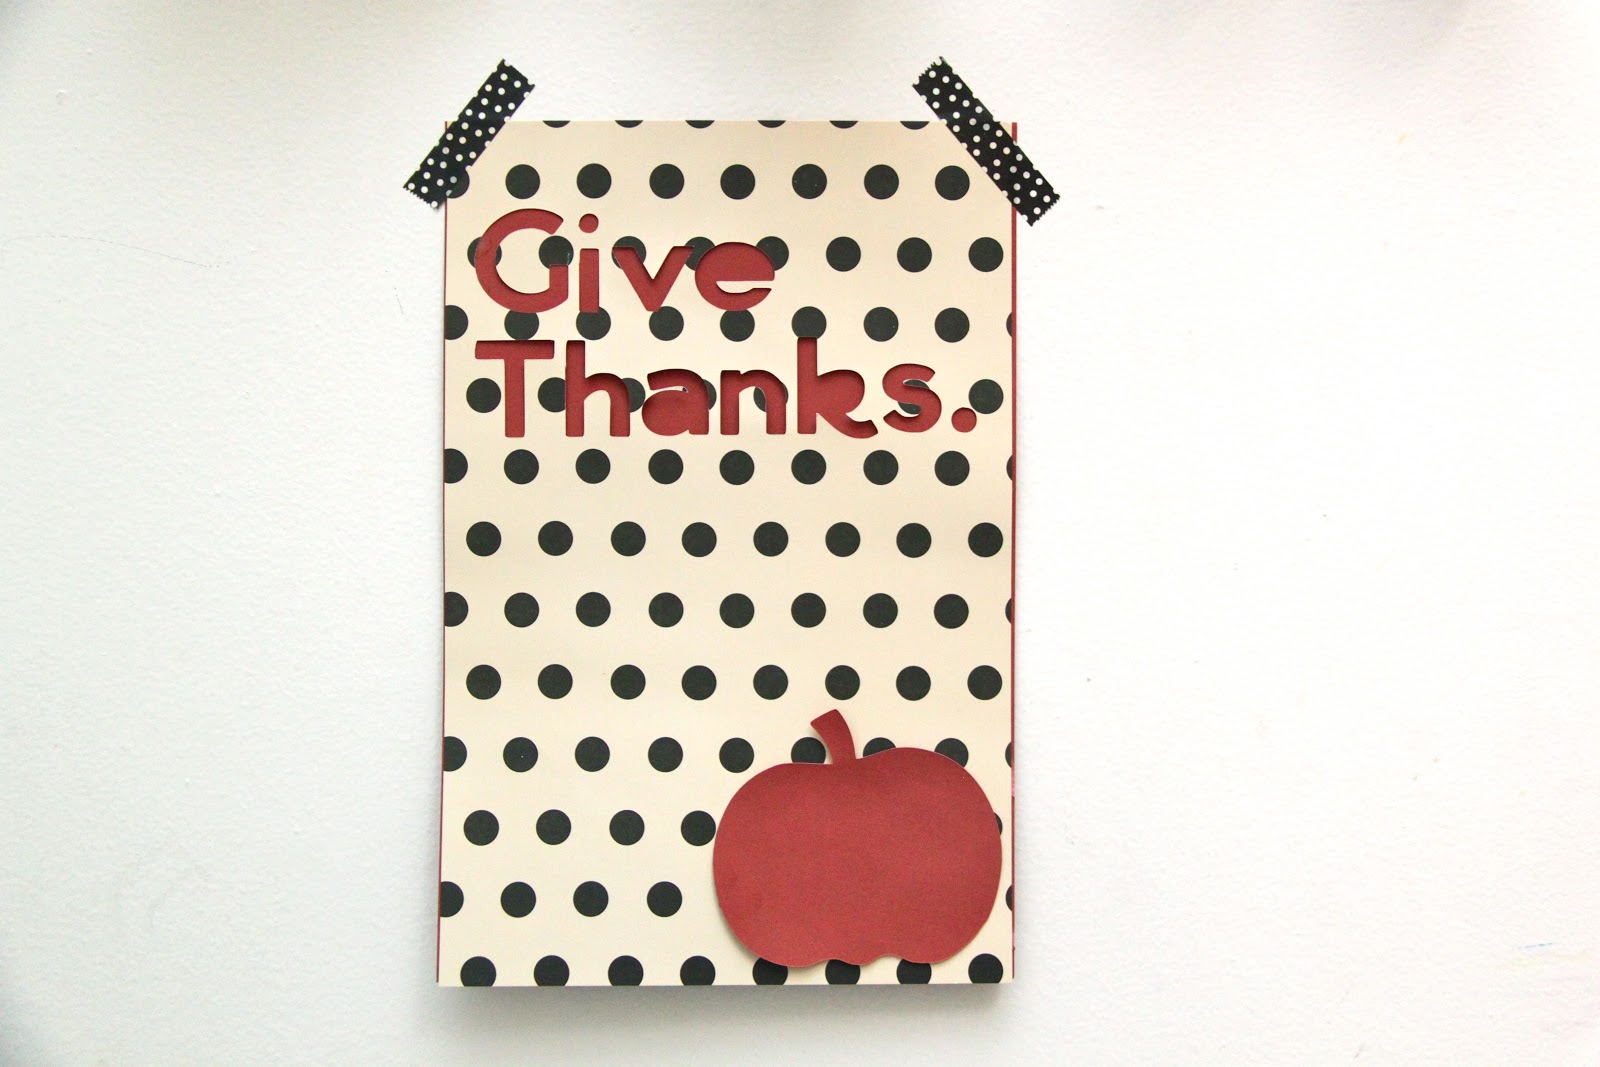
Then, I used glue dots to stick the polka dot card stock to the burnt orange one and then placed the cut out pumpkin on top in the bottom corner.  I love the layered look of this!

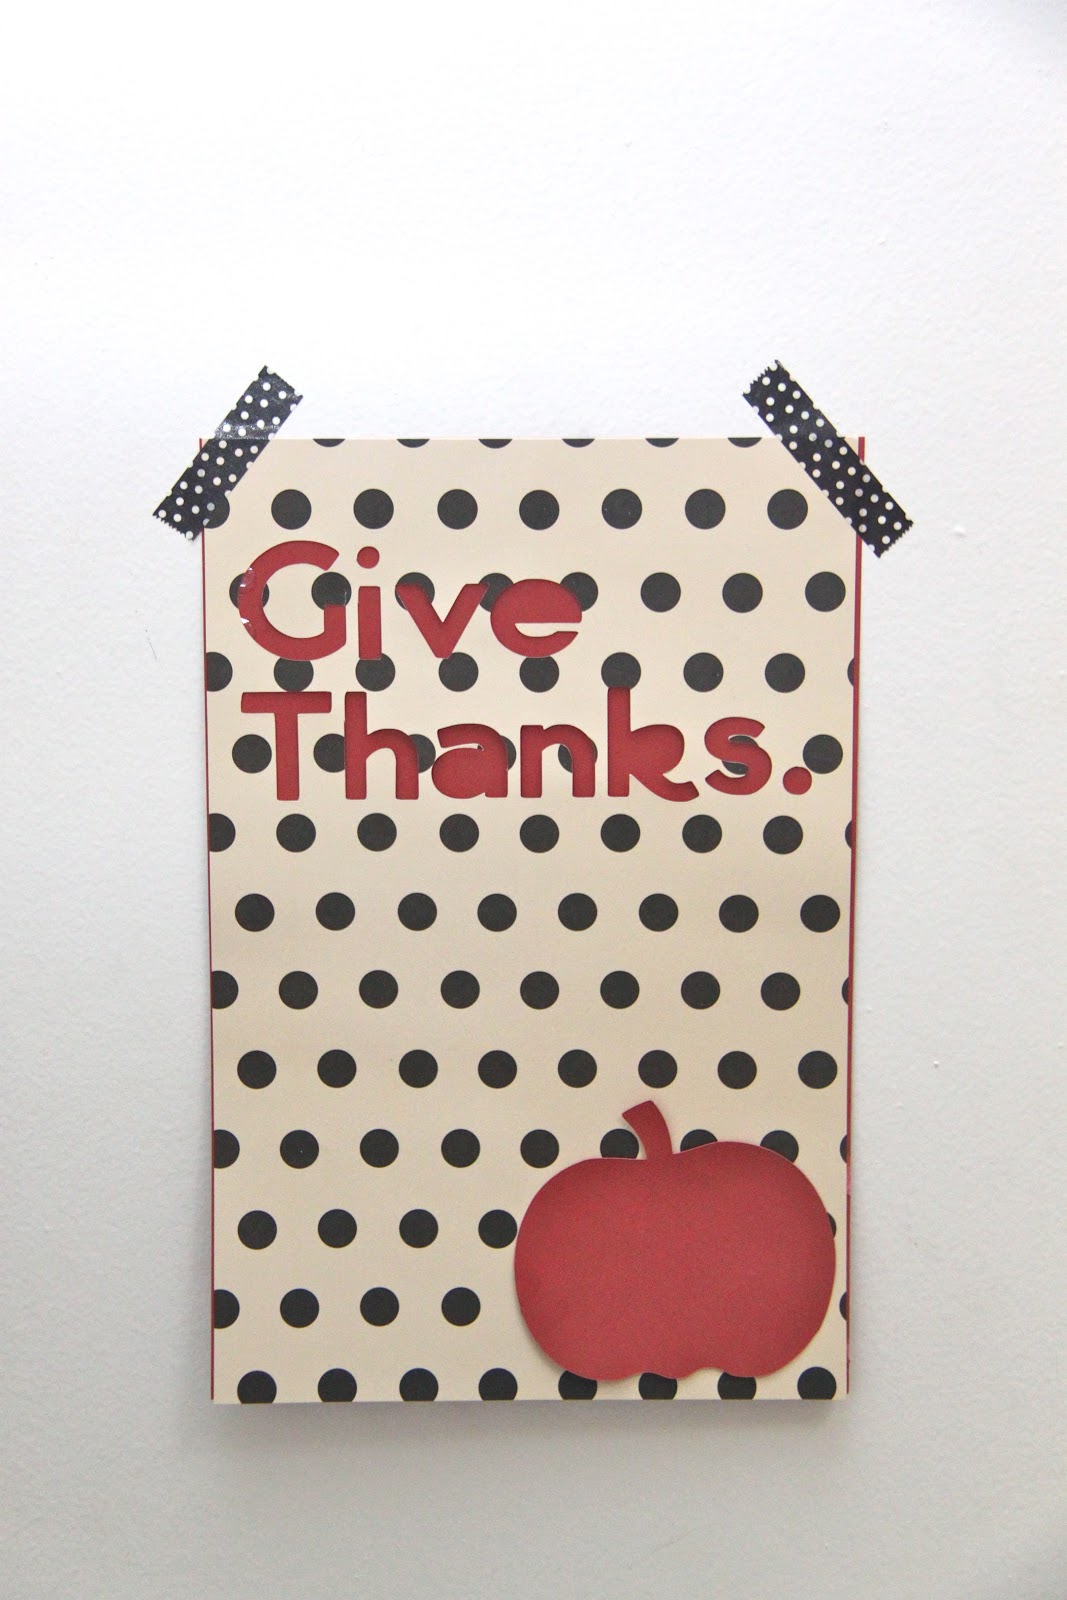
So simple and pretty and I just love the phrase!

::  ::  ::

This just in!  Provo Craft just announced Cricut Holiday Rental Bundles, a service that allows users to rent holiday-themed digital images and cartridges for use with Cricut Craft Room. Holiday Rental Bundles are available for purchase until December 31 and you can choose between two 60-day rental options. The Holiday Basics Rental Bundle is available for $19.99 and enables users to rent morethan 700 digital winter images found in the Cricut Craft Room including Christmas Cheer, Joys of the Season, Snow Friends, Very Merry Tags and more. For $29.99 users can purchase the Holiday Deluxe Rental Bundle which grants access to those images, plus nearly 500 additional images including Teresa Collins image sets, Holiday Cards, Ornaments and many more images.

If you are interested in renting any of these bundles for your Cricut machine you can see them here:
Holiday Basics Rental Bundle
Holiday Deluxe Rental Bundle

Thanks so much for stopping by today!

XOXO,

    You may also like -

    Coffee Makes Everything Possible Wall ArtCoffee Makes Everything Possible Printable Wall ArtDunkin Donuts Thank You PrintableDunkin Donuts Thank You PrintableThankful for You: Gift Idea // SmashedPeasandCarrots.comThankful for You: Gift IdeaSuper fun Rainbow Paper Plate Windsocks. The perfect craft for little ones!How to Make a Rainbow Paper Plate WindsockA Day In My Life Journal Using Polaroid Instax PhotosA Day in My Life Polaroid Instax Photo Journal

    Become a Subscriber

    never miss a thing!

    Comments

    1. parfums says

      November 20, 2012 at 8:29 pm

      Nice blog
      Parfum pas cher

    2. Anonymous says

      November 21, 2012 at 3:36 am

      magnificent post, very informative. I ponder why the opposite specialists of this sector
      don’t notice this. You must continue your writing. I’m sure, you have a huge readers’ base already!
      Feel free to visit my web-site apparelcycle.com

    Welcome to Smashed Peas and Carrots. You can read more about me HERE
     photo designTeam.png
    Follow on Bloglovin

    Popular Tutorials

    Highlighter Valentine Card with Free Printable

    Highlighter Valentine Card with Free Printable…

    Play Doh Valentine Card Free Printable

    Play Doh Valentine Card Free Printable…

    Elderberry Syrup Recipe

    Elderberry Syrup Recipe: Natural Cold and Flu…

    Teacher Survival Kit

    Teacher Survival Kit with FREE Printable…

    Notebook Paper Pencil Pouch Teacher Gift Idea

    Notebook Paper Pencil Pouch Teacher Gift Idea…

    Free Silhouette File Teacher Canvas Bag Gift Idea

    Free Silhouette File: Teacher Canvas Bag Gift…

    Popular Recipes

    No Bake Energy Bites Recipe…

    Chocolate Coconut Cups {Gluten and Dairy Free}…

    DIY Taco Seasoning Recipe…

    Sugar. Cookie. Icing. {The Recipe}…

    French Dip..Crockpot Style!…

    Crockpot Banana Bread…for Real!…

    My Sponsors

     photo FatQuarterShop-175x175.png

     photo cdf15248-e6f8-4276-abc0-c145e2451c35.jpg


    Blog Archives

    Posts by Topic

    Stay Connected

    • Facebook
    • Twitter
    • Pinterest
    • Instagram
    • Dots
    • Google Plus

    Join me on Facebook

    Copyright Smashed Peas and Carrots © 2025 · All rights reserved · Design by Emily White Designs

    Copyright © 2025 · Smashed Peas & Carrots Custom on Genesis Framework · WordPress · Log in