
A major part of planning our garden this year had to do with canning, am I cool or a nerd or what? We decided to choose vegetables in our garden that we not only loved eating fresh but that would also do well canned so we could enjoy them all year long. I had canned foods in the past, mainly jams (and mainly refrigerator or freezer canning) but this summer I wanted to dive into water-canning for the fact that canned foods can last up to 1 year on the shelf which means if we ever had some weird power outage I wouldn’t have to worry about all my precious bounty going to waste if kept in my freezer.
Today I’m going to share with you my foray into canning salsa. I’ve made so many batches this summer I’m feeling like a pro 😉 And guess what! If your garden has produced ridiculous numbers of tomatoes like ours has then this is a great way to use them up! This recipe is adapted from the Ball Blue Book guide to preserving, it’s awesome and pretty much my canning bible. If you feel like you want to start canning you must get this book, there is so much information in it and lots of great recipes…me likey a lot!
Zesty Salsa
Recipe Type: Canning
Cook time:
Total time:
Serves: makes 6 pints
Ingredients
- 10 cups (6 lbs) chopped tomatoes
- 5 cups (2 lbs) chopped and seeded green bell peppers
- 5 cups (1.5 lbs) chopped onions
- 2.5 cups (1 lb) chopped and seeded hot peppers
- 3 cloves garlic, minced
- 3 tsp salt
- 1 1/4 cup cider vinegar
- 1 tsp hot pepper sauce (optional)
Instructions
- Combine all ingredients in a large stockpot.
- Bring mixture to a boil.
- Reduce heat and simmer for 10 minutes.
- Ladle hot salsa into hot jars, leaving a 1/4 inch headspace.
- Adjust two-piece caps.
- Process 15 minutes in a boiling water canner.
- ** Make sure to wear rubber gloves when cutting or seeding hot peppers!!
- **If you live in higher altitudes you will need to adjust your processing time
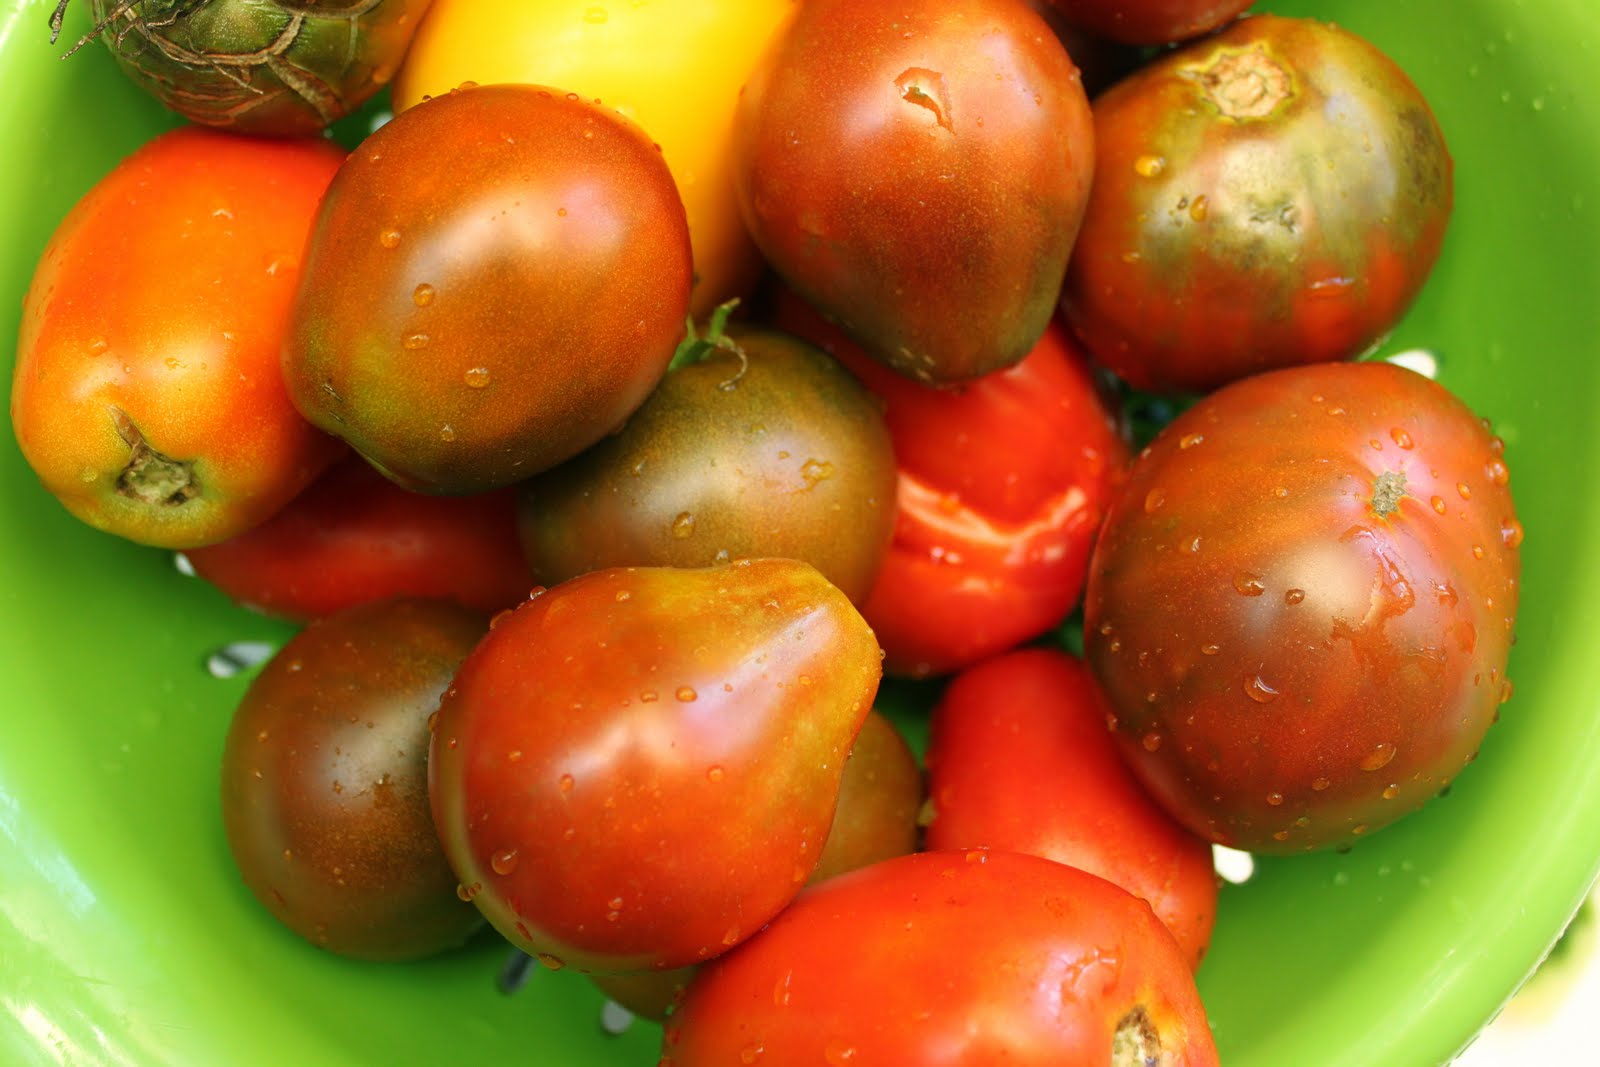
First wash your tomatoes and chop them up. The size of the tomato chunks doesn’t really matter in this step…or any of the steps for that matter. If I use cherry tomatoes I don’t even chop them up, I throw them right into the pot…total rebel! I also don’t peel, seed or core my bigger tomatoes. Since I like to puree my salsa at the end for a bit you won’t notice any peels, cores or seeds!
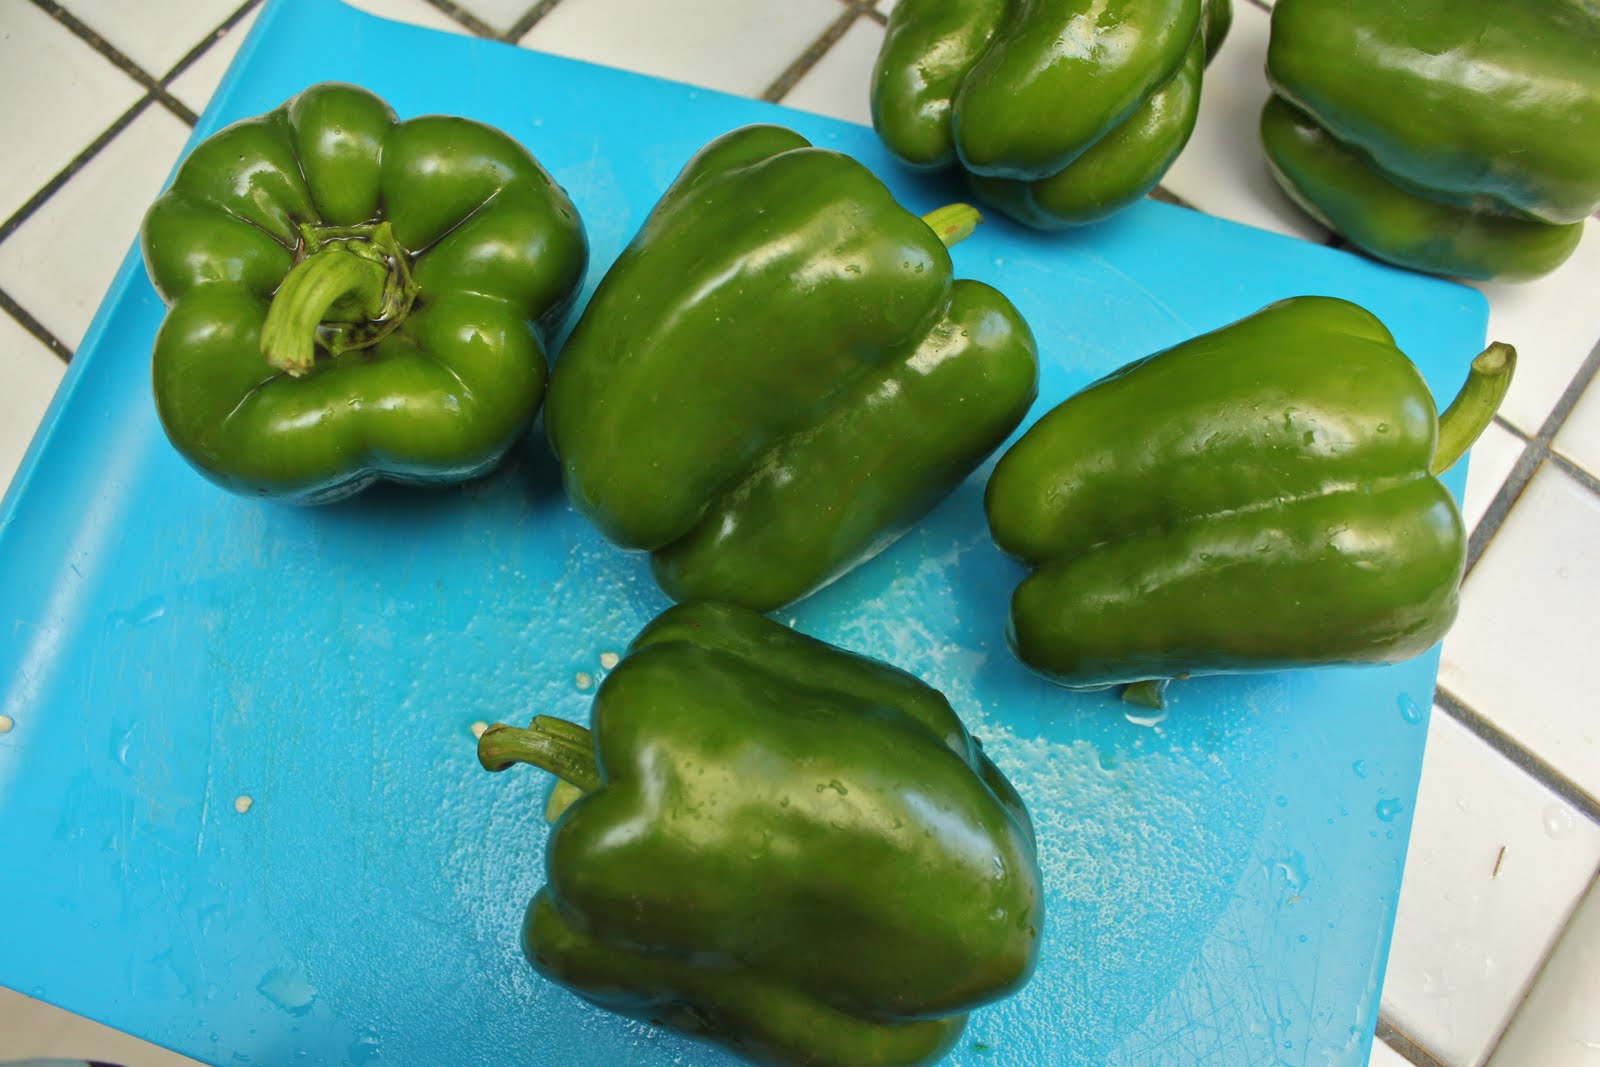
Next chop and seed your bell peppers. Two pounds of bell peppers is roughly 6 medium sized ones!
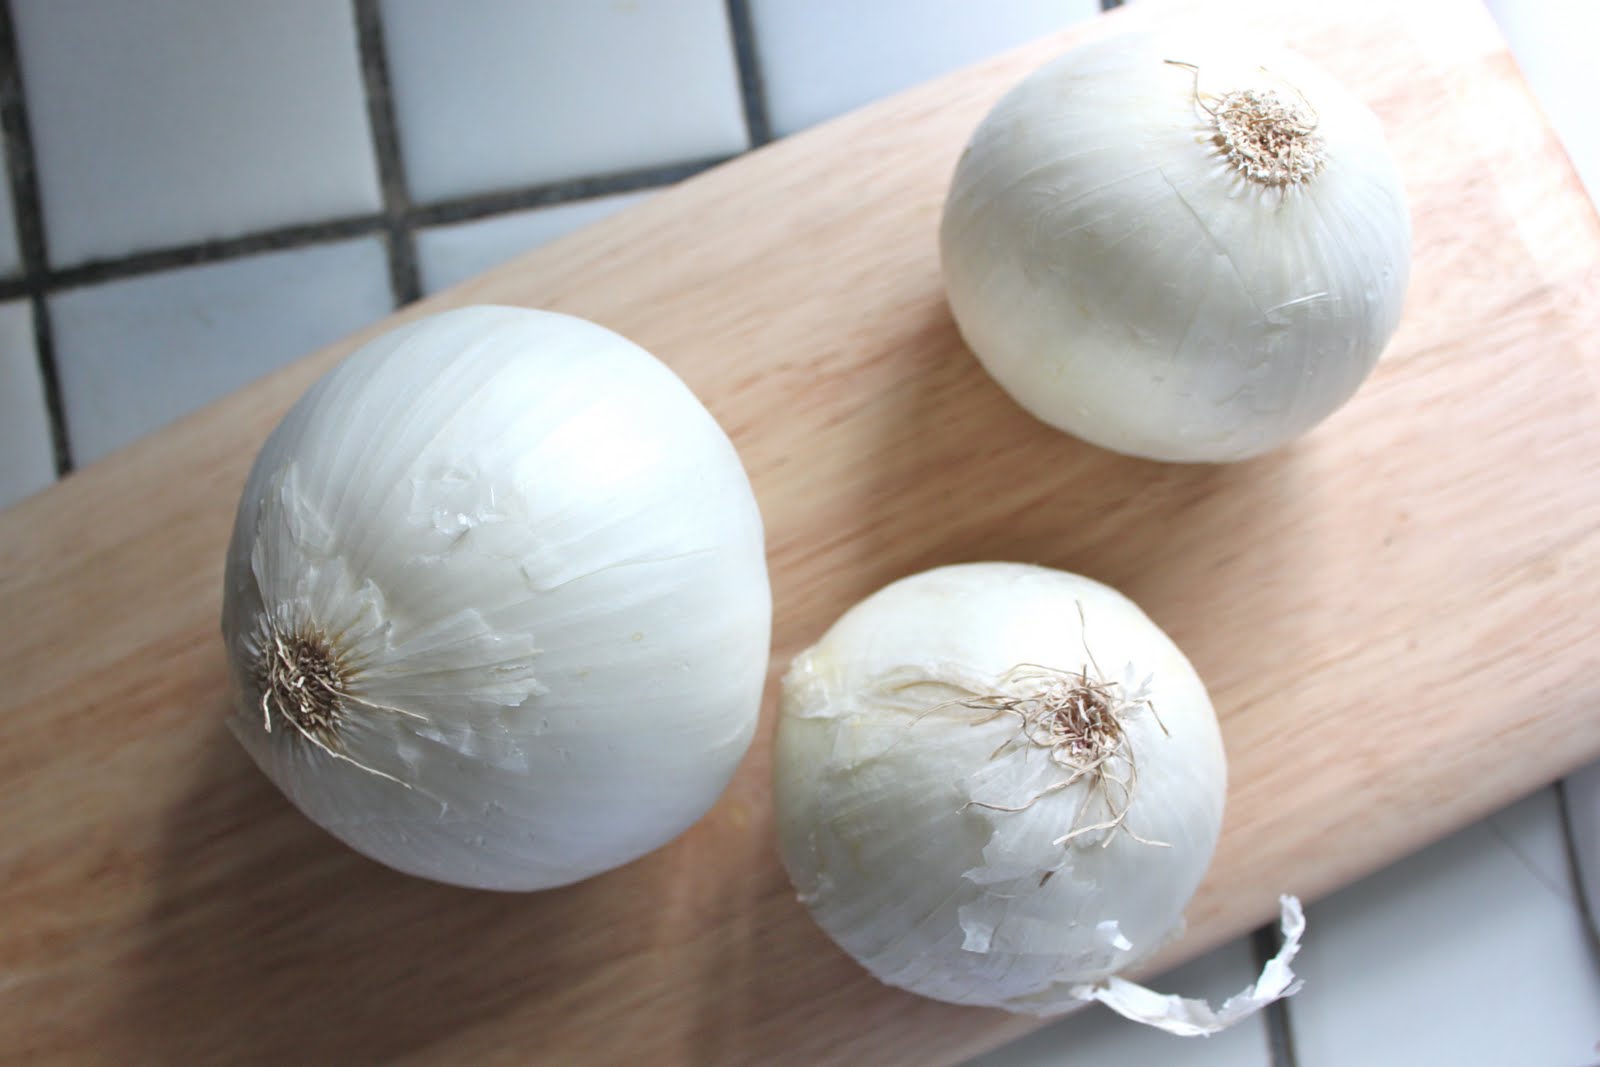
Then chop your onions…3 onions is roughly 1 1/2 pounds 🙂
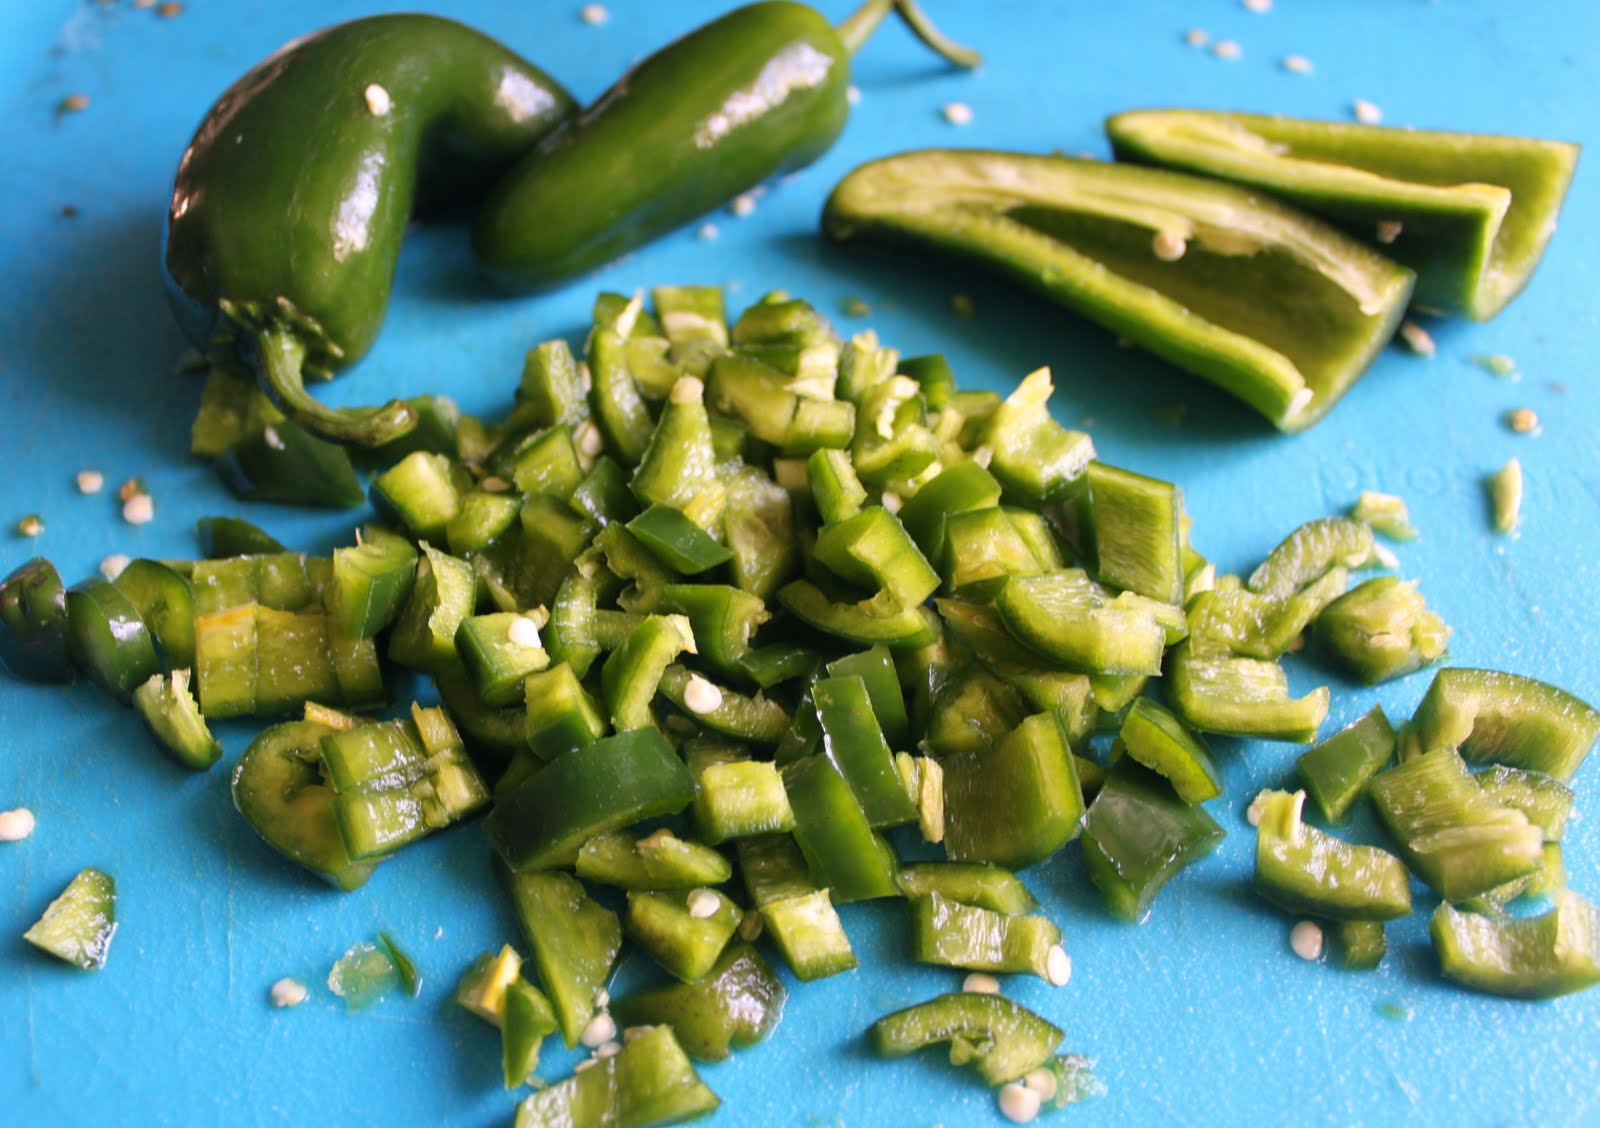
Now grab your rubber gloves and put those babies on! Chop your hot peppers, I usually would use a mix of jalepenos and serranos as that is what we are growing in our garden. I also only seed half of them cause we like our salsa medium hot. I you like your salsa more on the mild side just use half the hot peppers called for in the recipe.
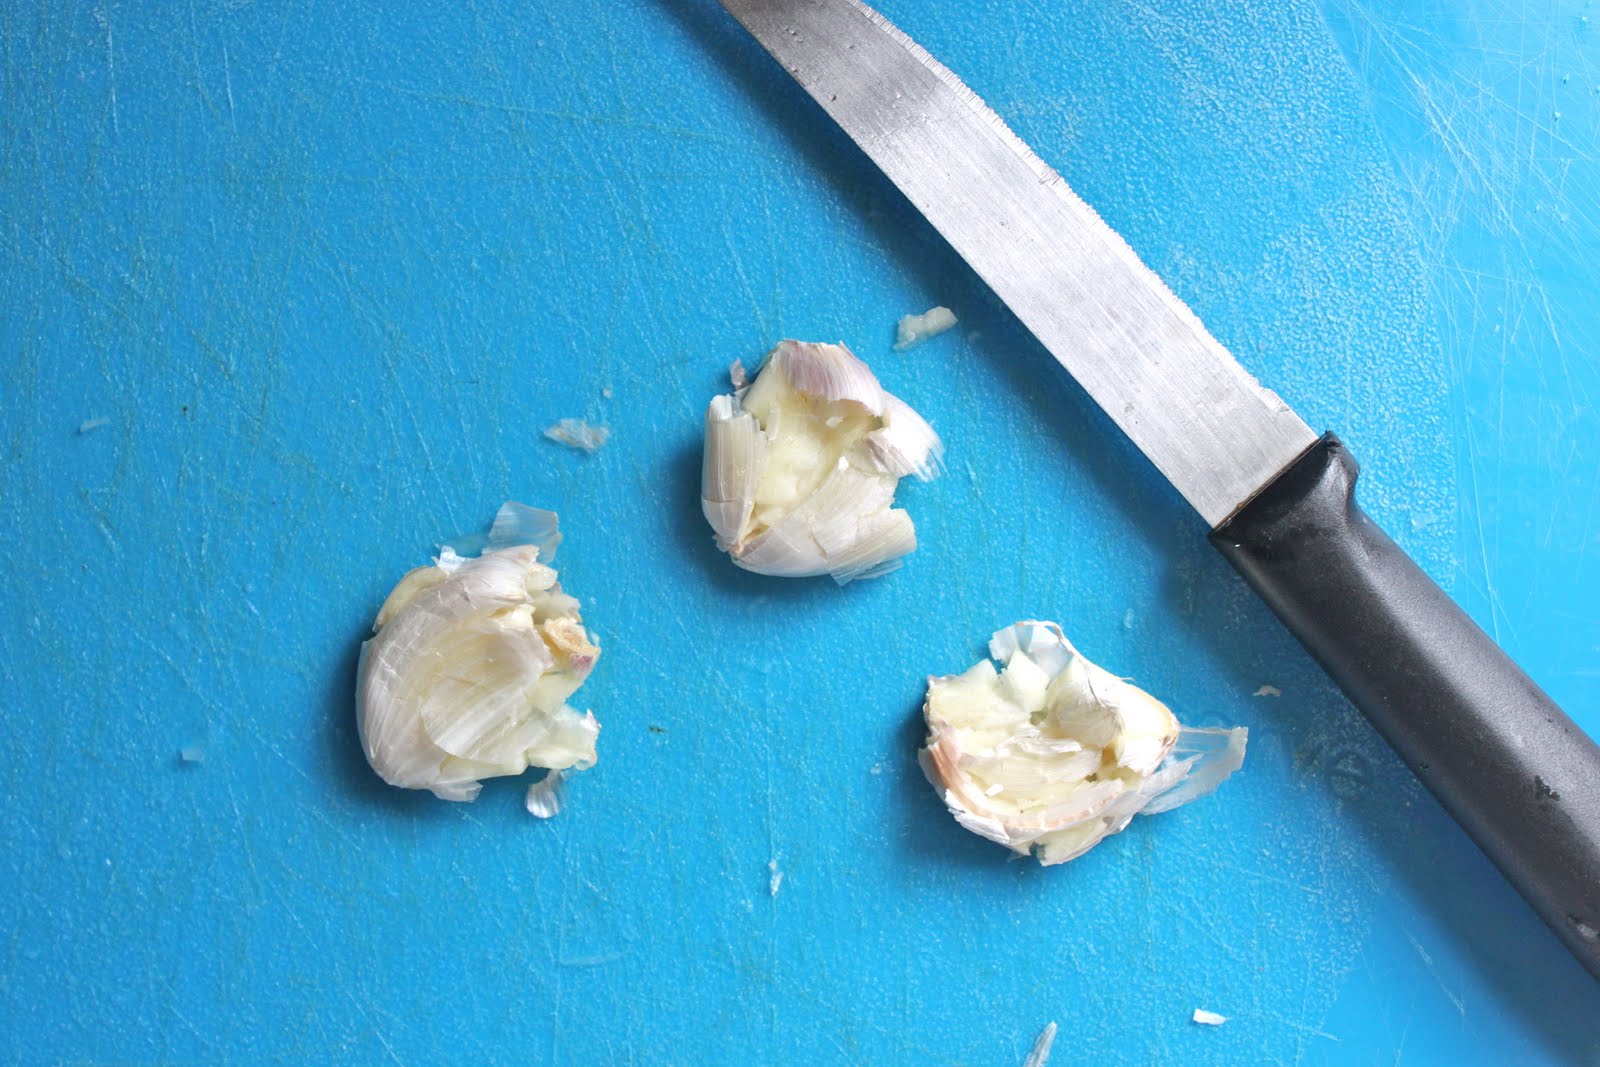
Then crush three cloves of garlic and mince them up.

Lastly you are going to add in the cider vinegar and salt…and tabasco sauce if you like that kinda thing (we do!)

Mix everything together and bring to a boil. Once the mixture is boiling, reduce the heat and let simmer for 10 minutes.
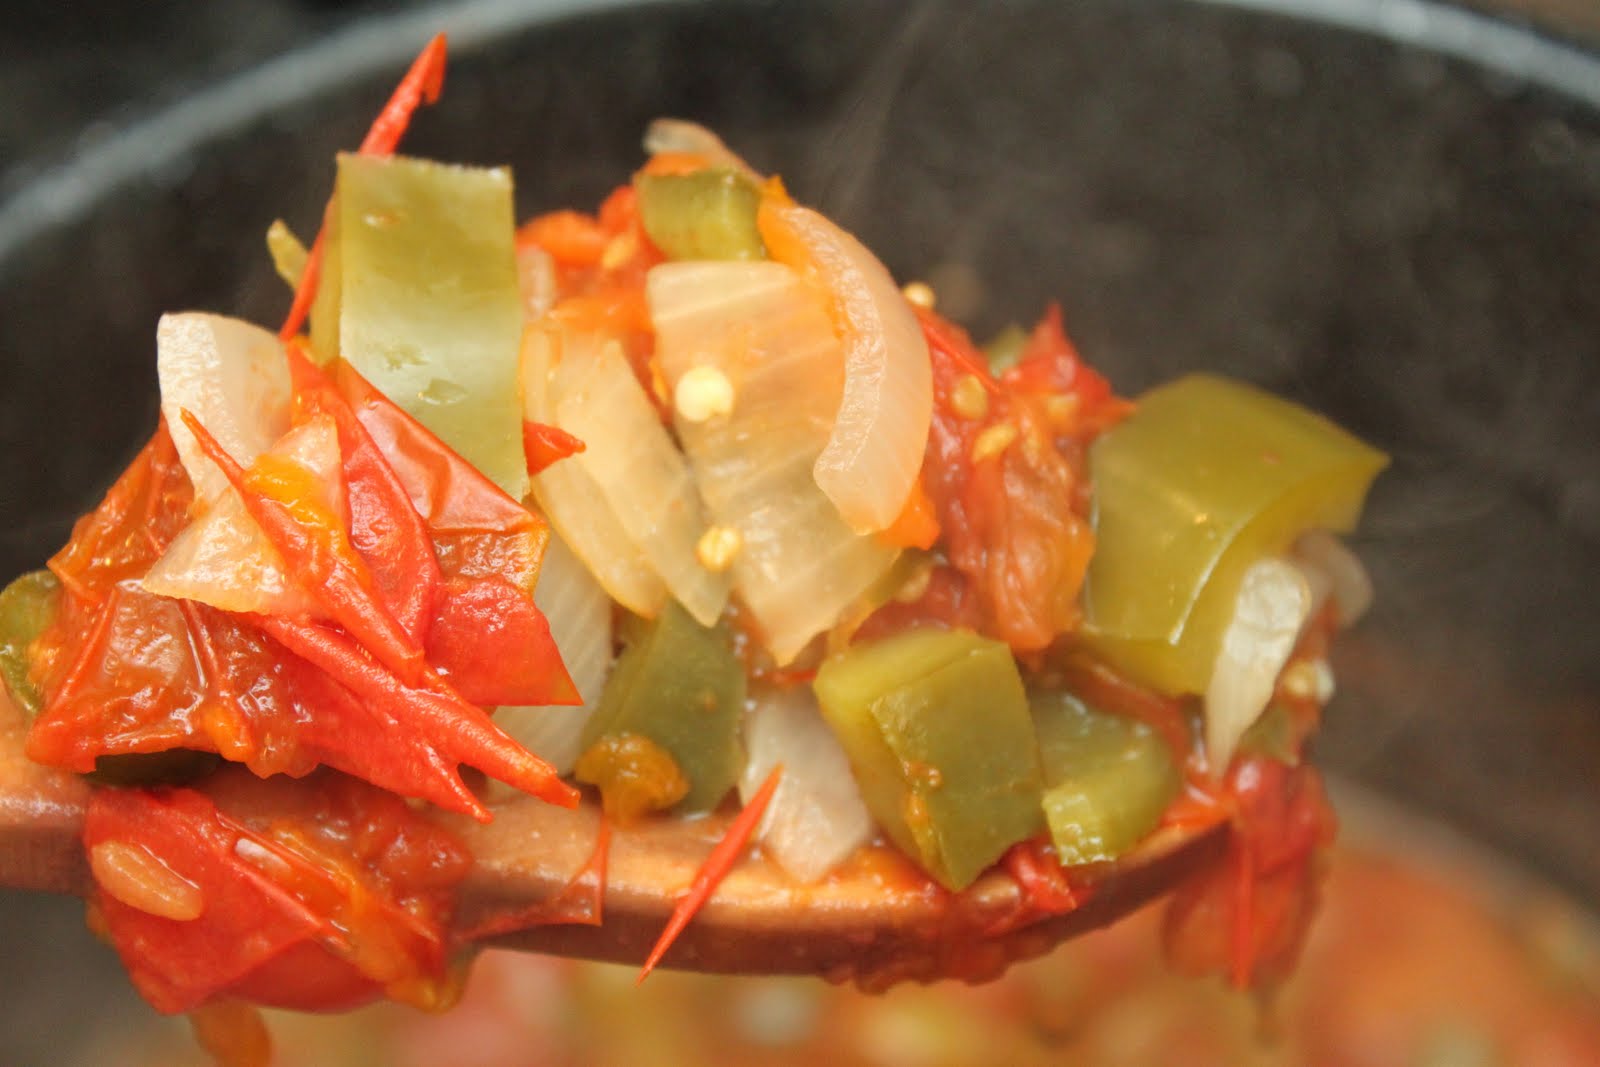
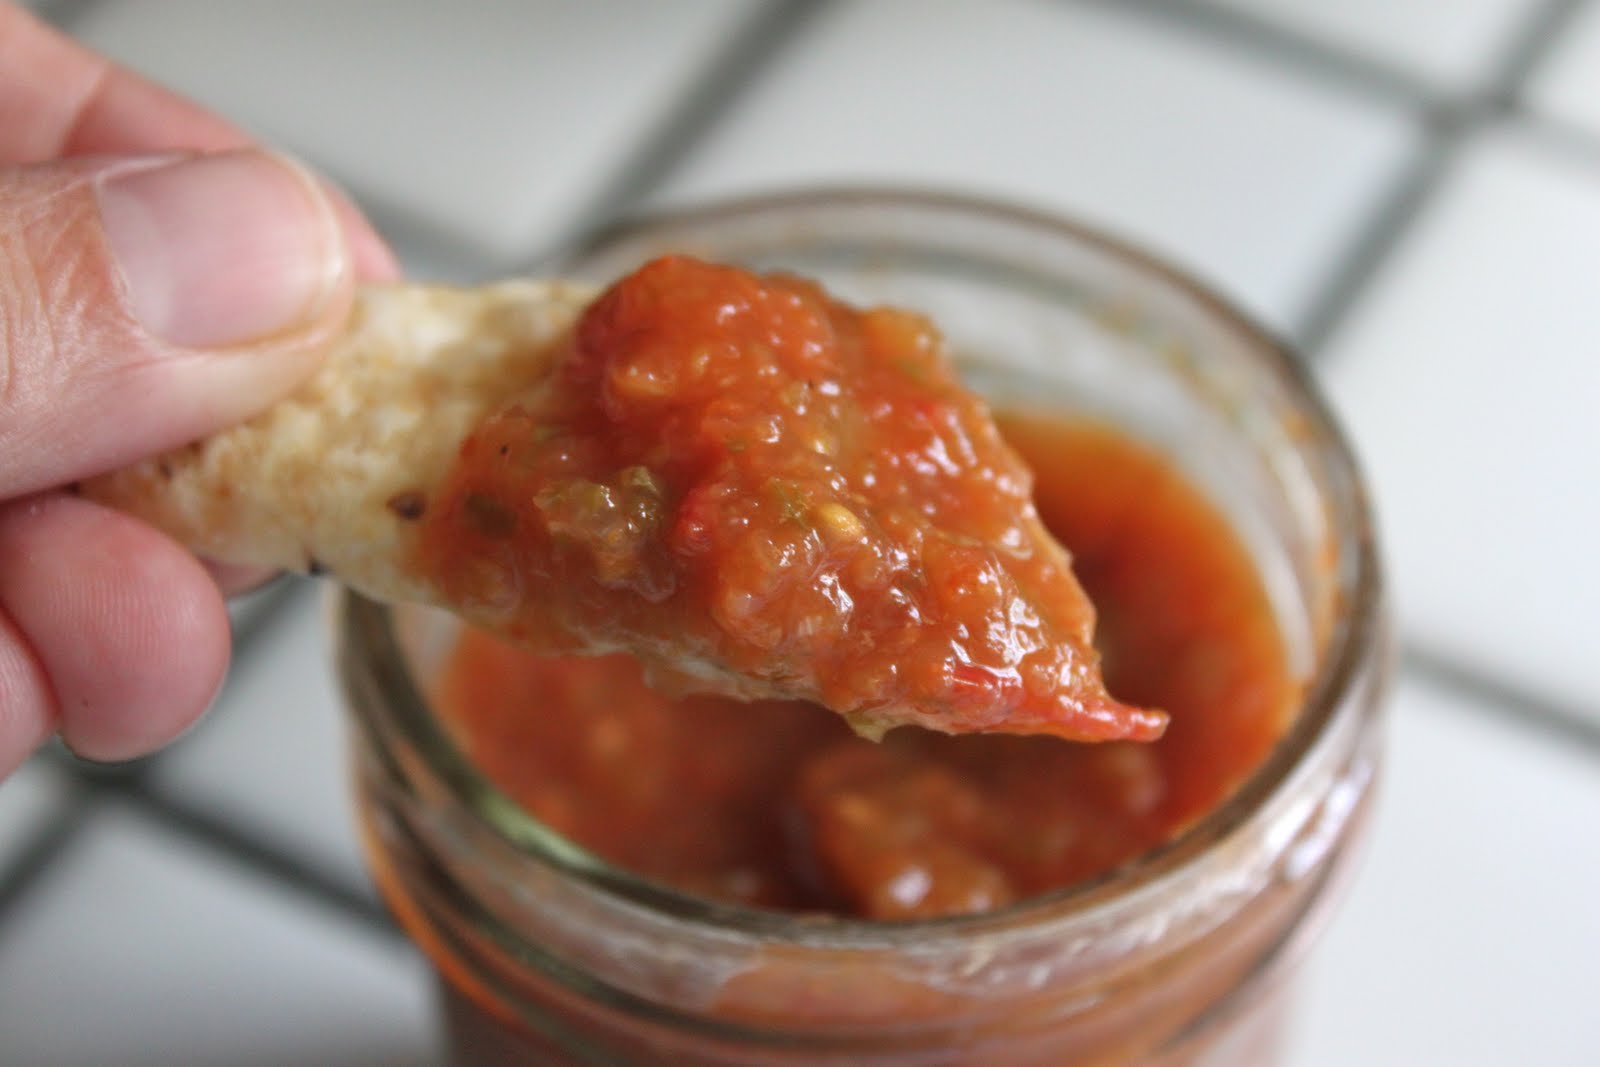
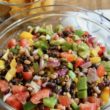
You’ll end up with salsa that looks like this! At this point you can start canning it but I like my salsa a bit more pureed, kinda like the store-bought salsa textures we all know (and love, hehe!)
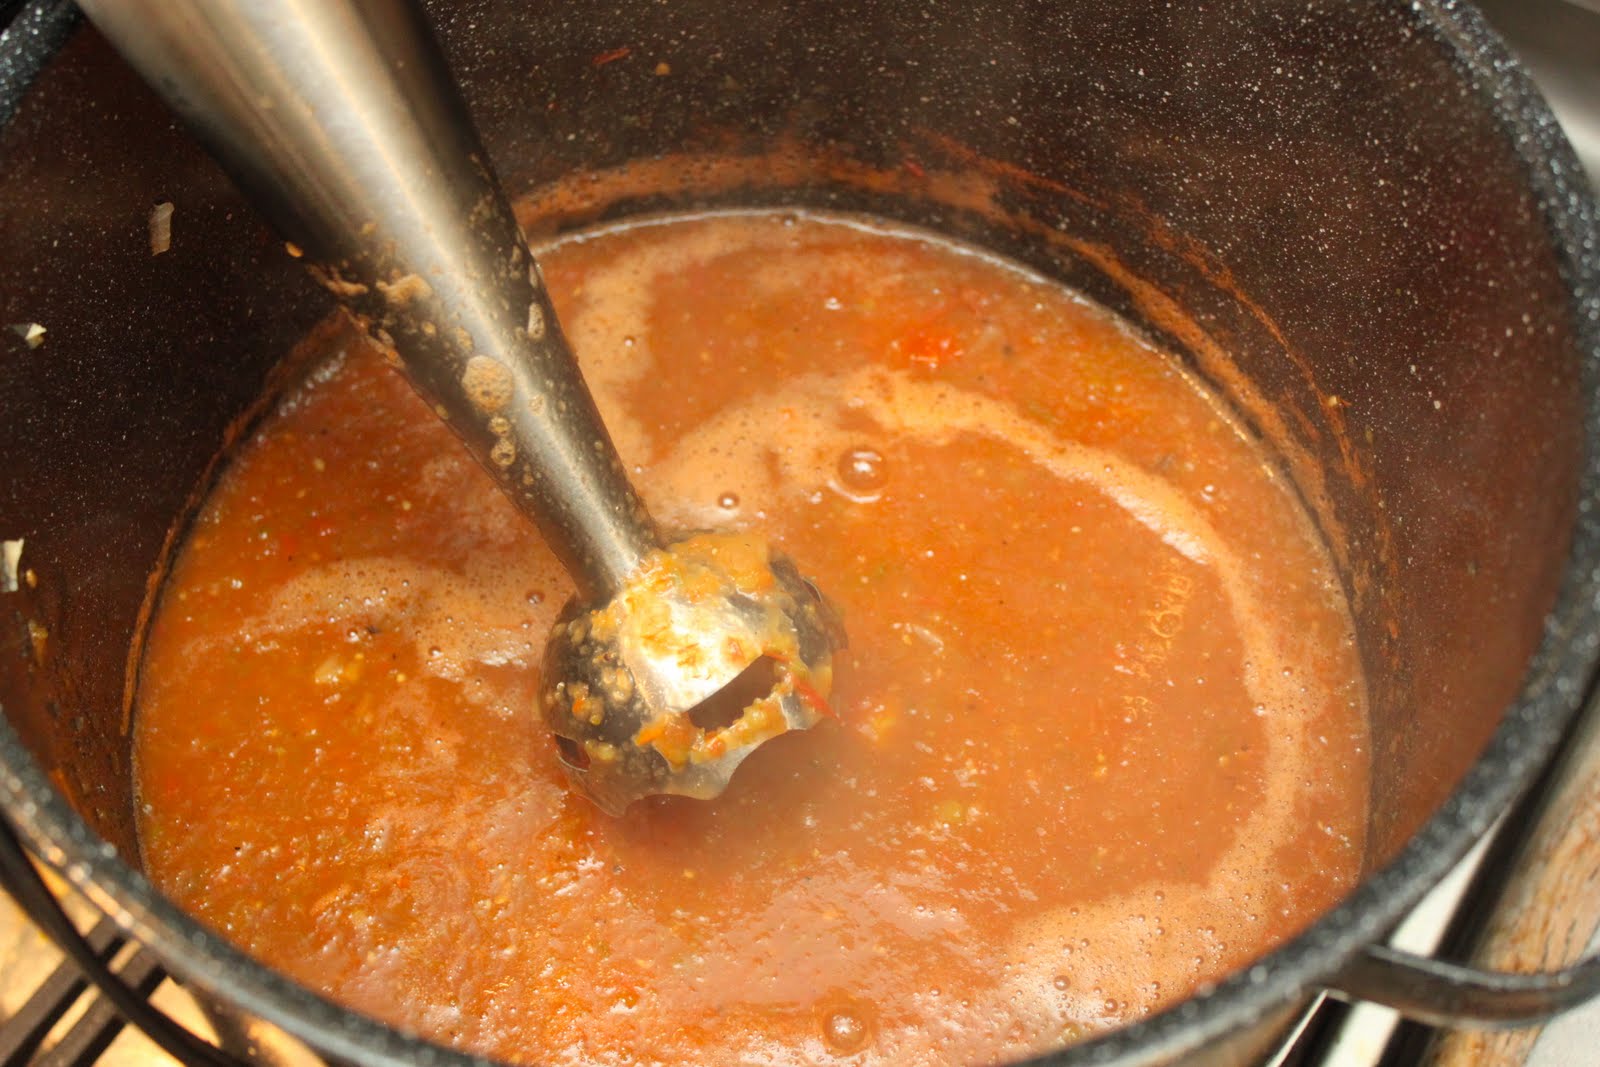
So I grab my hand-held blender apparatus thingy and puree the salsa a bit. Okay a lot. But when you think it looks all soupy it really isn’t, it’s actually perfect store-bought salsa texture!
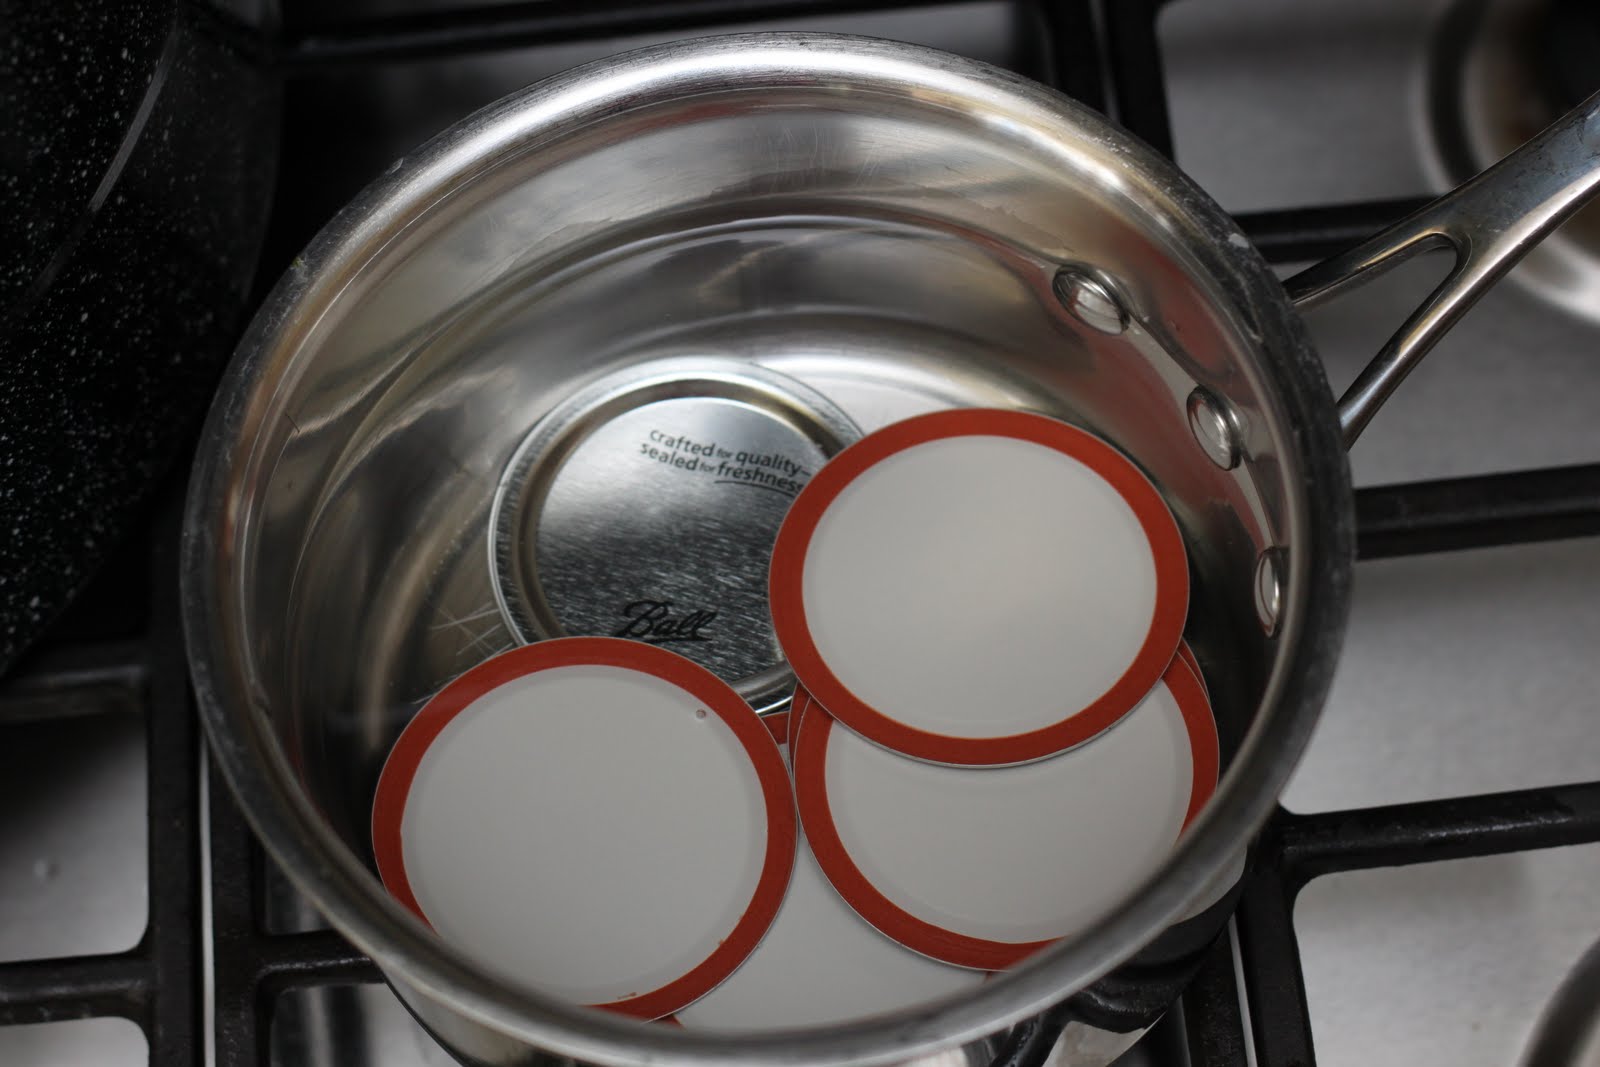
Okay so I guess I should have mentioned this first but now is as good a time as any. Before you even start making your salsa you need to get a few pots of water simmering first. One small saucepan for the lids (above) and one large water bath canner for your jars. The canner will be doing double duty 1) to heat up your jars prior to pouring in the salsa 2) to process your jars of salsa to seal them.

Here are my pint jars getting nice and hot (180 degrees is where they suggest the water temperature to be…right around a simmer).

You’ll also need some canning tools which really make canning a breeze.
1) jar lifter
2) magnetic lid lifter
3) tongs
4) funnel
5) jar rings
I bought my water bath canner and accessories as a kit that is similar to this one here.
The jar rings (#5) are not part of the accessories kit nor are they really a tool as they come with your jars but I wanted to mention to you that you can reuse the rings not the lids!! Once the lids are used to seal a jar you cannot reuse them again as the rubber sealing component will be shot. You can buy replacement lids at any store that sells mason jars.

First you will use the tongs to grab your empty hot jars from the simmering water. Tip them slightly to pour out the water like so…

Set your hot jar on a towel and place the funnel into your jar. Ladle in the salsa nice and slowly, you don’t want to waste any by getting it all over the towel, ahem, not that I did that at all 🙂 Once it gets about as full as the jar in the picture above take the funnel out.

And then spoon in the rest of the salsa until you have about 1/4 inch of headspace. Do you see it there? Yup, that’s about a quarter inch! Then grab a butter knife and run it around the inside wall of the jar to try and get out as many air bubbles as you can. Air bubbles and canning do not mix. They will cause your canned goods to go rancid and that is just not what we want.
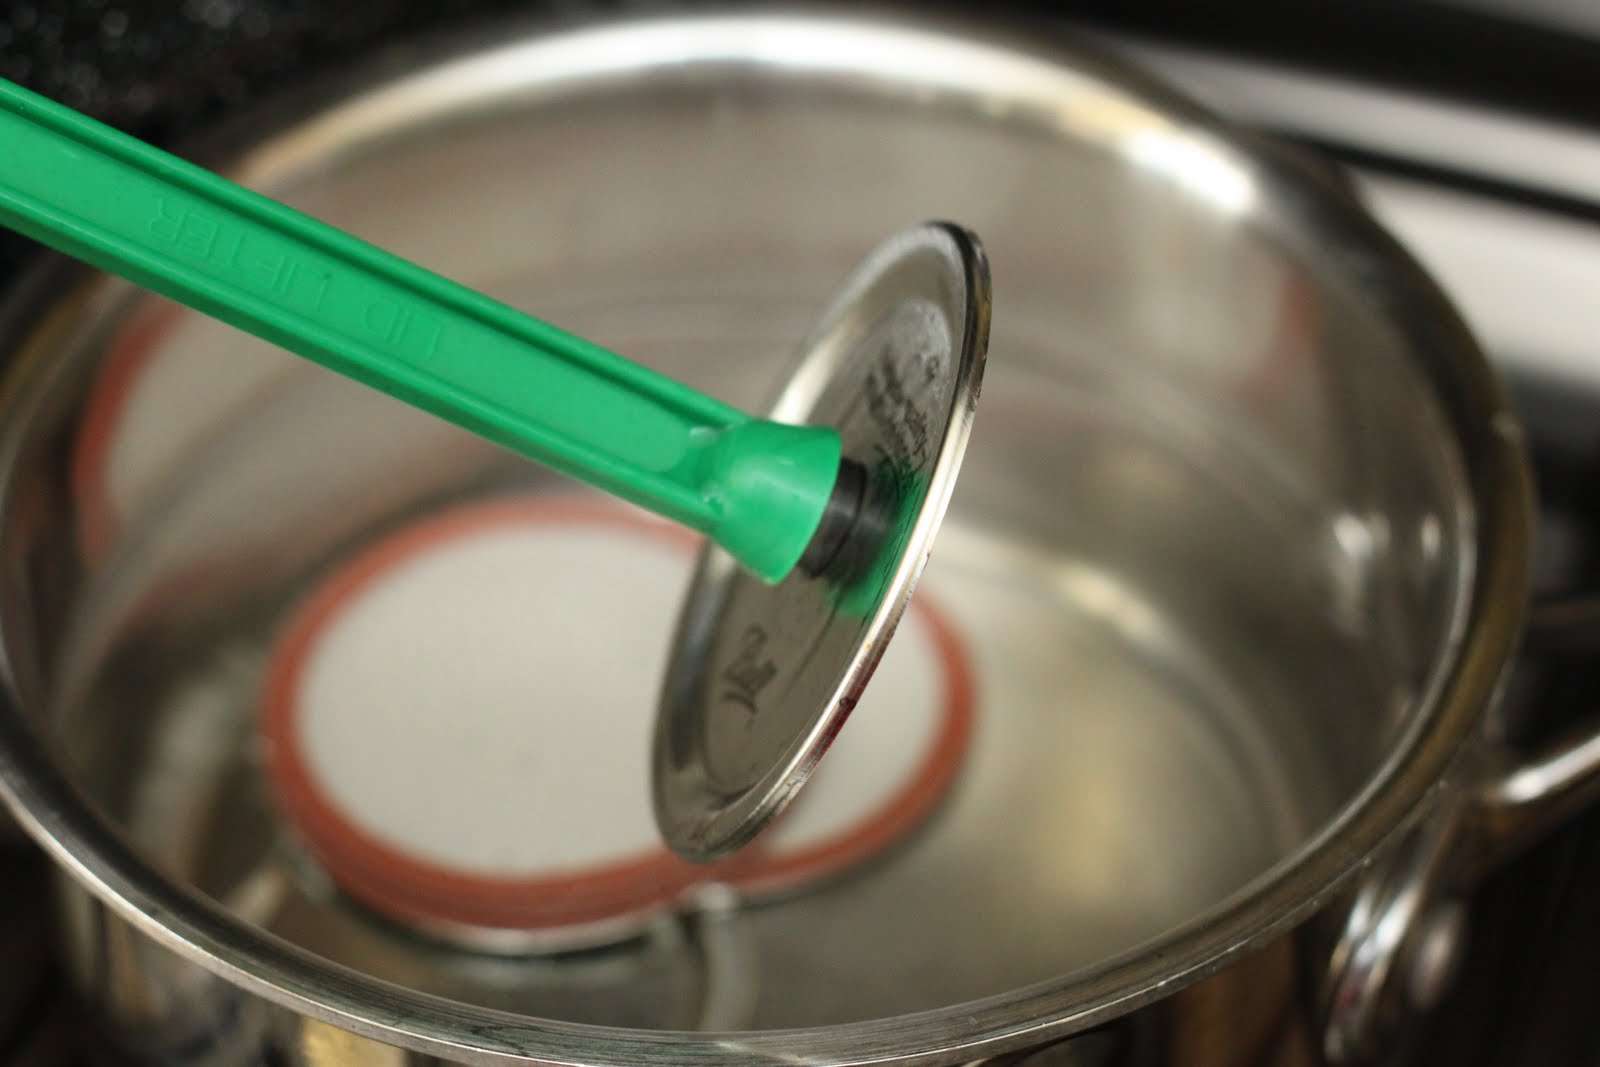
Then take your little magnetic stick and suck up one lid…

Place it over top of your jar of salsa like so…
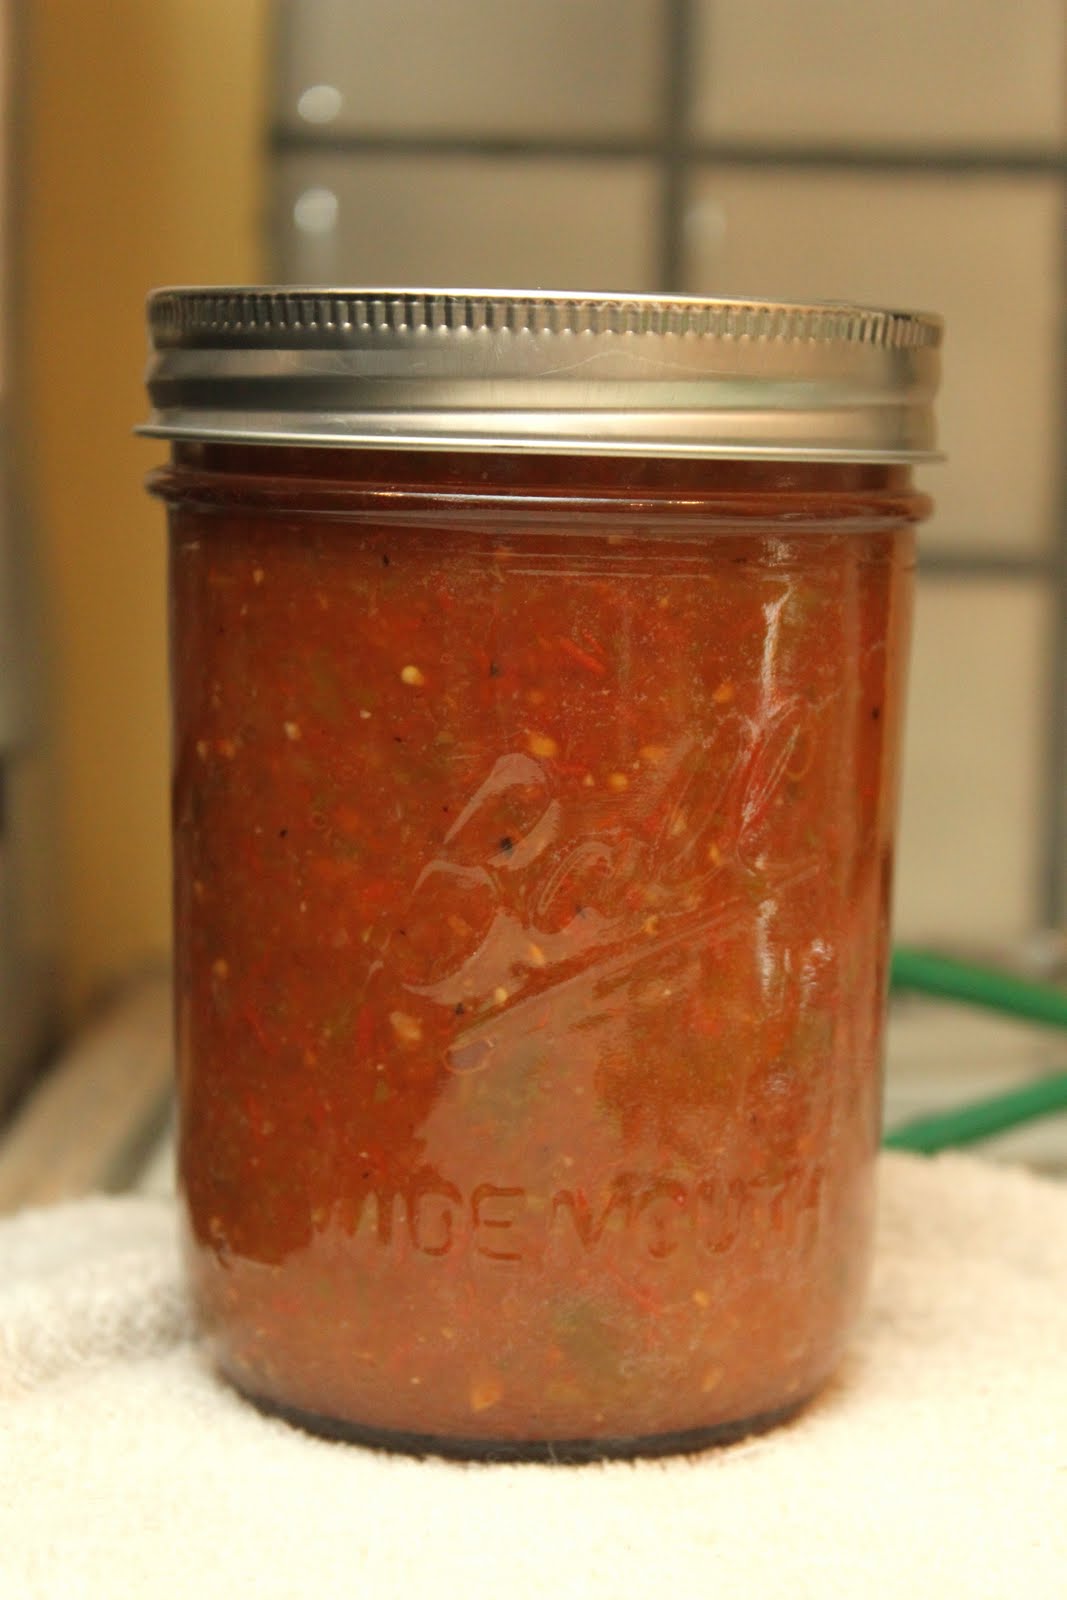
And loosely twist the ring/band around the jar. Just so it’s finger-tip tight NOT tight like you are screwing a cap back on a water bottle…capeesh?
Then using your jar lifter, lift each jar back into the canning pot nice and slowly. Place the lid onto the pot and bring the water to a rolling boil. That means hard boil peeps! A boil such that you could stir the water with a long handled wooden spoon and it would not reduce the boiling at all. Boil or process the jars for 15 minutes.
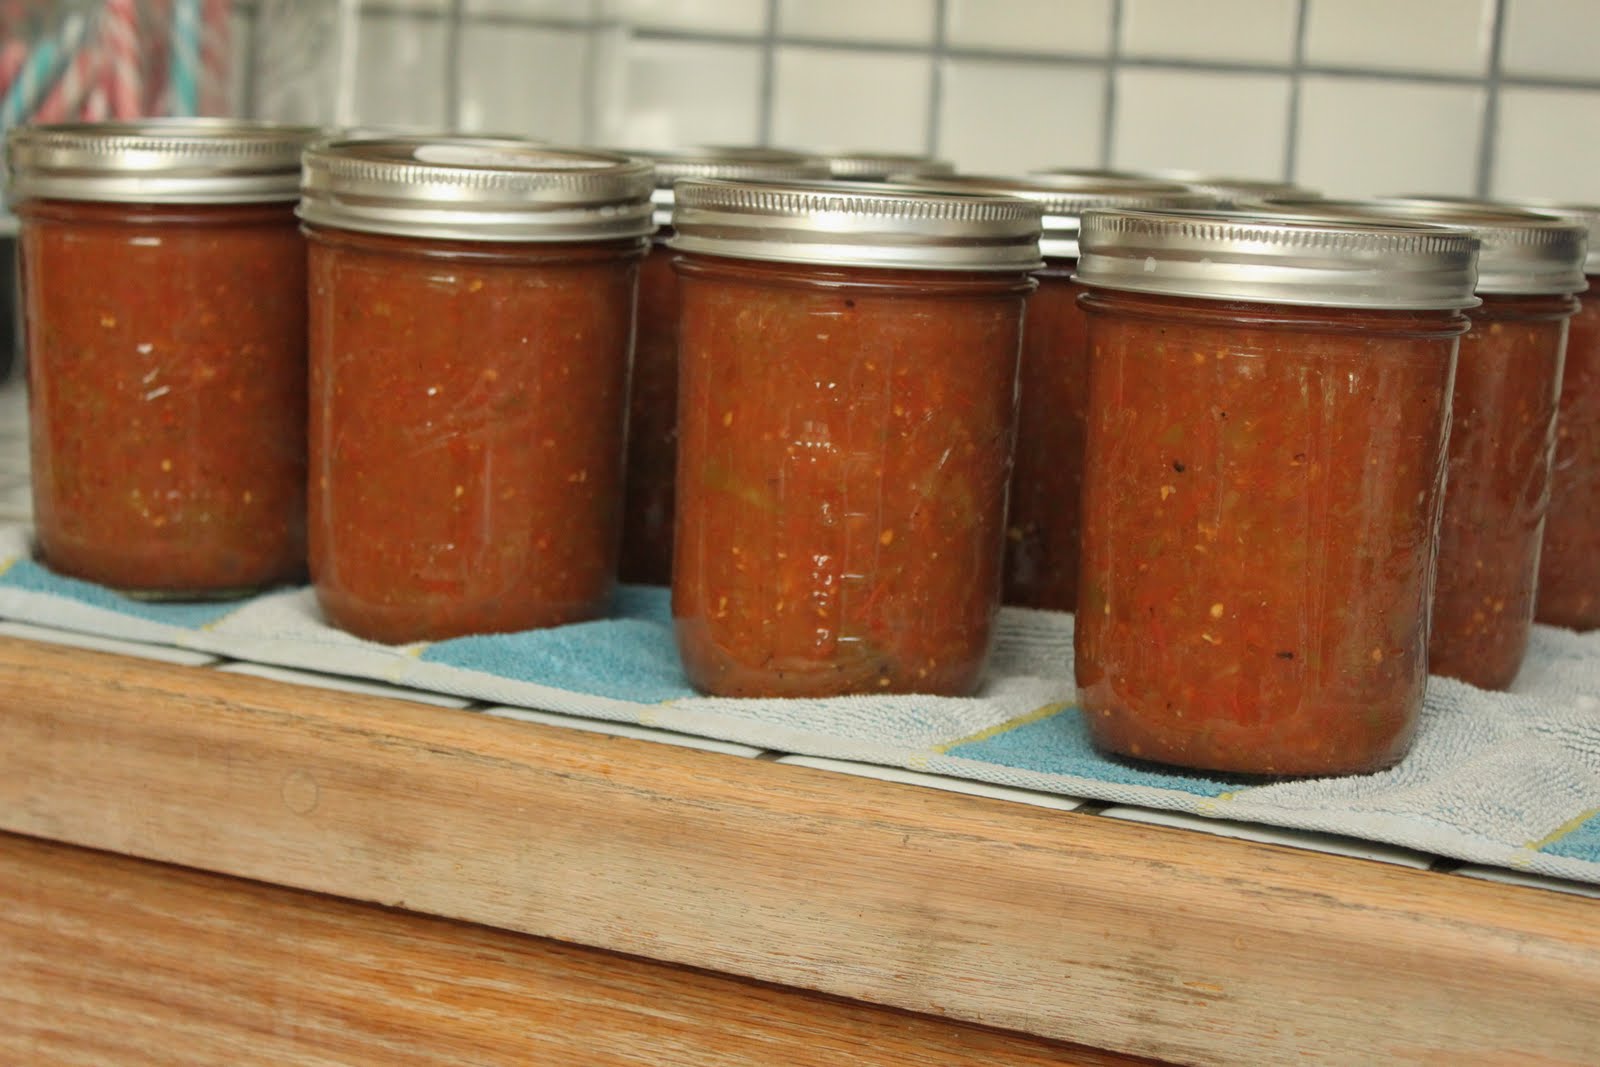
After 15 minutes, pull each jar out slowly with the jar lifter and place on a towel to cool for 12-24 hours. Make sure you place them in an area where they can remain undisturbed, no touching or moving them! You should start to hear some pops as the cans start to seal themselves. If not don’t worry, after 12 or 24 hours you can push on the lids to see if they push in and make that clicking sound which signifies they didn’t seal. You can also remove the ring/band and gently try to lift the lid from the jar, if it is sealed properly it should be glued down.
Now if any of your jars didn’t seal just put them in the fridge and eat those ones first, they are still perfectly fine to eat. Once opened you have about a month to eat them. Otherwise go ahead and store your remaining jars in your pantry or basement or bedroom, really wherever you have the room, and get ready to enjoy them for up to one whole year!!
Then it’s homemade chips and salsa, chips and salsa, chips and salsa all year long!!
Good thing football season started this weekend!
Enjoy!
XOXO,


Hi! Just as a reminder – for any and all who live in higher altitudes (everyone at sea level always forgets us higher altituder’s!) you have to add extra time to your boiling time to can! For where I live (betwee 3000 – 6000) you have to add an additional 10 minutes to your boiling time!
Thanks for the recipe!
Wow that looks SO good! i canned salsa once a couple years ago and it was quiet the process but very worth it in the end! Thanks for sharing!!!
http://www.livenloveoutloud.blogspot.com
On your next batch, Maggie….you might try adding some chopped cilantro! It makes it Mexican-restaurant yummy! We’re on our 5th batch of salsa….with still over-loaded tomato plants…..last year we put up over 40 pints of salsa…..and we ran out in June! We’re going for at least 60 pints this season! Yahoooey for salsa!
You are definitely cool and not a nerd. I made salsa last year with my neighbor but didn’t love the recipe. We’ll have to try yours. 🙂
Thank you!! I just made some salsa with the tomatoes from my garden and I need to can them but wasn’t too sure how to do it(I’ve only canned once before a year or so ago). I will be doing this tonight. 🙂
Looks like you’re having a ball! Take it from a lady who teaches canning though, you should never EVER use a metal utensil inside of a canning jar. It can cause hairline cracks or chips that will cause your jars to break or leak during processing. I would hate for you to lose any of your summer bounty!
Hi, get to see someone who returns to to the whole canning business…..I couple of years ago I made and canned my salsa, however we like cilantro and more heat. So for your readers who like the same two items I found that hot chiles do not need to be in moderation, I found that the jar lost heat with age. Then fresh cilantro gave it a soapy taste, so I now use dried, which does not taste soapy at all. thanks for letting me share my experience, happy canning
Wow. A proper step by step guide to canning that’s easy to follow but not patronising. Thanks ever so
thanks that is really simple to follow along I can’t wait to try it.
I’m going to try using your recipe tomorrow! Can’t wait to try it. Although I noticed that your recipe above says it makes 6 pints, but when you click on the link to print it, it says it’s for 12 pints. Heads up! 🙂
Just finished a batch of salsa! My first time. Thanks for your instructions and recipe. I did add a few dried spices (cumin, paprika, cilantro), but have yet to taste it since the recipe filled my jars exactly. Only time will tell. 🙂