Smashed Peas & Carrots

Inspiration For Living Creatively - DIY Crafts, Sewing, Recipes, Crafts & More

  • Press
  • Disclosure
  • Collaborate
  • Contact
  • Facebook
  • Twitter
  • Pinterest
  • Instagram
  • Dots
  • Google Plus

Become a Subscriber

never miss a thing!

  • Home
  • About
    • Advertising
    • Disclosure & Safety Disclaimer
    • Privacy Policy
  • Recipes
    • Appetizers
    • Bento Lunch
    • Beverages
    • Smoothies
    • Breads
    • Breakfast
    • Casserole
    • Crockpot
      • Visual Library
    • Dairy Free
    • Dessert
    • Gluten Free
    • Main Course
    • Holiday
    • Instant Pot
    • Paleo
    • Party Food
    • Salad
    • Side Dish
    • Soup
    • All Recipes
  • Tutorials
    • Children
    • Adult
    • Home Decor
    • No Sew
    • Sewing
      • Children Sewing
      • Adult Sewing
      • Home Decor Sewing
      • Sewing Basics
    • Sewing Studio
    • Knitting
    • Kids Crafts
    • Bento
    • Holiday
    • Parties
    • Gift Ideas
    • Natural Living
    • All Tutorials
  • shop
You are here: Home / Fabric / How to Recover a Lampshade-TUTORIAL
Jul
17

How to Recover a Lampshade-TUTORIAL

| Filed Under: Fabric, Home Decor, No Sew, Sewing, Tutorials

So y’all know how I am redoing our guest bedroom and turning it into Noah’s big boy room, right?  Well, I wanted to share a pretty darn easy project from the room makeover with you, recovering lampshades! 
I bought these super plain and simple lampshades at Ikea for just a few bucks and wanted to coordinate them with the room decor.  I did this by using one of the fabrics I used in his new room, what a great pop of color it gave to the usual boring nightstand.  Want to see how easy it is to do?  You will definitely want to give this a try if you have a room in your house that could use a little spicing up, such a simple project can really give a room a fresh new look 🙂
Supplies List
fabric (will depend on the size of the lampshade and if there is a directional pattern on the fabric)
freezer paper, craft paper, or tissue paper for pattern making
marker or pencil
ruler or straight edge
scissors
rotary cutter and mat
spray adhesive 
binder clips or clothespins
The first thing you need to do is lay out your craft paper so that you can draft a pattern of the lampshade.  Starting at one end of the paper, near the top, slowly roll the lampshade over the paper with one hand while you trace one edge of the shade with the other hand.  Then, carefully roll the shade back to your starting position and trace the opposite edge of the lampshade.  Grab a ruler and connect the two lines to make your pattern complete. 

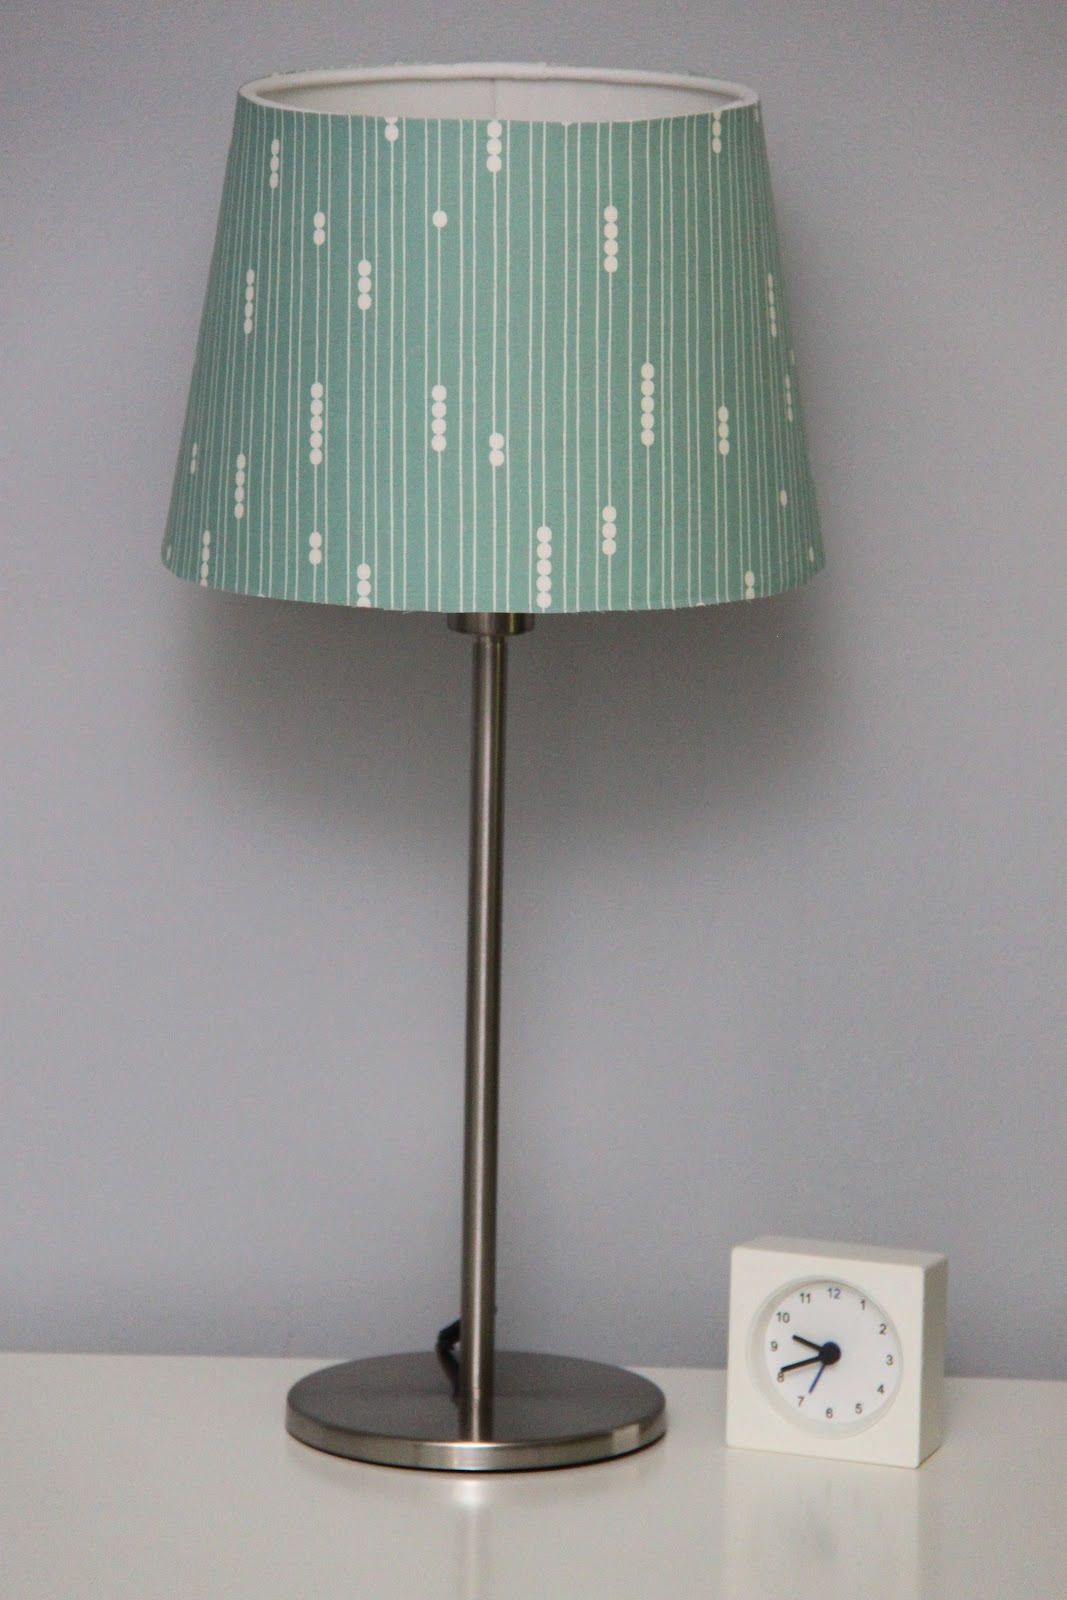
You will end up with a curved pattern like the one above if your lampshade is bell-shaped like mine.
Cut your pattern out with a pair of scissors.

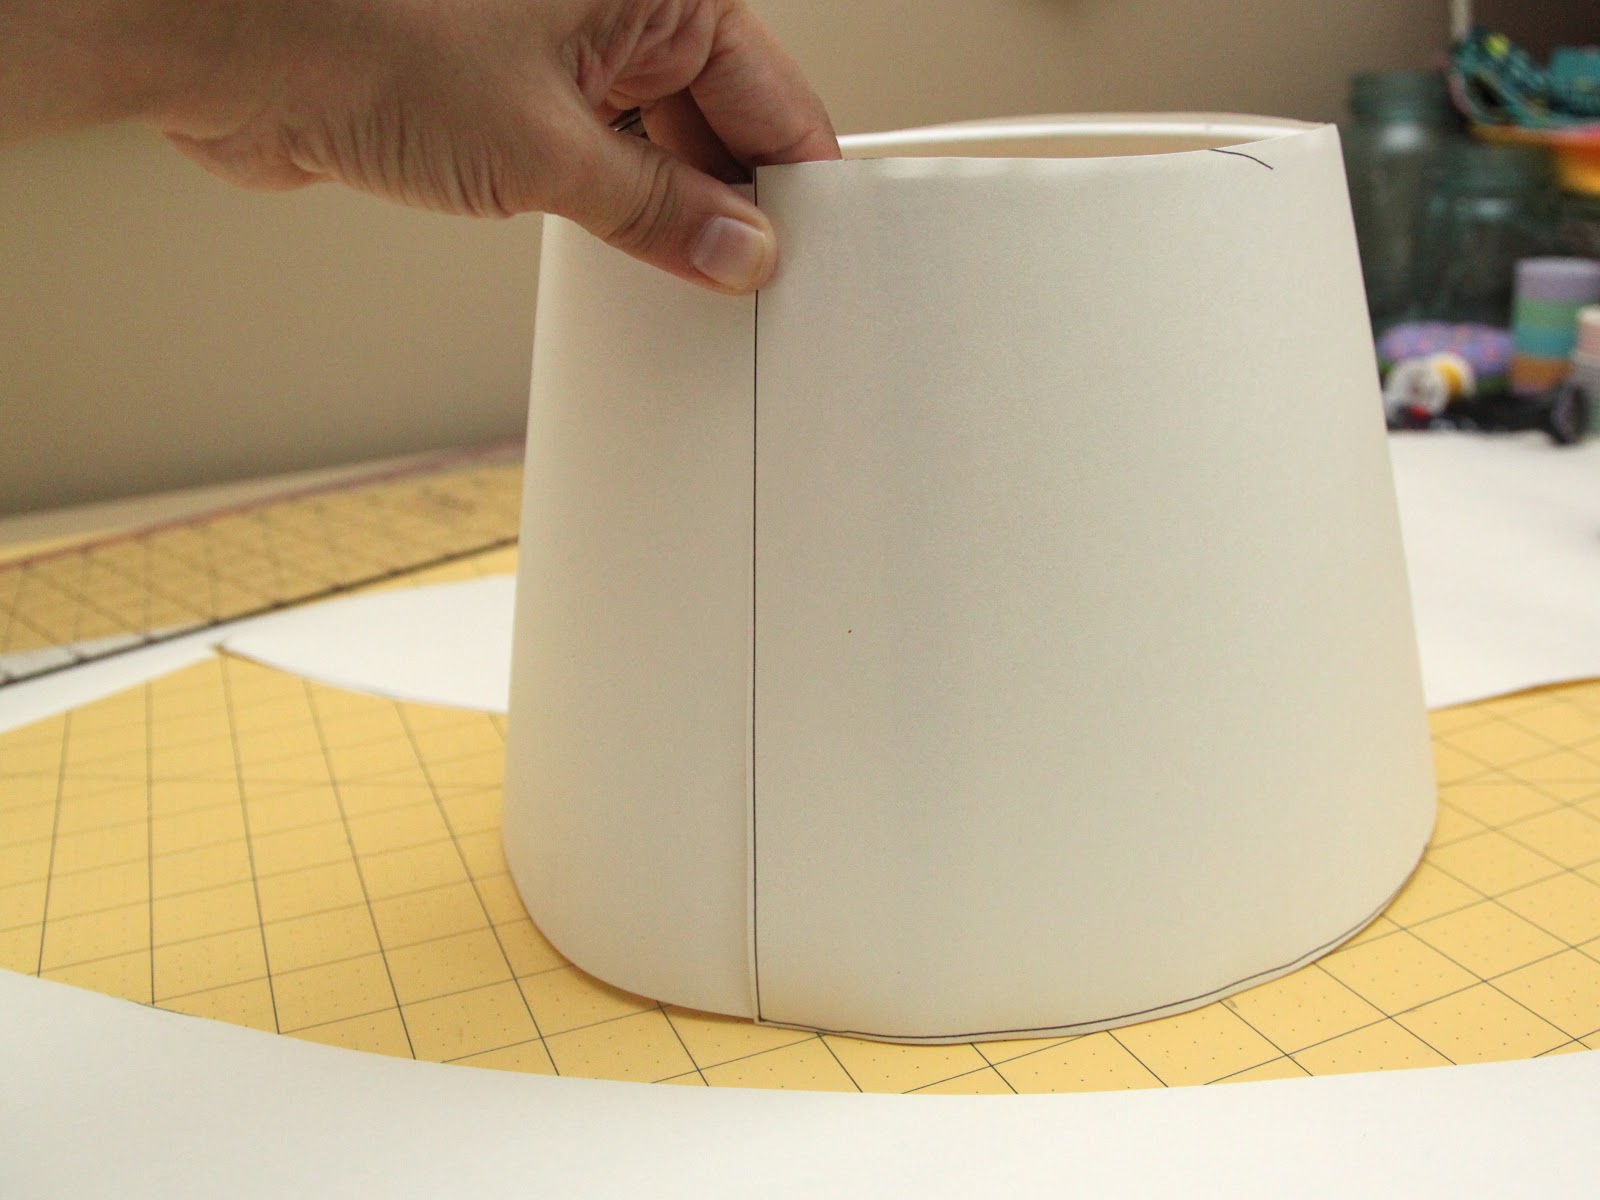
Wrap your pattern around your lampshade to make sure it fits.  If you need to trim it down a bit it is better to do it now than with your actual fabric!

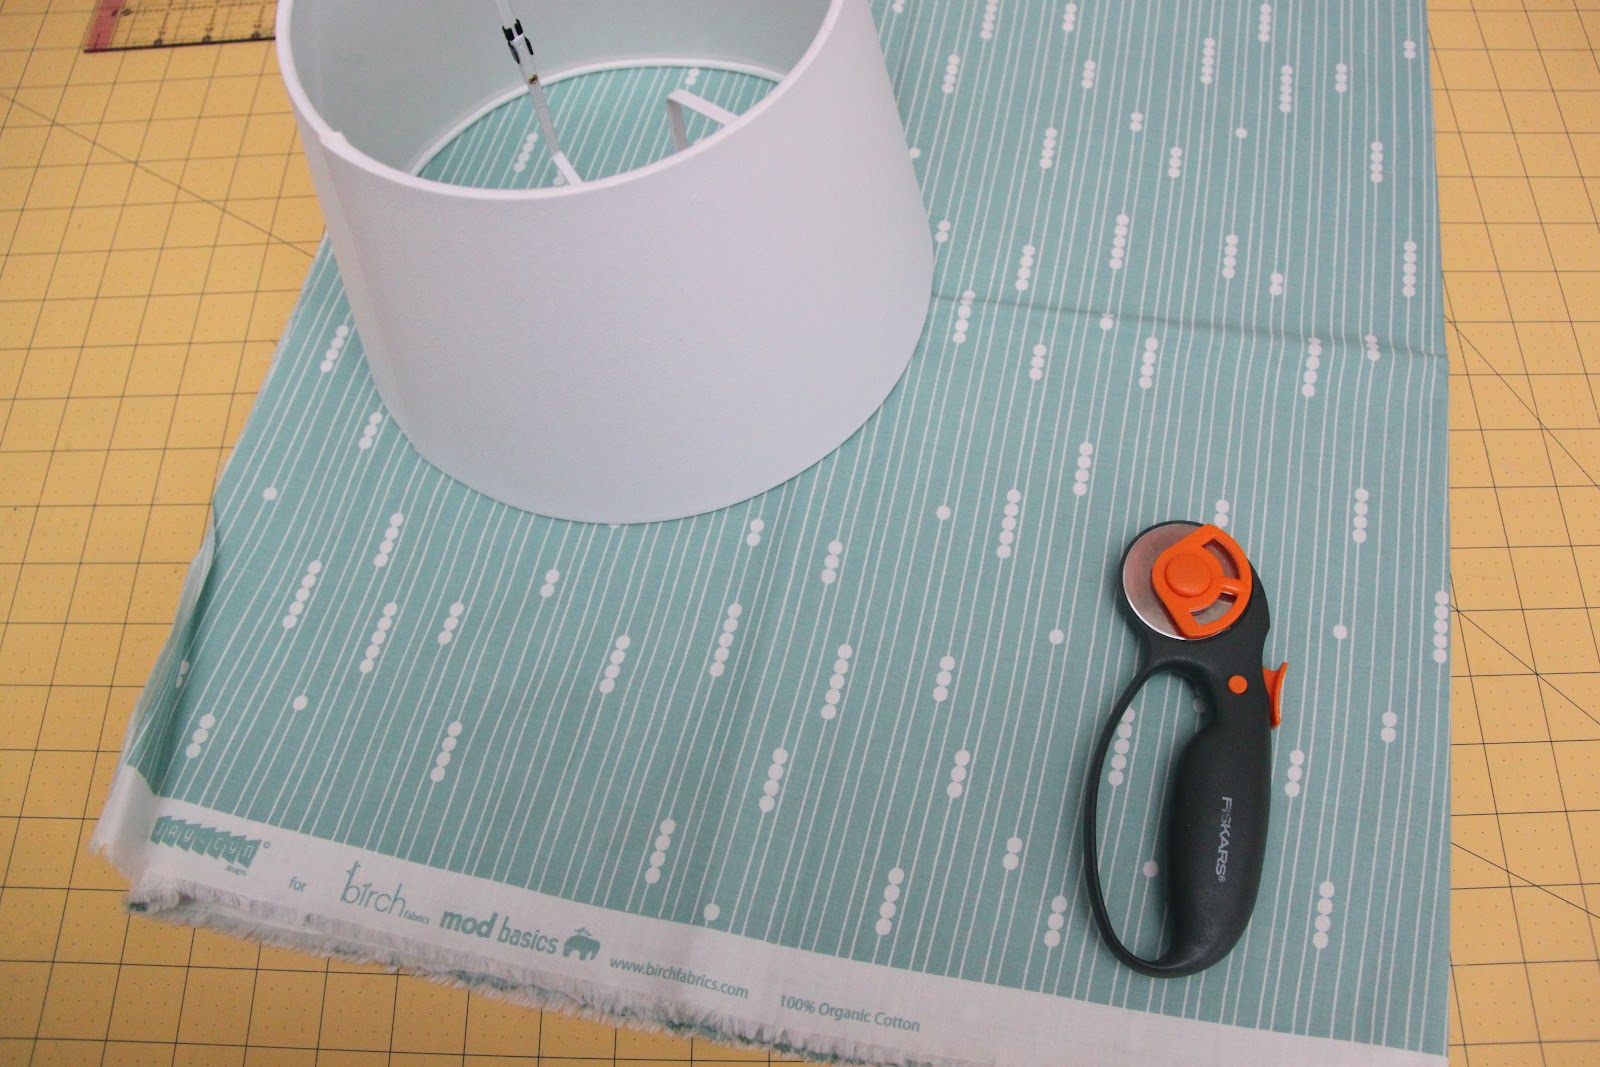
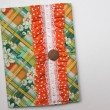
Grab your fabric and place your pattern over top.  Using a rotary cutter and mat, cut out your pattern.
I used Jac-Cyn Designs for Birch Fabrics, Mod Basics, Organic in Abacus Pool from my wonderful blog sponsor, Fabricworm.

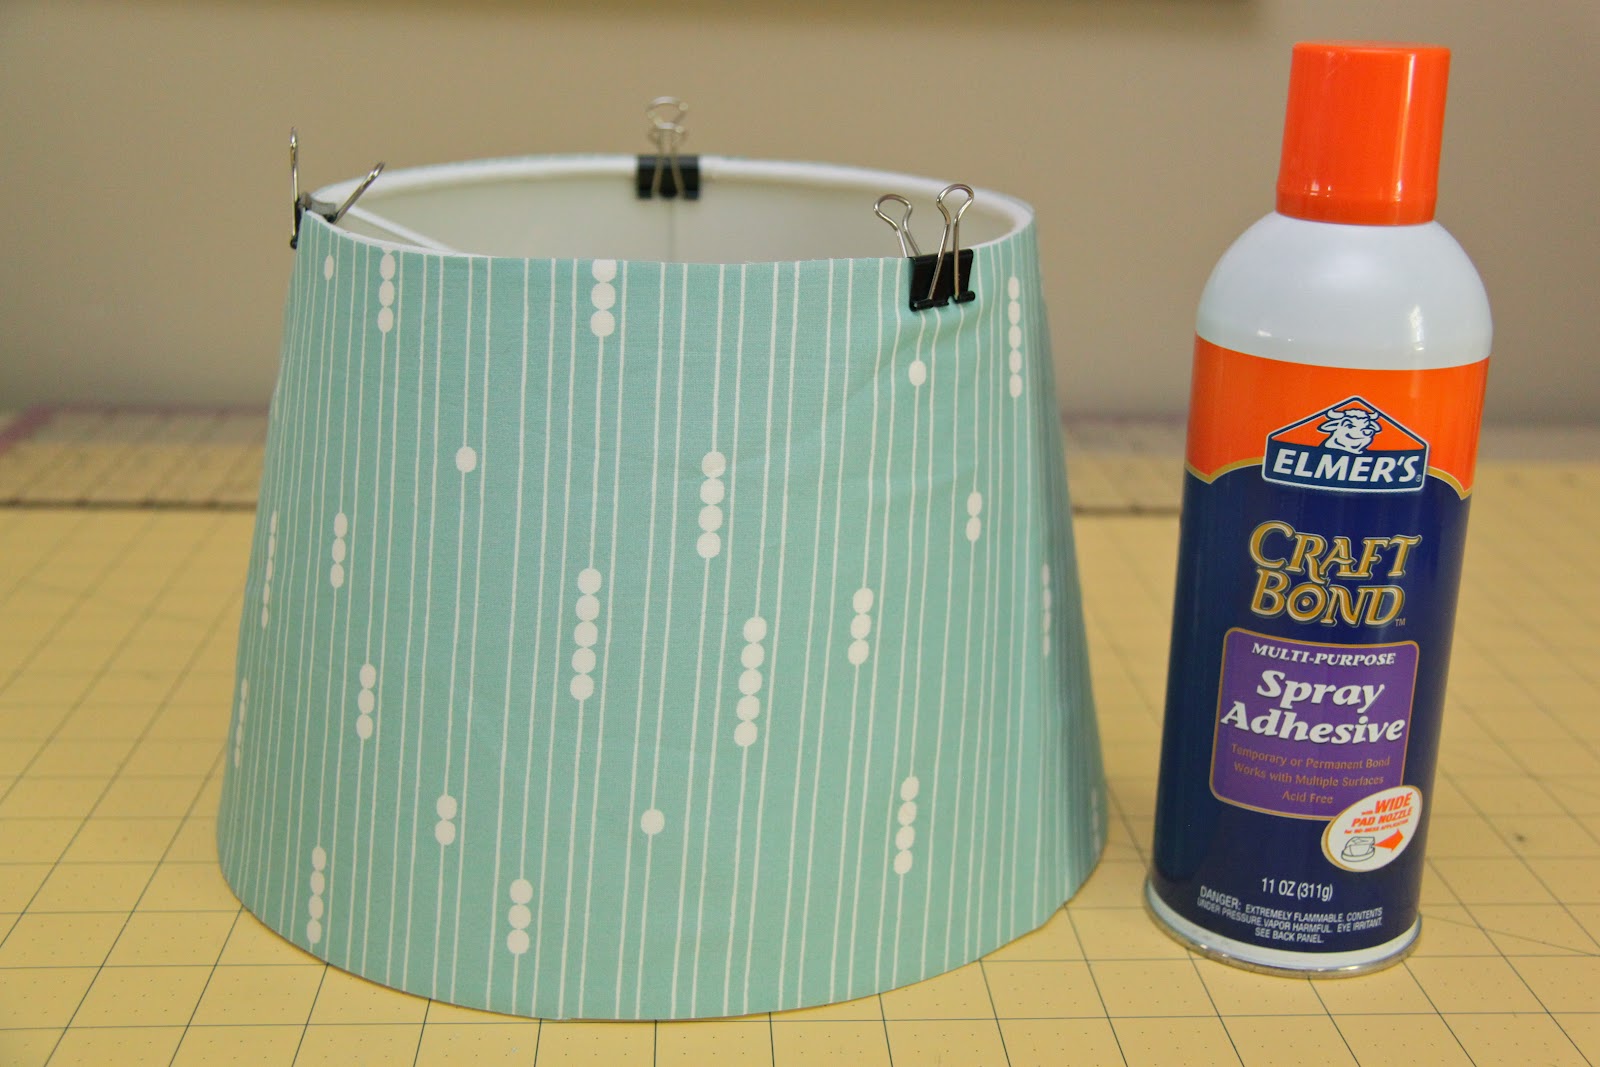
For the next step you have a choice.  Take your spray adhesive and either 1) spray the lampshade or 2) spray the wrong side of your fabric.  I tend to spray the lampshade since I find the fabric often sticks to itself if I spray it causing it to wrinkle!

Then ever so carefully cover your lampshade starting at the seam, smoothing out the fabric as you go round.  I like to use binder clips or clothespins to help hold it in place while the adhesive dries.

And there you have it!  A simple and easy way to add a pretty pop of color to any room.  The perfect way to work some fun fabrics into your decor or pull different pieces of a room together with a more coordinated look.  

I can’t wait to show you the rest of his room, it turned out great.  He is already loving it, yahoo!
XOXO,

    You may also like -

    The Girls’ Shared Room RevealPillow Covers in 30 Minutes or Less-TUTORIALBoy’s Room Makeover: Sherwin Williams Perfect Palette-Part 3…The Reveal and a Giveaway!Fabric Composition Notebook Cover {Tutorial}TUTORIAL: Turkey Table Favors

    Become a Subscriber

    never miss a thing!

    Comments

    1. Ang says

      July 17, 2012 at 4:34 pm

      holy moly, you are so incredible handy! this is beautiful!

      • Maggie says

        July 17, 2012 at 10:36 pm

        Thank you Ang! 🙂

    2. Melanie says

      July 17, 2012 at 8:08 pm

      So cute! I’m a little confused– did you keep the paper pattern under the fabric and glue it to metal shade frame too?

      I have a half-finished lamp project in the works, so this post ahs perfect timing! I am determined to finish it now! Thanks!

      • Maggie says

        July 17, 2012 at 10:34 pm

        Hi Melanie,
        just use the paper pattern as a pattern for cutting out your fabric. Then use the spray adhesive to glue the fabric to the lampshade. Have fun!!!

    3. Happy says

      July 18, 2012 at 10:05 am

      Thank you for the wonderful post! It’s very useful for me because I make a remodeling of my bedroom. And I use this idea. ^____^

    4. Anonymous says

      January 21, 2013 at 11:05 am

      do you think I can put white over a lemon shade that has a dark picture outlined on it? The dark picture outline takes up about 5% of the shade area. I am thinking the colour will show through. Should I try two layers of white fabric? Or maybe do I need to go for a darker shade? What do you think?

    5. Kristy says

      February 22, 2013 at 4:13 am

      seems so easy! i will definitely being doing this with my current boring lampshade!!!

    6. Sarina Valentina says

      April 4, 2014 at 12:19 am

      do you mind if I tweet your post?

      • Maggie says

        April 4, 2014 at 1:15 am

        Sure thing!!

    Welcome to Smashed Peas and Carrots. You can read more about me HERE
     photo designTeam.png
    Follow on Bloglovin

    Popular Tutorials

    Highlighter Valentine Card with Free Printable

    Highlighter Valentine Card with Free Printable…

    Play Doh Valentine Card Free Printable

    Play Doh Valentine Card Free Printable…

    Elderberry Syrup Recipe

    Elderberry Syrup Recipe: Natural Cold and Flu…

    Teacher Survival Kit

    Teacher Survival Kit with FREE Printable…

    Notebook Paper Pencil Pouch Teacher Gift Idea

    Notebook Paper Pencil Pouch Teacher Gift Idea…

    Free Silhouette File Teacher Canvas Bag Gift Idea

    Free Silhouette File: Teacher Canvas Bag Gift…

    Popular Recipes

    No Bake Energy Bites Recipe…

    Chocolate Coconut Cups {Gluten and Dairy Free}…

    DIY Taco Seasoning Recipe…

    Sugar. Cookie. Icing. {The Recipe}…

    French Dip..Crockpot Style!…

    Crockpot Banana Bread…for Real!…

    My Sponsors

     photo FatQuarterShop-175x175.png

     photo cdf15248-e6f8-4276-abc0-c145e2451c35.jpg


    Blog Archives

    Posts by Topic

    Stay Connected

    • Facebook
    • Twitter
    • Pinterest
    • Instagram
    • Dots
    • Google Plus

    Join me on Facebook

    Copyright Smashed Peas and Carrots © 2025 · All rights reserved · Design by Emily White Designs

    Copyright © 2025 · Smashed Peas & Carrots Custom on Genesis Framework · WordPress · Log in