So, I am finally getting around to posting a tutorial for one of the gifts I am making for my brother’s baby to be born in 2 weeks and counting…so excited for the new parents-to-be!! It is a fairly simple project that you can embellish to make it personalized for your little munchkin. I used three different fabrics but you don’ t have to…I just love the pink furry fabric and had to use it for the owl’s belly cause I think any little would just love to snuggle up next to it! Ok…want to make one to? Here is how you do it:
Owl Stuffie
1/4 yard of fabric (or various fabrics!)
matching or coordinating thread
ribbon (12-15 inches)
poly-fil

A little owl stuffie…pink and brown and so cute!
 My owl was about 9 inches high and 7 inches wide…I just free-handed (that’s a verb, right?!)what looked like a cute owl to me. I also cut 1/4 inch around the pattern so that I would have the 1/4 seam allowance you need to sew it together!
Cut out two pieces of your owl in your chosen fabric and set aside. I usually just fold over my fabric so that I have the wrong sides together…this way the back and front will match when you put the owl together later.
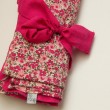
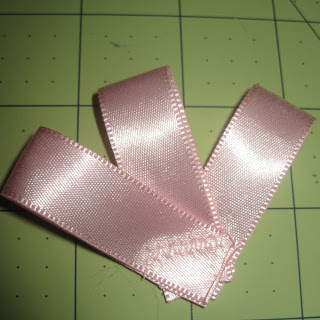 Next, cut 3 pieces of ribbon to about 4 inches in length. These are going to be the tail feathers…so absolutely adorable! Take a lighter or a match and singe the cut ends to keep them from fraying. Loop them in half, place the ends together and fan out the loops and sew with a zig zag stitch. Like the picture above!
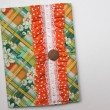
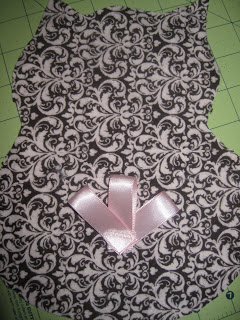 Place the tail feathers on the right side of the backside of the owl. Sew into place with a zig zag stitch. What a cute little bum this owl has!
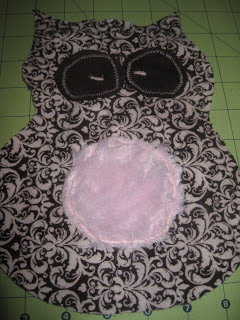 Place the eyes and belly pieces onto the front of the owl and stitch in place with a zig zag stitch. I used pink thread because I like how it contrasts so nicely with the dark brown knit I used for the eye fabric! Then, place the front and the backsides of the owl together with the right sides together and zig zag stitch all the way around. Make sure to leave and opening of about 2 inches at the bottom so you can flip it inside out and then stuff it.
 Next, cut 3 pieces of ribbon to about 4 inches in length. These are going to be the tail feathers…so absolutely adorable! Take a lighter or a match and singe the cut ends to keep them from fraying. Loop them in half, place the ends together and fan out the loops and sew with a zig zag stitch. Like the picture above!
 Place the tail feathers on the right side of the backside of the owl. Sew into place with a zig zag stitch. What a cute little bum this owl has!

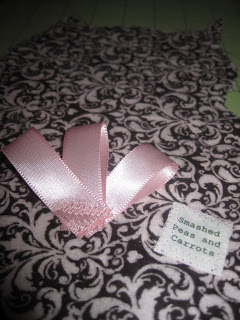
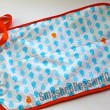
Here’s a close up view!
 Now, time to make your belly and eyes. I used a ribbon spool as my template for my belly piece, it’s about 3 inches in diameter. I used a shot glass as a template for the eye pieces, about 1 1/2 inches in diameter. For the center of the eyes I just stitched one short line of a zig zag stitch using the smallest zig zag length on my machine…that made it nice a tight and close together!
 Place the eyes and belly pieces onto the front of the owl and stitch in place with a zig zag stitch. I used pink thread because I like how it contrasts so nicely with the dark brown knit I used for the eye fabric! Then, place the front and the backsides of the owl together with the right sides together and zig zag stitch all the way around. Make sure to leave and opening of about 2 inches at the bottom so you can flip it inside out and then stuff it.
Once you have flipped and stuffed your bird…sounds a lot like Thanksgiving;)…you are going to handstitch the bottom 2 inch opening with a needle and thread.
That’s it!!!! You have just handmade the sweetest little owl stuffie….Now go give it to your sweet little munchkin ASAP!
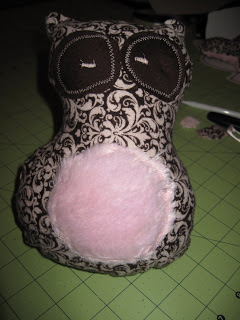

Front View…oh so sweet!

And the cutie pie back view…I’m totally lovin’ the those tail feathers!


That is adorable!!! Love it!
Oh my gosh!! This is an Oopik! I have been searching the internet for simply ages hoping to find him! He is almost identical to the one I had as a child!
Thank you for posting this wonderful little guy! Would you mind if I borrowed some of your idea to make my own little guy?