I love making hair clips for Penelope and Eloise. Maybe even more so now because Eloise has a nice chunk of hair where there is actually something to grip. Coordinating hair clips, ah gah! You had me at hello. Now getting her to keep them in her hair is another story. Sometimes I do the ‘ol trick the baby routine, I take two hair clips, place one in her hair and then with the other I pretend I took it out and show her, ‘see Ellie Belly it’s not in your hair, it’s right here in my hand!‘ She thinks I took it out when I really left it in, hee hee, momma slight of hand if you will. Like most baby tricks, I have to wonder how long this one will last.
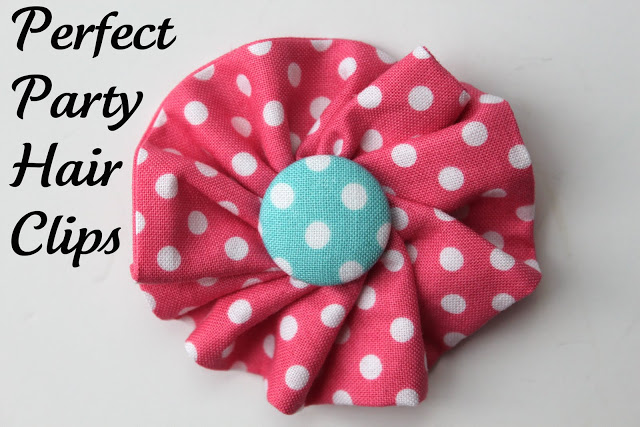
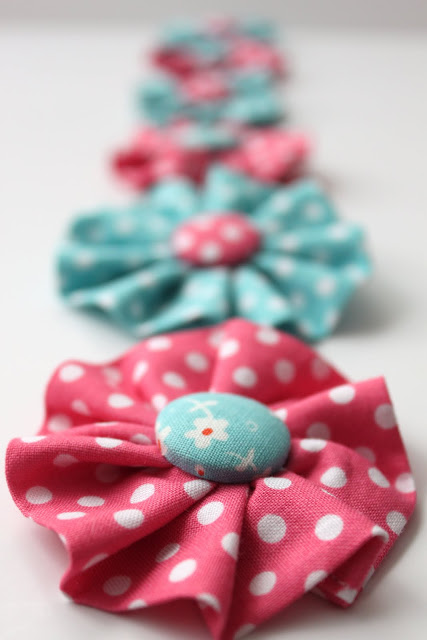
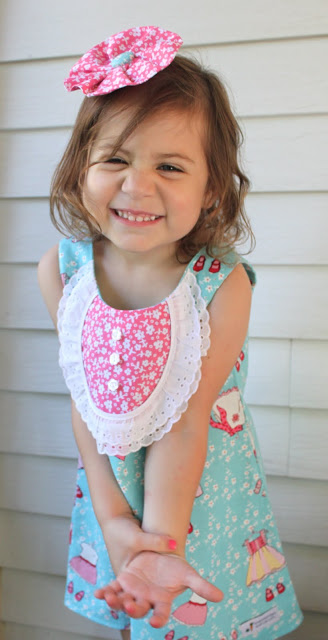
If you remember, I made a whole bunch of sweet flower-y hair clips for Penelope’s birthday party seen here. Some for my girls and others for take-home favors for the other little girls who came to celebrate. I thought today I would show you how I made them, using Sarah Jane’s ‘Children at Play’ fabric of course!
PS. did you see that Sarah Jane was sweet enough to share Penelope’s party over at her blog? You can see it here. How neat is that! I have to say it was quite a shock for me to see, I’m glad she liked my spin on her adorable fabric, they have been so fun to play with! 🙂
Pretty Party Hair Clips
fabric scraps measuring 5 x 14 inches for the large or 3 x 14 inches for the small clips
small scrap of felt
alligator hair clips
hand sewing needle
hot glue gun
covered button kit and fabric scraps to make a few
iron, ironing board
sewing machine and coordinating thread
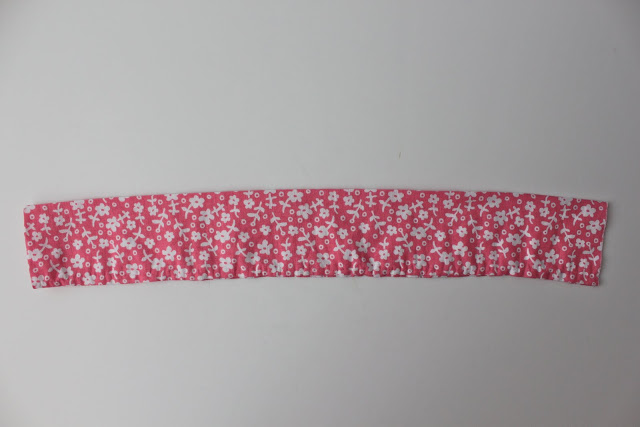
First thing you need to do is fold your fabric in half right sides together. Using a 1/4 inch seam allowance, sew a line straight down the open raw edge 14 inch side to make a tube. Turn the tube right side out and press with your iron.
I’m making the large hair clip here so my fabric scrap is folded to measure 2.5 inches x 14 inches.
Next take one open end and tuck the edges inside about a 1/2 inch.
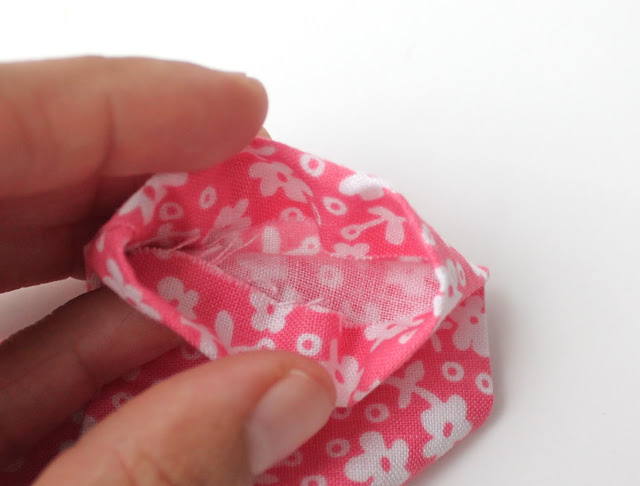
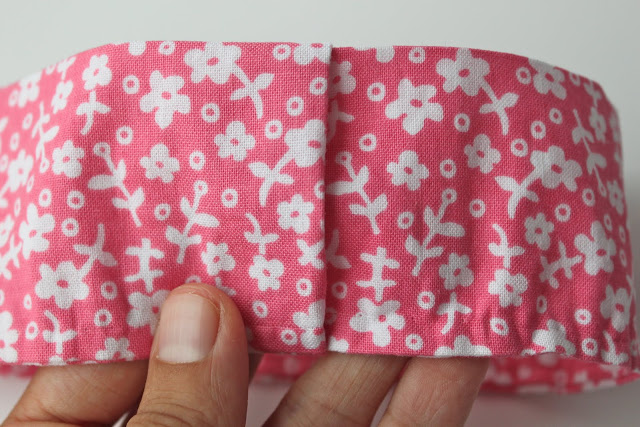
Then grab the other end and feed it into the tucked in end. We are just connecting the tube here to make a circle. Sew it together using a straight stitch.
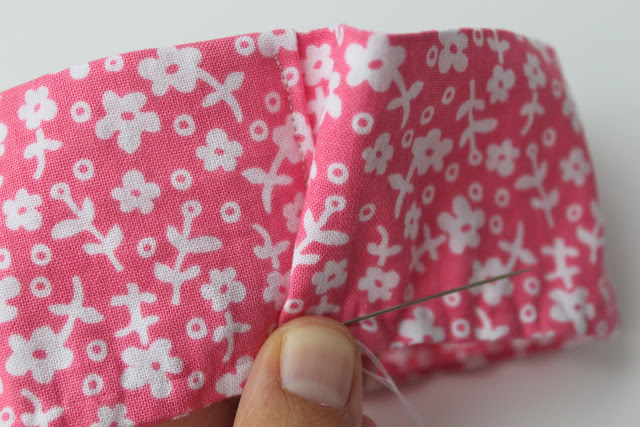
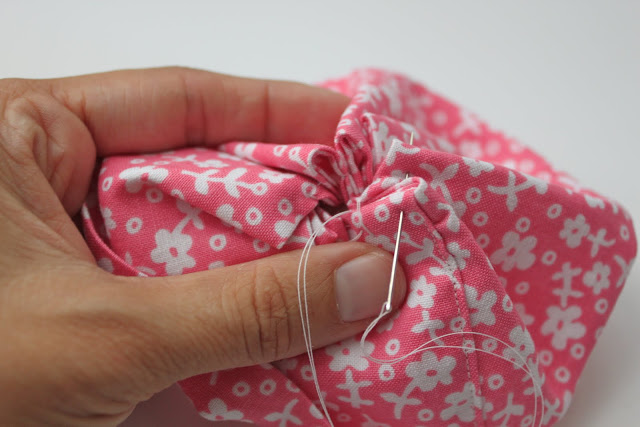
Now on to make the flower! Start by folding the fabric over the stitched line and pull a needle through to keep it in place.
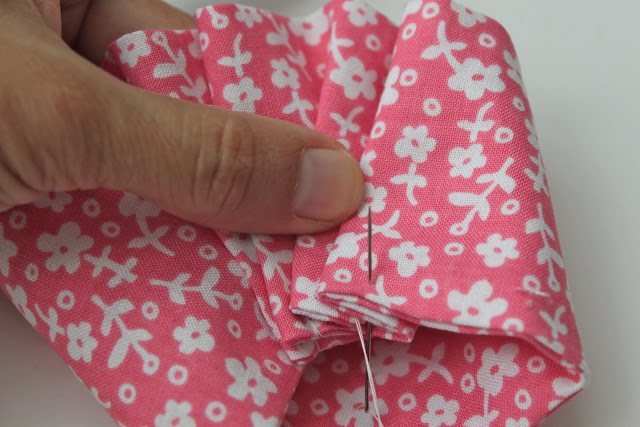
Continue doing this until you have no fabric left to fold…or you have come back to the beginning of the circle.
Your flower should look like this now.
Pull the needle through each bump or mountain-esque ridge you just made with all the folds and cinch it nice and tight before making a knot and cutting the thread. Make sure you are slipping the needle and thread as close as you can towards the center, this way your felt and hair clip will cover your stitching! You may want to do this a few times for extra strength. This will keep the flower’s form while you get our your glue gun.
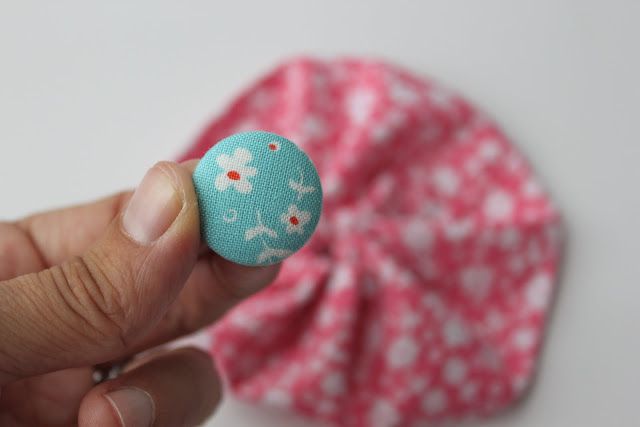
Now go ahead and cover your button following the packages directions while you are waiting for your glue gun to heat up.
I left the shanks in the covered buttons but you can take yours out if you’d like. Dab glue all around the inside center of the button and then press it firmly on to the right side or non-folds side of the flower right in the center. Make sure you are covering your stitch work too!!
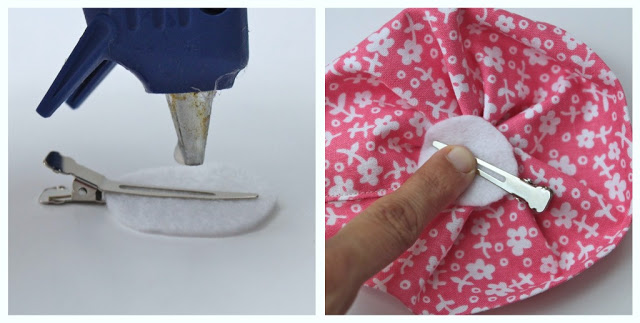
Then cut a small circle of felt and clip it with your alligator hair clip like the picture at the left. Add hot glue to the top surface only. Flip it over and press it firmly to the back side of the flower (the side with the folds).
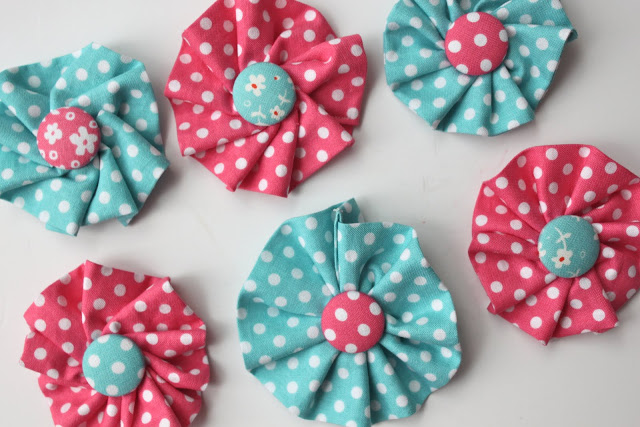
Let the hot glue cool for a few minutes and then it’s time to decorate your hair 🙂
This is such a fast project that you could whip up a few in just half hour!
Happy Wednesday!!
PPS. Noah and Penelope have Preschool orientation today…I’m so excited for them!!
PPPS. It’s my parents anniversary today…Happy Anniversary Mom and Dad!!!
XOXO,






Those are just adorable!!
Eeek!!! So freakin cute!!!! Thanx for showing how to do it! I’m so excited!
Natalie
http://www.projectdowhatyoulove.wordpress.com
Did you use a pattern for the A-line dress above? It is adorable! Can you share which pattern it is, if did use one? Thanks!
I love all your posts. They really make me smile 🙂
Penelope looks really cute with the clip too!
Very cute- thank you!! I am visiting from ONE PRETTY THING :)and following too. Great blog <3
I love this project. My older child just started Kindergarten last week and I wanted to bring something in to share with her teacher as a thank you for a great start. I’ll have to find some cute fall fabric to use and do a pin back!! THANKS!!
hi. thanks a bunch for this wonderful tutorial. i love to try this on my own. again, thanks!
Hi Maggie!! We are featuring your lovely hair clips on our blog. Enjoy the feature. We shared you on our twitter, facebook and pinterest pages. http://bowdabrablog.com/2013/04/04/crafty-unique-hair-bow-projects/
We want to invite you to link up at our weekly Crafty Showcase which runs Friday Midnight through Thursday Noon. We then feature the top pics on Friday.
Have a super weekend, Susie @Bowdabra