*We love Mo Willems books and are so excited to be sponsored by Disney-Hyperion for the #ReadMo Ambassador program!
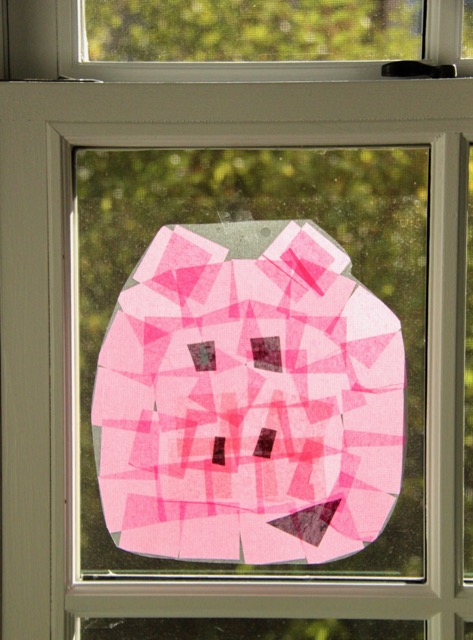
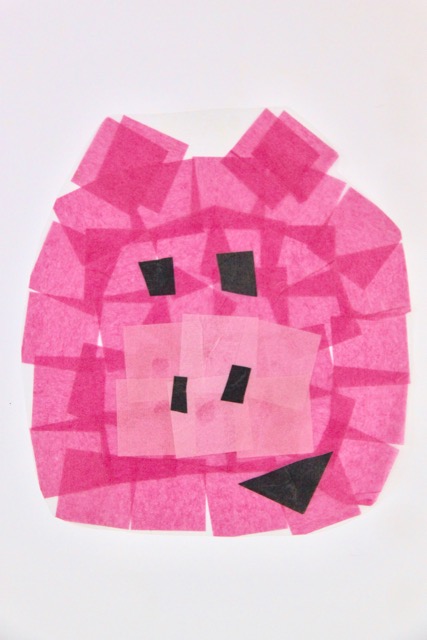
This super cute Piggie Stained Glass Tissue Paper Art, from the famed Elephant & Piggie series from Mo Willems, is the perfect craft for kids of any age!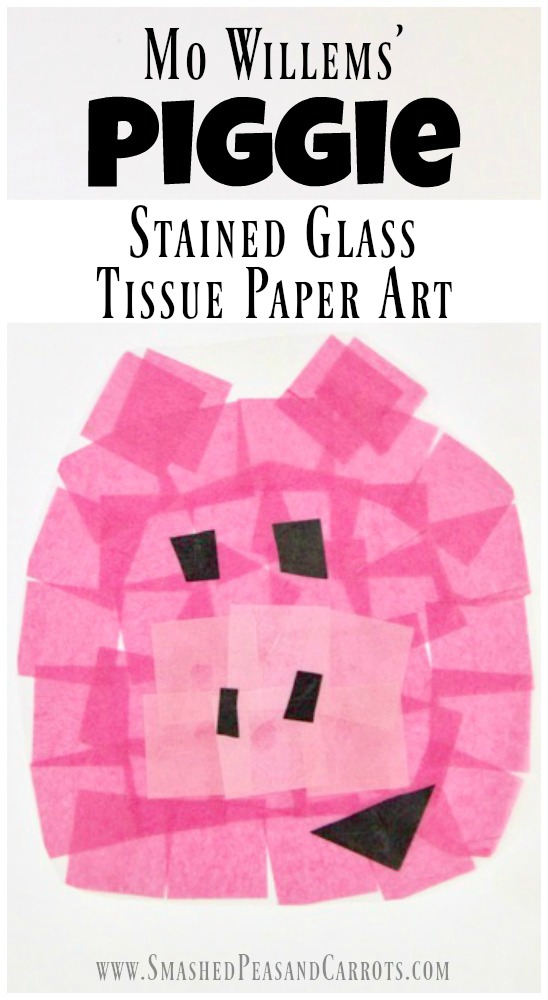
Now that Oliver is in kindergarten, it is so fun to see all the cute artwork he brings home every week…I have to say that is one of my absolute favorite parts of my kids being back in school…the cute artwork! I love seeing how his artistic capabilities have changed since preschool, so much growth in just a matter of months! Since he loves to do artwork, I thought it would be fun to sit down with him and create some art while his big bro and sisters do their homework in the evenings. I thought we would start with one of his favorite book characters as the muse, Piggie!… from our beloved Elephant & Piggie books.
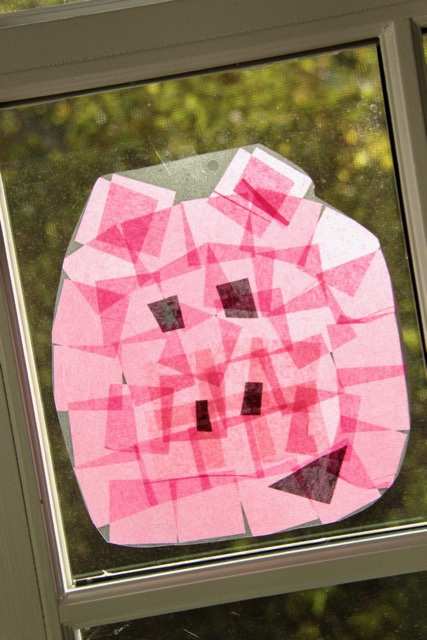
Piggie Stained Glass Tissue Paper Art
This cute stained glass tissue paper art was inspired by the new book, We Are in an ART-ivity Book! by Mo Willems (Released September 5th, 2017 and Recommended for ages 4- 8) that we received in the mail a few weeks ago.
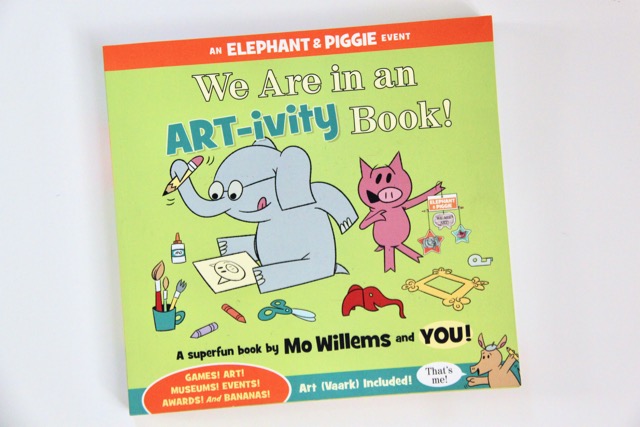
In this book, Elephant & Piggie are joined by a new face too: Art Vaark. Art the aardvark introduces Elephant, Piggie (and kids) to an incredible span of artistic styles: a “banana” still life; a color-by-number Piggie “Scream” painting; a scrap-paper collage (for which you earn an official “Collage Diploma”); and so much more.
Created by the same team behind Don’t Let the Pigeon Finish This Activity Book!, this fun-filled, hands-on book features an interactive narrative that invites kids into an exciting, original Elephant & Piggie adventure!
And can I tell you, my kids are LOVING the fact that they actually are allowed to color and create IN THE BOOK! 🙂 What a novel idea!
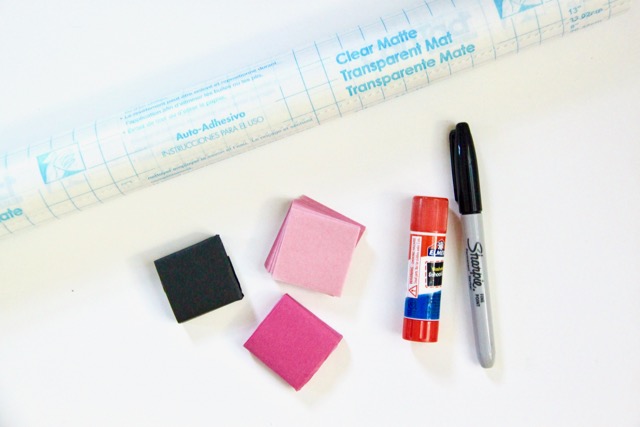 To make this Piggie Stained Glass Tissue Paper Art you will need the following:
- Clear Contact Paper
- Scissors
- Light and Dark Pink Tissue Paper Squares
- Black Tissue Paper Squares
- Glue Stick, optional
- Black Sharpie, optional
*If you choose to make Elephant too you will need Grey Tissue Paper Squares!
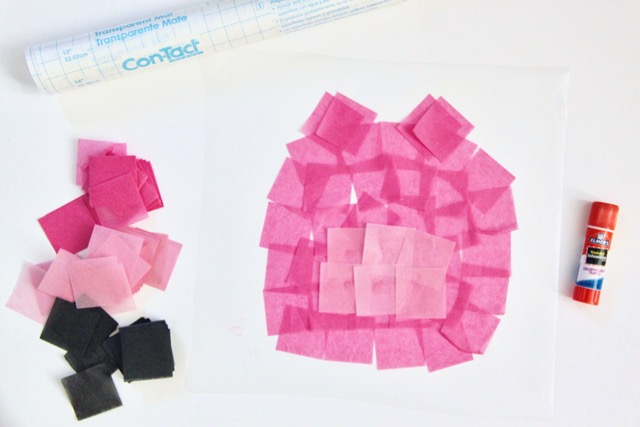
- To start, cut two squares of contact paper and peel one piece from the backing and lay it on a table sticky side up.
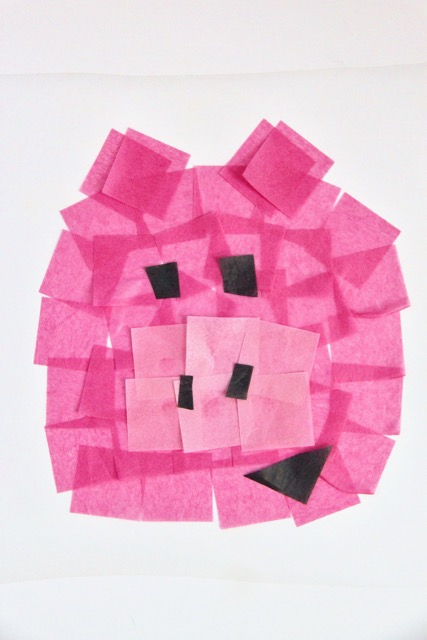
- Then, carefully (the contact paper is sticky!) add dark pink squares in the center of the contact paper, making a big circle for Piggie’s face. And don’t forget to add a few squares for Piggie’s ears!
- Then add a few light pink squares where Piggie’s snout should be…using a dab of glue stick to keep it in place since it will be on top of the hot pink tissue paper squares.
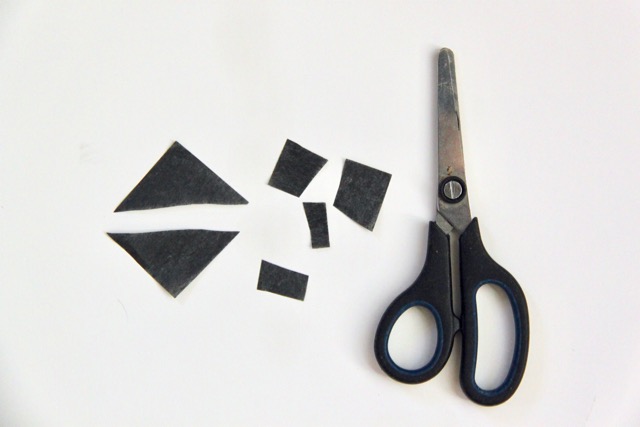
- Then taking two black tissue paper squares, cut one in half diagonally to make Piggie’s smile. And then other cut in half (hamburger style) to make Piggie’s eyes and cut one of the halves into small pieces for Piggie’s nostrils. We used a little bit of glue stick to keep them in place!
- Next, take the other square of contact paper and peel the backing off. Carefully lay the sticky side down on top of you Piggie portrait and press to seal it together.
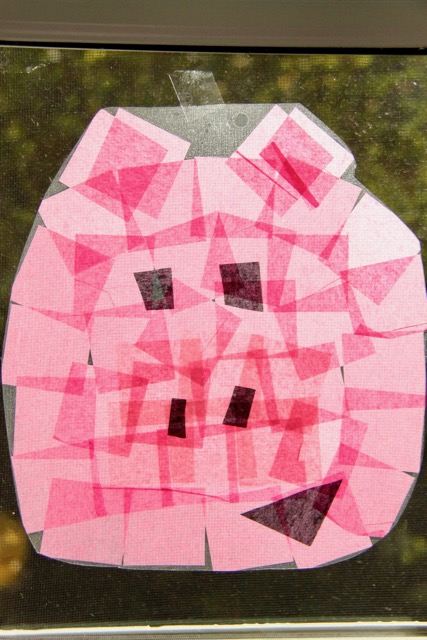
- If you like, you can cut around Piggie’s face for a streamlined look of our child’s tissue paper stained glass art piece to hang in your window!
You can visit the Official Website
Follow Disney-Hyperion on Twitter
Check out Disney Books on Facebook and Instagram
For more delicious and easy recipes and craft ideas please LIKE Smashed Peas and Carrots on Facebook or follow me on Instagram or Pinterest for more great ideas! And if you like this, you may enjoy these posts as well!
Thanks for stopping by today!
Love,
Maggie
