Smashed Peas & Carrots

Inspiration For Living Creatively - DIY Crafts, Sewing, Recipes, Crafts & More

  • Press
  • Disclosure
  • Collaborate
  • Contact
  • Facebook
  • Twitter
  • Pinterest
  • Instagram
  • Dots
  • Google Plus

Become a Subscriber

never miss a thing!

  • Home
  • About
    • Advertising
    • Disclosure & Safety Disclaimer
    • Privacy Policy
  • Recipes
    • Appetizers
    • Bento Lunch
    • Beverages
    • Smoothies
    • Breads
    • Breakfast
    • Casserole
    • Crockpot
      • Visual Library
    • Dairy Free
    • Dessert
    • Gluten Free
    • Main Course
    • Holiday
    • Instant Pot
    • Paleo
    • Party Food
    • Salad
    • Side Dish
    • Soup
    • All Recipes
  • Tutorials
    • Children
    • Adult
    • Home Decor
    • No Sew
    • Sewing
      • Children Sewing
      • Adult Sewing
      • Home Decor Sewing
      • Sewing Basics
    • Sewing Studio
    • Knitting
    • Kids Crafts
    • Bento
    • Holiday
    • Parties
    • Gift Ideas
    • Natural Living
    • All Tutorials
  • shop
You are here: Home / Fabric / Pillow Covers in 30 Minutes or Less-TUTORIAL
Jul
25

Pillow Covers in 30 Minutes or Less-TUTORIAL

| Filed Under: Fabric, Home Decor, Home Decor Sewing, Sewing, Tutorials

Yes, you read that right!  Today I’m going to show you my tried and true method for making your very own pillow covers in 30 minutes or less.  This is a great little tip to have on hand for when you want to redecorate your home on the cheap and just re-cover the decorative pillows you already own.  
You may remember that I made a few decorative pillows for Noah’s new bedroom (in this post here) so that his bed coordinated nicely with the rest of his room.  I think the fabric is so fun and the greens, oranges, and blues add the perfect touch of color.
I think I spent about 15 minutes making each pillow cover.  They really are easy!  If you are new to sewing, these may take you a bit longer which is why I say ’30 minutes or less’…and that includes cutting the fabric and pressing with an iron too, woot!  Okay, so let’s get started…

Pillow Covers in 30 Minutes or Less

About 1/2-1 yard of fabric depending on the size of your pillow form
rotary cutter and mat
pins
scissors
chopstick
iron and ironing board
thread and sewing machine
PS. I used the Ellie Fam and Commute lines of organic cotton fabrics from Birch Fabrics sold at Fabricworm to make these pillows.  
There are seriously only a few steps to making these, so you could whip up a bunch really quickly.  The first thing you are going to do is cut one piece of fabric .5 inch bigger than your pillow form for your seam allowance.  My pillow here was 20″ x 20″ so I cut this piece of fabric to be 20.5″ x 20.5″.

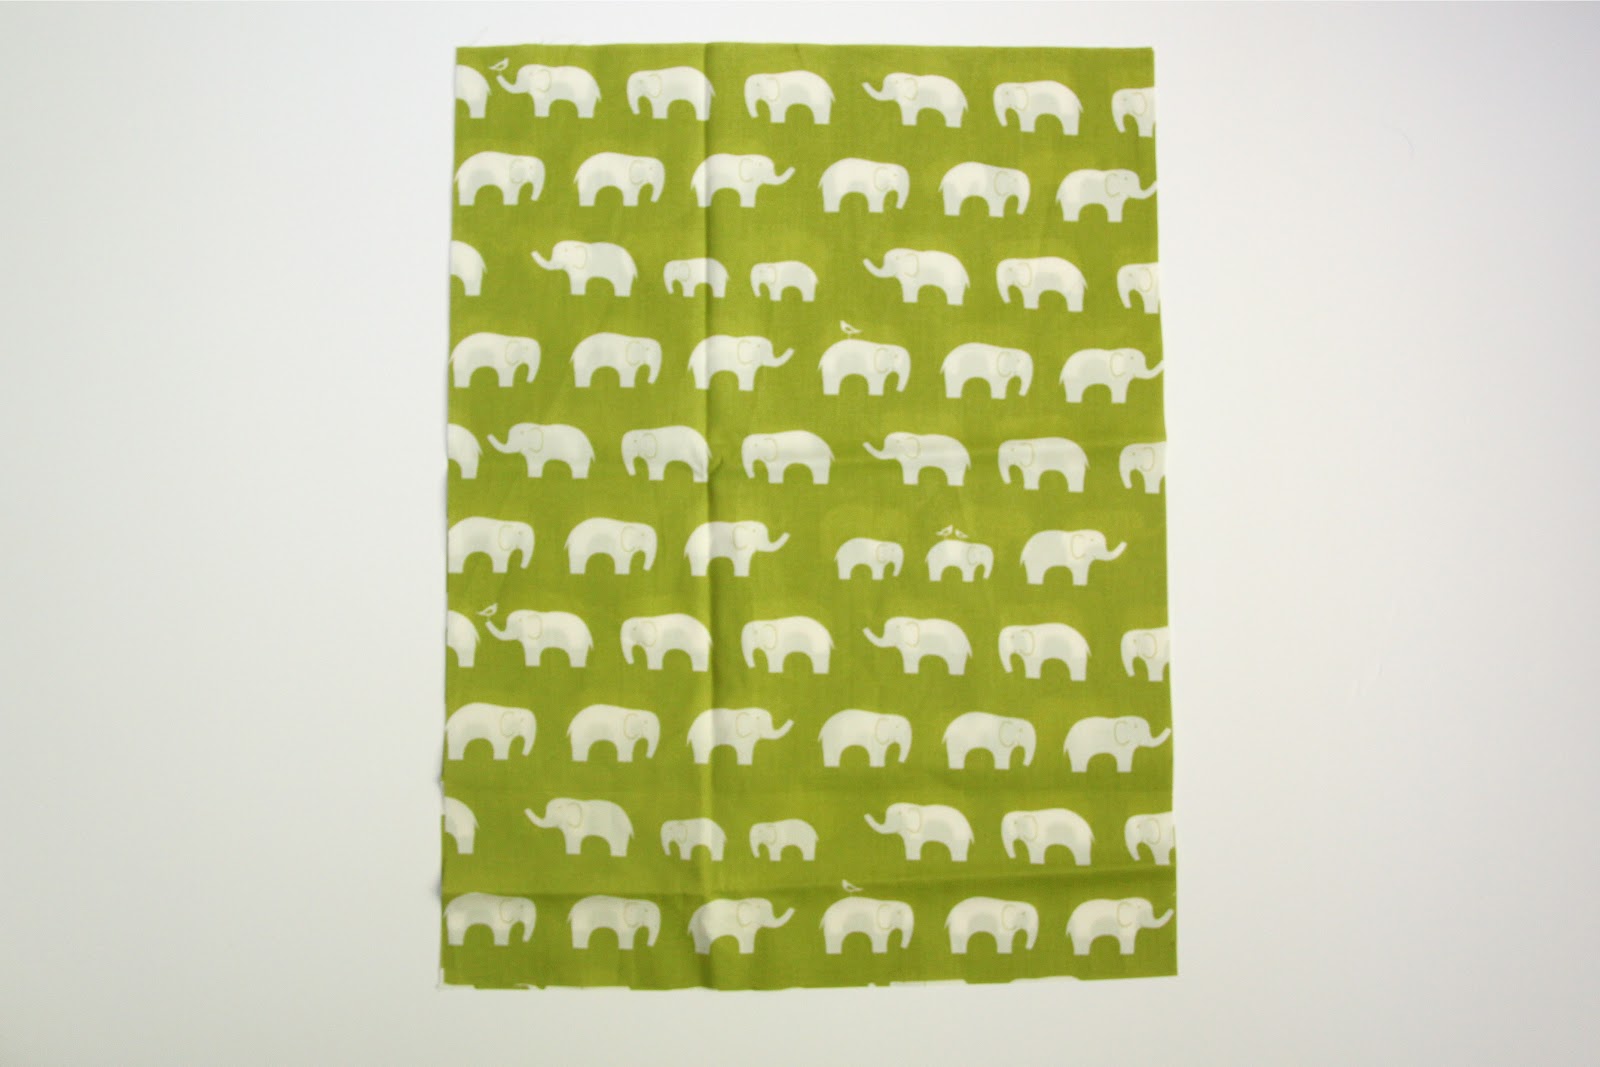
Then you are going to cut two more pieces of fabric for the backside of your pillow cover.  For these two pieces you are going to use a little math equation.  Don’t be scared!  It’s an easy one and it will help you figure out the sizing of these two pieces of fabric for any size pillow!

You are going to take half the width measurement and then add 2 for the hem + 4 inches for the overlap of the slip cover.  So the equation should look like this:

(half the width)+2(for the hem)+4(for the overlap)=X

In my case the equations looked like this:

10+2+4=16

So I cut my two backside pieces of fabric to the measurements of 16 x20.5*

*remember the length measurement will stay the same so in my case, the length (20 inches) + .5 for the seam allowance we added earlier!

Once you have the two back pieces cut you can go ahead and hem only TWO of the long edges.  I like a nice wide hem in my pillow covers as I think it makes the backside a bit smoother and softer to lay on.  Make sure you iron your hem before you sew it to give it a more professional look too!

Now we layer!  Place the front side of your pillow cover right side up an then place one of the back pieces on top but right side down and with the hem facing the center.  Then place the other piece overlapping it with the hem facing the center as well.  Pin all the way around the pillow cover and then sew using a 1/4 inch seam allowance.

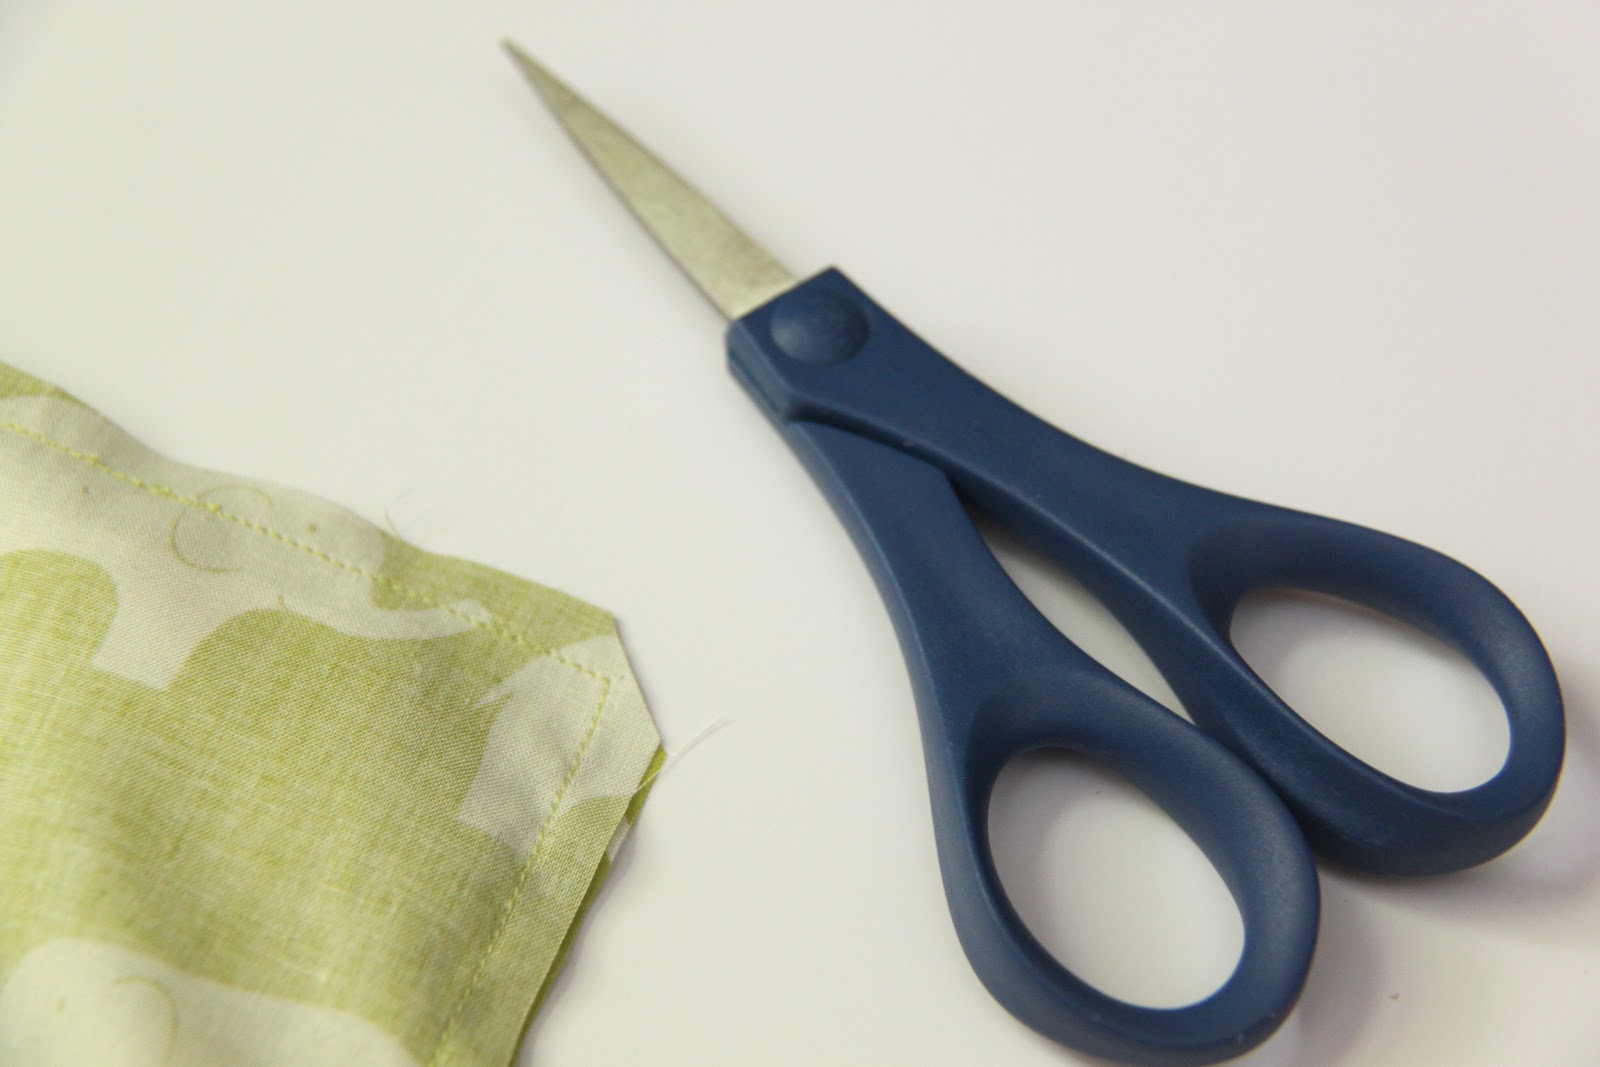
When you are done sewing you are going to carefully clip each corner making sure you don’t cut into your seam!  This will help give you nice pointy corners in your pillow cover 🙂

Then flip the pillow cover right side out (you may want to use a chopstick to push out the corners) and stuff your pillow form inside!  Easy peasy I tell you!

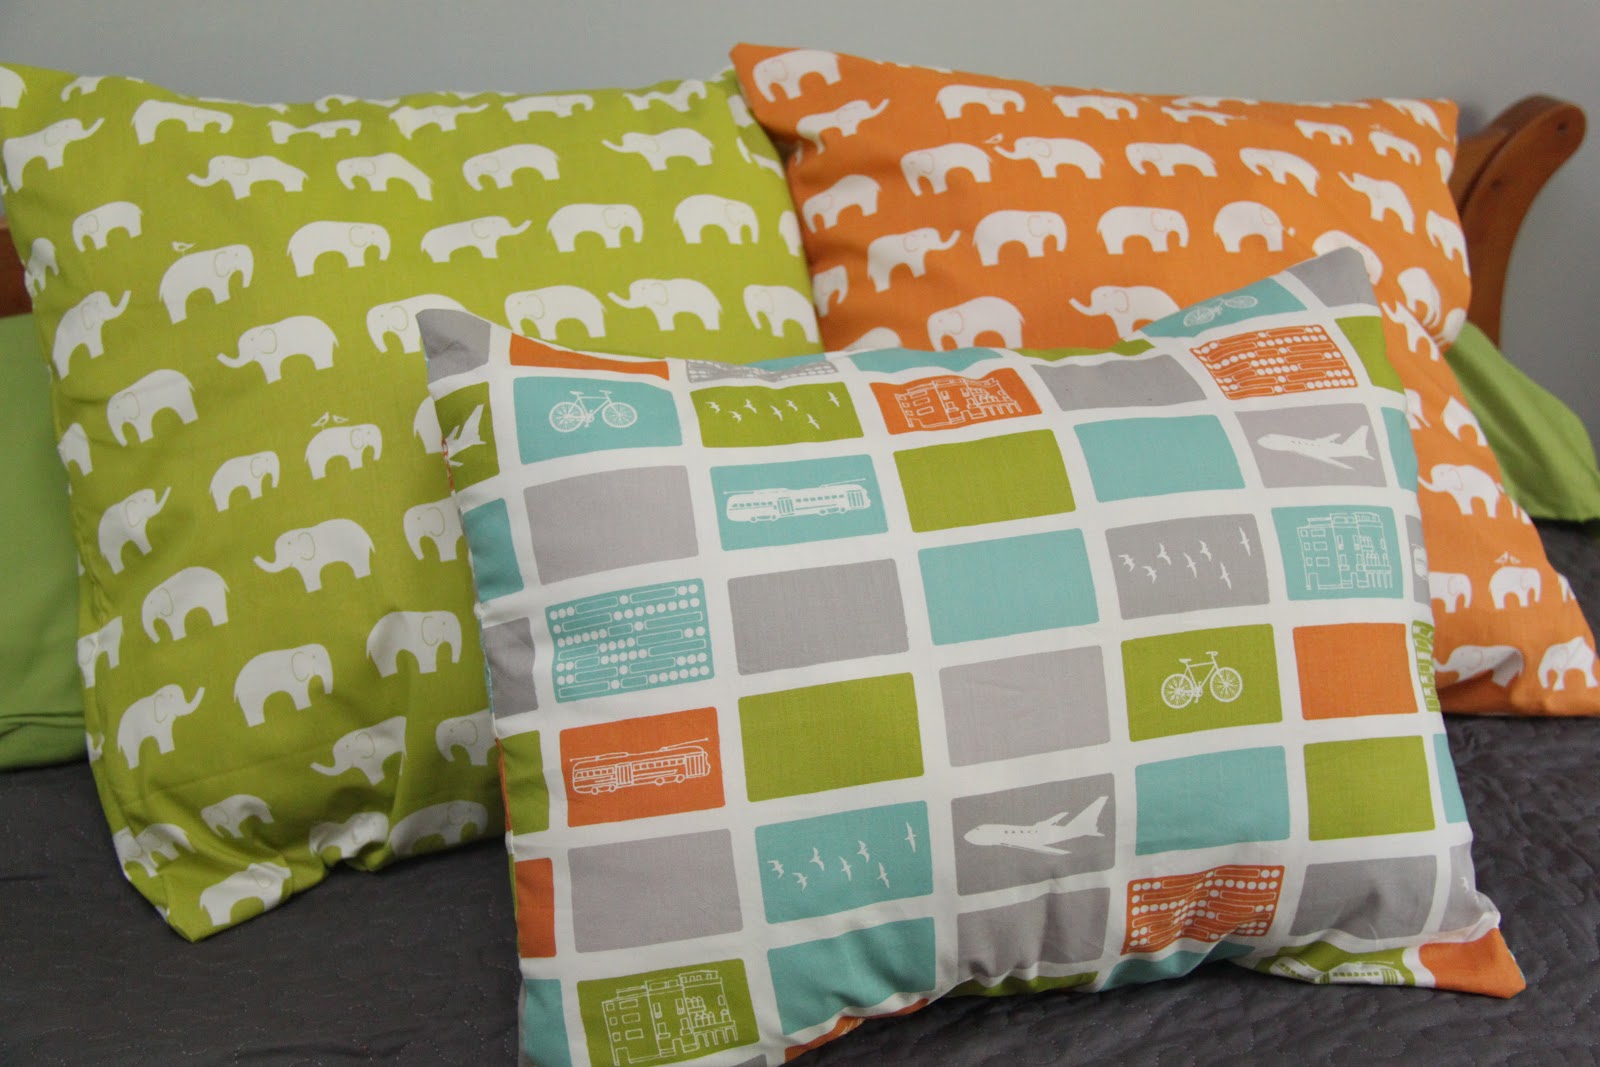
You can now make one…or ten…in no time flat!

I hope you enjoy you newly prettified pillows!!
Thanks for stopping by!
XOXO,

    You may also like -

    The Girls’ Shared Room RevealBoy’s Room Makeover: Sherwin Williams Perfect Palette-Part 3…The Reveal and a Giveaway!How to Recover a Lampshade-TUTORIALFabric Composition Notebook Cover {Tutorial}Free Silhouette File Teacher Canvas Bag Gift IdeaFree Silhouette File: Teacher Canvas Bag Gift Idea

    Become a Subscriber

    never miss a thing!

    Comments

    1. Sara says

      July 25, 2012 at 5:02 pm

      Thanks for the tutorial I will have to give it a try!

    2. Amy says

      July 25, 2012 at 6:40 pm

      I had to do a double take at your supplies list…I thought it said “chapstick”!!! bahahahahahahaha!!!!! I was thinking wow a new tip I haven’t heard before! Good job on his room…love the way it turned out!

    3. Risheill Adventures says

      July 25, 2012 at 7:53 pm

      I am still on the “sewing for dummies” level so please pardon my question, but do you sew up the rest of the pillow after you put the pillow back in? or just leave it open?

      • Maggie says

        July 26, 2012 at 4:12 pm

        Hi Rishelle! You just sew around the perimeter of the pillow cover only, not the hemmed opening in the center. Then flip it right side out and then you stuff your pillow inside..does that make sense?

    4. The Chat and Chew Supper Club says

      July 26, 2012 at 2:16 am

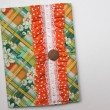
      I love, love, love the fabrics.

    5. Carolyn Y says

      July 26, 2012 at 2:19 pm

      I love the chopstick trick!

    6. Melissa says

      October 17, 2012 at 8:08 am

      This tutorial was so easy to follow! Thanks for sharing, Maggie!

    Welcome to Smashed Peas and Carrots. You can read more about me HERE
     photo designTeam.png
    Follow on Bloglovin

    Popular Tutorials

    Highlighter Valentine Card with Free Printable

    Highlighter Valentine Card with Free Printable…

    Play Doh Valentine Card Free Printable

    Play Doh Valentine Card Free Printable…

    Elderberry Syrup Recipe

    Elderberry Syrup Recipe: Natural Cold and Flu…

    Teacher Survival Kit

    Teacher Survival Kit with FREE Printable…

    Notebook Paper Pencil Pouch Teacher Gift Idea

    Notebook Paper Pencil Pouch Teacher Gift Idea…

    Free Silhouette File Teacher Canvas Bag Gift Idea

    Free Silhouette File: Teacher Canvas Bag Gift…

    Popular Recipes

    No Bake Energy Bites Recipe…

    Chocolate Coconut Cups {Gluten and Dairy Free}…

    DIY Taco Seasoning Recipe…

    Sugar. Cookie. Icing. {The Recipe}…

    French Dip..Crockpot Style!…

    Crockpot Banana Bread…for Real!…

    My Sponsors

     photo FatQuarterShop-175x175.png

     photo cdf15248-e6f8-4276-abc0-c145e2451c35.jpg


    Blog Archives

    Posts by Topic

    Stay Connected

    • Facebook
    • Twitter
    • Pinterest
    • Instagram
    • Dots
    • Google Plus

    Join me on Facebook

    Copyright Smashed Peas and Carrots © 2025 · All rights reserved · Design by Emily White Designs

    Copyright © 2025 · Smashed Peas & Carrots Custom on Genesis Framework · WordPress · Log in