It’s my turn to be a part of the Riley Blake Knit Love Blog Tour today eeep! So much fun! It seems that I have been sewing everything with knits lately (they are just so fun to work with and they are so darn soft) that I had to share a little project with you all that has been my favorite accessory as of late. I have been loving the Small Dots and the Half Inch Stripes from Riley Blake so I thought today I would show you how to make a Stripes & Dots Infinity Scarf in only 15 minutes!! You can’t beat an accessory that you can wear in half an episode of the Mindy Project!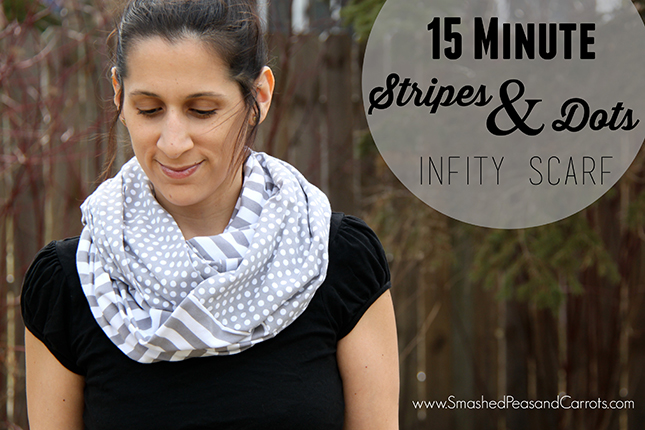
I love this infinity scarf because it uses two different prints to make a really eye-catching accessory. So when you double it up around your neck it makes such a fun look…it makes me happy!
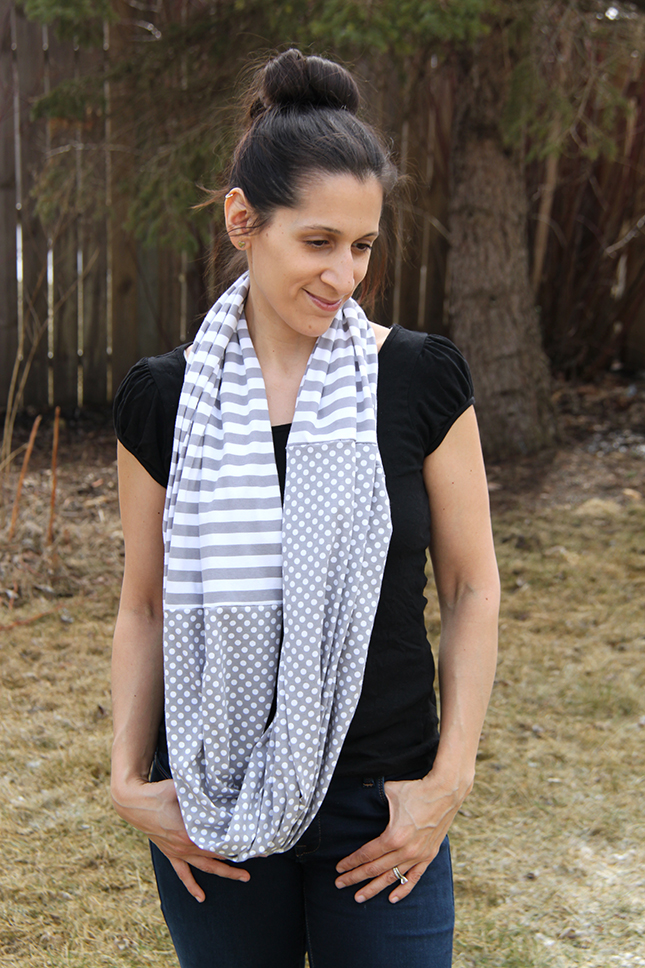 It even looks awesome left as one loop, especially when you shift the two prints so they are not even steven. How chic is that?
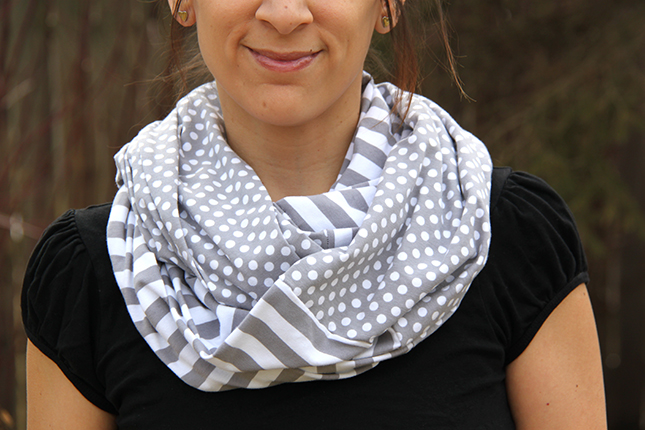 Here is how you can make one (actually there is material enough for two!) of these infinity scarves! Make one for you and one for a friend!
15 Minute Stripes & Dots Infinity Scarf
1 yard of a stripe print knit of your choice (I love the Riley Blake knits…they typically measure 58″/59″ inches wide which makes a great width for this infinity scarf)
1 yard of a dot print knit of your choice
sewing machine and thread
Scissors
Needle and thread for hand sewing
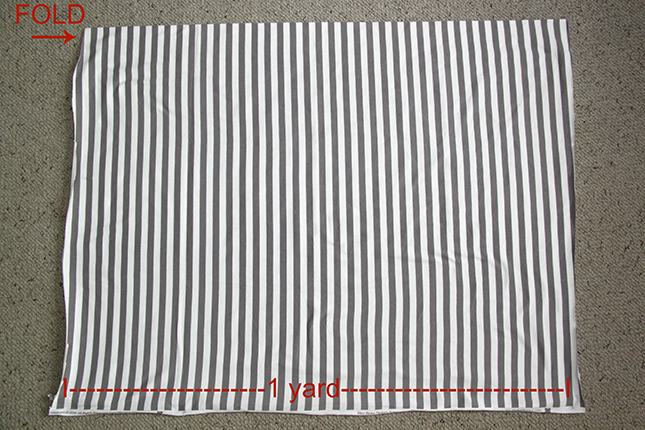 First lay your stripe knit fabric in half width-wise so that the length (at the bottom) measures 36 inches and the width measures about 29 inches.
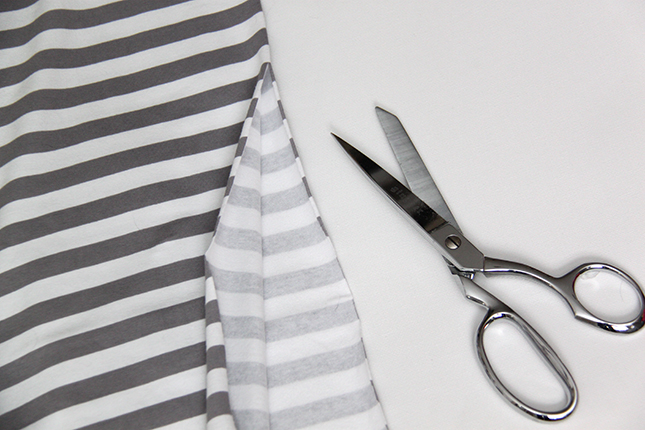 Then cut on the fold at the top to make two pieces of stripe knit fabric that measures 29″ x 36″. Do the same with the dot knit fabric. Set aside one of each fabric print.
*You will only be using one 29″ x 36″ piece of each dot and knit stripe fabric to make one infinity scarf. 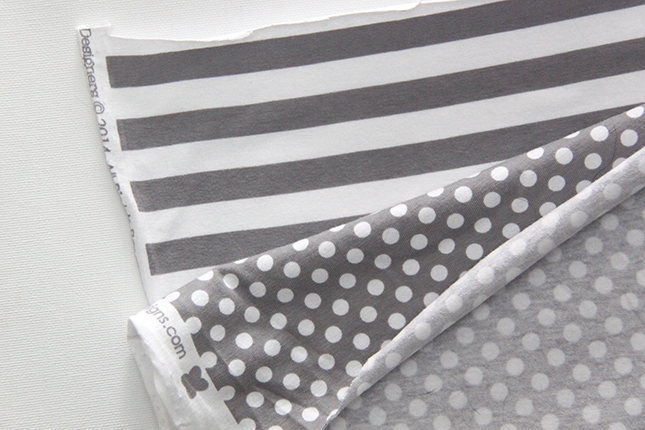 Next, with right sides together, lay the knit fabric and the dot fabric on top of each other, making sure they are both even along all edges, and sew along one 29 inch side using a 1/2 inch seam allowance. You should now have one long piece of fabric measuring near 72 inches long.
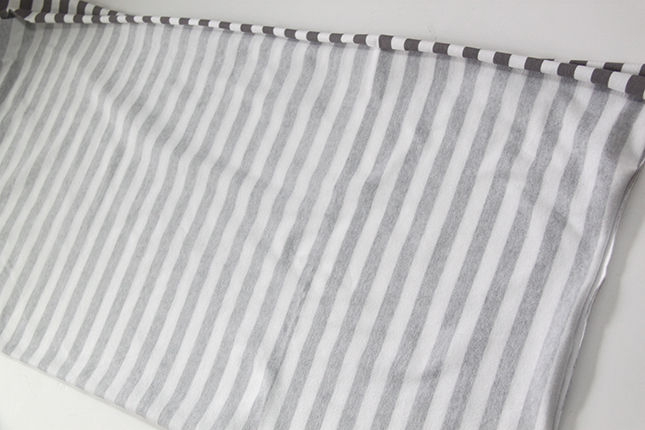 Now fold the scarf lengthwise (hotdog-style) so that right sides are facing and you have a folded piece of material measuring about 72 inches long x about 15 inches wide. Sew along the open long edge using a 1/2 inch seam allowance so that you now how one long tube.
 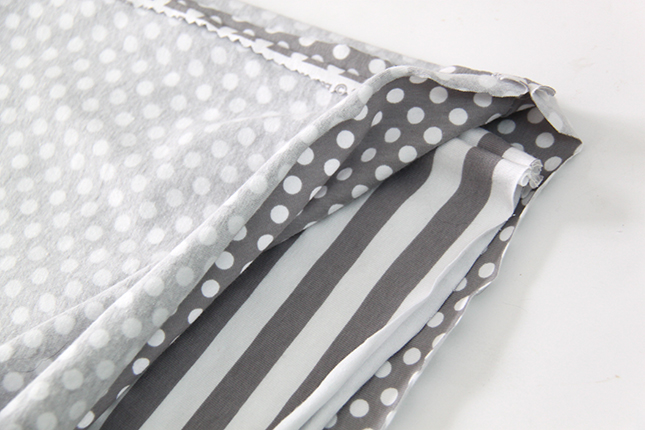 The next step is slightly tricky and seems like it would never make sense until you do it and then you are like, “Whaaa?!? How’d I do that?!” It just works you guys! Okay, you ready? You are going to take one end of the long tube (still wrong side out) and pull it though itself so that it nestles inside the the open end on the other side (see picture above!)
 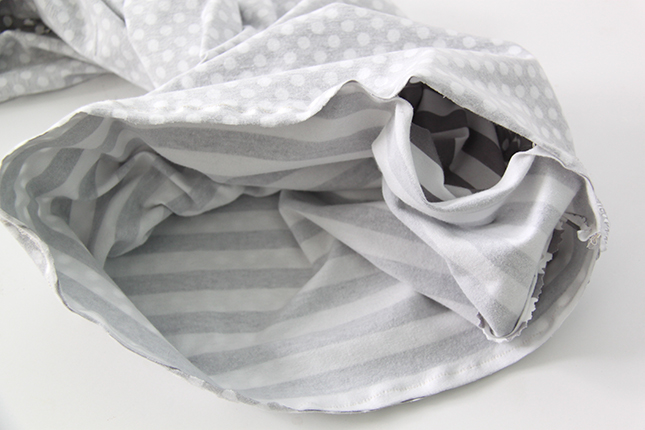 Then just match up the seams and the raw edges and sew around the opening using a 1/2 inch seam allowance. Leave a small opening so that you can pull the infinity scarf through and turn it right side out. Once you have done that, use a needle and thread to hand sew the opening shut!
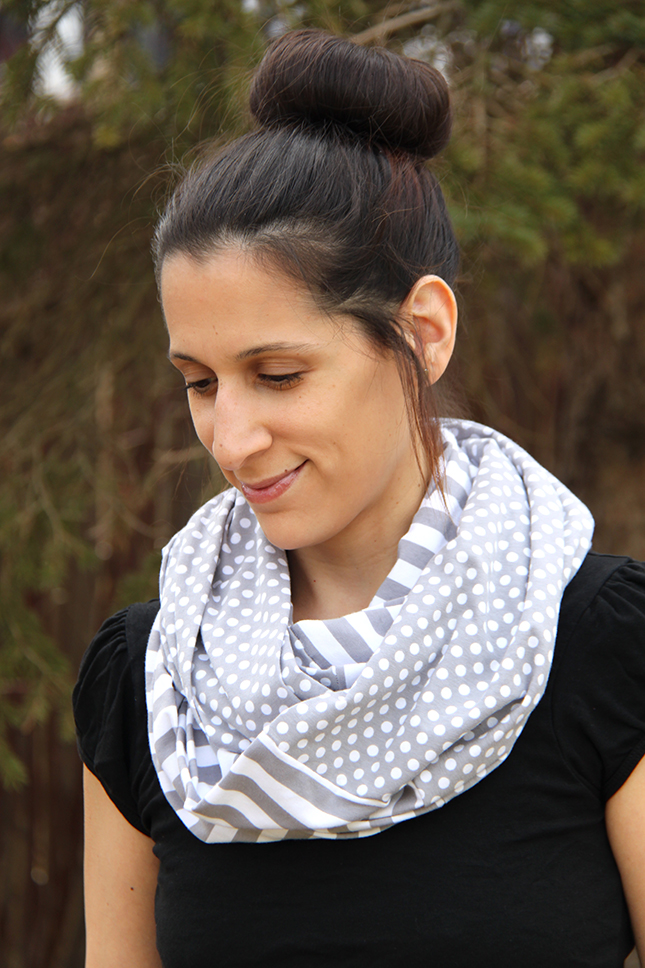 Now where that beautiful new accessory you just made with pride and show off those sewing skills!!!
 The Riley Blake Knit Love blog tour continues until April 2, so make sure you check out the rest of the stops; you can find all of them here: RBD Jersey LOVE Blog Tour Schedule!
Love,
Maggie



Maggie, I love that. Knits scare me, but this is enough to get me over that! Definitely going to do this. Thanks for sharing.
Hi Rita!
They scared me at a time too but don’t worry they are easy to overcome! Just sew slowly, don’t push it through too fast, and know that the ends like to roll up so just take your time. Even by doing that this scarf is super quick to make! Happy Sewing!!
xo,
Maggie
i love theses scarfs my daughter twist 2 of them together but i like your idea more less weight on your neck…………..
Thanks Anna! I hope these come together easily for you too!!
xo,
Maggie
Love this, so chic. Great tutorial, thanks!
Thank you, Allie! It is my new favorite scarf to wear…hooray for Spring!!!
xo,
Maggie