It’s July first, holla! That means that the Fourth of July is coming up right around the corner here…just a few more days peeps. Do you have enough dessert recipes to make for your big holiday bash? Of course you don’t silly. There is always room for one more dessert.
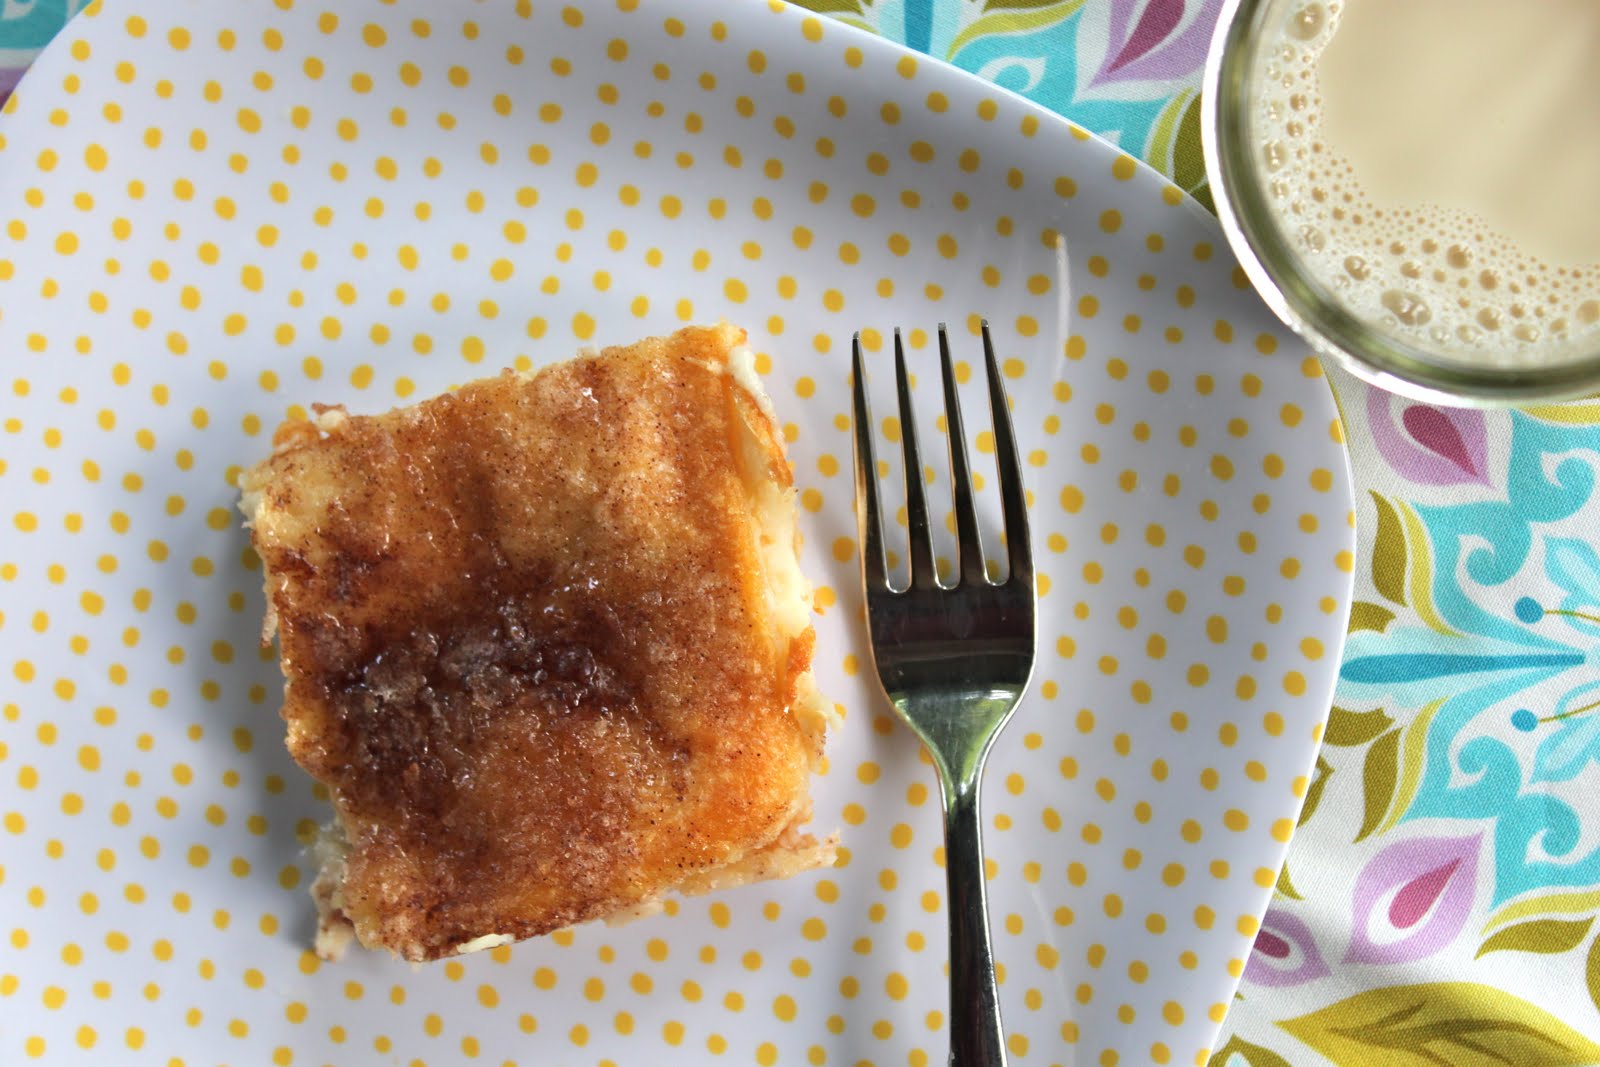
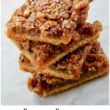
Let me introduce you to Sopapilla Cheesecake.
Hello, lov-ah!

This dessert is the lovechild of sweet and cinnamon-y Latin American sopapillas and rich and creamy cheesecake. Sinful that combination but oh so good.

You need to make this. You will not be sorry.
Now go forth and make, be the star of your party, and don’t forget to bring recipe cards for all.
Sopapilla Cheesecake
Recipe Type: Dessert
Prep time:
Cook time:
Total time:
Serves: 12
Ingredients
- 1 can refrigerated crescent rolls
- 1 bar cream cheese, softened
- 1/2 cup sugar
- 1 tsp vanilla
- 1/4 cup butter, softened
- 1/4 cup sugar
- 1 tsp cinnamon
- honey to drizzle
Instructions
- In a mixing bowl, cream together the cream cheese, 1/2 cup of sugar and vanilla, set aside.
- Open the crescent rolls and slowly unroll the rectangle of dough and divide it into two square pieces, taking care not to separate the individual crescent rolls as you do so.
- With a rolling pin, shape the two pieces to fit into a greased 9 x 9 pan.
- Place one square into the bottom of the pan, spread the cream cheese mixture over top and then place the remaining square of dough on top.
- In a smaller bowl, mix together 1/4 cup butter, 1/4 cup sugar and 1 tsp of cinnamon together until crumbly.
- Sprinkle over top of the sopapilla.
- Bake at 350 degrees for 25-30 minutes or until golden brown.
- Remove from oven and drizzle honey over warm sopapilla.
- Let cool in the pan before serving.

First cream together the cream cheese, 1/2 cup of sugar and 1 teaspoon of vanilla together…
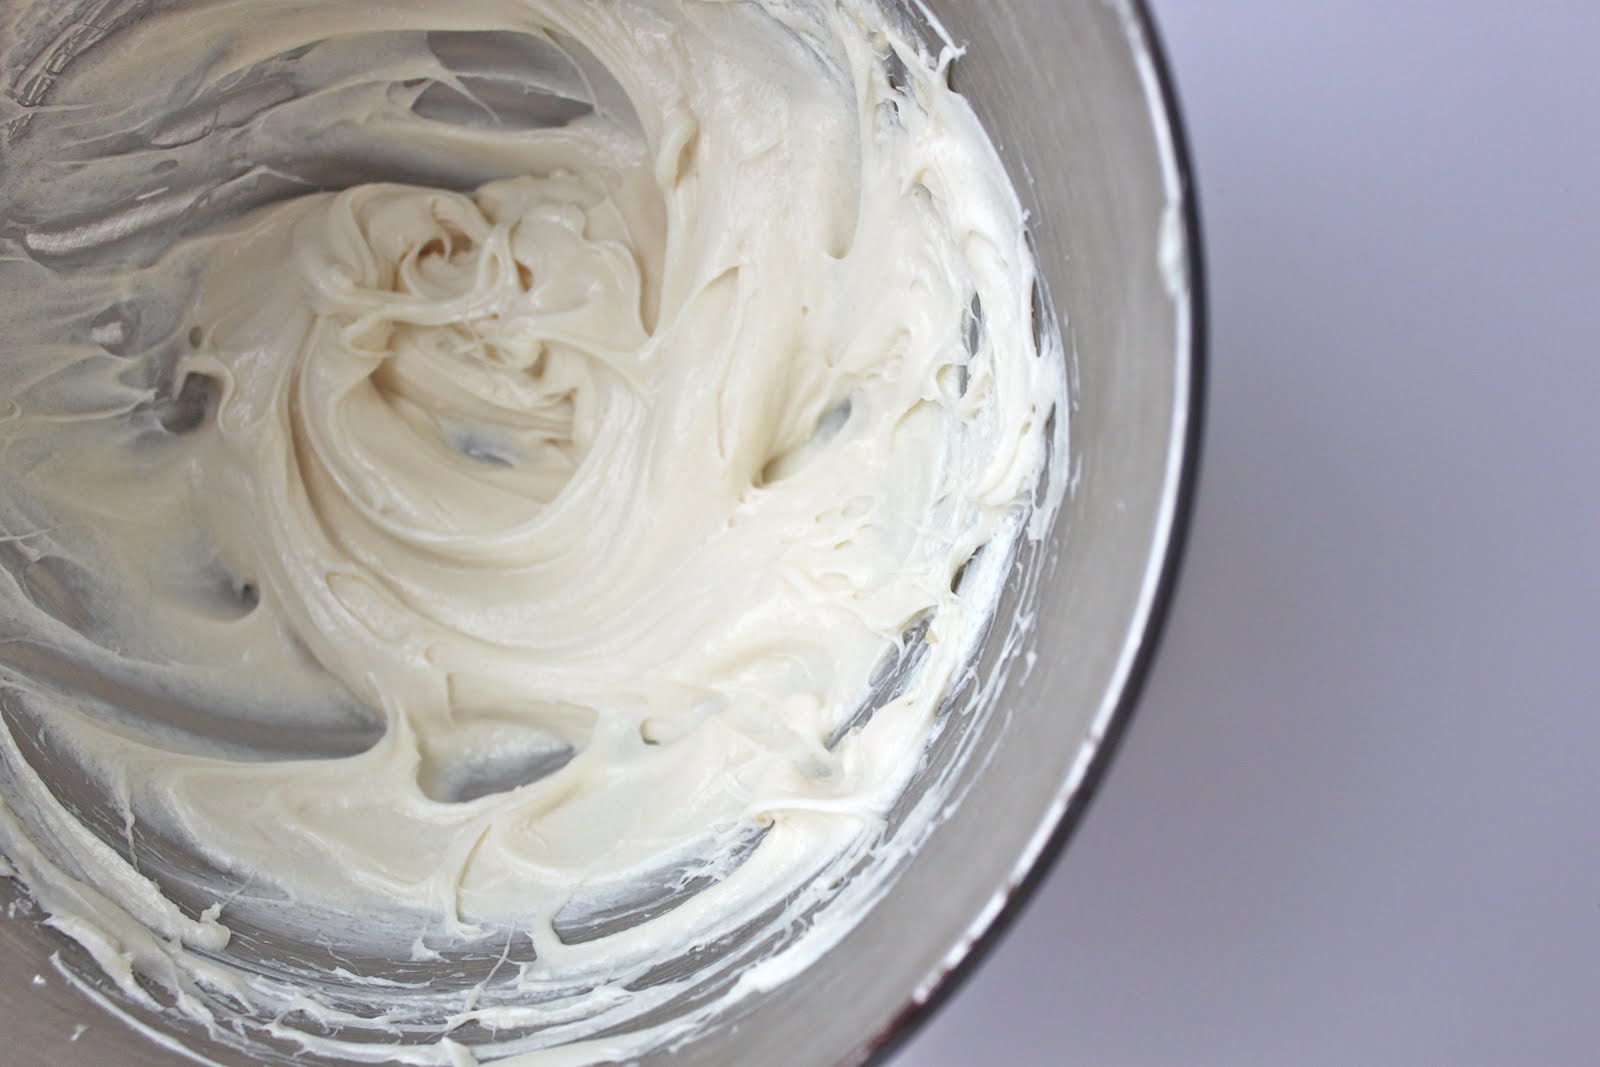
It should look nice and creamy like this…now set that bad boy aside.

Next grab your can of crescent rolls, unwrap that paper from the corner edge and pop them open.

Separate the rectangle of dough into two square pieces and take your rolling pin out to shape them to fit a 9 x 9 pan. Make sure to keep the seams pressed together!
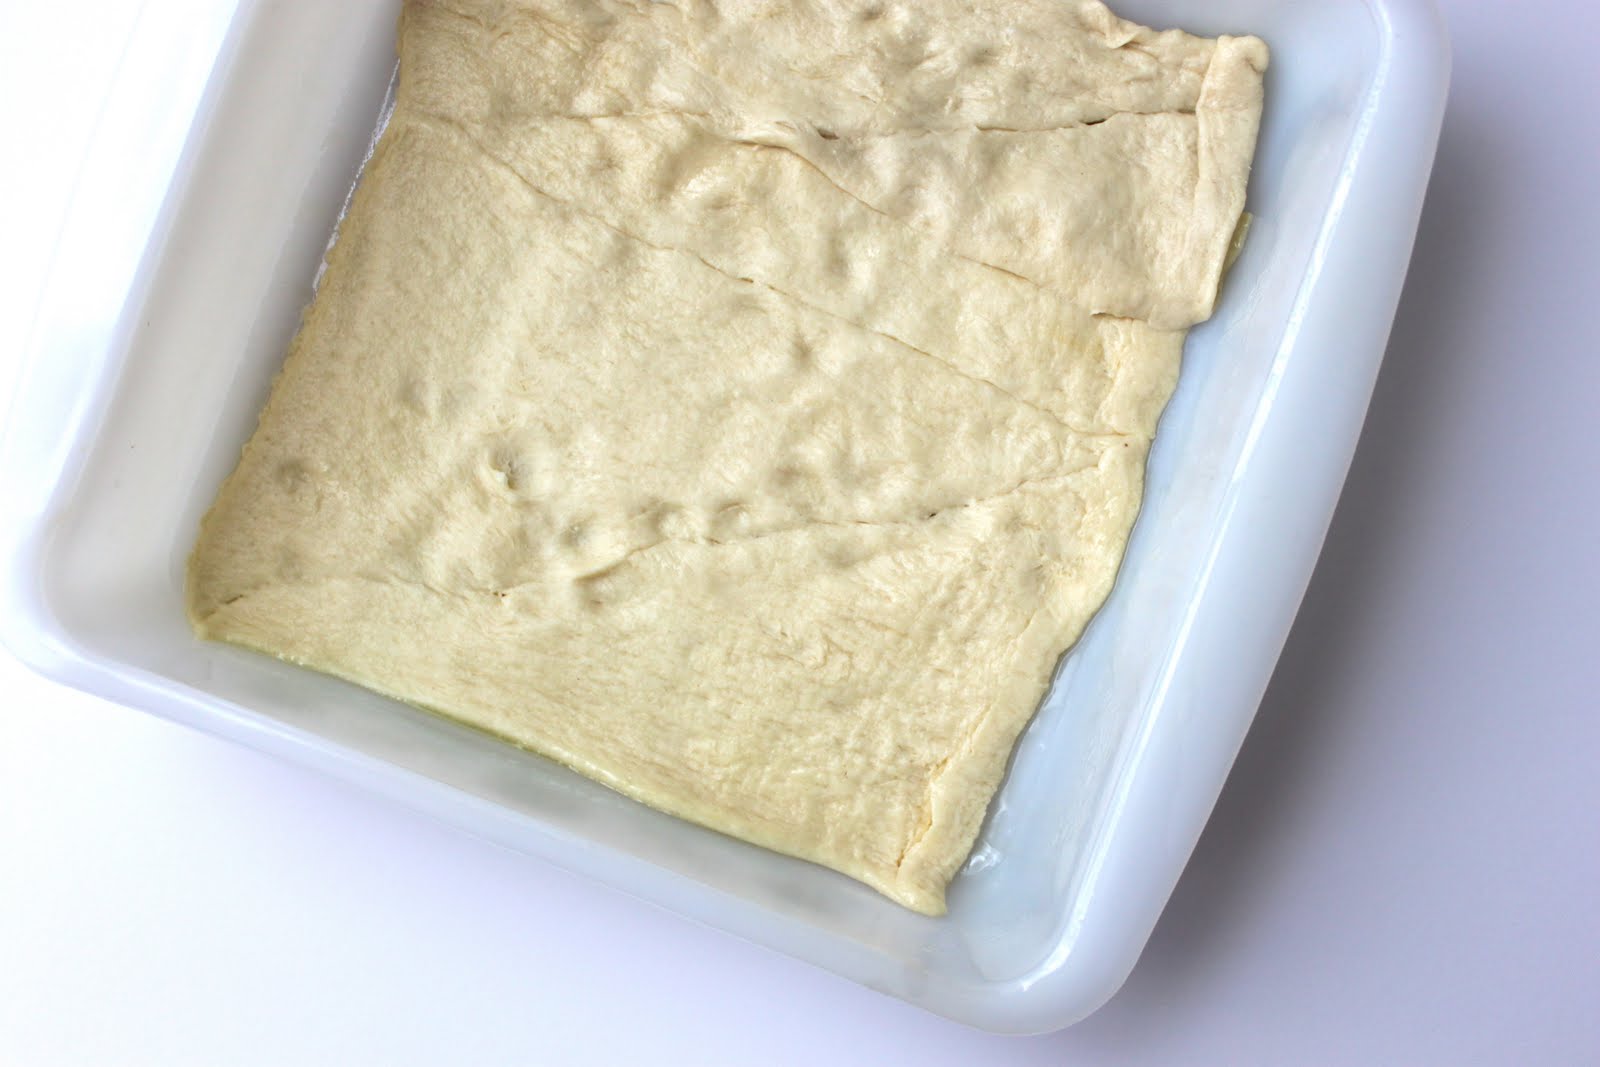
Place one square of dough into the bottom of your greased pan. Spread with the cream cheese mixture and place the remaining dough over top.

Then mix together the remaining sugar, cinnamon and softened butter. It will be clumpy if not crumbly once you have all ingredients combined…both of which are just fine.

Sprinkle the butter mixture over top of the sopapilla and bake at 350 degrees for 25-30 minutes. The crescent rolls should be puffy and golden brown 🙂

Then get out your honey bear….
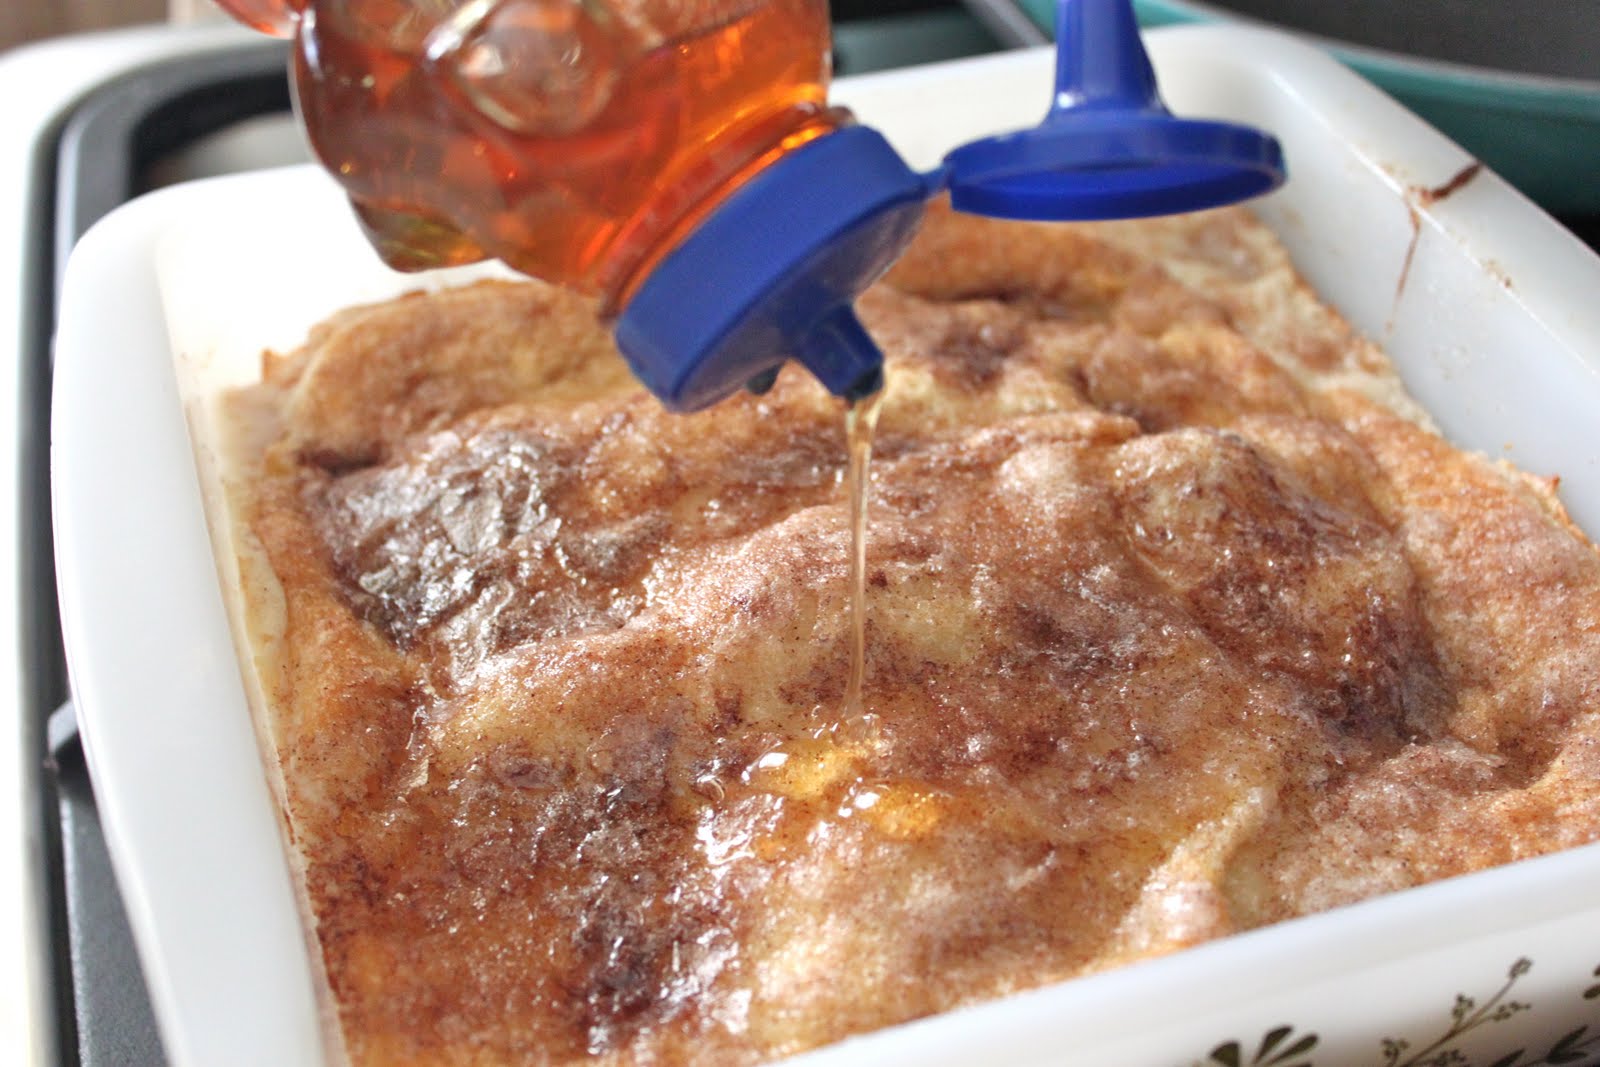
And as soon as you remove your pan from the oven drizzle that sopapilla cheesecake with honey. Mmm, pour it all over…this is what really gives it that authentic sopapilla taste!
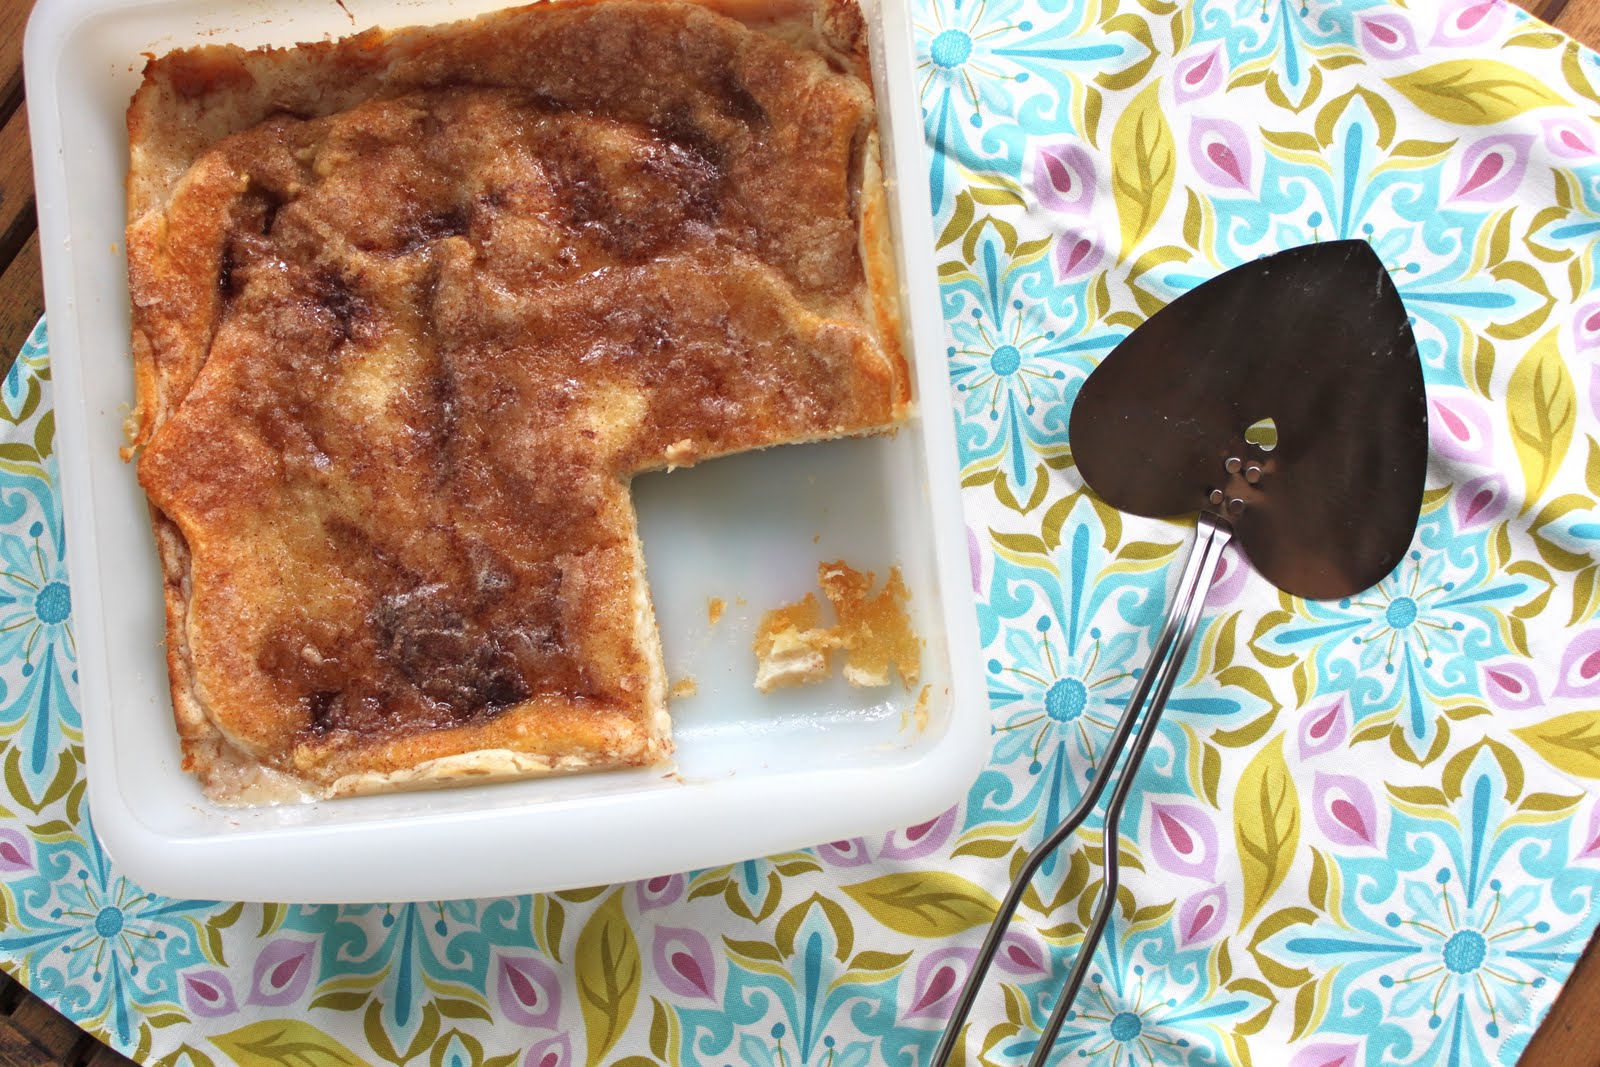
I think that this dessert is best served chilled sort of like how you would eat a cheesecake.
The cinnamon/sugar/honey combination…it’s devine. Really, truly irresistible I say.
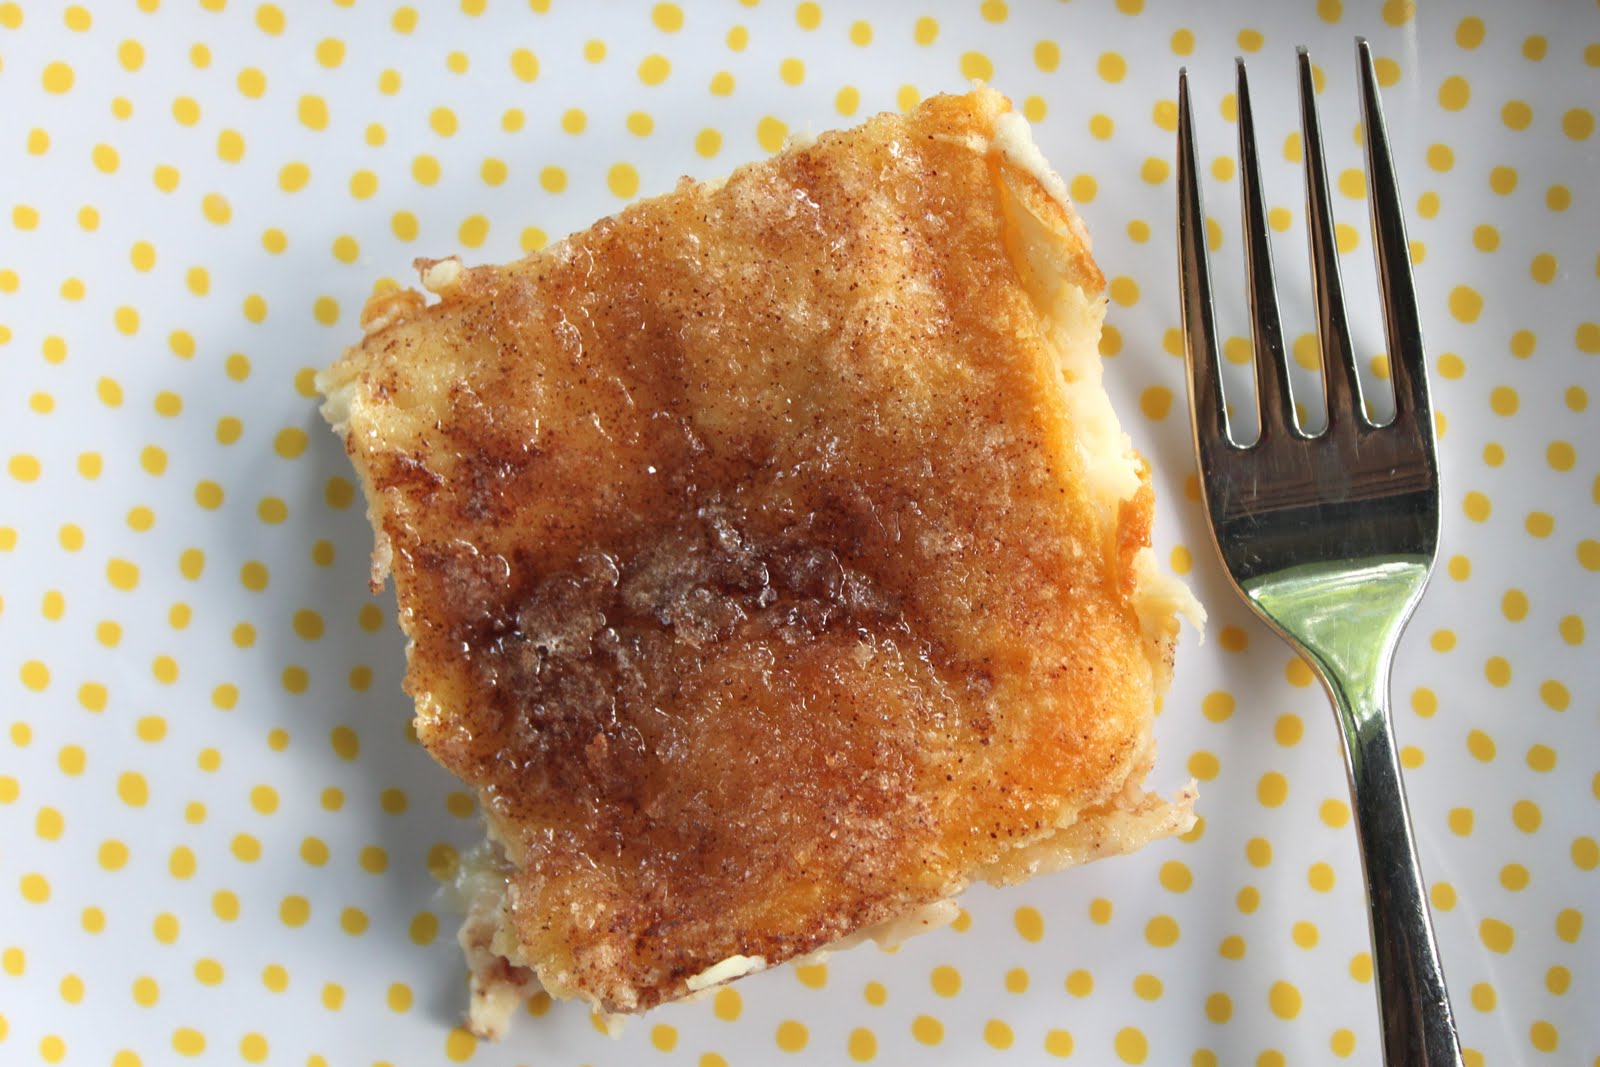
A close up is just an eensy weensy bit necessary, don’t you think?
Enjoy!!
XOXO,


This looks awesome! Always on the look-out for new recipes! Thanks!
I recently had this SAME recipe at a small group gathering. I of course had to get the recipe and actually made it (I’m notorious for getting recipes and never following through ;0) THIS IS AMAZING!
i LOVE sopapia cheesecake! I’ve never made it but my mother in law does & it has to be my favorite!
That looks SO good!! Happy 4th to you and your family!!
I have no idea what sopasias are but this looks better than a cinnamon swirl! Gorgeous, can’t wait for my oven to be fixed so I can try this bad boy out! Thanks Maggie! xxx
I want to lick the monitor. I can’t believe you posted this on Canada Day when the grocery store is cloooosed, I need to make it. ASAP. YUMYUMYUM.
Holy cow. The restaurant down the street that I frequent is called “Soapapillas,” which coincidentally serves you (what?!) soapapillas for dessert for free with some honey on the side. They are going to be hella mad when I tell them they need to up the ante with some cream cheese next time. Bet on it.
Sinful is right! It looks SOOOOOOO delicious! I can’t wait to make this recipe. Thx for posting!
So I was going to make strawberry shortcake and decided to cancel that when I saw this, maybe I’ll just top with strawberries too!
I made this for a 4th of July BBQ and it was a hit! Thanks for sharing this great recipe!
This looks really good@ I can’t wait to try it.
Vanessa
Thank you so much for this post. I want to let you know that I posted a link to your blog in CBH Digital Scrapbooking Freebies, under the Page 4 post on Jul. 20, 2011. Thanks again.
My mouth is watering just looking at the photos!
I only have an 8×8 glass pan. Do you think that would work as well? Thanks!
Thanks for sharing this! I do not love cheesecake but I made it for my husband. I tried a piece the next day from the fridge and it was divine! Just finished making it for the second time to take to a church potluck tomorrow. 🙂 PS – This time I used homemade crescent rolls – it is much more puffy. Hope it is as good! 😉
A friend of mine fine your recipe and made it the other day and brought my husband and I a few slices. YUMMO!!!! She forwarded me this link so I could try it out myself. Making it tonight upon my husband’s request 🙂
Once again, fabric info on your awesome placemat? And YUM-O! Will be making this soon!