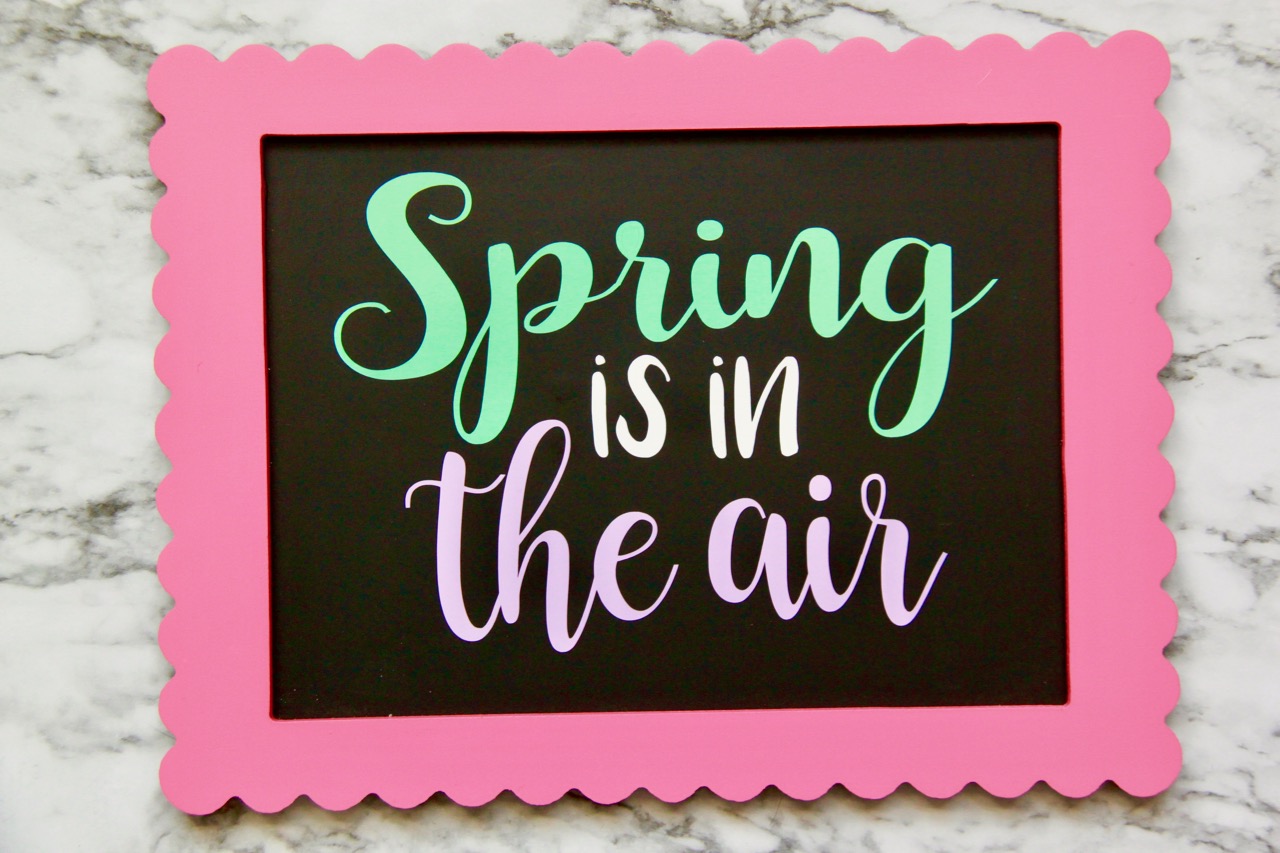
This ‘Spring is in the Air’ Free Silhouette Cut File is the perfect way to add a little splash of color to your DIY home decor this spring. 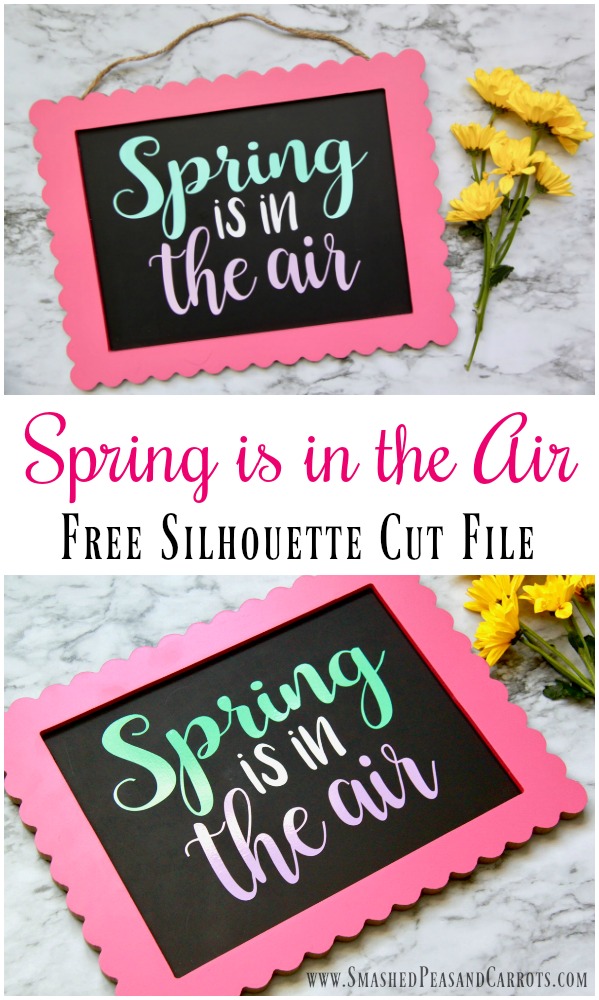
Spring is officially here, can we say, ‘holla’!!! And here in Chicago we’ve even had a few sunny days in the high 40’s, it’s an end of March miracle. I’ve been so excited by all the nice weather that I have even started planning our garden! I cannot wait. But first, I had to make a fun little project to decorate ye olde house. And since I really do love those Easter Silhouette Cut Files I made on those chalkboard frames I bought (in bulk because I loved them so much!) I just had to do some more framed art with a fun little Spring quote!
In case you missed it, I found these super cute chalkboard frames at the Dollar Spot in Target. I loved all the pretty spring colors they came in that I may have bought all of the stock my local Target had in them! So go run to your nearest Target and grab a few before they are all gone and they move on to summer goods. And since I really enjoy all things chalkboard art, I had to make a Spring sign in some of my favorite chalkboard lettering fonts that I in no way could ever do with my own hands and poor penmanship. (affiliate links present)
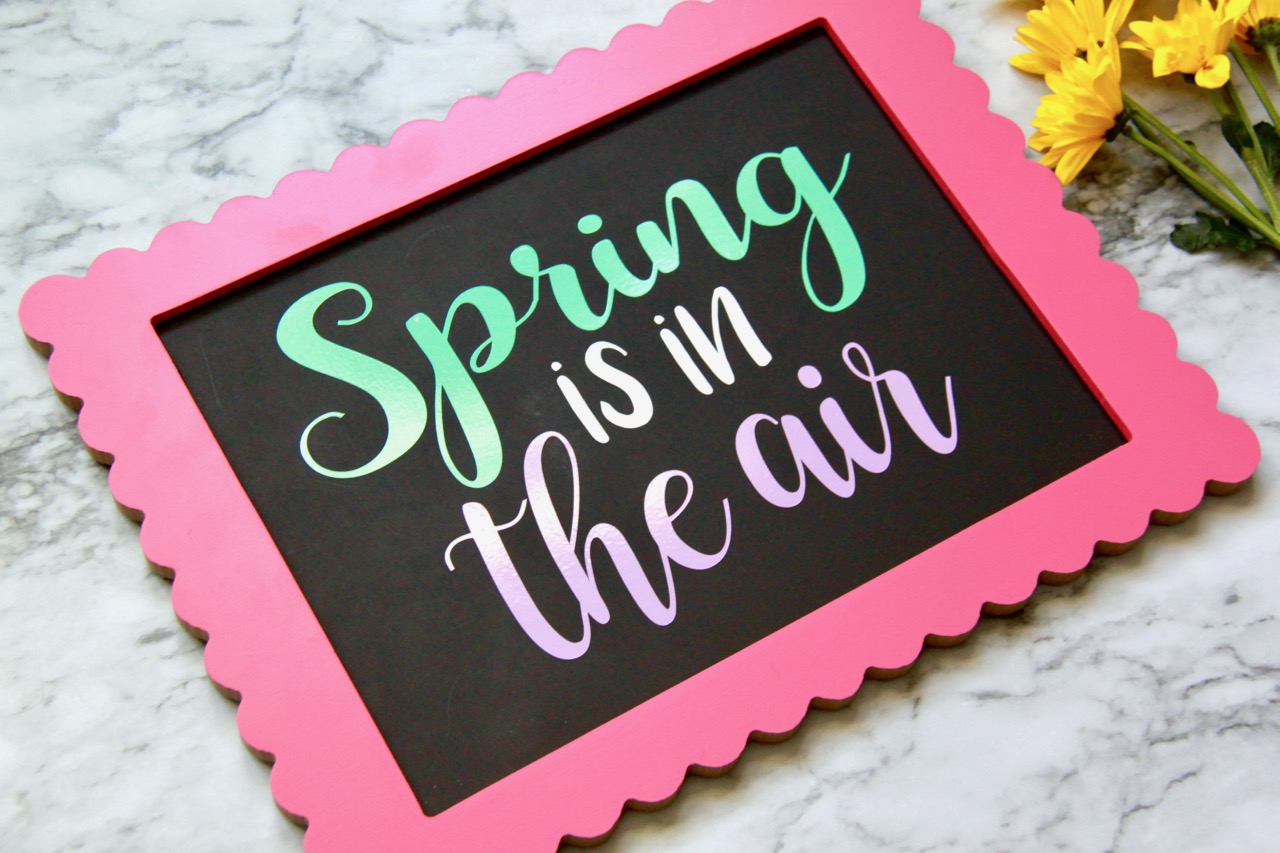
‘Spring is in the Air’ Free Silhouette Cut File
You can get my Free Silhouette Cut File for a .studio3 file by clicking here: Spring is in the Air
Just drag the file into your Silhouette design studio and you can start playing with the file!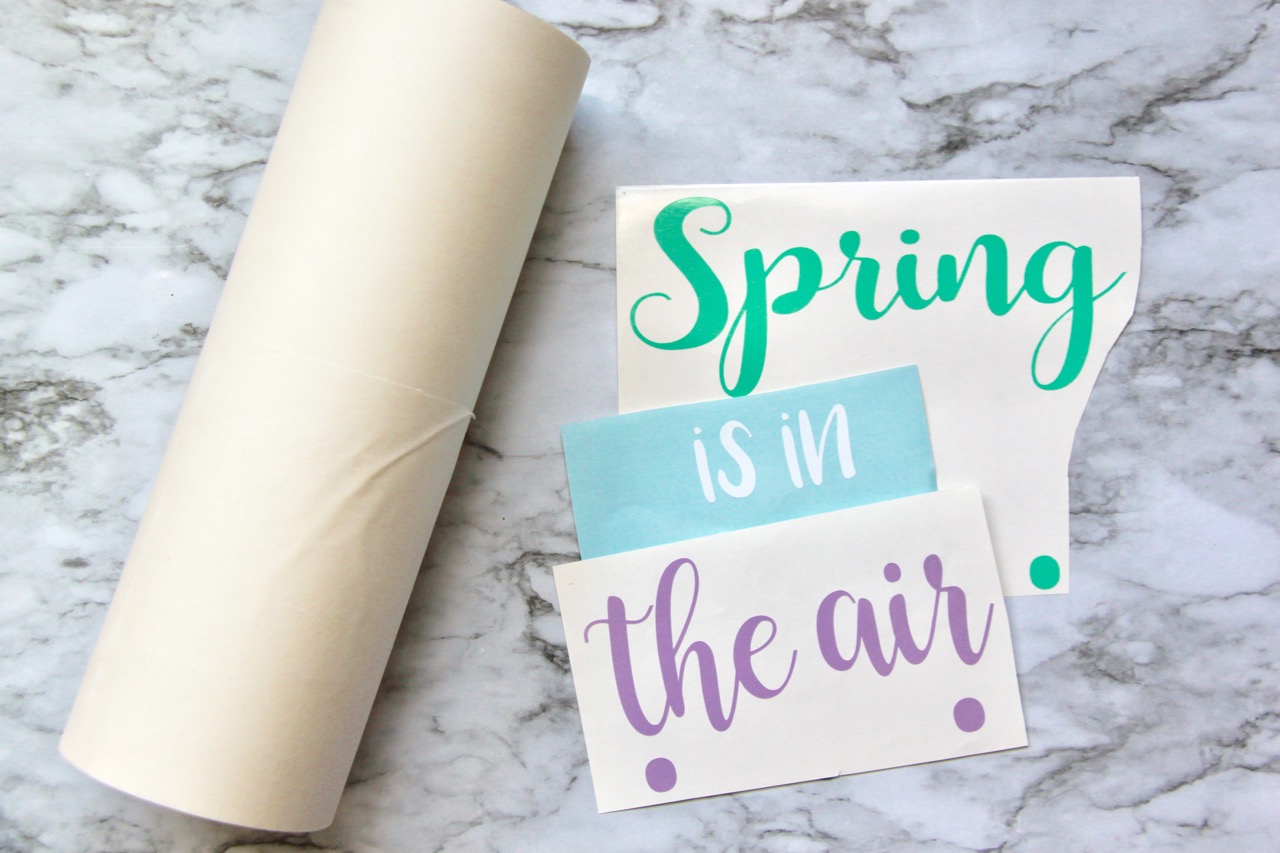 I created this file for use with my Silhouette machine as one entire vinyl piece as well as I also separated the words and added a few layers dots (which I like to do when I am cutting vinyl in different colors). Each section that I wanted in a different color is separated with the layering dots so that when you press the vinyl onto your transfer paper you can have the entire project line up without the spacing being odd.
On a side note, I really like this transfer paper. It is a medium tack which allows the vinyl to release fairly easily. It can also be reused a few times which makes it last longer!!!
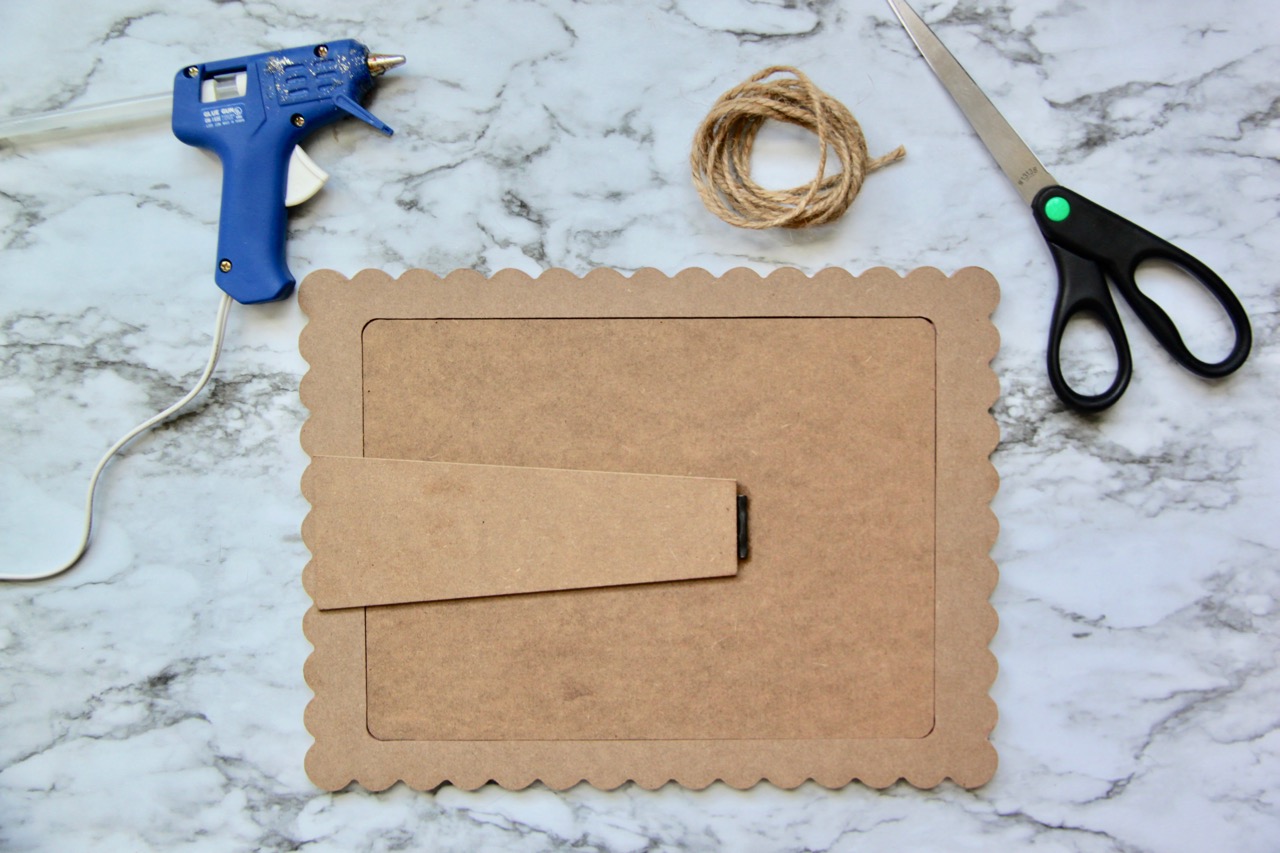
Also, I wanted to share that since these are frames there is no hanging attachment on the backside of them. Since I like to hang my signs, I created my own twine hangers by using a small piece of twine and my hot glue gun!
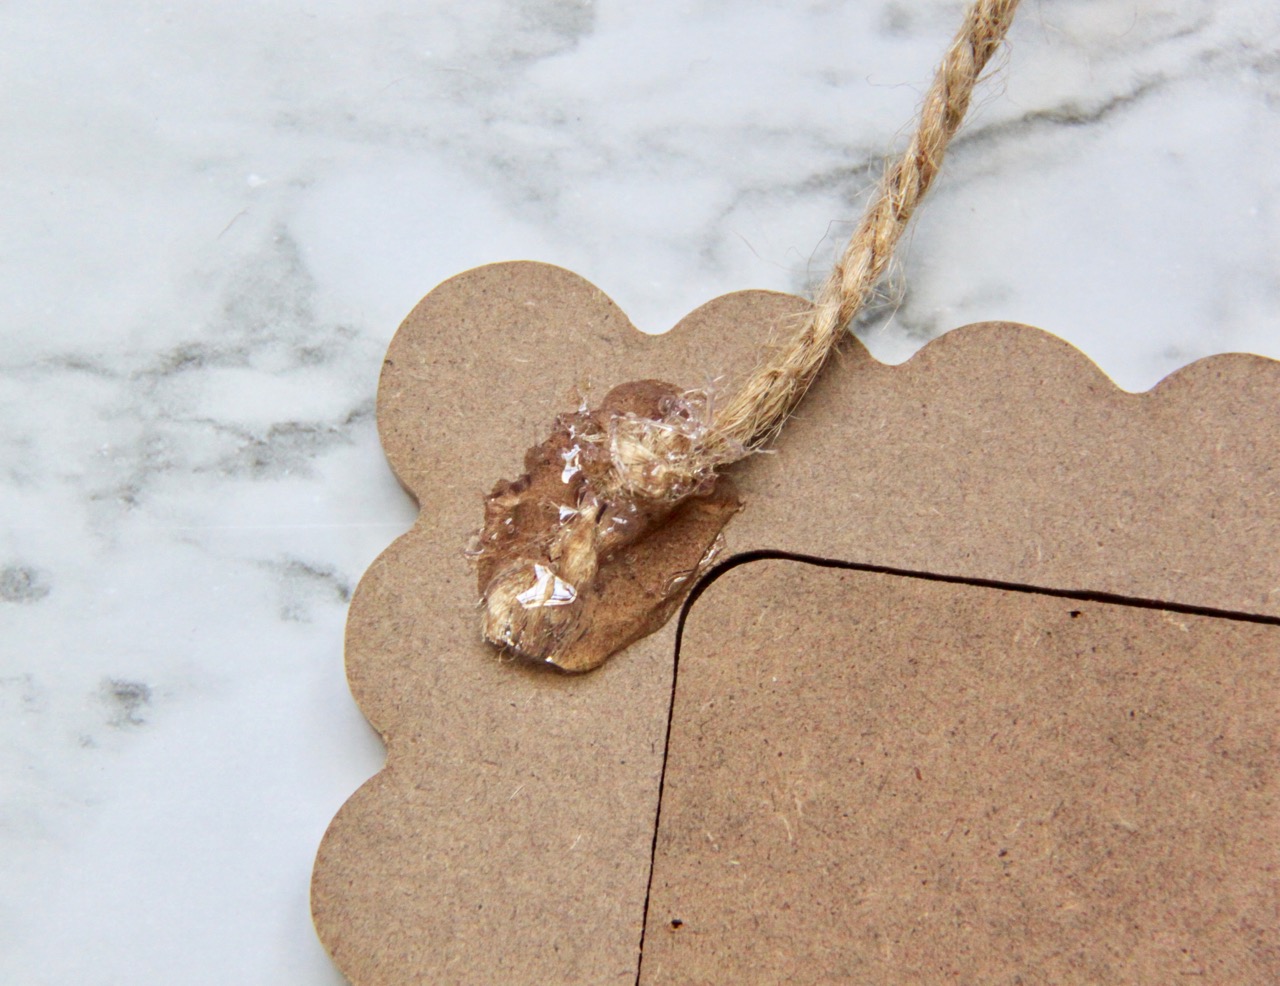 Just knot the ends and press some glue over top to cover the twine. Once it cools, it is stuck on there really good!
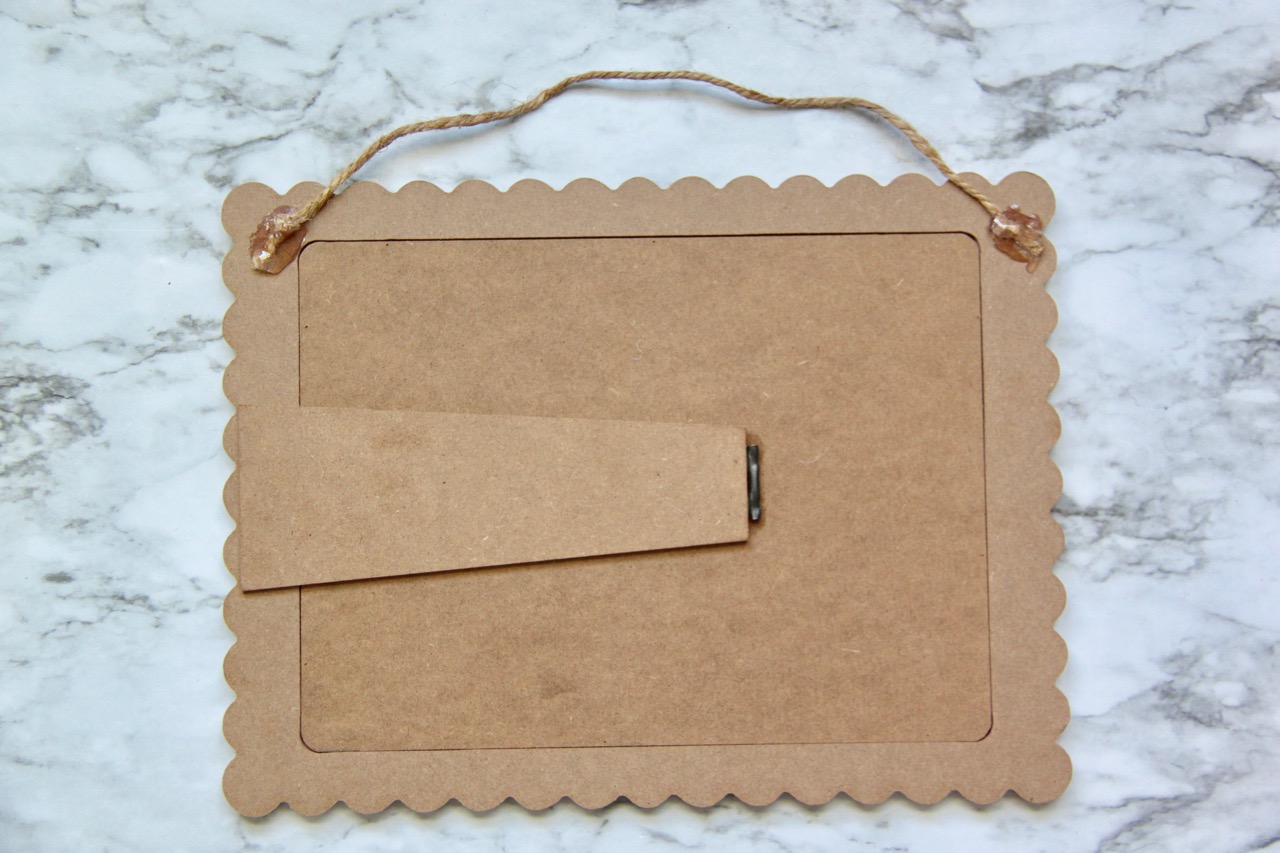 Which makes it perfect for hanging!!!
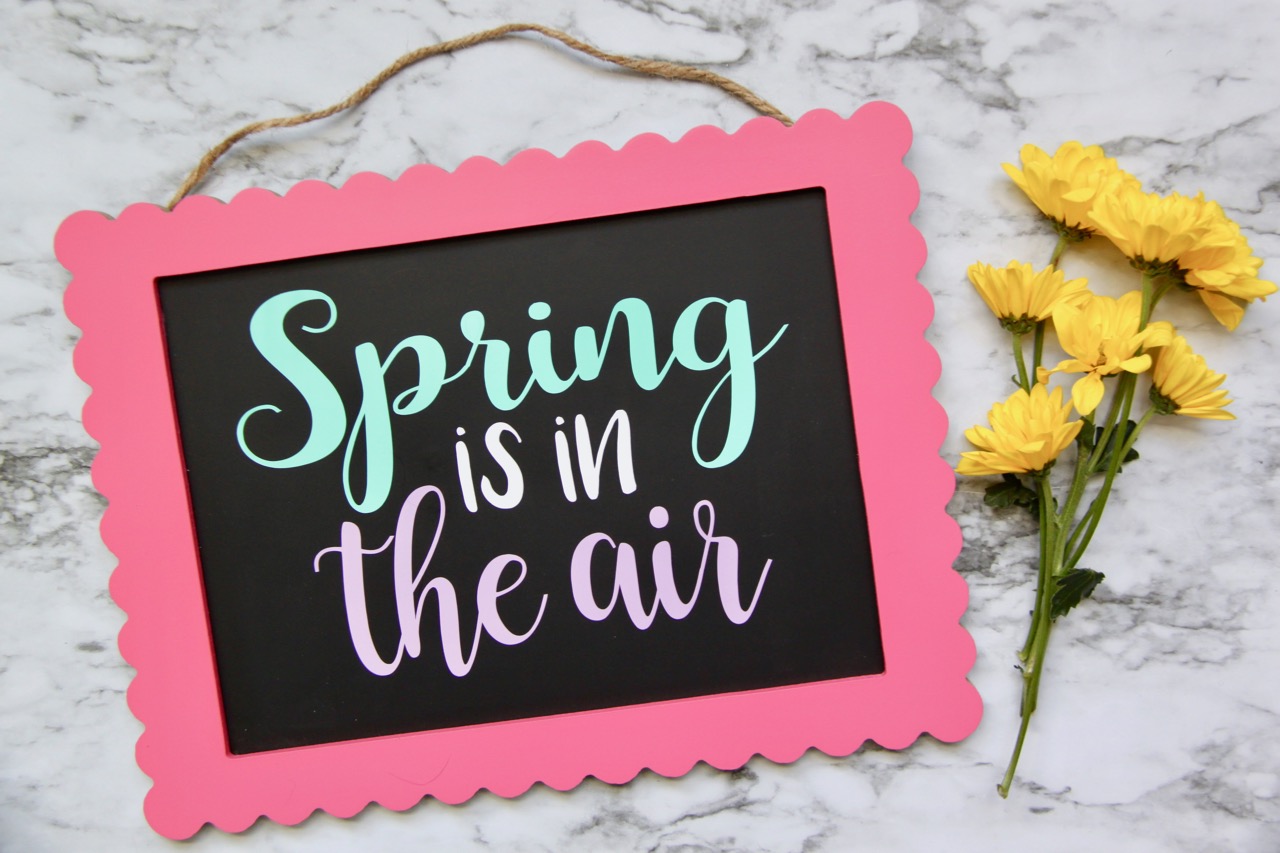 Enjoy!!
For more delicious and easy recipes and craft ideas please LIKE Smashed Peas and Carrots on Facebook or follow me on Instagram or Pinterest for more great ideas! And if you like this, you may enjoy these posts as well!
Thanks for stopping by today!
Love,
Maggie
