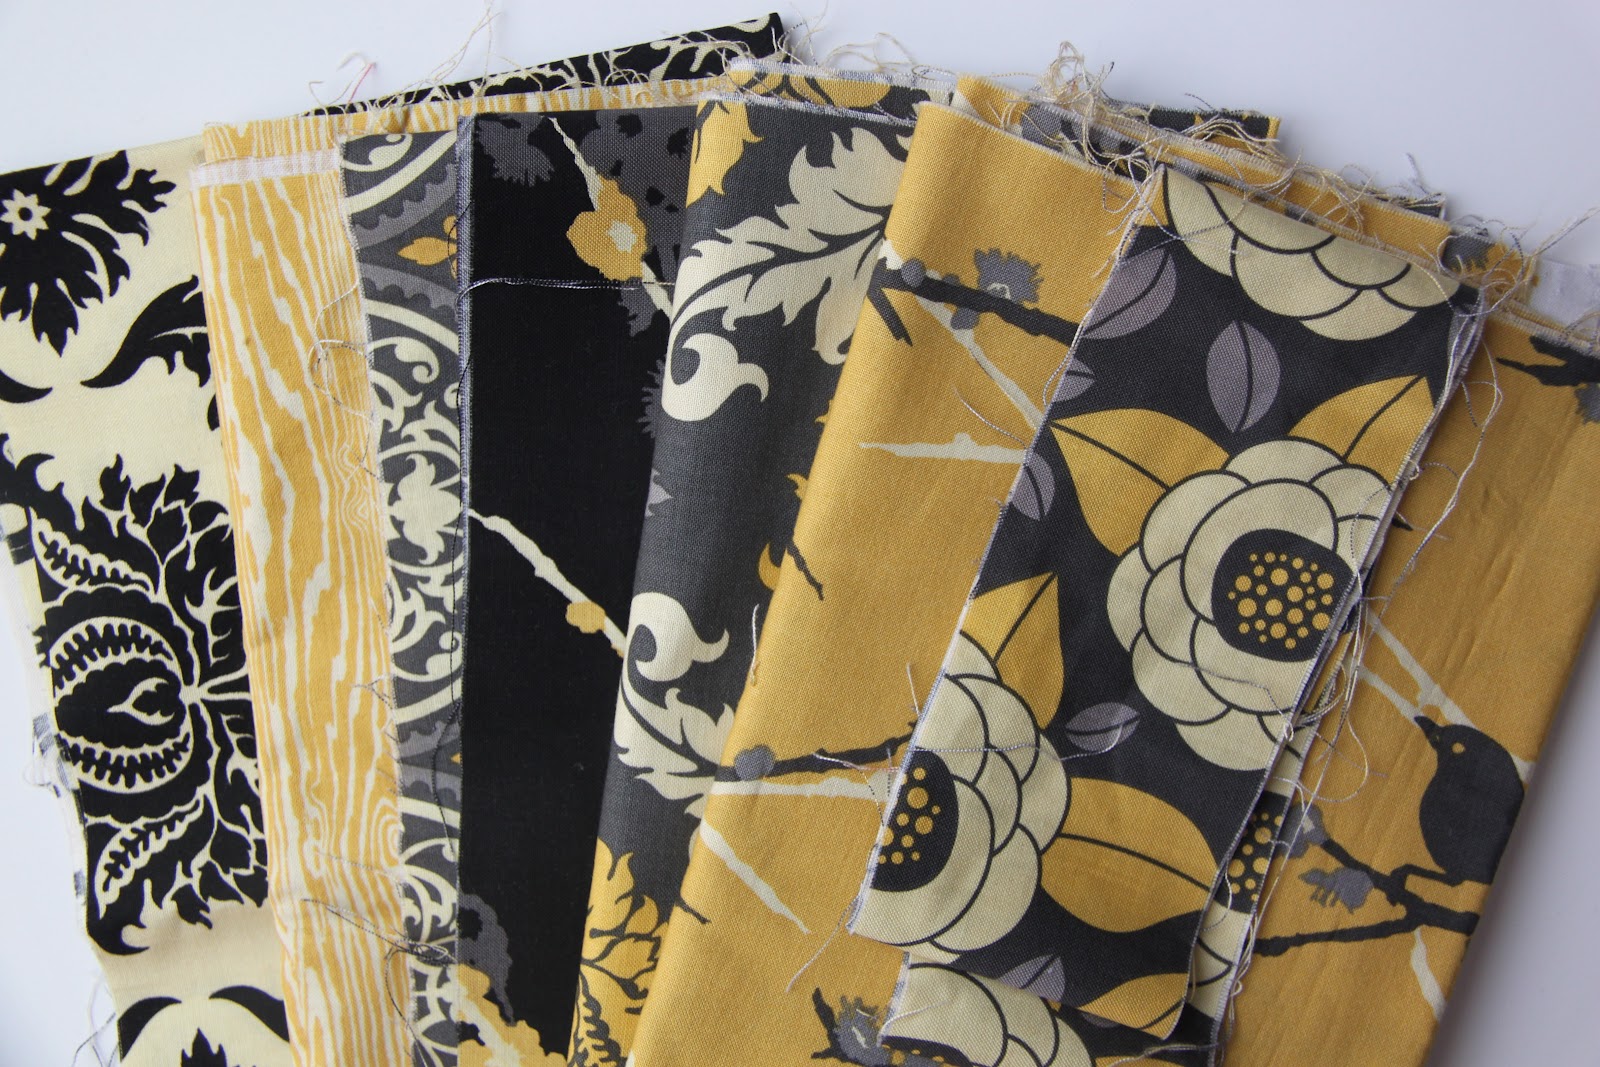

My scrap bag included coordinating fabric in random cuts from Aviary 2 by Joel Dewberry in the Vintage Yellow colorway. Can I just say how much I adore this line! The fabrics have a great balance of grey/yellow/black and the designs vary nicely from florals to little birdies to tree bark. Soft and sweet with a little touch of masculine in there.
Ok, so lets make this tote, shall we?
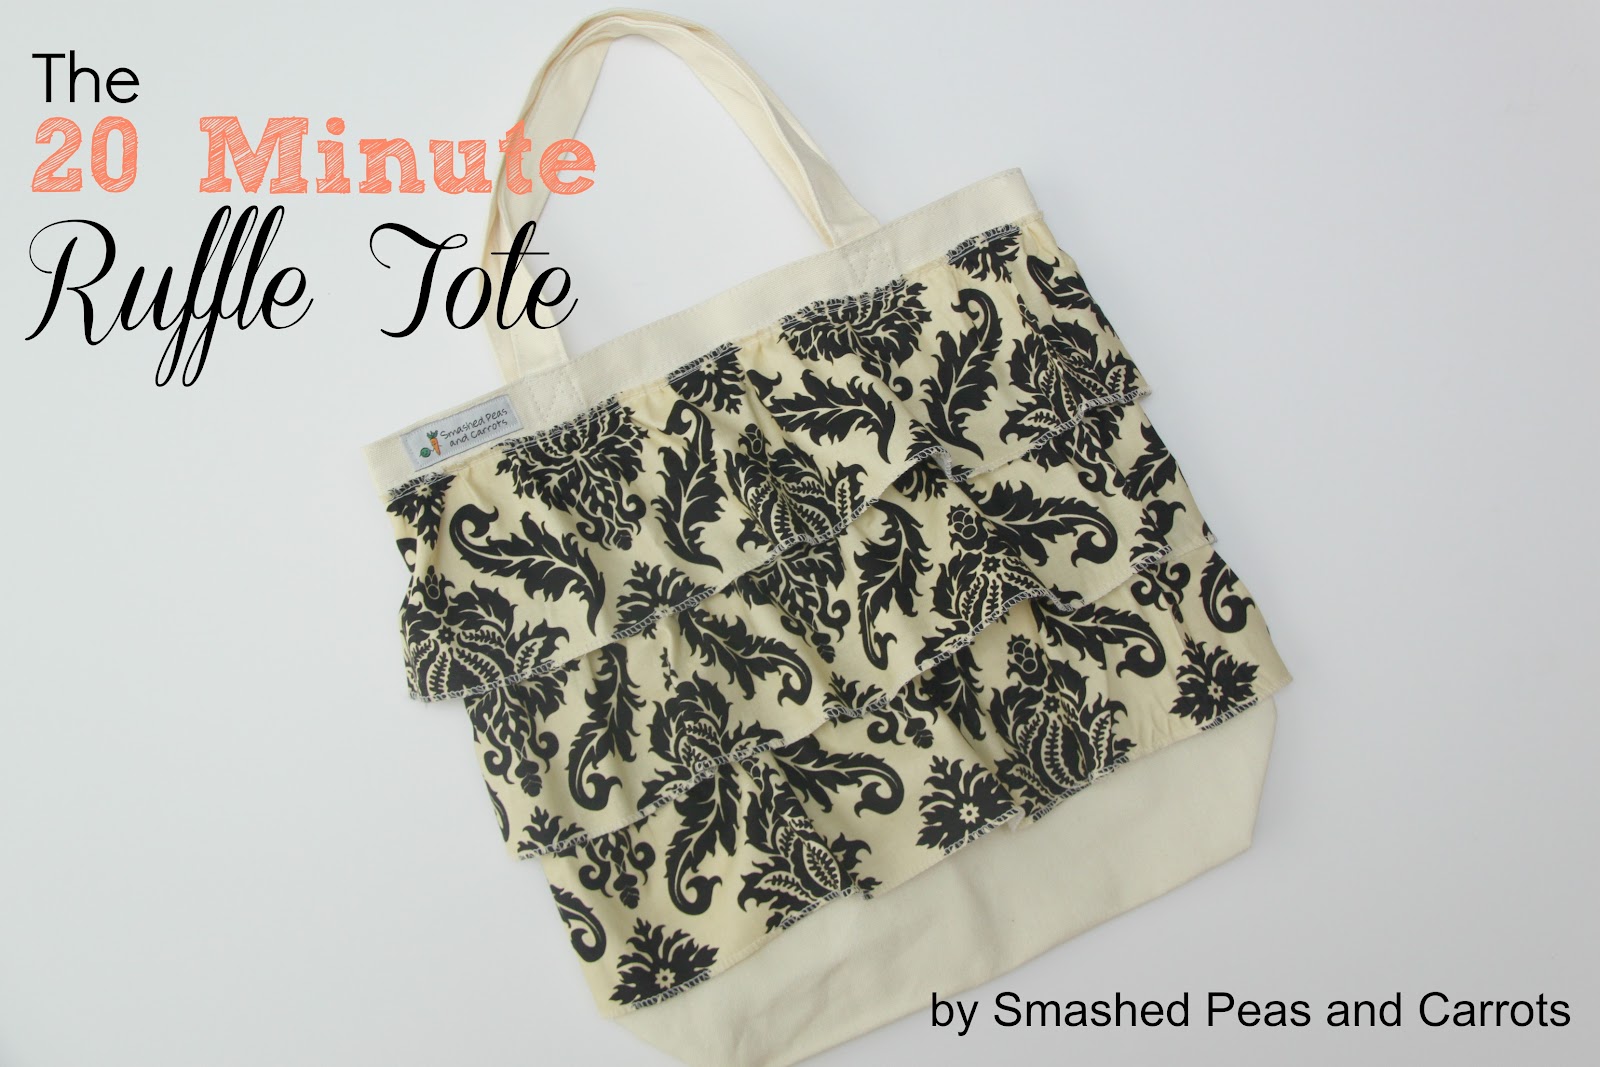
The 20 Minute Ruffle Tote
1 plain canvas bag (mine measured 11 x 13 inches)
1/3 yard of fabric
wonder tape or straight pins
fray check

So here is what my canvas tote looked like prior to the ruffles. I bought mine in a 3-pack from Walmart for less than $8…such a deal. Here is a link to the canvas totes although these dimensions are different, you may only be able to buy the bigger totes in-store.
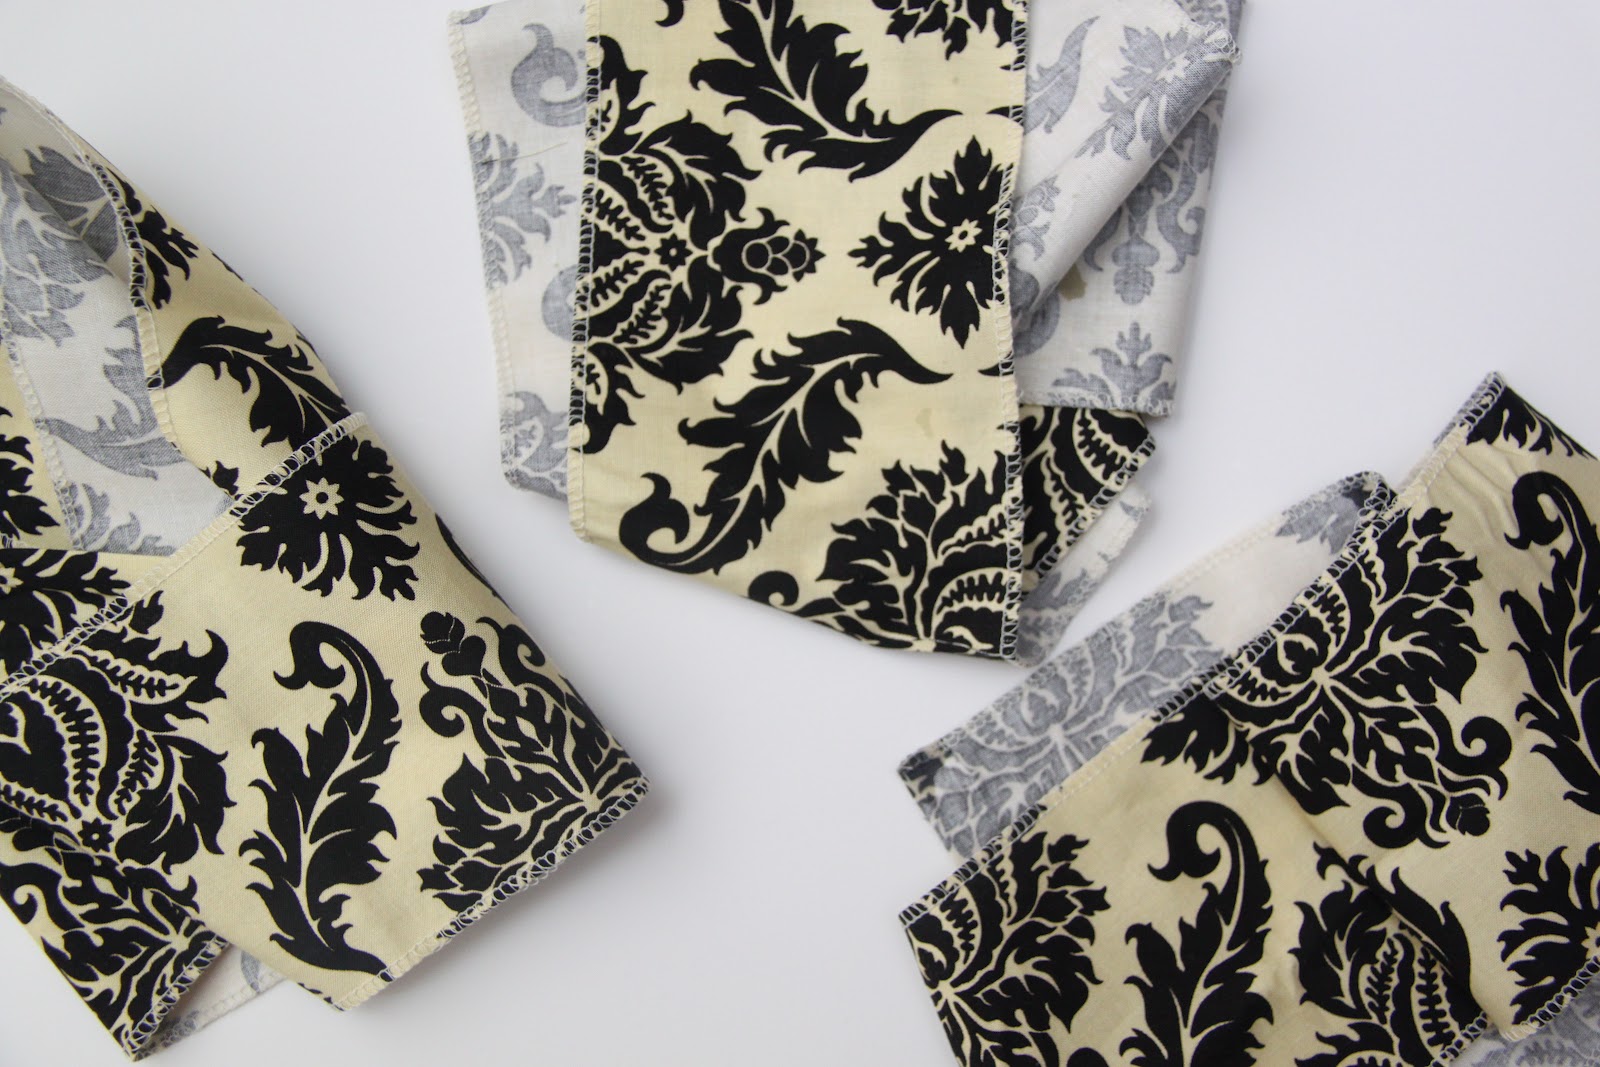
Take your 1/3 yard of fabric and cut it into three 4-inch strips.

Take your serger, if you have one (or just use the zig zag stitch on your sewing machine), and serge the both long edges of each strip. This will help prevent them from fraying if you ever need to wash your tote. You may also serge or zig zag stitch each end of the strips but I just used fray check on mine.
Then ruffle your fabric on one long side only using your longest stitch length and setting your sewing machine’s to it’s highest tension. Just a little FYI, your ruffle will roughly use twice the amount of fabric then where you want it placed. So, since my tote measured 11 inches wide, I have to take that times 2 to get the full amount of fabric since I am covering both front and back of my tote with the ruffles. This equals 22 inches so I will need to double that amount of fabric to about 44 inches to make the fabric ruffle properly.

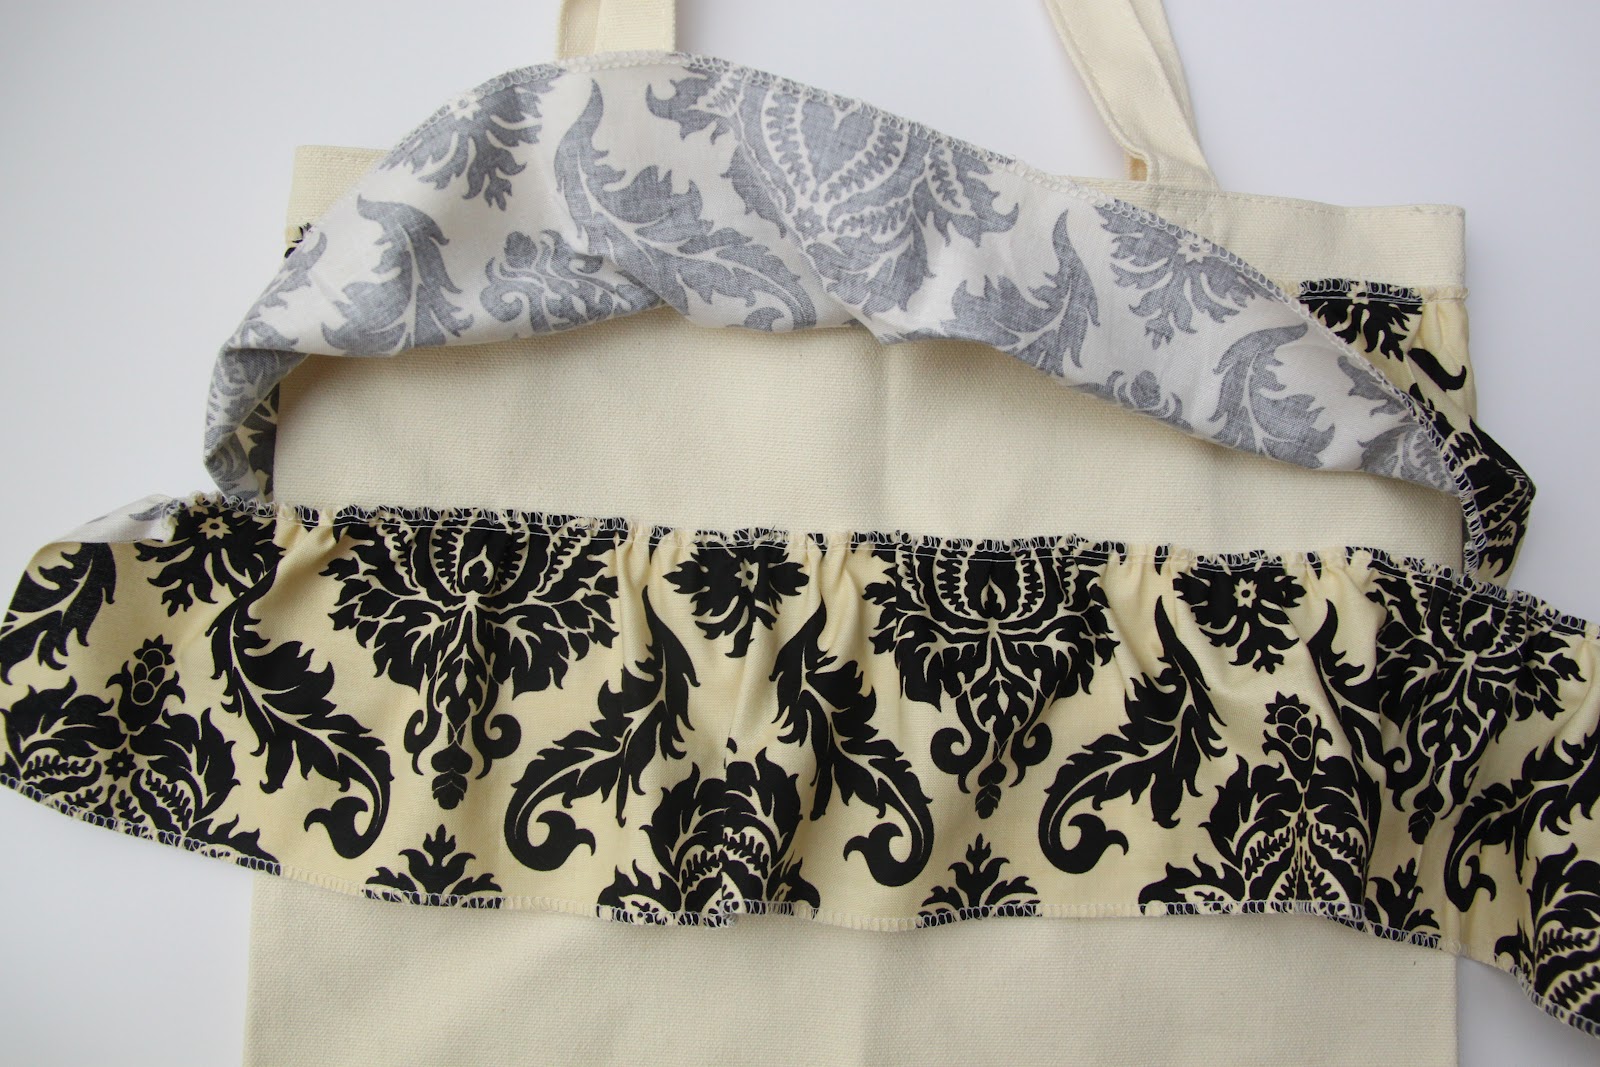
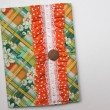
Place your first ruffle down right at the seam at the top of the bag. You can pin this in place if you like but I just sewed it on very slowly.
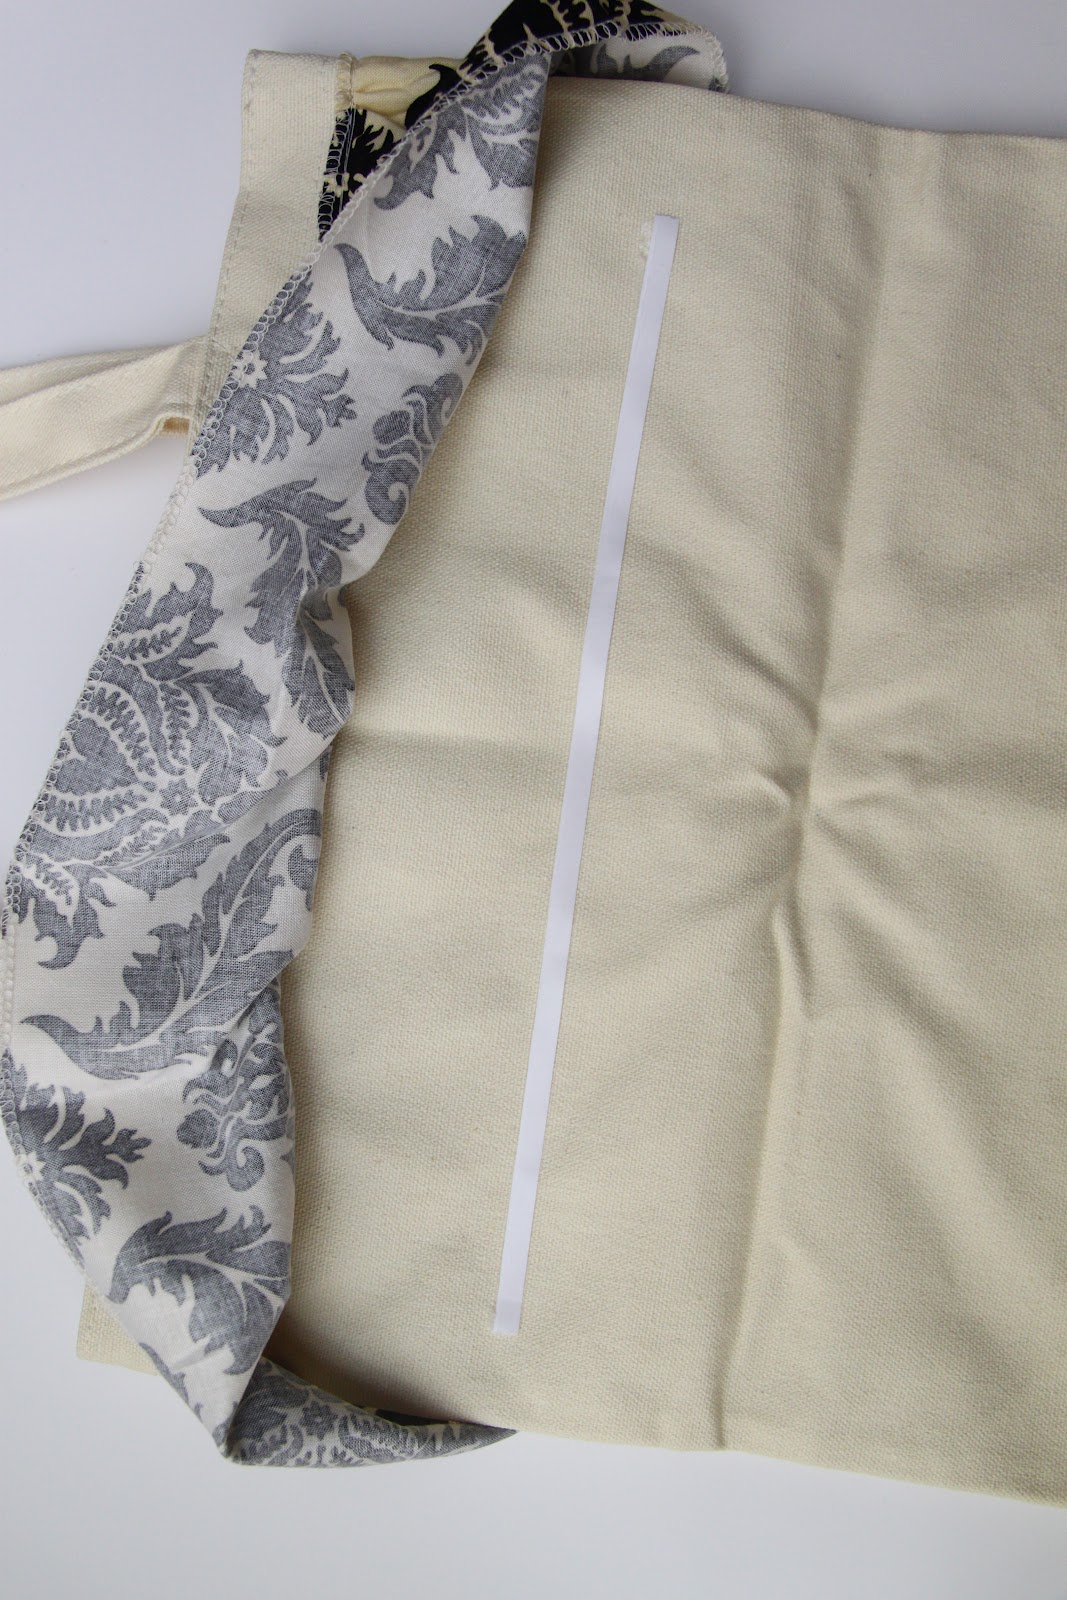
For the next two rows of ruffles I would highly suggest using wonder tape (link here). This stuff rocks and will totally help you achieve sewing straight ruffles on your bag without having to use a bajillion pins.
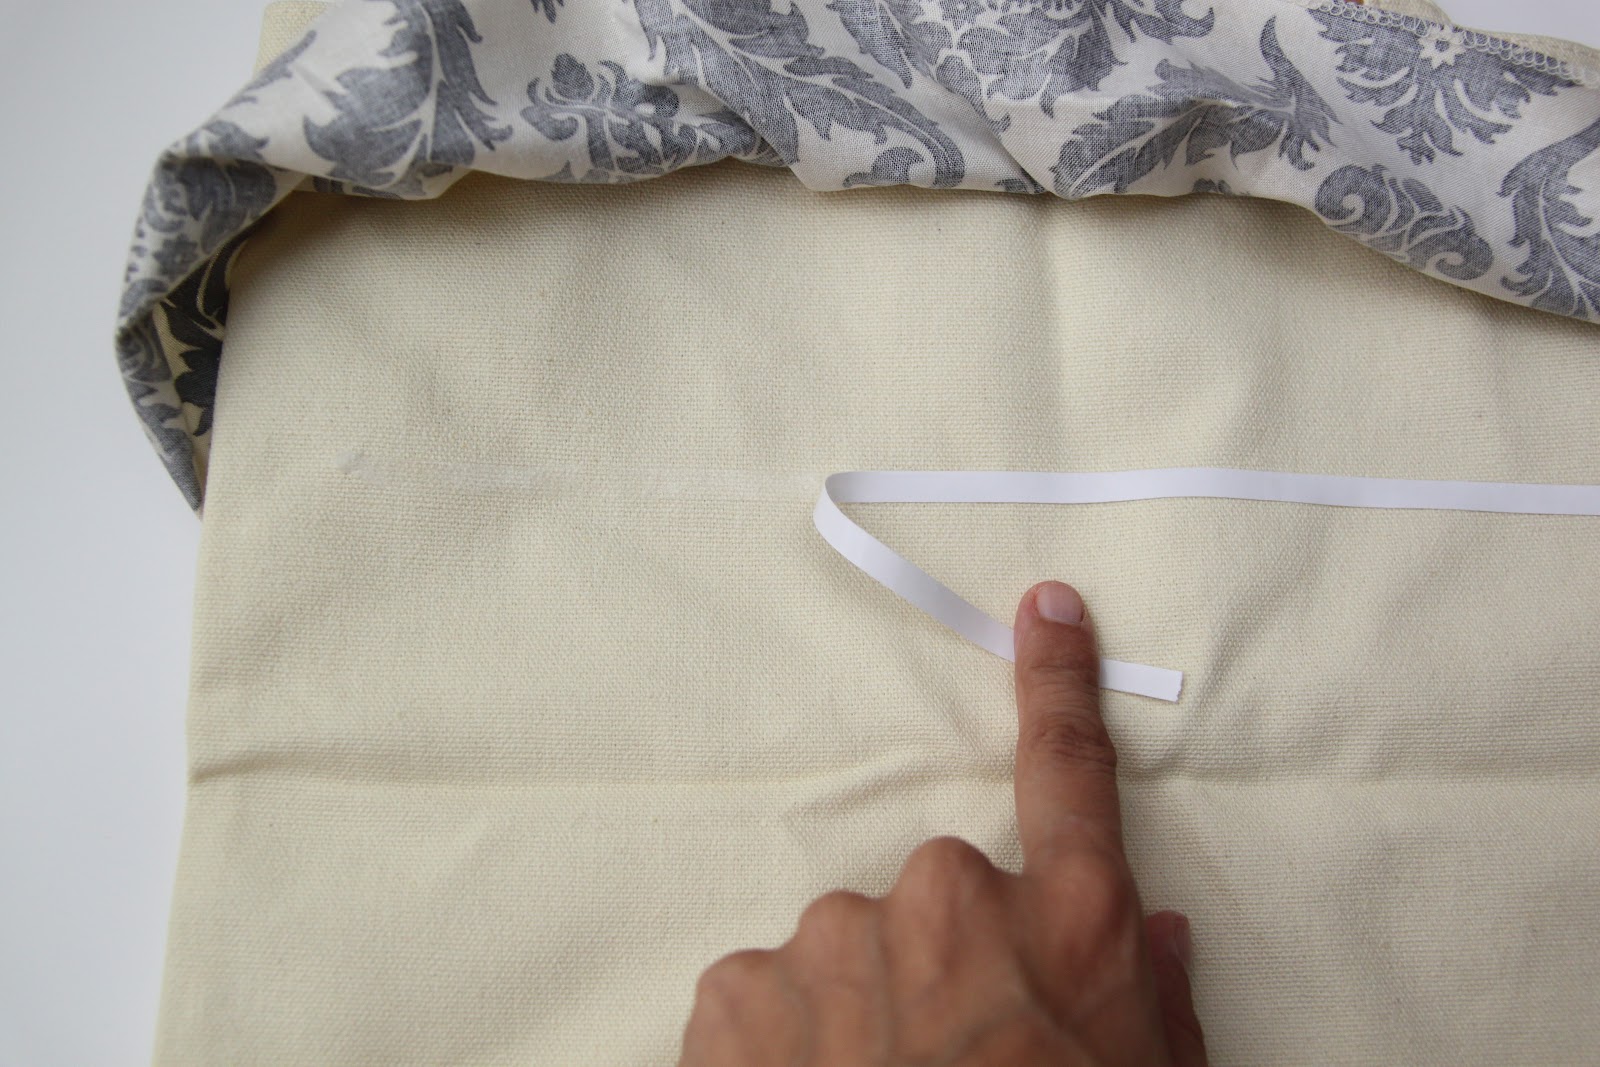
Wonder tape is just a double sided sticky tape that washes away after the first wash of your garment/project. I place my Wonder Tape in a nice straight line so that the top of the ruffle would be just hidden underneath the ruffle above it. You just stick the tape on, press, and then peel the paper off leaving the sticky tape on your project…easy peasy!
Press the top of your ruffle right onto the Wonder Tape and it will be held in place magically while you sew! Cool, eh?

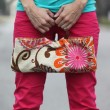
Oh, and another little thing I do when I make ruffle totes is that I start the ruffle about 4 or so inches to the right or left edge of the side I am working on. This way your finished ruffle doesn’t end at the seam that joins the front and back of your tote cause that just looks weird to me.
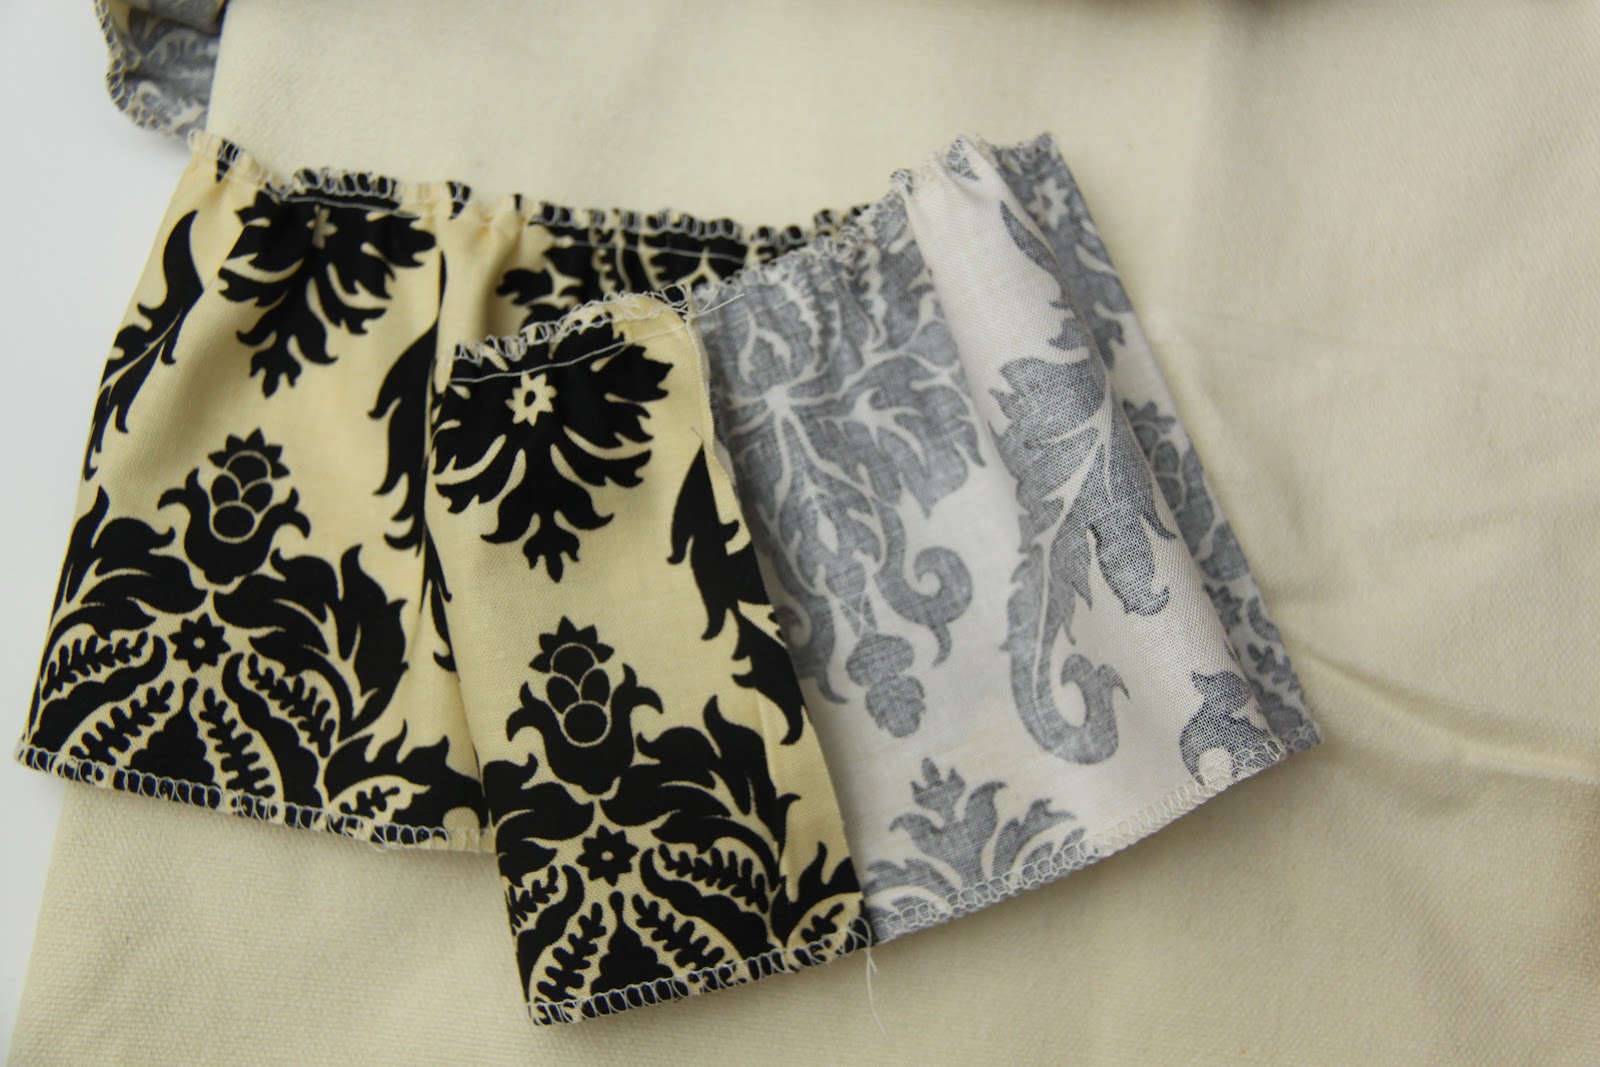
I also fold over the loose end before sewing it down so that the ruffle doesn’t have a rough edge and it flows a bit more nicely when you look at the whole ruffle-y tote when you are done.

Can you see where the ruffle strip stops and starts here? Not really, right? You can just barely see the two fabrics doubled up there to the right. It’s pretty disguised if you do it this way.
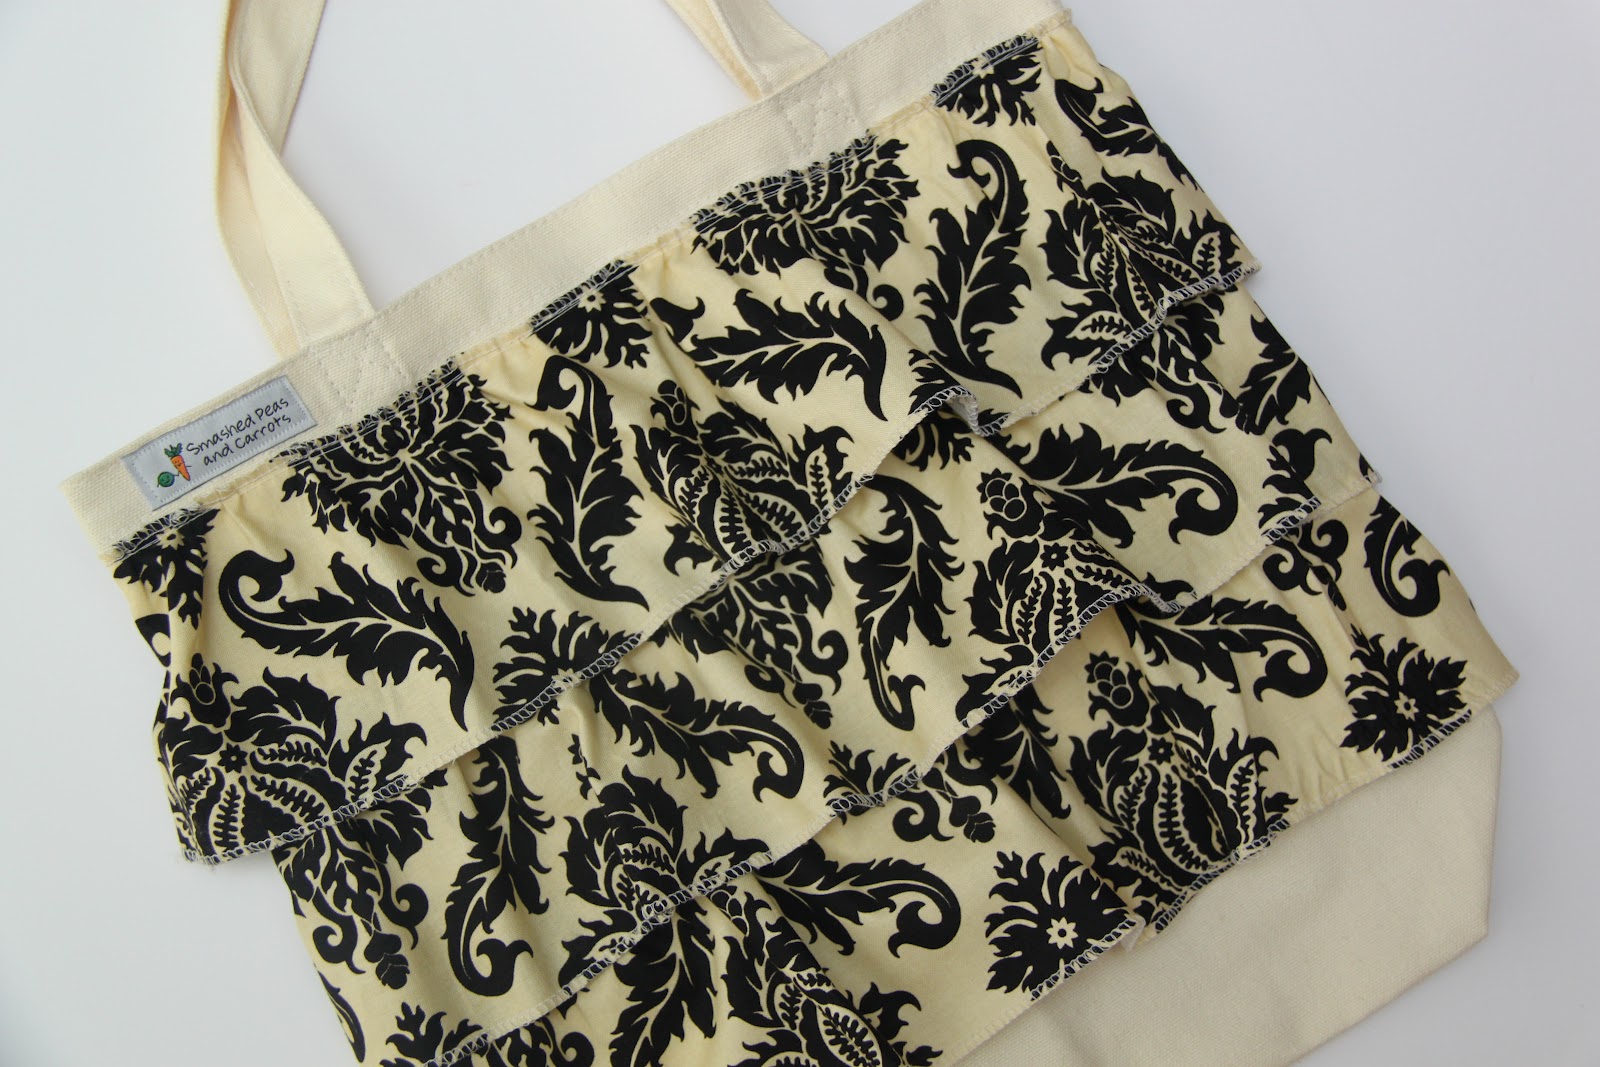
Once you finish stitching all your ruffles on snip any loose threads on the front and inside the tote. Go ahead and stitch a your label on if you have them and Voila, you are done!


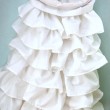

Too too cute!!
Thank you so much for this post. I want to let you know that I posted a link to your blog in Creative Busy Bee Craft Inspirations, under the Page 1 post on Sep. 13, 2012. Thanks again.
way to dress up a drab bag. really cute!
I have a canvas tote that went from shopping tote to library bag to purse, and now it’s a purse *and* quick-trip diaper bag! They’re so durable and versatile, and what you’ve done here is make it cute, too! Thank you for the idea. 🙂
Darling! Now I need some wonder tape and a serger. 🙂
Hey, What is the best type of thread to use for the edges if you dont have a serger thingy. I have a zigzag stitch on my machine, but it seems that i use so much thread trying to finish edges like that and its expensive. anyway i thought you might know because your pro! lol
thank you.
Try using serger thread and do this with it: http://www.marthastewart.com/275486/good-things-for-sewing/@center/326405/sewing-projects#/203544
XOXO,
Maggie
Super cute! I just made pillow cases with ruffles that I LOVE.
What a great technique to jazz up and old tote. It would probably work just as well for an old skirt too! Thanks for sharing!