My Dad’s birthday is next week and like usual I was racking my brain as to what to give him. He loves reading, lots of reading. He also tends to highlight and write notes as he goes along (maybe this is where my love of writing utensils came from, I sure loved collecting them and tucking them away in all my many pencil boxes when I was a kid) and I vaguely remember that he even had a few pocket protectors for his work clothes when I was growing up (really it was sorta cool). So I finally thought, why not make him a pocket protector but update it so it can either fit in your shirt pocket or just lay on the table next to the couch keeping your pens and highlighters all nice and cozy.
**If you are looking for something fun to make for a Christmas gift this would also be an awesome gift for the teachers or students in your life!

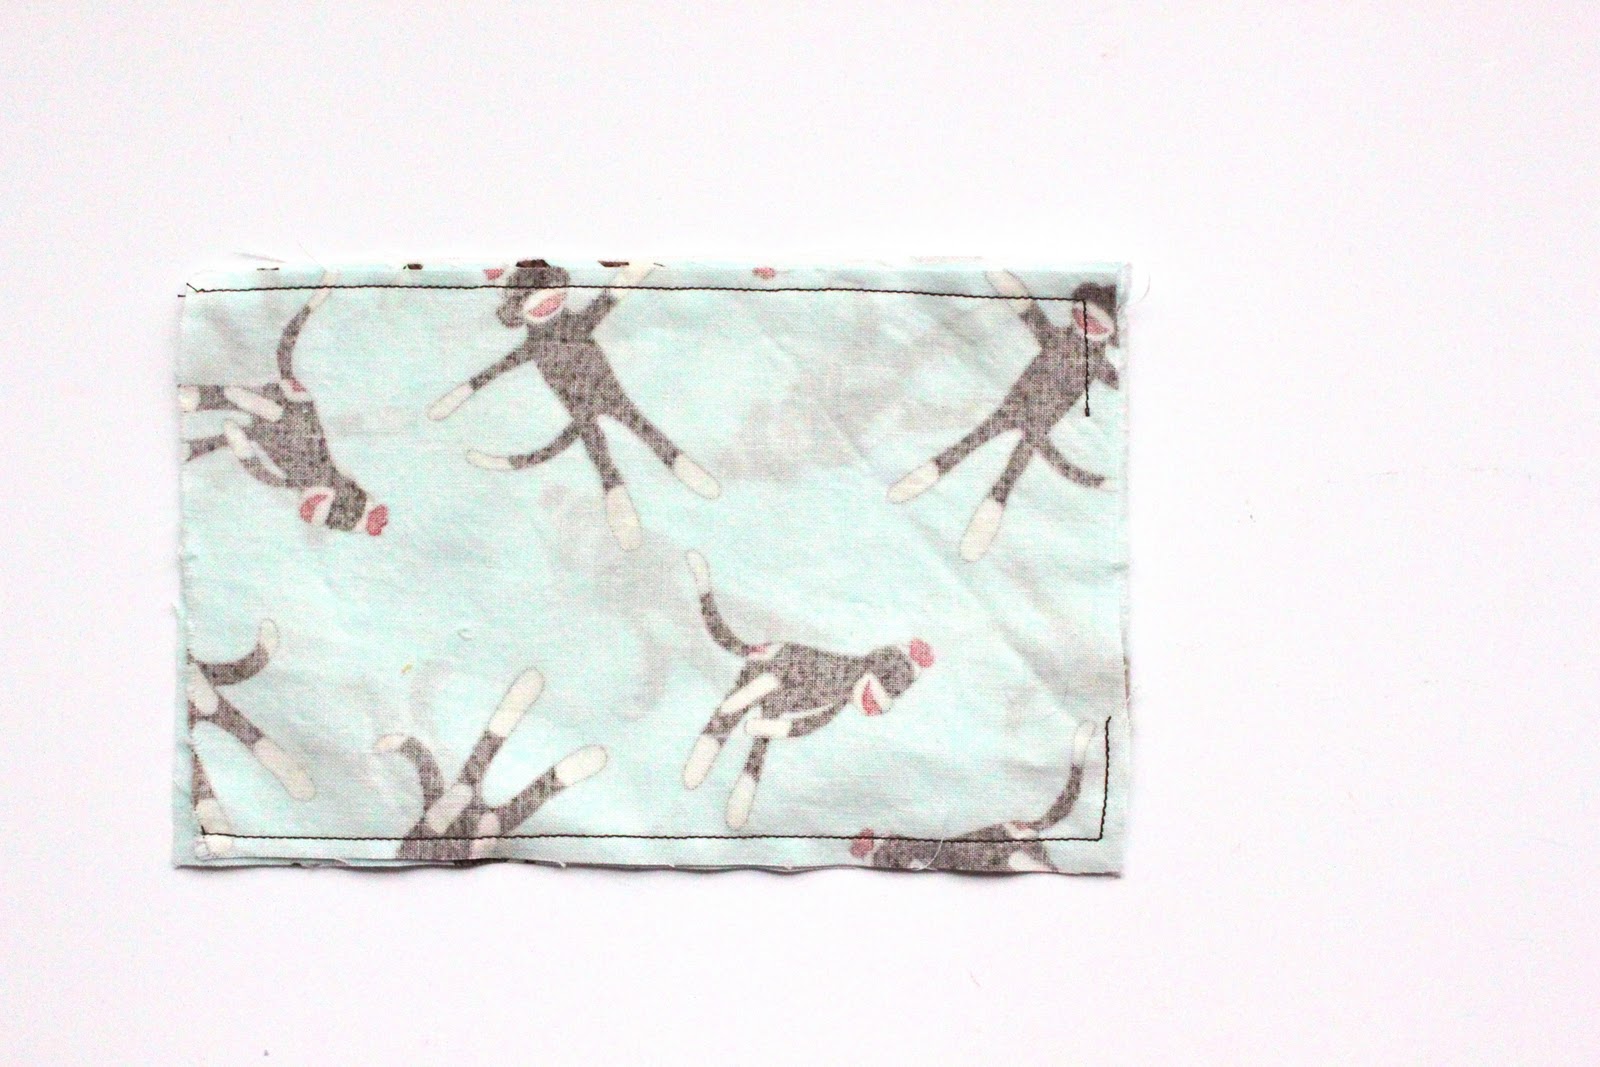
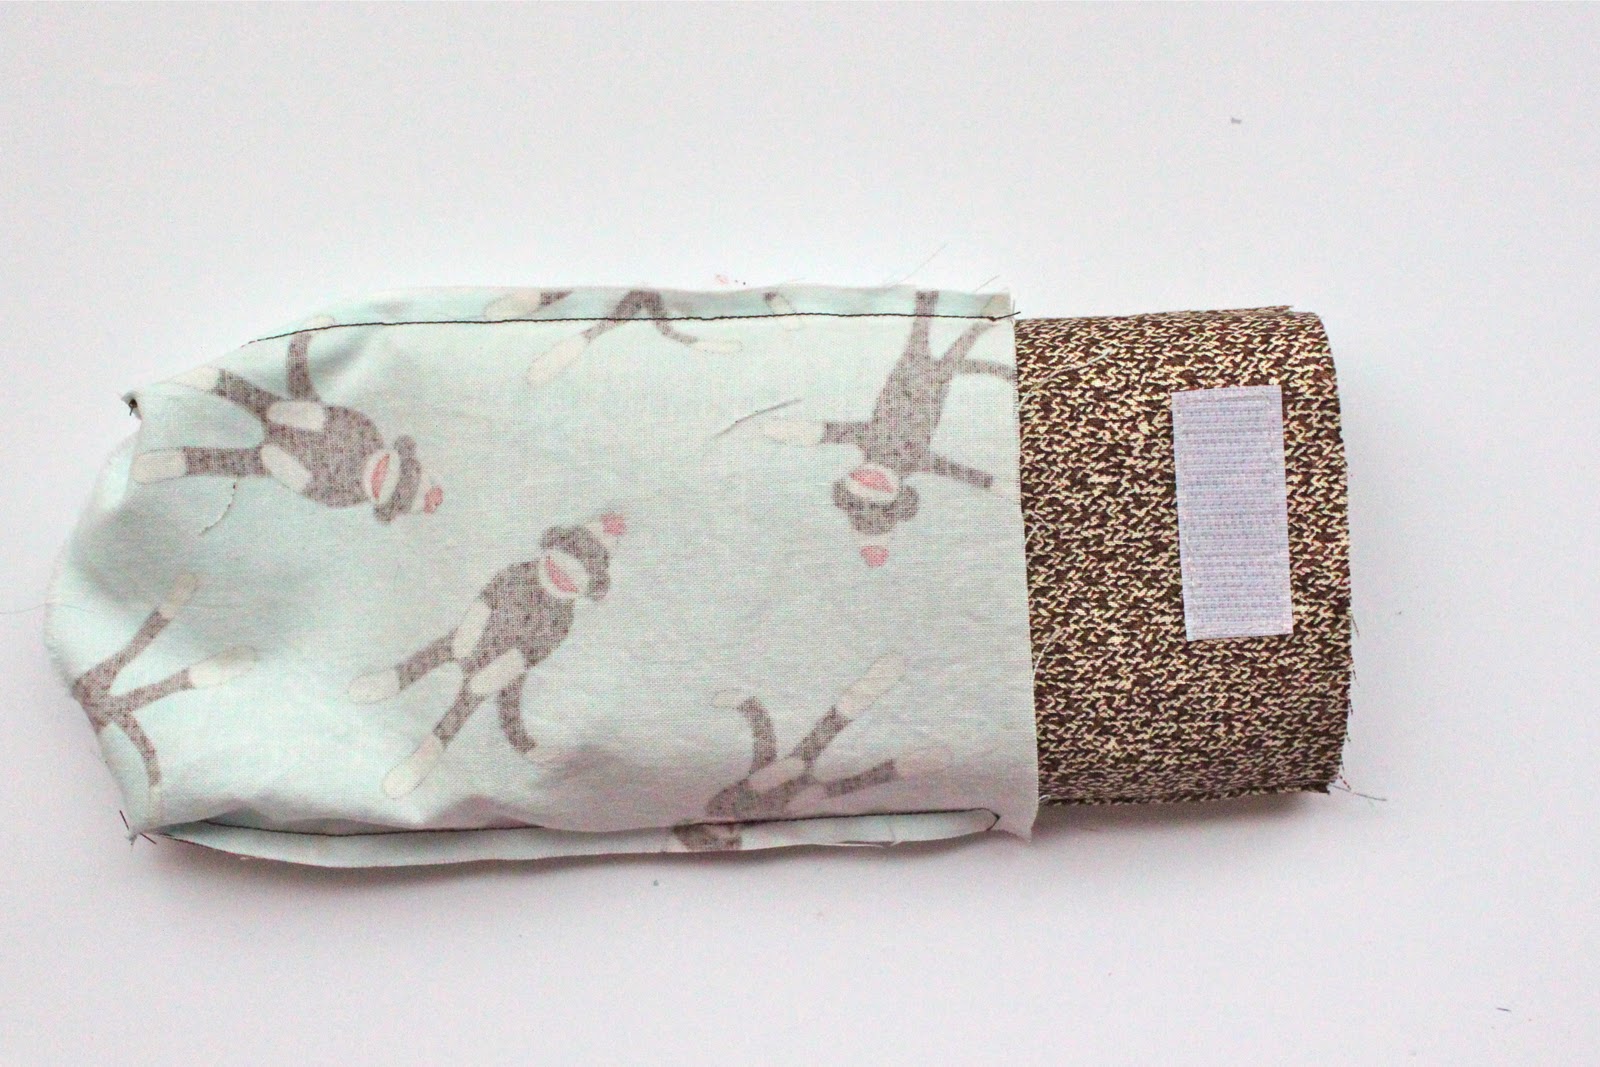
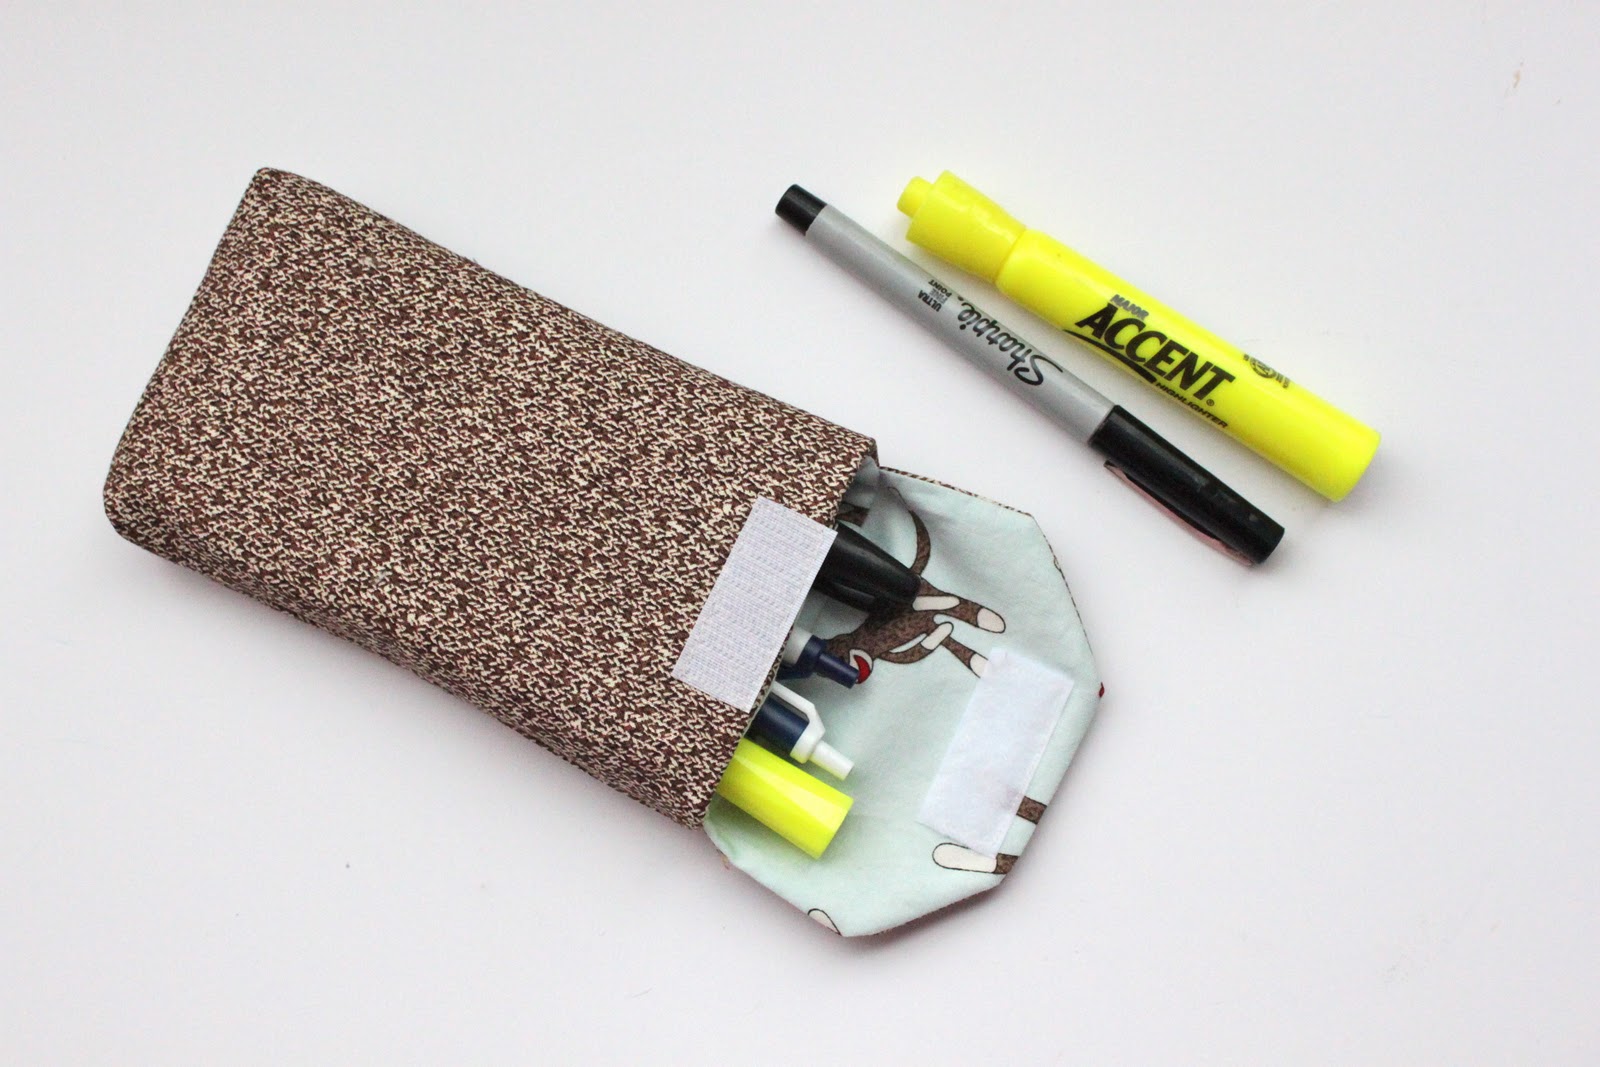
Just look at all the pens, markers and highlighters that it can hold!
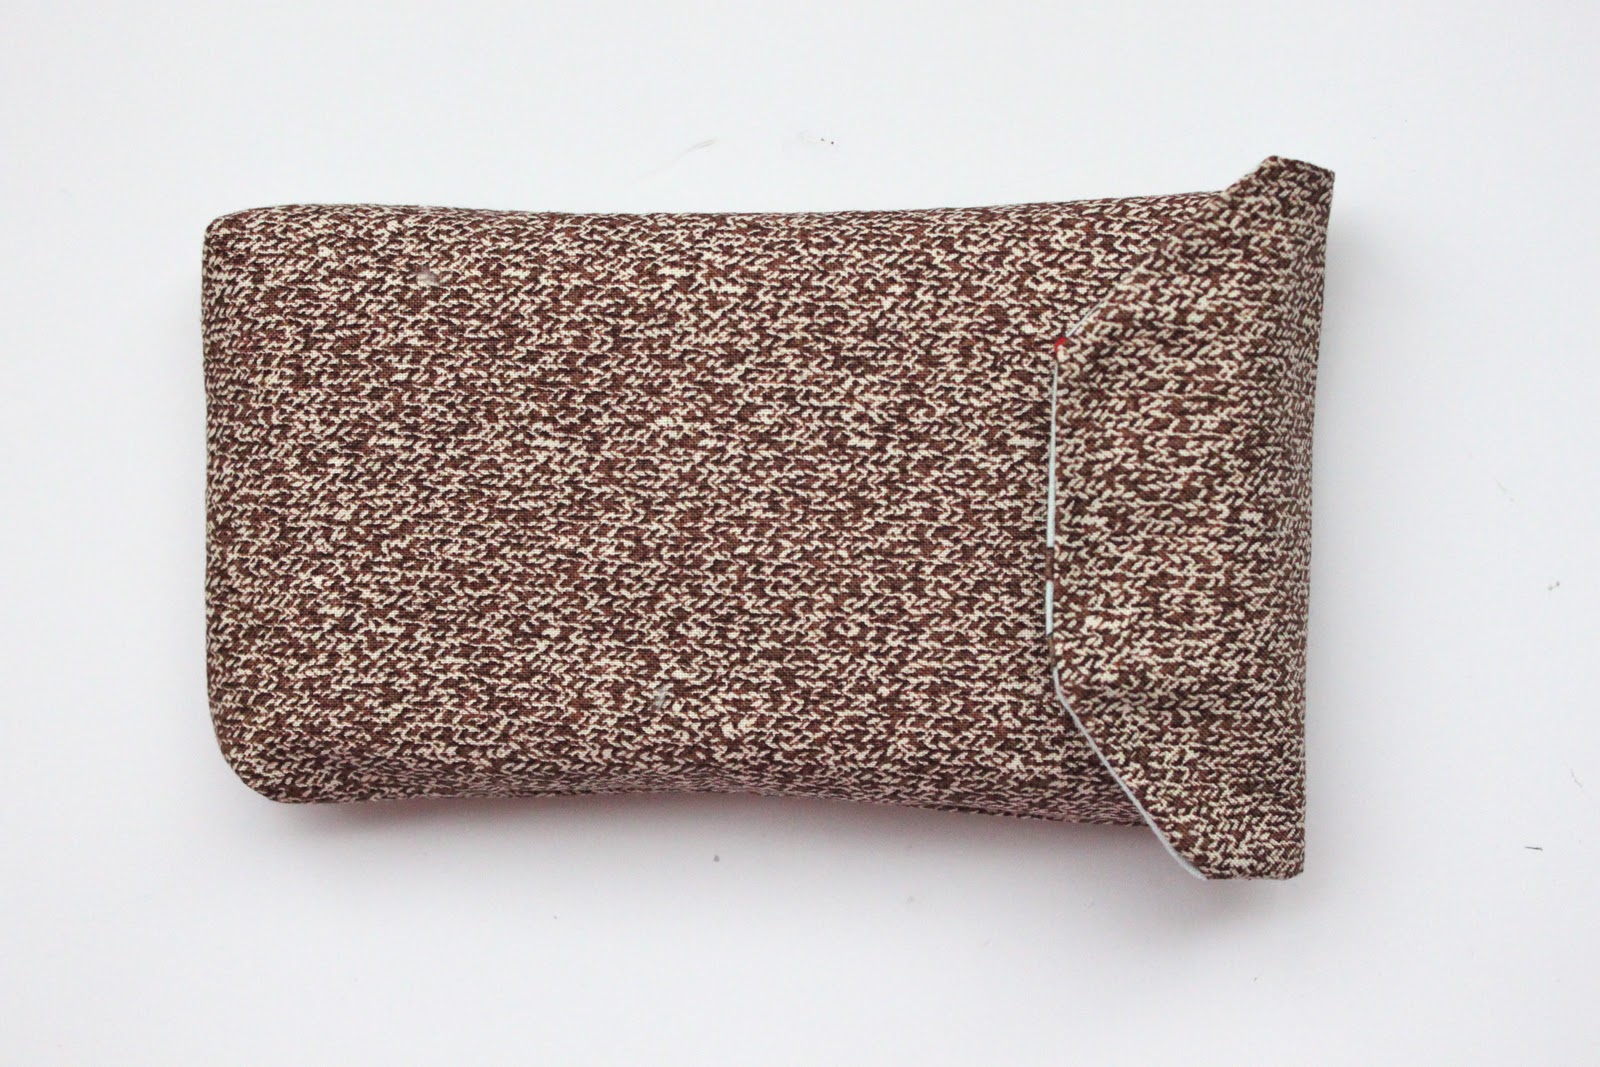
It even has a flap velcro closure so that you never lose a thing.
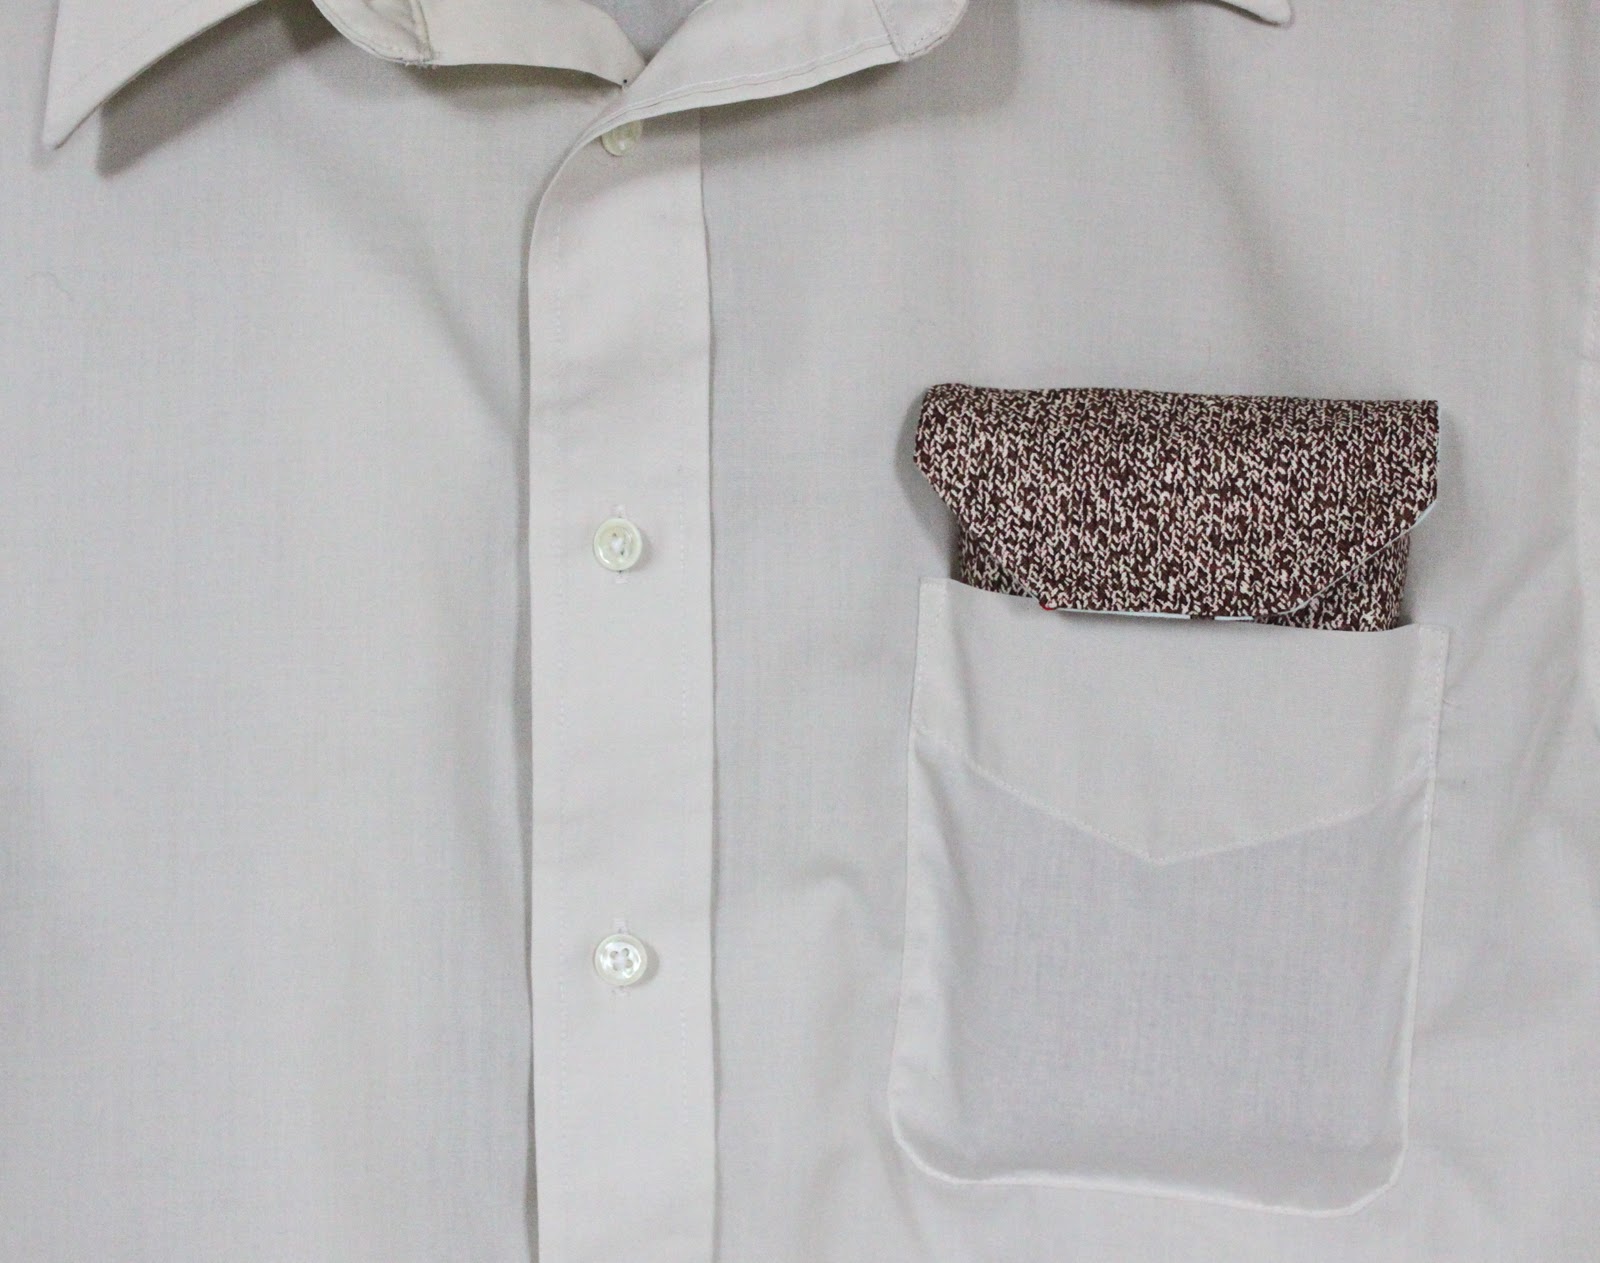
Yup, it still fits nicely in that shirt pocket.

Easy access for note writing on the go!
Okay, so lets make one shall we?
The Retro Pocket Protector
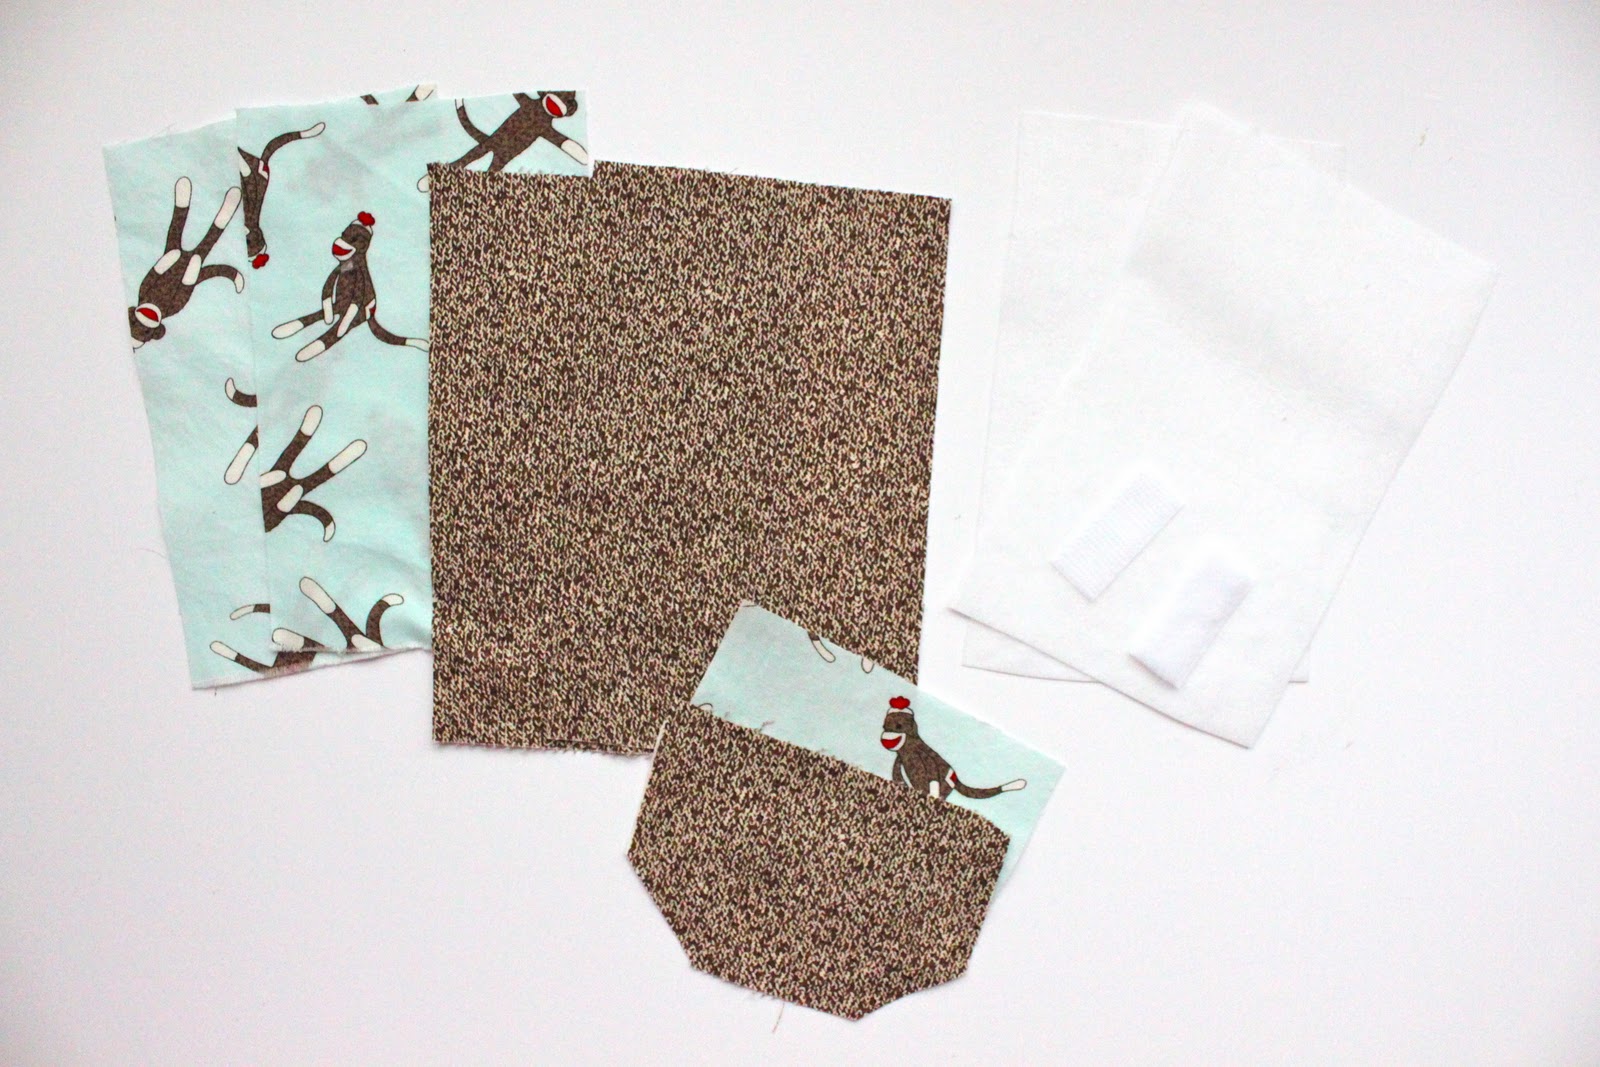
2 pieces of 4 1/2 x 7 inch outer fabric
2 pieces of 4 1/2 x 7 inch lining fabric
2 pieces of 4 1/2 x 7 inch medium weight fusible interfacing
1 piece each of outer and inner lining fabric measuring 4 1/2 x 3 inches for the flap
1 piece of 1 3/4 inch velcro
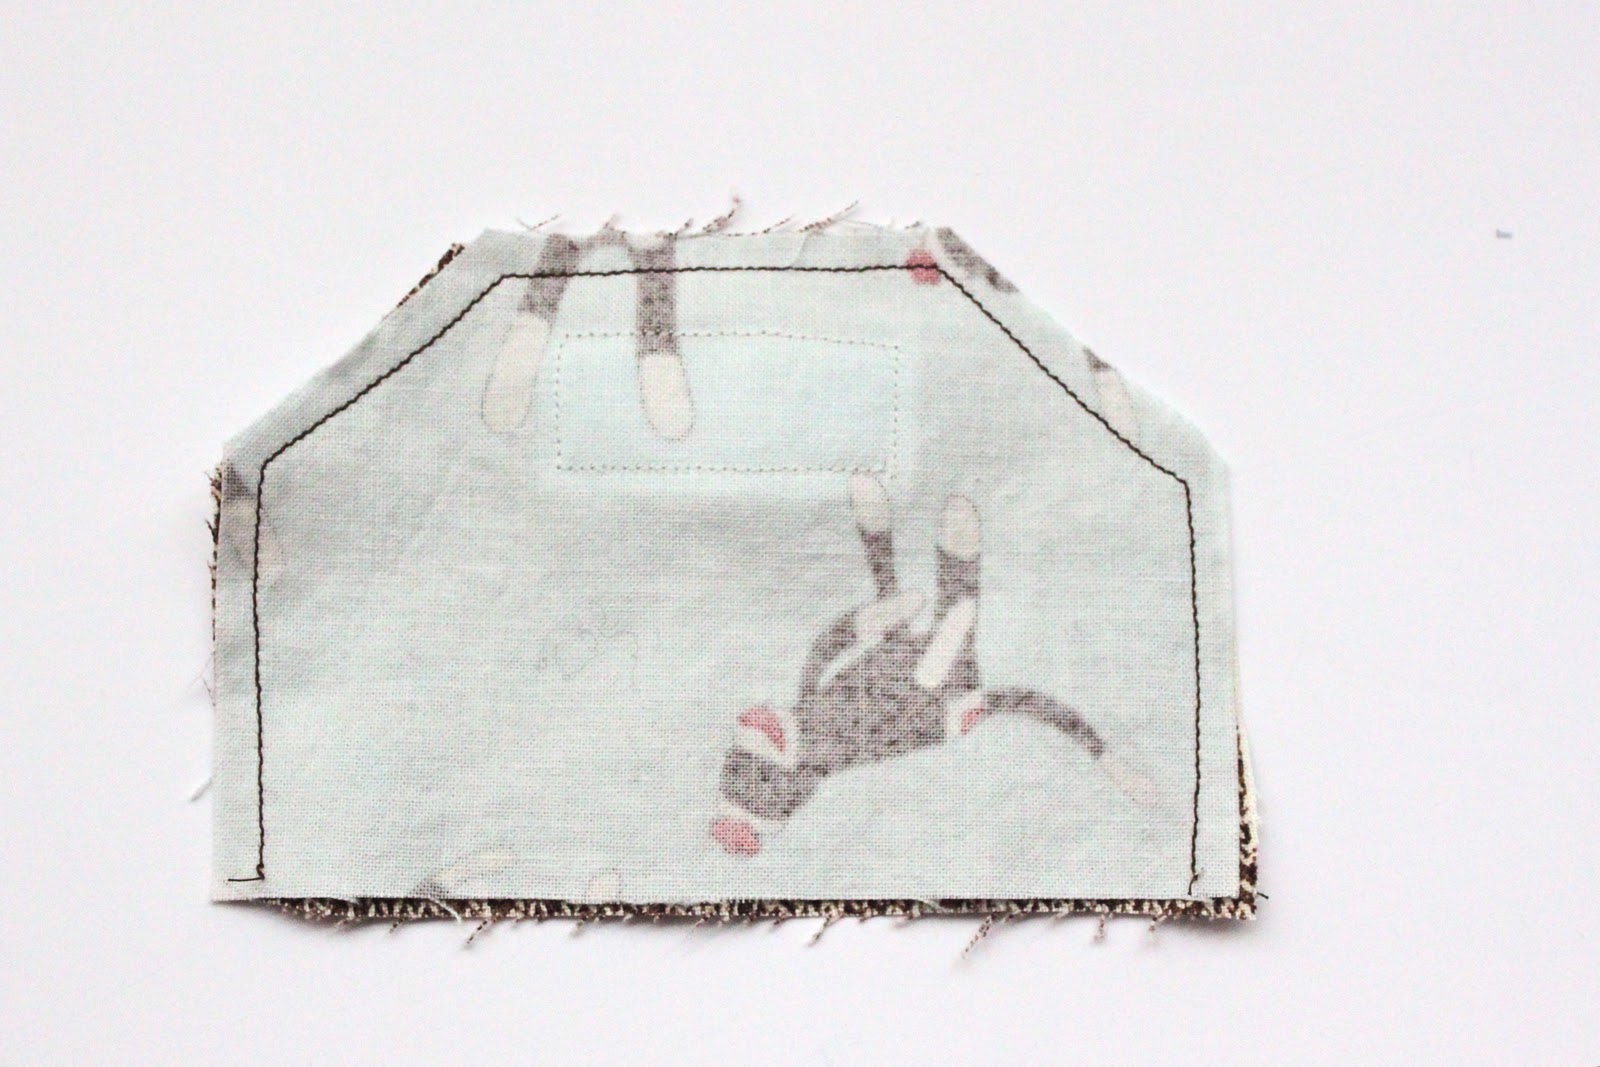
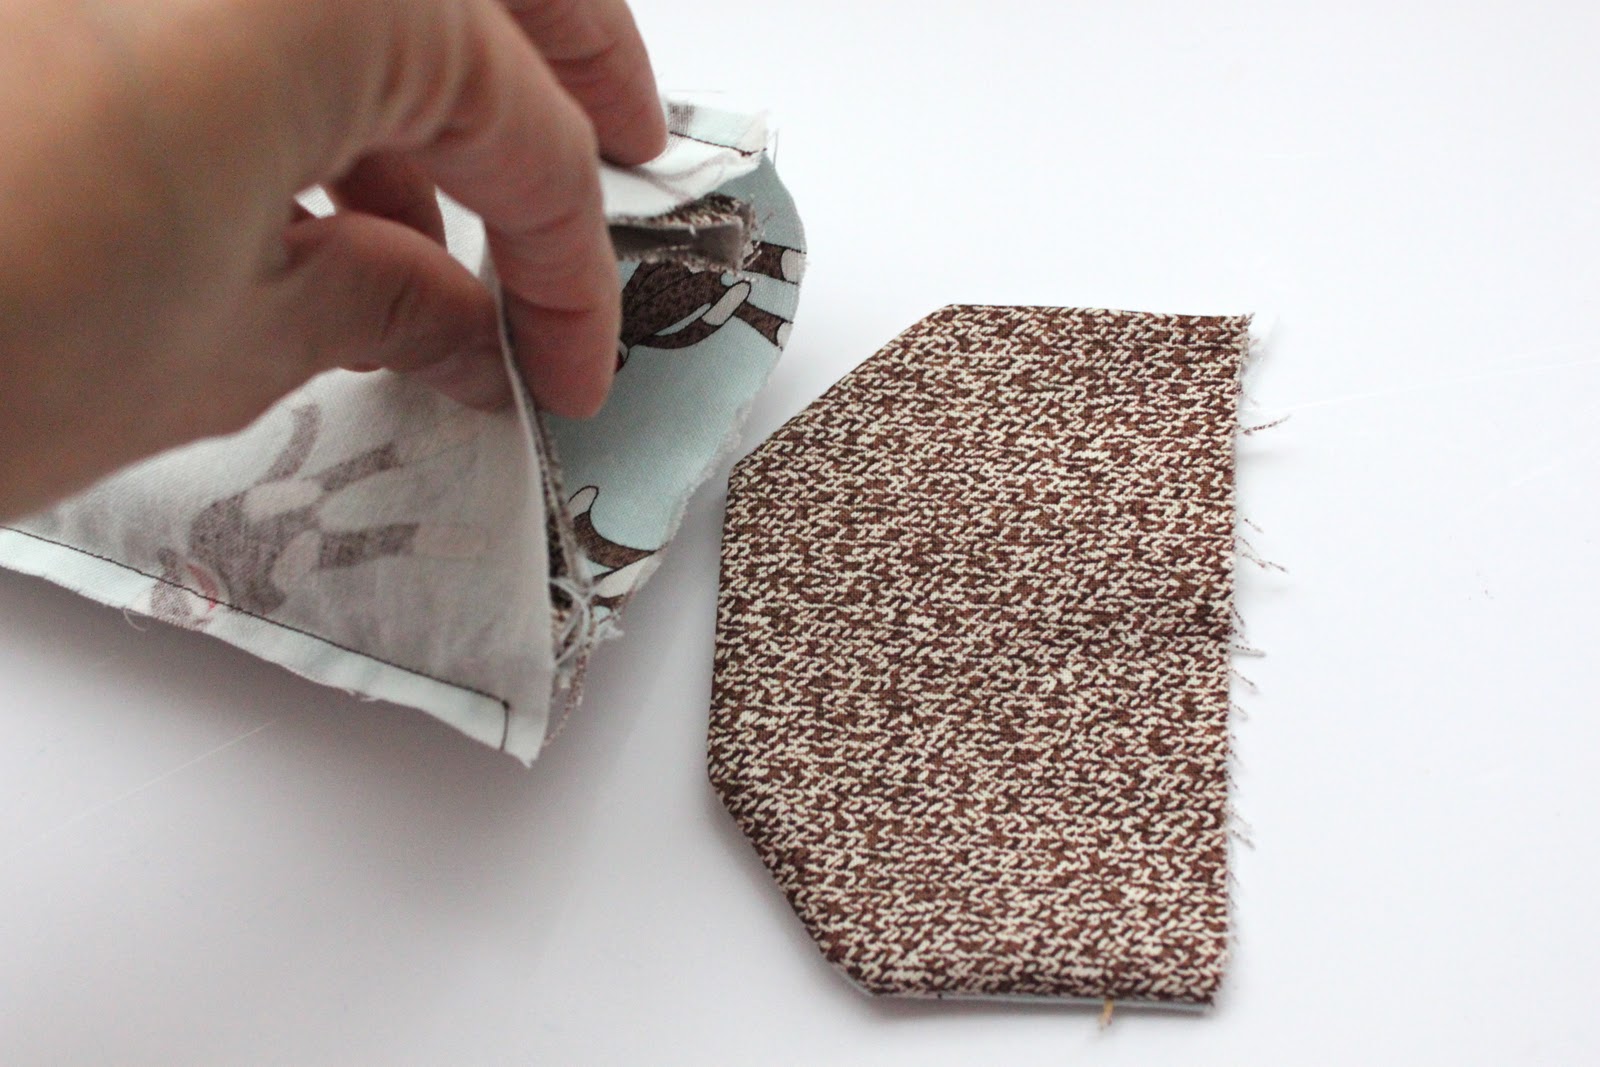
Once you have cut your pieces take your 4 1/2 x 3 inch pieces for the flap and cut one 4 1/2 long side at an angle on both pieces (see picture above).
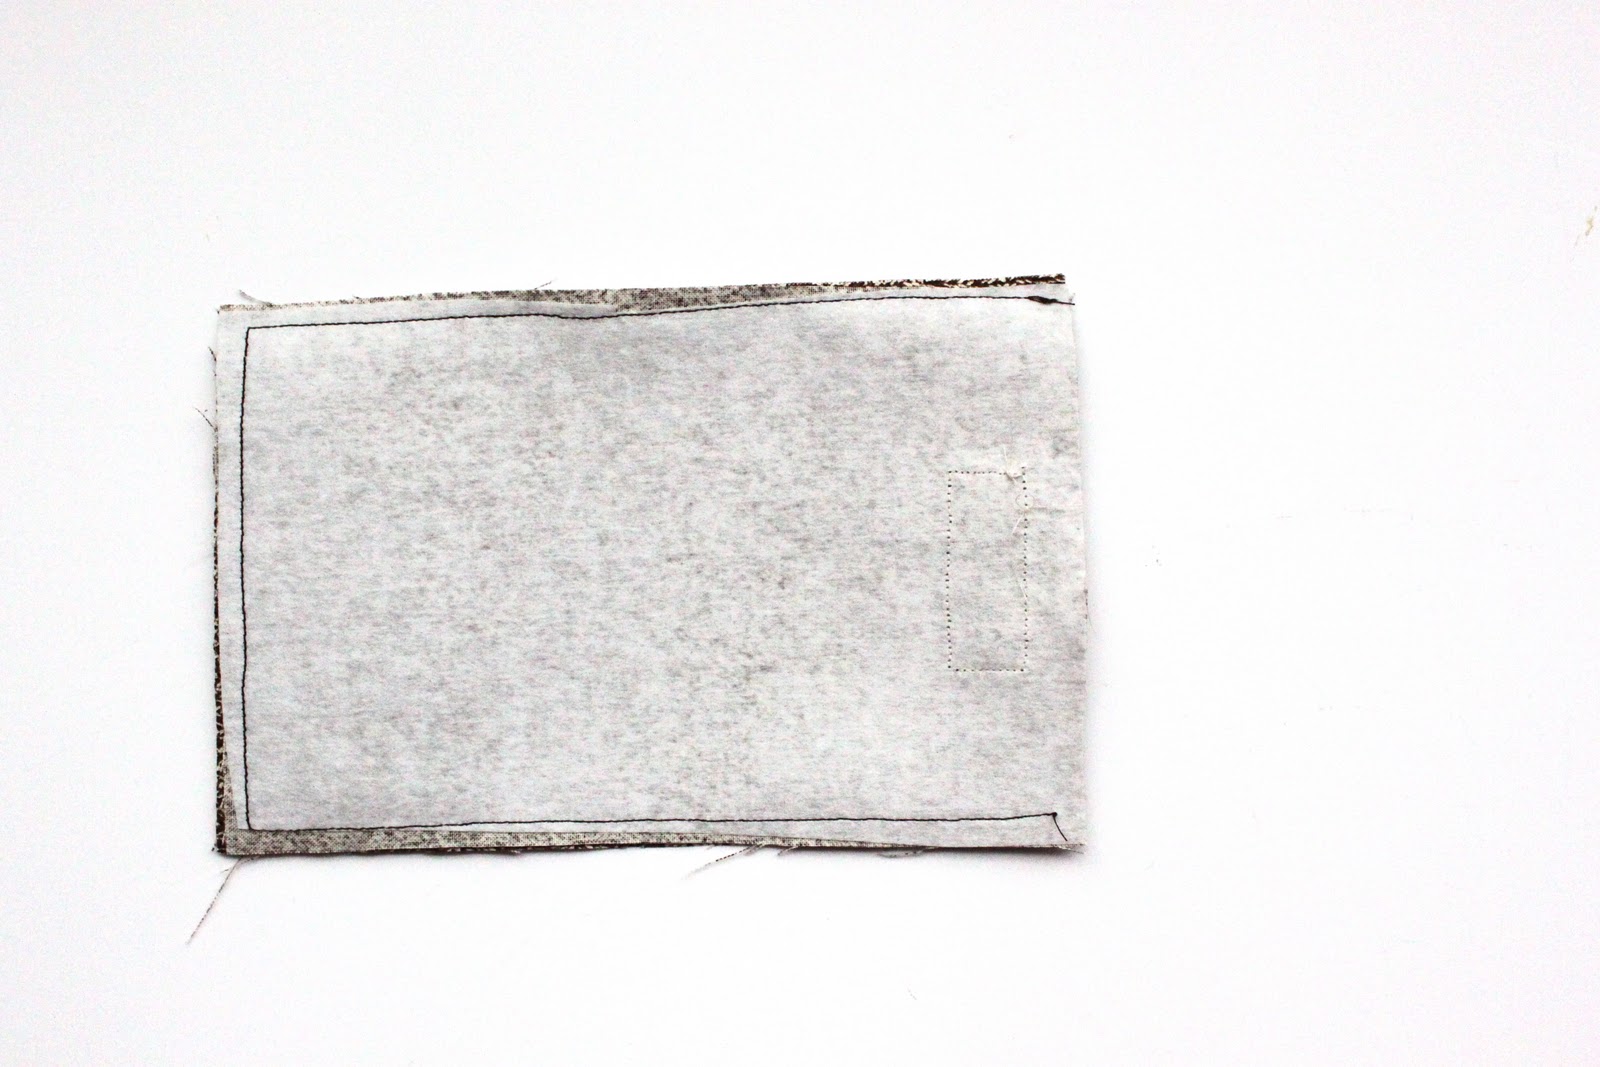
Next, iron on your interfacing to the wrong side of both outer fabric pieces.
**By the way, Noah picked these fabrics out just for Grandpa Marc, I think he did a great job coordinating them, don’t ya think!

Then take the rough side of the velcro, center and sew it about 1 inch from the top of one of your outer fabric pieces. This picture shows it placed a little off!
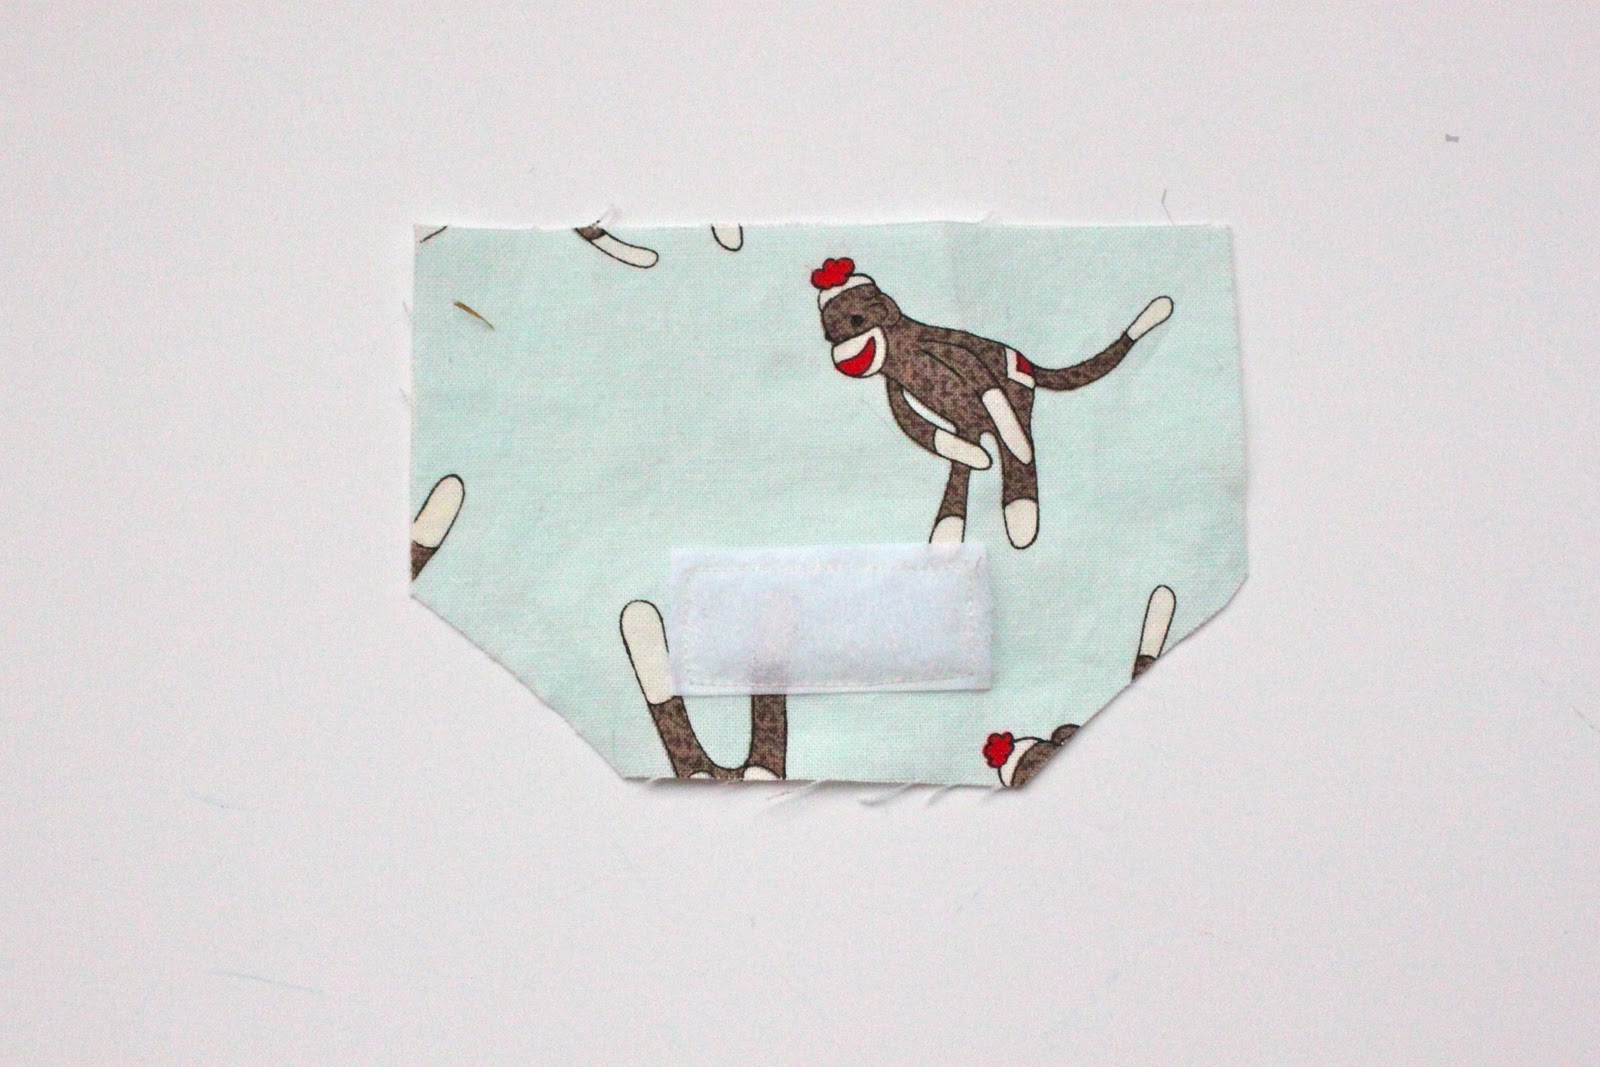
Then take your inner flap fabric and sew on the soft side of velcro towards the angled edge.
Next, place your two lining fabrics right sides together and sew along the lengths of both sides as well as part of one short side, leaving a few inches open for turning.
Then, take your two outer fabrics and place them right sides together. Sew along three of the sides, like in the picture above.
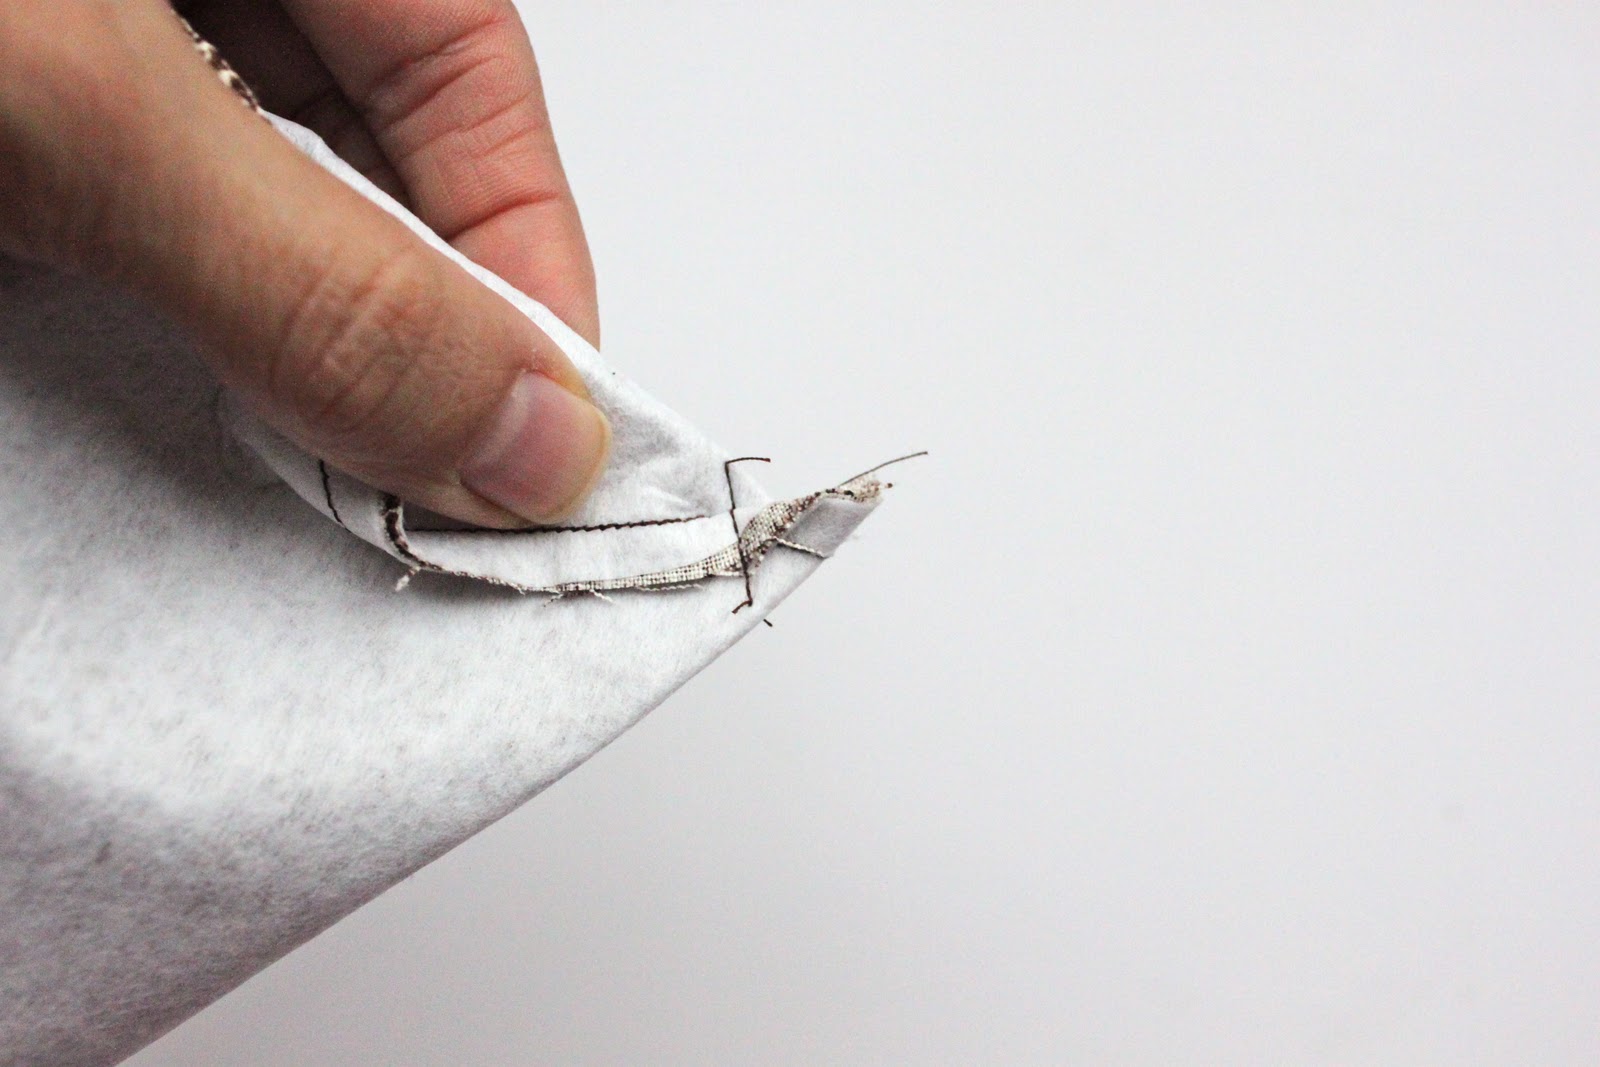
Then sew and clip the corners (about 1/2 inch) of both outer and inner fabric pockets you just made. Do this at the short sewn side and not the open end!
Next, place your two flap fabrics right sides together and sew around the three shorter sides.
Turn right side out and press with your iron.
Alright, it’s assembly time!! Woot, Woot!
Turn your outer fabric pocket right side out and place inside the lining pocket. The right sides should be facing like in the picture above.
Here’s another view of how the outer pocket should be sitting in the lining pocket.
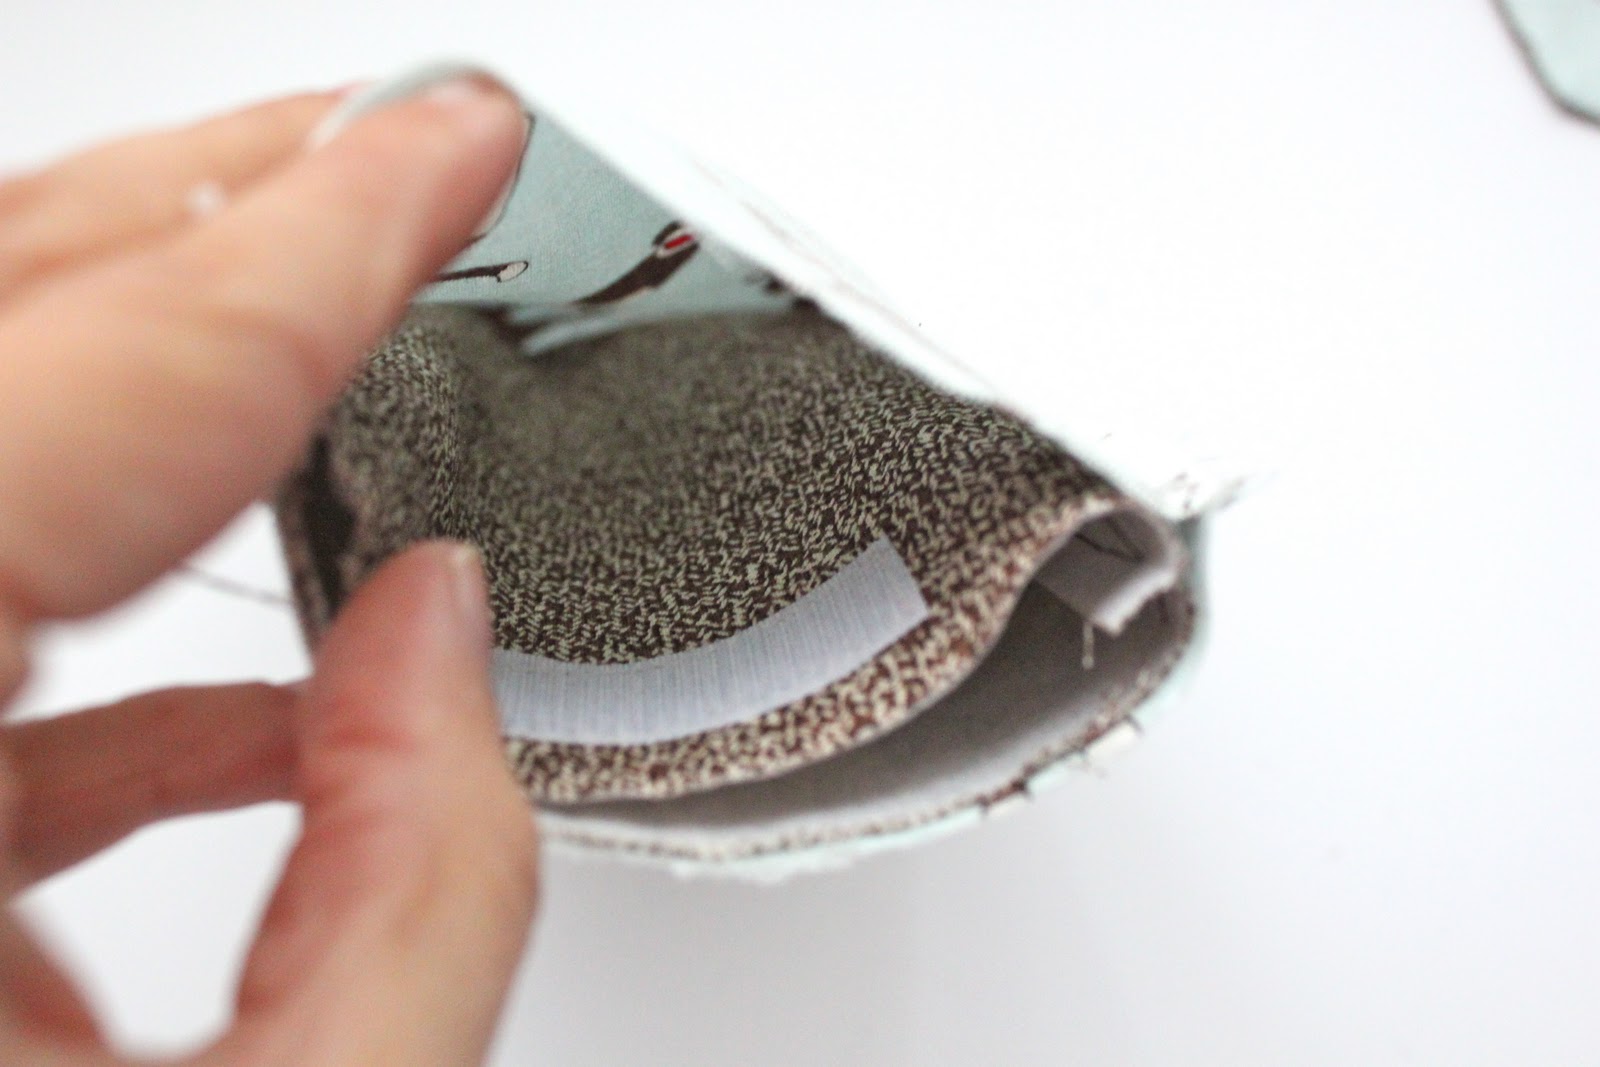
Then, carefully place your flap so that the lining fabrics are facing each other. Make sure you place it on the side opposite of the velcro from the outer fabric!!
Here’s another view of that last step!
Pin in place an then very slowly sew around the raw edge.
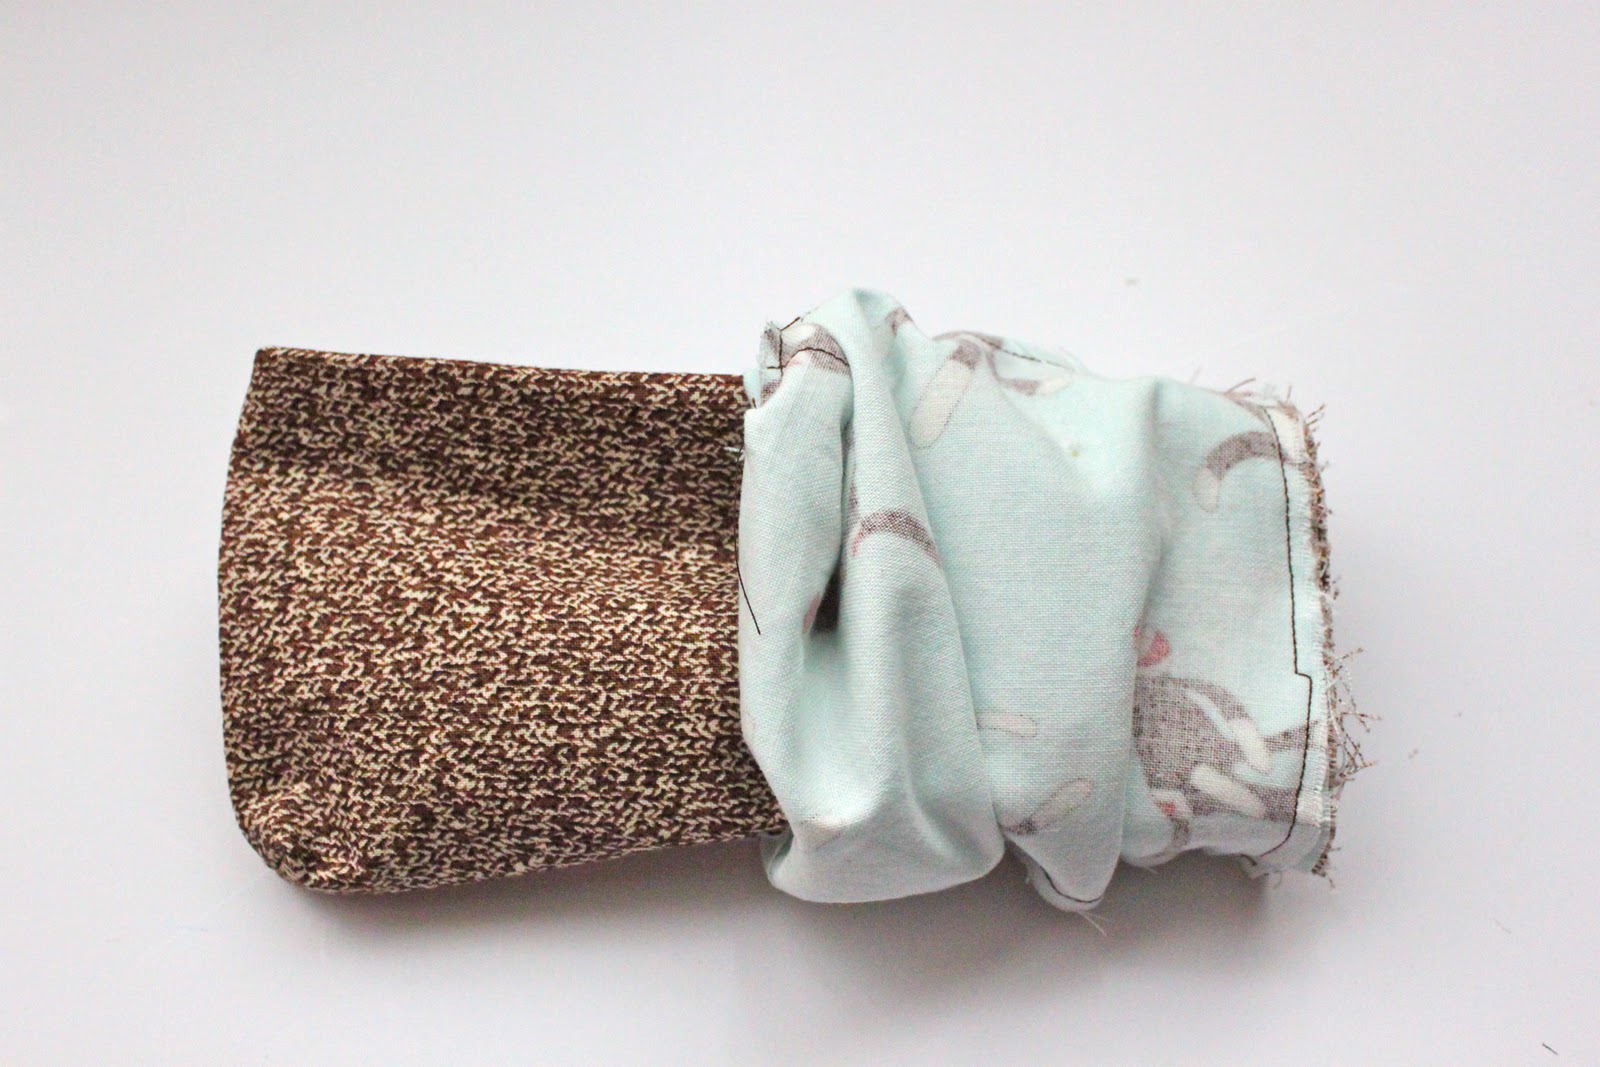
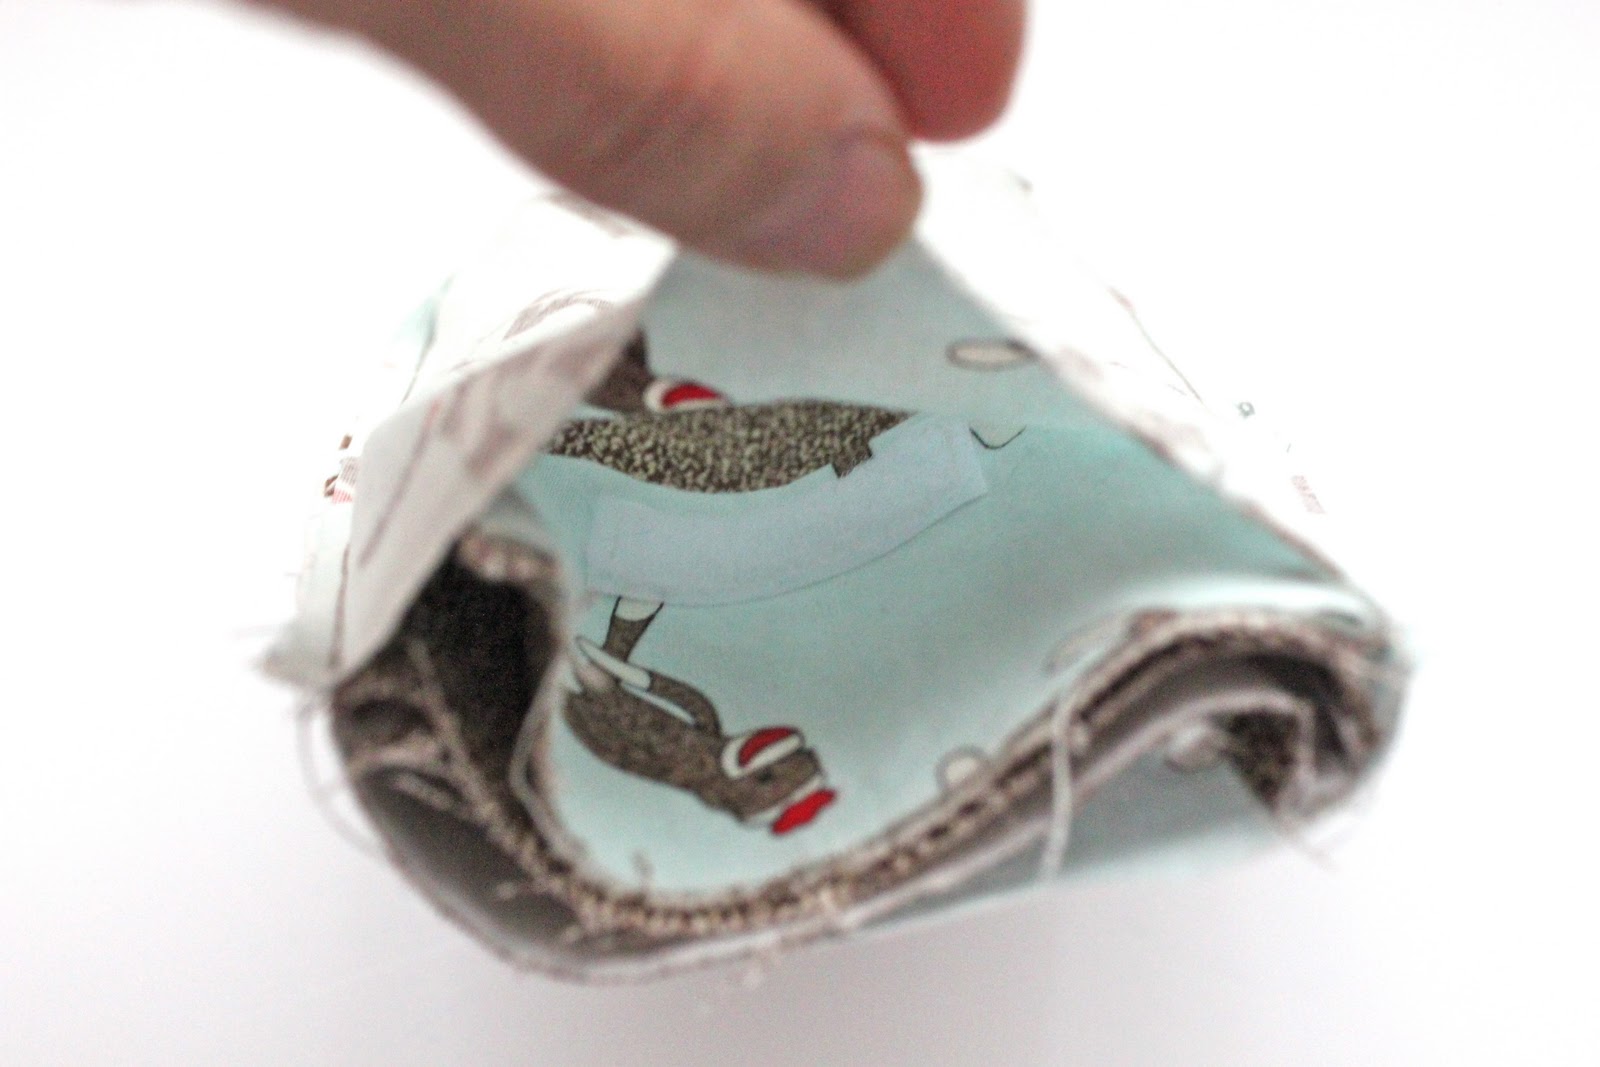
Now you just have to carefully wiggle the outer fabric through the hole in the lining.
Shimmy, shimmy, shimmy…
Wiggle, wiggle, wiggle…
🙂

Almost done!!
All that’s left is to sew up the hole in the lining and push the lining down into the outer fabric pocket!
Voila!!
Right side out now!
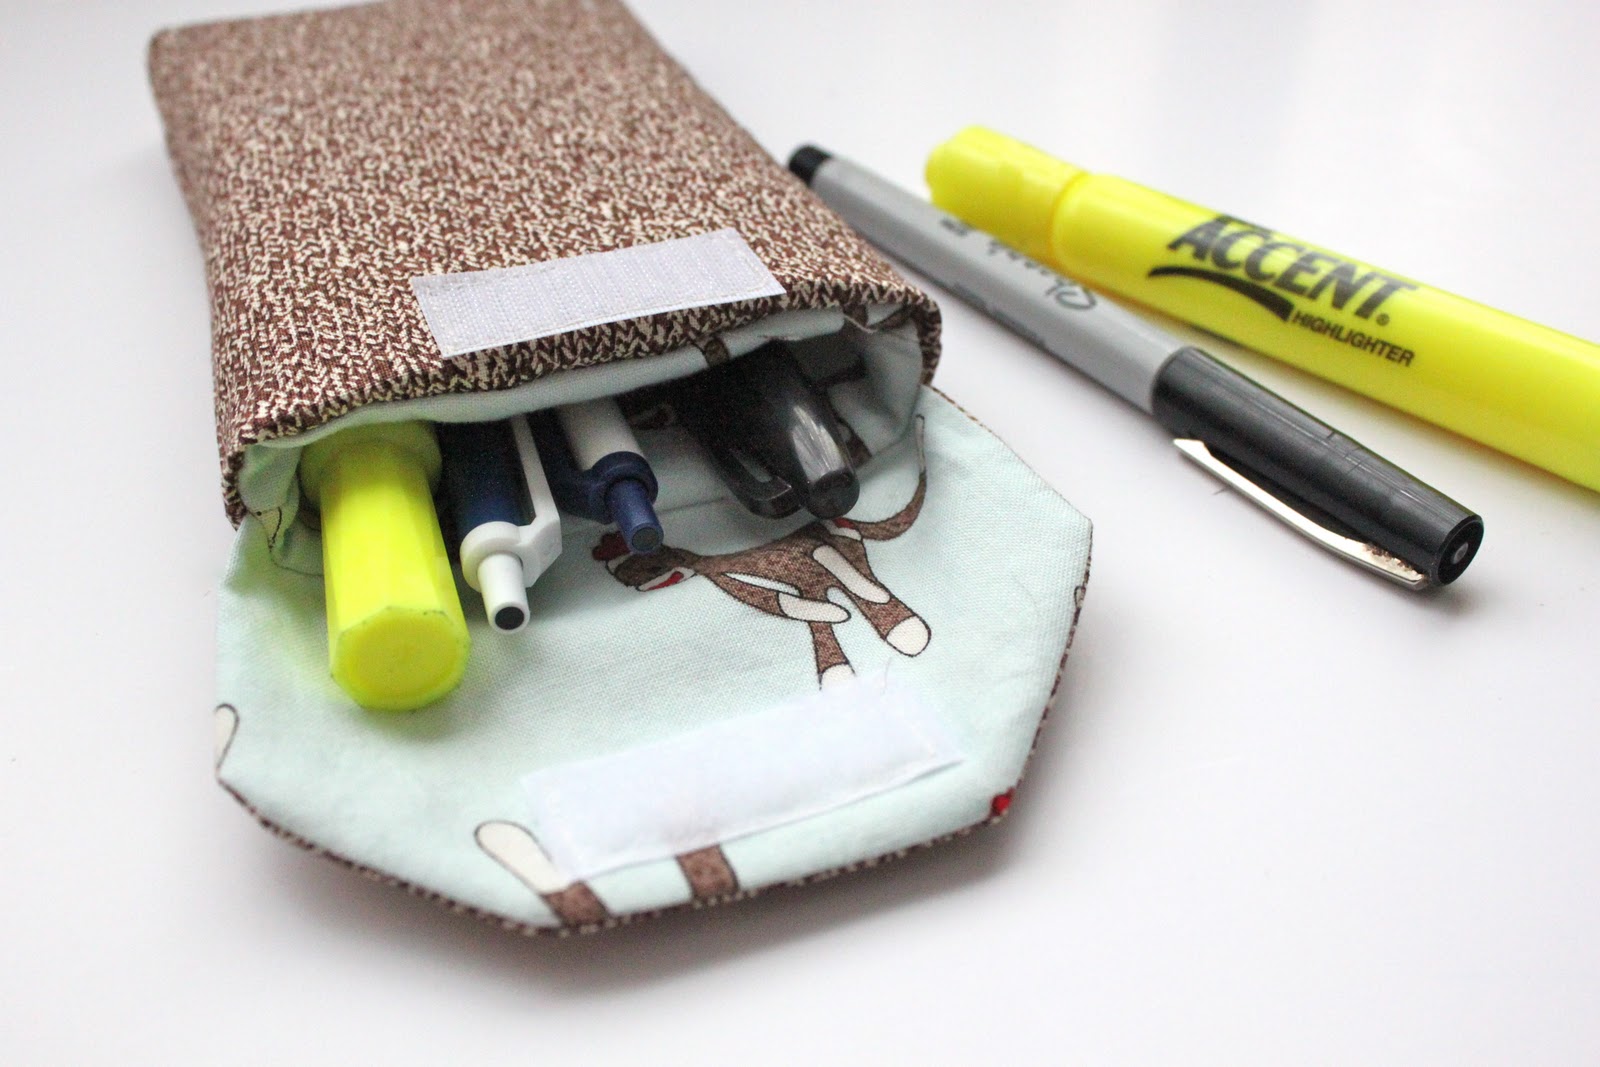
Now just fill with your favorite writing and highlighting goods and you are set for some note-taking fun!
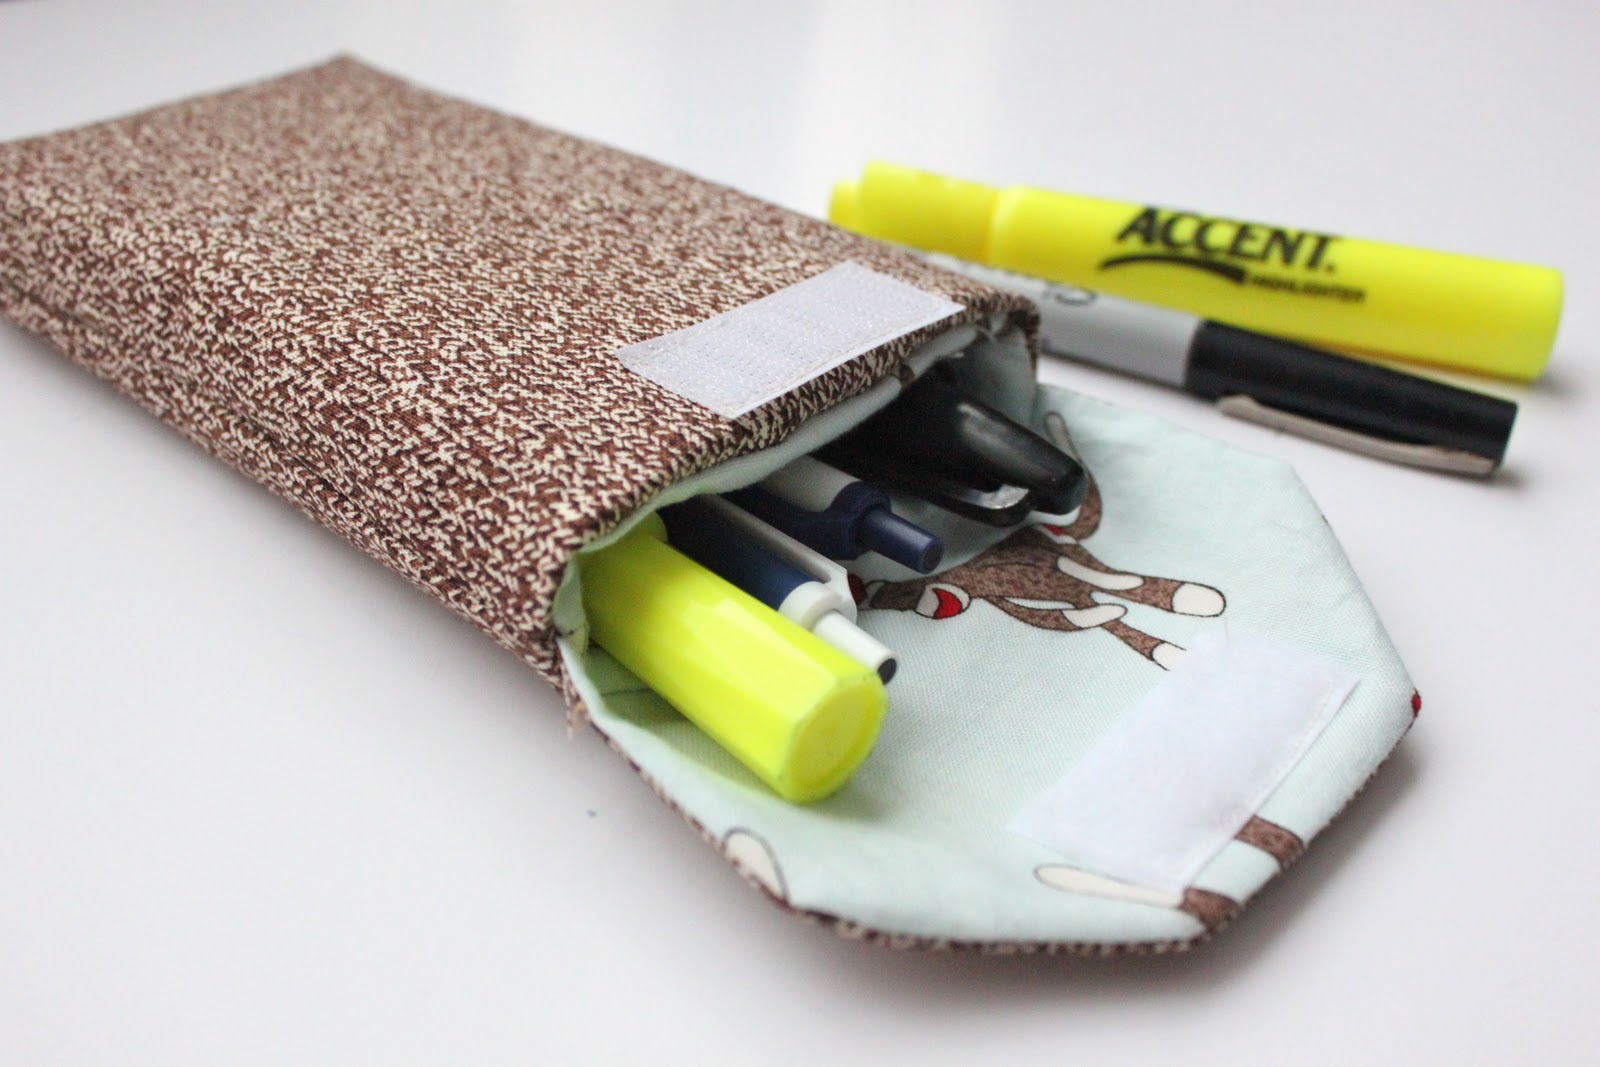
Yup, all snug as a bug in a rug.

A cozy for your pens…
is that sweet or what!?!
Happy Making!!


What a cute idea!! LOVE the sock monkey fabric!
Oh how I loved this. Your post made me cry, actually. 🙂 Really. I cried. My Dad passed away in 1975 when I was 12 years old. My now vague memory of him tries to recapture from childhood memories of things he did, things he said, the way his voice sounded. I must sadly admit many of that has faded from my forgetful, aging brain. But your post sparked a memory of my daddy wearing a pocket protector. He was a farmer till the day he died. Farmers aren’t very fussy about storing all their necessities. He wore one in his coverall pocket in the cold weather and in his flannel shirt in the fall and in his rolled sleeve shirt in the summer months. Thank you for bringing back a warm and fuzzy feeling for me during this time of year when I really struggle and miss him so much. See? Now I’m crying again. Thank you… Karen
My dad would love this…only question is that when he would lean over will the pocket protector stay in the shirt??? My dad always has pens in his pocket at work and now he has a pocket protector that clips to his pocket. I wonder if there is a way to put a clip on this one?? Thanks for the great idea!!! this may be a christmas gift for my dad.
Also, re: sock monkeys…I’ve been trying to find some nice socks similar to the brown fabric you have here so I can make some sock monkeys for Christmas gifts for my nieces and nephews…any ideas where to find them? I’ve checked Target, Walmart and Kohls and no luck.
Noah did a great job with those fabrics! I had to chuckle at the beginning of this post b/c my dad’s birthday is in the next week and a half and I finally found something to send him. (so hard to shop for). I think I should make one of these for my engineer husband. 🙂
Super cute. Thank you.
I love it and your tutorial is so well done. Thank you Clarice
Adorable! You did a great job. I heart sock monkeys! Would love for you to come visit me at Sew Chatty and link up to Made with Love Monday! http://sewchatty.blogspot.com
oh this is such a great idea..thankyou for sharing!
Now to make my man wear this..
i love your blog..and i love how adorably like you your babies look. 🙂
have a nice day!