Smashed Peas & Carrots

Inspiration For Living Creatively - DIY Crafts, Sewing, Recipes, Crafts & More

  • Press
  • Disclosure
  • Collaborate
  • Contact
  • Facebook
  • Twitter
  • Pinterest
  • Instagram
  • Dots
  • Google Plus

Become a Subscriber

never miss a thing!

  • Home
  • About
    • Advertising
    • Disclosure & Safety Disclaimer
    • Privacy Policy
  • Recipes
    • Appetizers
    • Bento Lunch
    • Beverages
    • Smoothies
    • Breads
    • Breakfast
    • Casserole
    • Crockpot
      • Visual Library
    • Dairy Free
    • Dessert
    • Gluten Free
    • Main Course
    • Holiday
    • Instant Pot
    • Paleo
    • Party Food
    • Salad
    • Side Dish
    • Soup
    • All Recipes
  • Tutorials
    • Children
    • Adult
    • Home Decor
    • No Sew
    • Sewing
      • Children Sewing
      • Adult Sewing
      • Home Decor Sewing
      • Sewing Basics
    • Sewing Studio
    • Knitting
    • Kids Crafts
    • Bento
    • Holiday
    • Parties
    • Gift Ideas
    • Natural Living
    • All Tutorials
  • shop
You are here: Home / Tutorials / Adult / The Strappy Camera Lens Pouch Tutorial
Oct
18

The Strappy Camera Lens Pouch Tutorial

| Filed Under: Adult, Adult Sewing, Fabric, Sewing, Tutorials

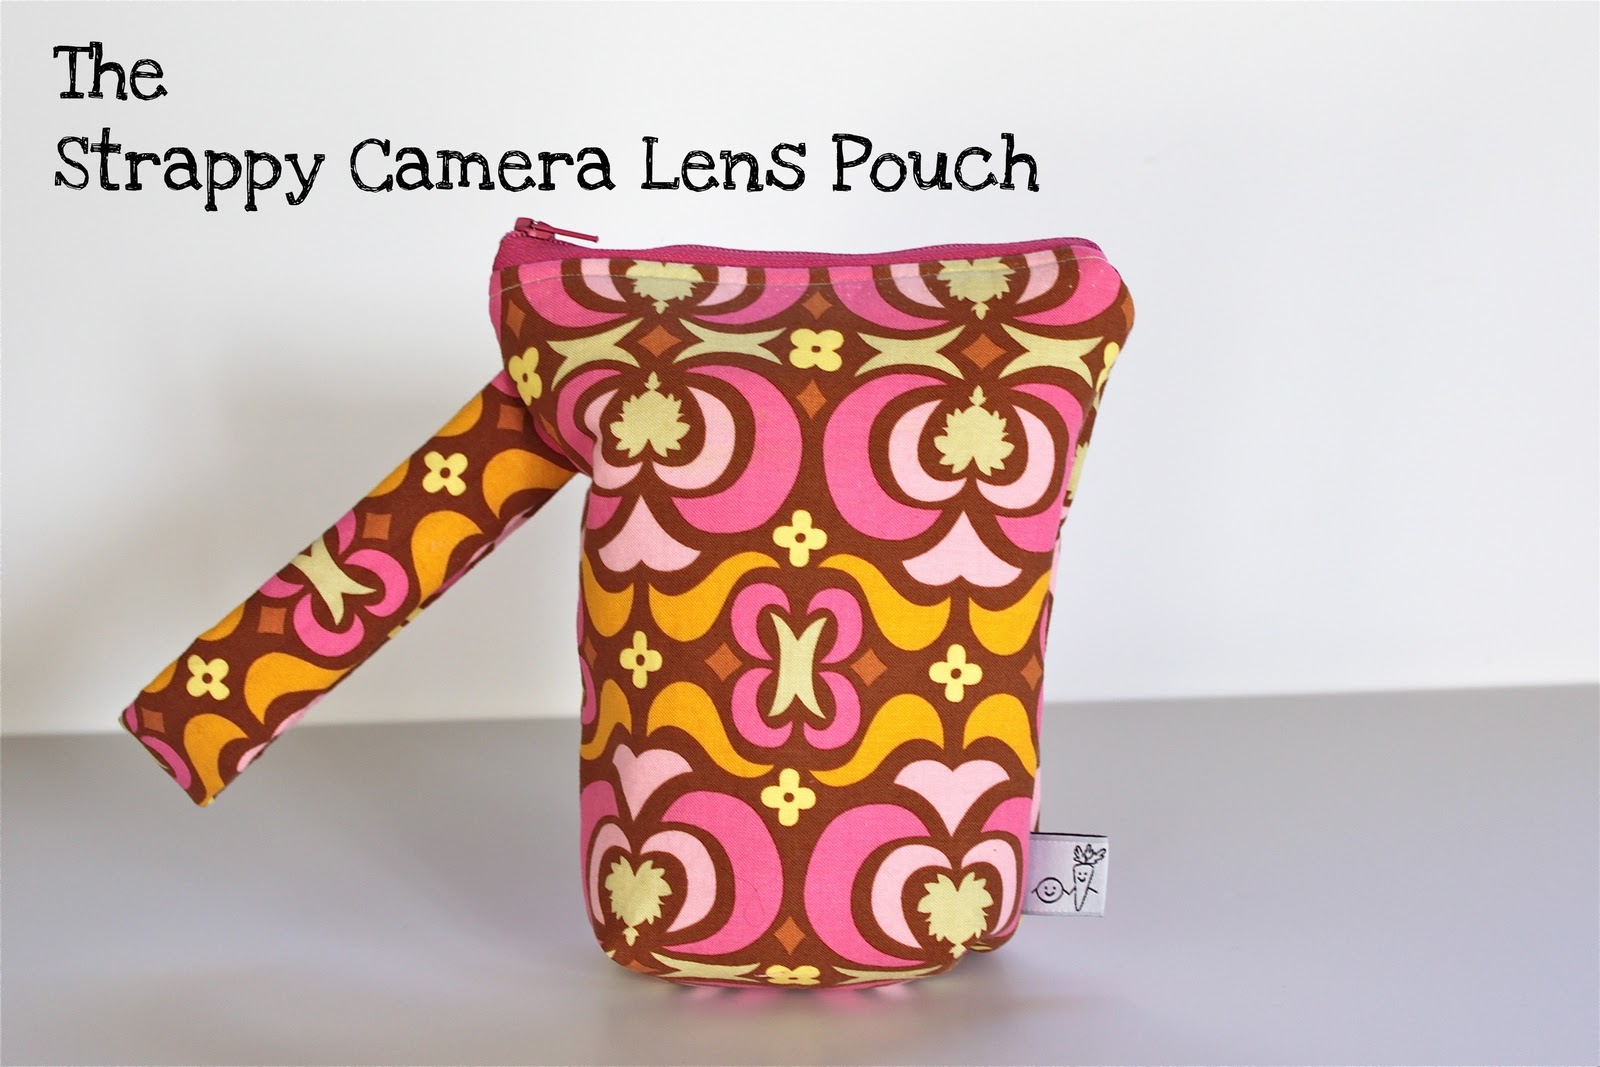
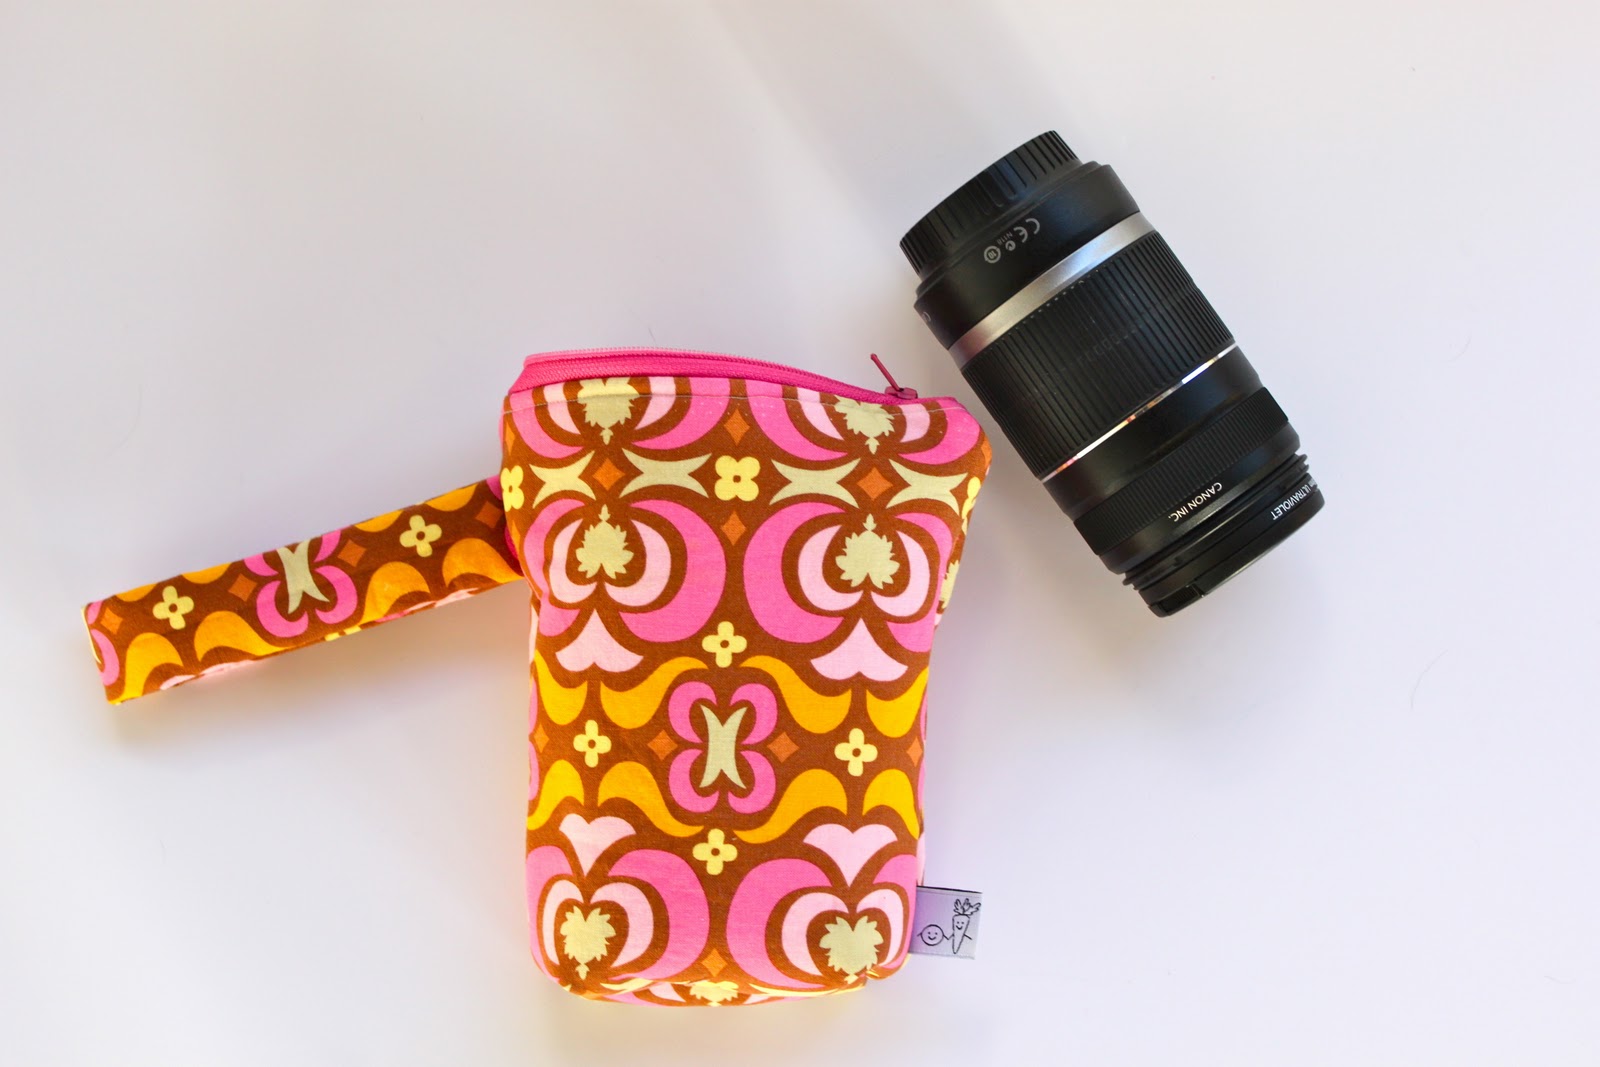
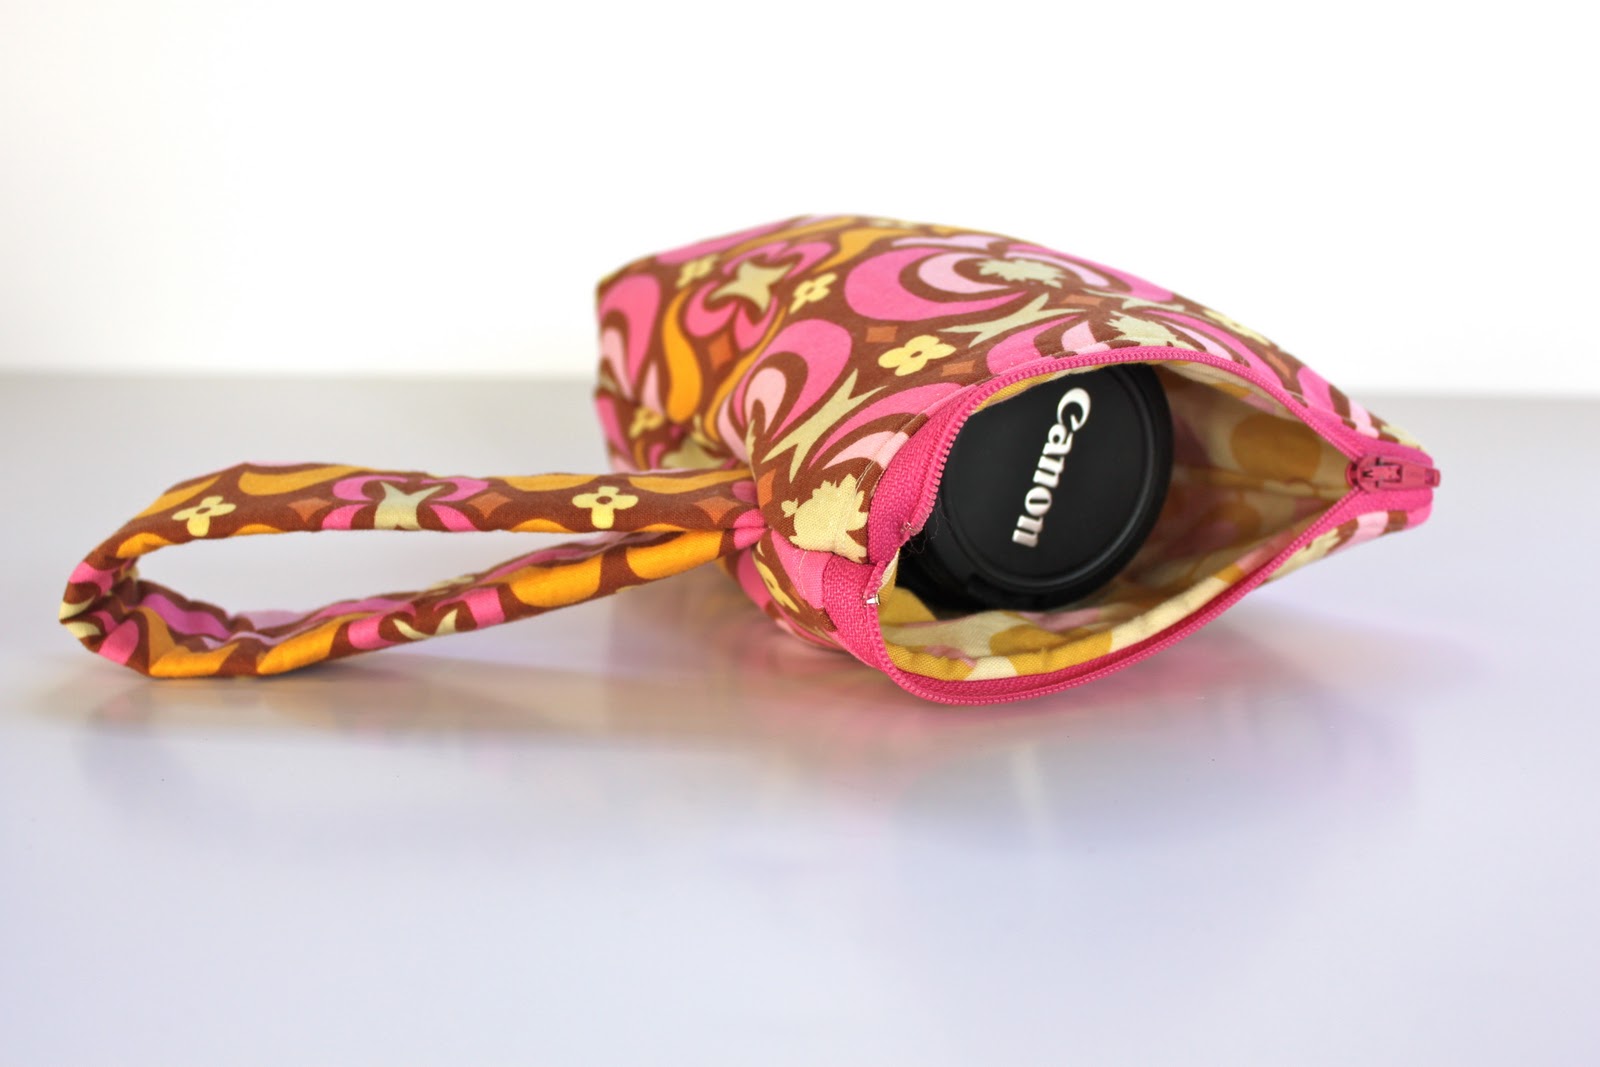
So, I have been wanting to make a little pouch for my DSLR camera lens for a while now and this past week I finally did it!  I was getting so tired of wrapping it in burp cloths and onesies in my diaper bag whenever I took it on our little family adventures we tend to do.  I wanted to have something that would protect it a bit, especially keeping that lens cap from getting bumped and falling off, as well as something I could keep on my wrist or clip to my diaper bag strap for easy access.  I usually just have my shorter 18-55mm lens on the my camera for stuff around the house but when we go out I like to have the option of using my longer 55-250mm lens cause that way I can capture the kidlets doing cute stuff without them knowing that I am taking their picture.  What a sneak I am!

Anyways, since the weather was to be gorgeous this past weekend I knew we would be out and about doing fun fall stuff with friends.  It was just the kick in the pants I needed to make myself a sweet little lens pouch.

Here is what you need to make your own 
Strappy Camera Lens Pouch too!

4 pieces of fabric (2 for the outside of the pouch and 2 for the lining) 
   measuring 7″ across the top, 6″ across the bottom, and 8 1/2″ tall
2 pieces of fusible fleece with the same dimensions above
1 piece of fabric 3″ x 12″ for the strap
1 piece of fusible fleece measuring 1.5″ x 12″
1 zipper measuring 7″ in length
First, take your 3″x12″ piece of fabric and iron on your 1.5″x12″ of fusible fleece to the center of it.

Then fold it in half lengthwise with right sides together and sew the raw edges together with a 1/4″ seam allowance.

Flip your tube right-side out and press it with your iron so the seam is in the middle, set aside.
Next, iron your two fleece pieces to the wrong sides of your two outer fabrics.  
Then, take one of your outer fabric pieces (right side up) and place your zipper (right side down) at the top (7″ wide edge) with the zipper pull to the left.  

Then place one of your lining piece of fabrics on top wrong side down, making a zipper sandwich of sorts. 

It should look something like this.

Put your zipper foot on your sewing machine and make sure you sew through all three layers!

Next, fold the outer and lining fabrics back so that their wrong sides are together.  
Then, place your zipper (wrong side down again) BUT this time with the zipper pull to the RIGHT (or bottom as in the picture above) on top of the right-side of the other piece of outer fabric.  

Then, place your other piece of lining fabric on top of the zipper just like you did earlier!

Here’s a closer look at the second zipper sandwich you are making.  You can see the first two pieces of fabric you attached to the zipper over there to the left.

Next, spread open your fabrics so you have an outer fabric with a piece of lining underneath on each side of the zipper.  Press with an iron and then sew a line about a 1/4″ from each side of the zipper to keep the lining down nice and smooth.

Then, open up your zipper 3/4 of the way…this will help you when you are flipping your pouch out in the last step!!

Okay, so next you are going to place your fabrics so that both lining fabrics are on one side of the zipper (with their right sides together) and both outer fabric are on the other side of the zipper (with their right sides together).  
You are going to fold your strap piece in half (with seam sides together) and place it between the right sides of the two outer fabrics about an inch from the zipper.  Pin in place.  Make sure you have a little bit of both raw edges hanging out just so you are sure to sew it within your seam allowance!!
Then just sew all the way around with a 1/4 inch seam allowance, leaving a 3 inch gap at the lining end (see the picture above) for turning!

Here’s a peek at where your strap should be hiding in case I wasn’t clear above!

Alright, so once you are all sewed up you are going to pucker the corners, measure 1 inch in from the tip and then sew a line straight across…do this to both lining and outer fabric corners (4 in all!)  

Cut off all four corners when you are done.  This will give you a box-like pouch.  

Then, all you have to do is turn your pouch right side out!
Once you have it like the second picture above go and find the gap you left open in your lining and sew it closed…you can hand sew it if you’d like!

And, there you have it!!  
You just made yourself an awesome little 
Strappy Camera Lens Pouch!

Perfect for that long DSLR lens you just might want to carry around with you!
Now you can just place it in your purse or diaper bag without fear that that darn lens cap is going to fall off and your lens will get all scratched.
Or
You can wear it on your wrist for those quick lens changes
Or
Grab a carabiner and hook it to your belt loop or purse strap for easy access!!
Oh, the possibilities 🙂

Yay, I’m in love!!  It’s cute and handy!!

And for those that may ask, the lining fabric is Amy Butler’s Midwest Modern Martini in Linen and the outer fabric is her Garden Maze in Brown.
Happy Making!!

    You may also like -

    5 Time Saving Kitchen Tips for this Holiday Season // SmashedPeasandCarrots.com5 Timesaving Kitchen Tips for the Holiday SeasonFree Valentine Card PrintableFree Spec-tacular Valentine Card PrintableGlazed Fabric Button Ring TutorialGreat Thank You Gift Idea! Chocolate dipped spoons! Love the packaging!Thankful November: Chocolate Dipped SpoonsHalloween Decor-ating

    Become a Subscriber

    never miss a thing!

    Comments

    1. Anna says

      October 18, 2010 at 1:03 pm

      okay, you probably won’t believe me, but I had the a similar camera lens case sketched out waiting for me to make it. (I have a prime lens that I love to bring along as an extra). Yours is great! 🙂

    2. natalie @ our old southern house says

      October 18, 2010 at 1:25 pm

      i had a similar problem this past friday when we went to a parade and i wanted to carry along my wide angle lens. what a great idea!

    3. Kari @ Ucreate says

      October 18, 2010 at 2:54 pm

      This is so fabulous!!! Thank you for sharing…I’ll be linking!

    4. Cass says

      October 18, 2010 at 4:18 pm

      Where did you get your awesome custom tags?

    5. billiemonster says

      October 18, 2010 at 6:44 pm

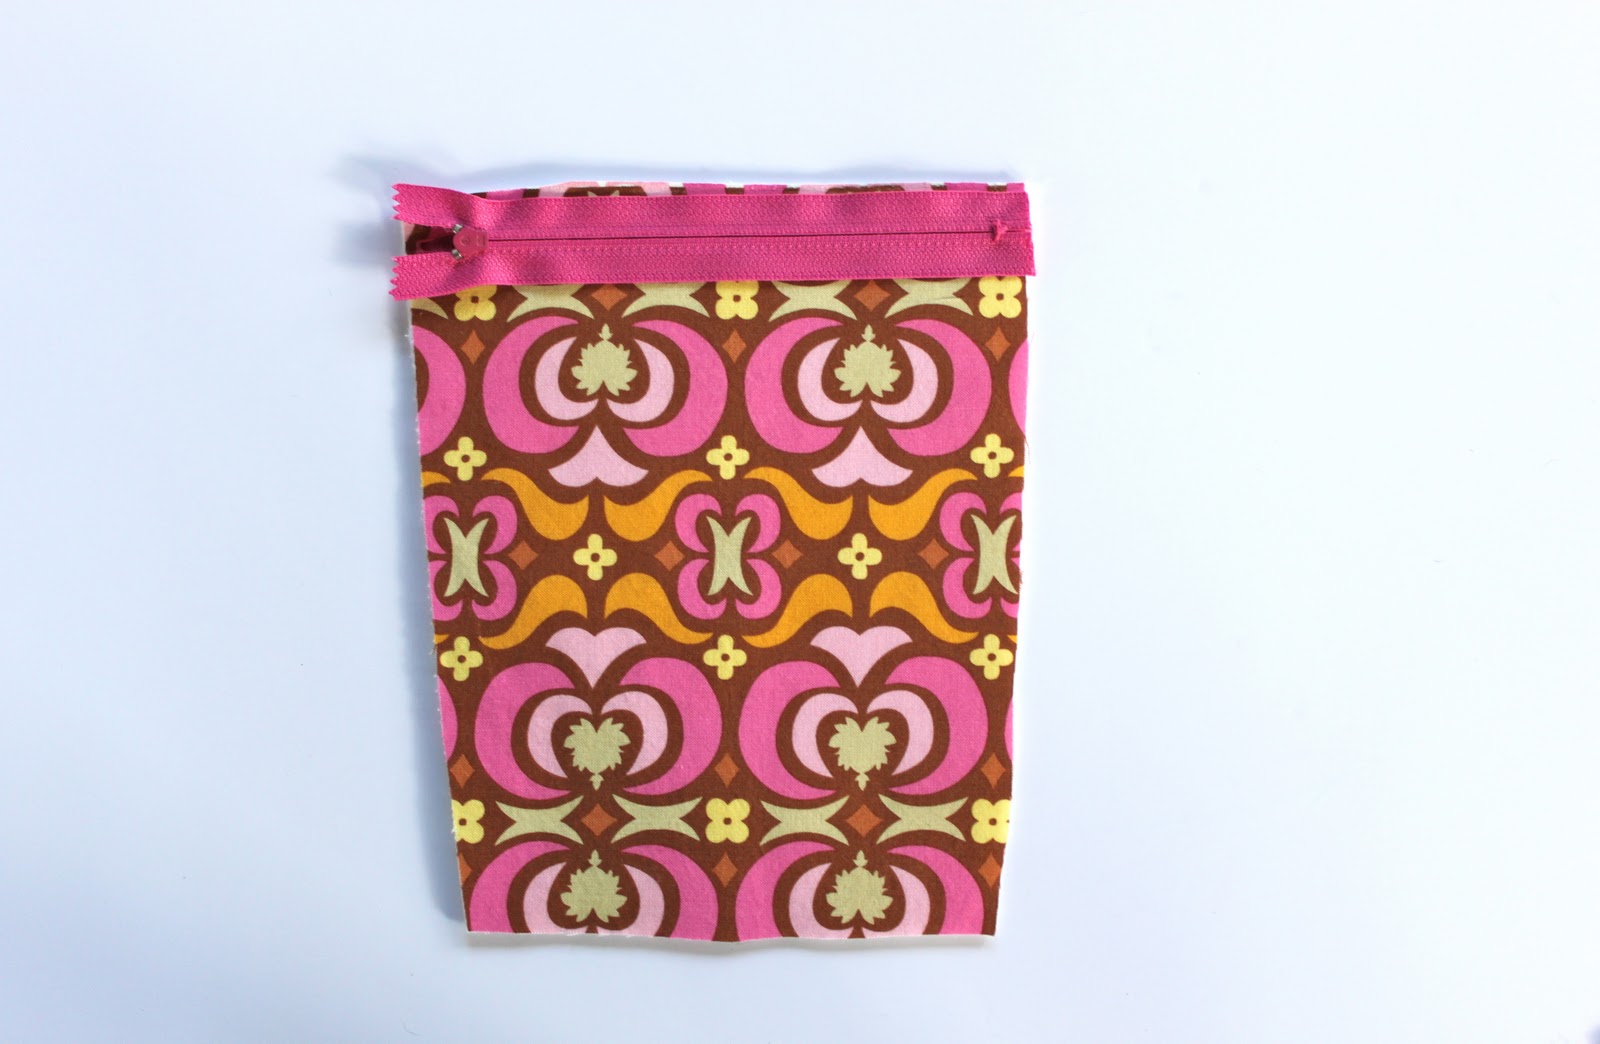
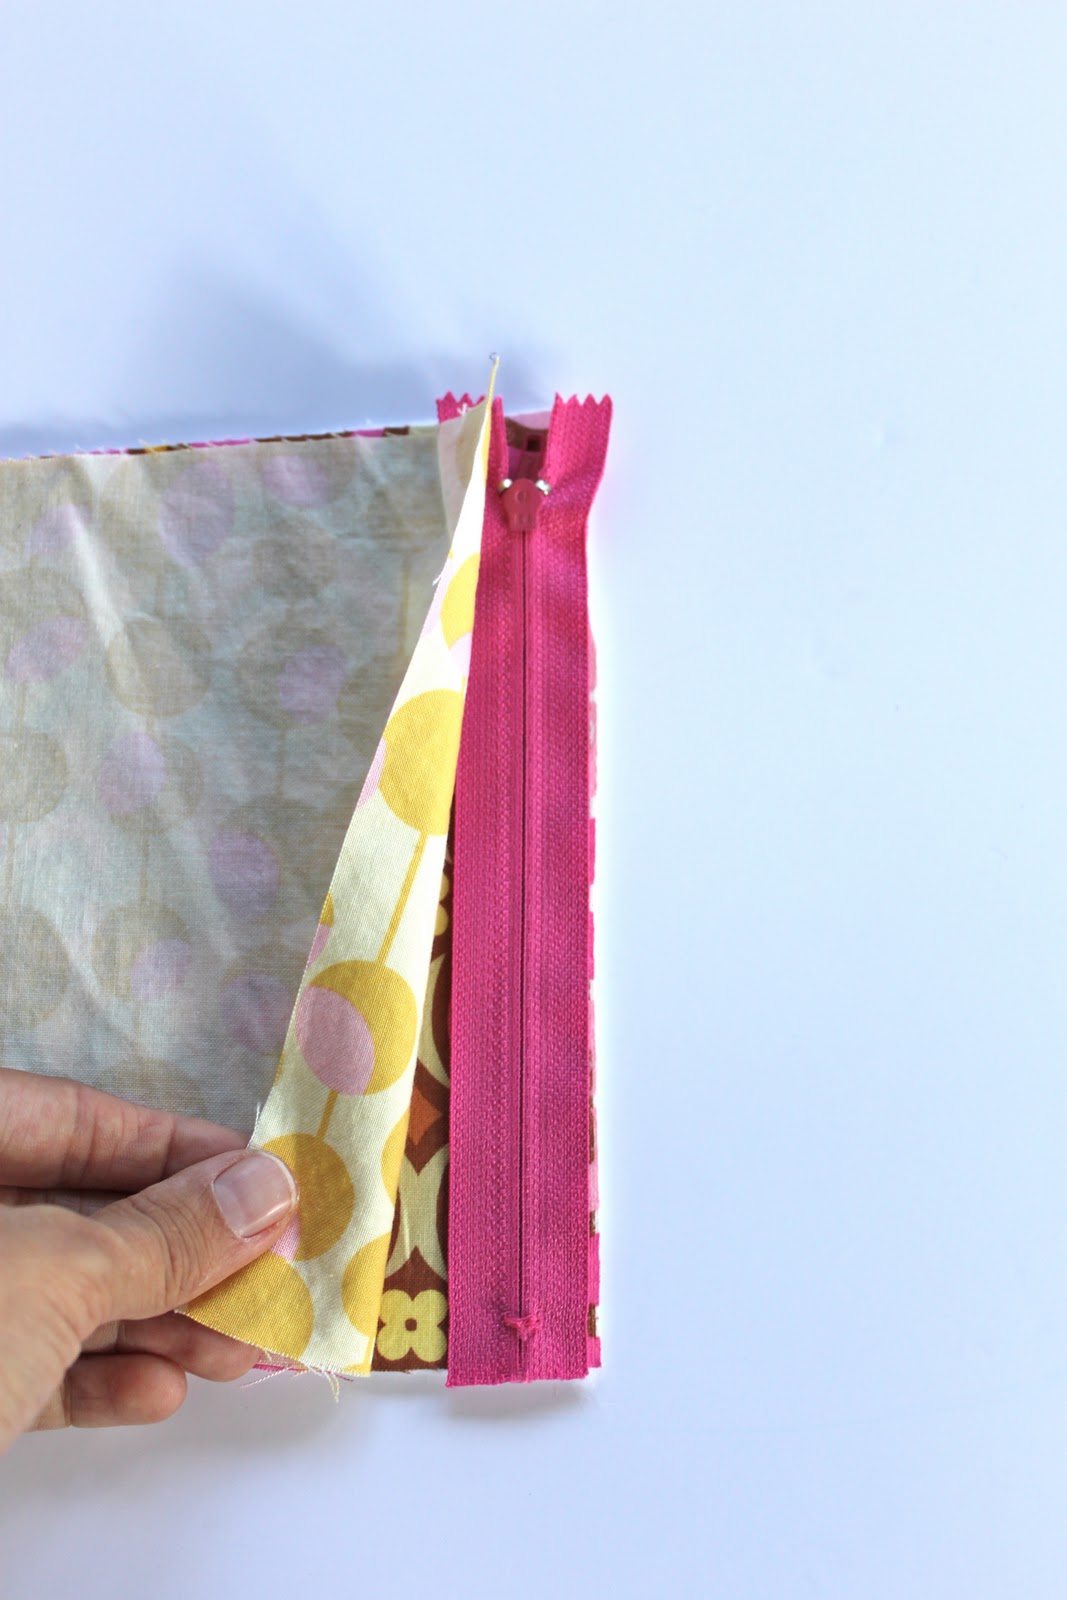
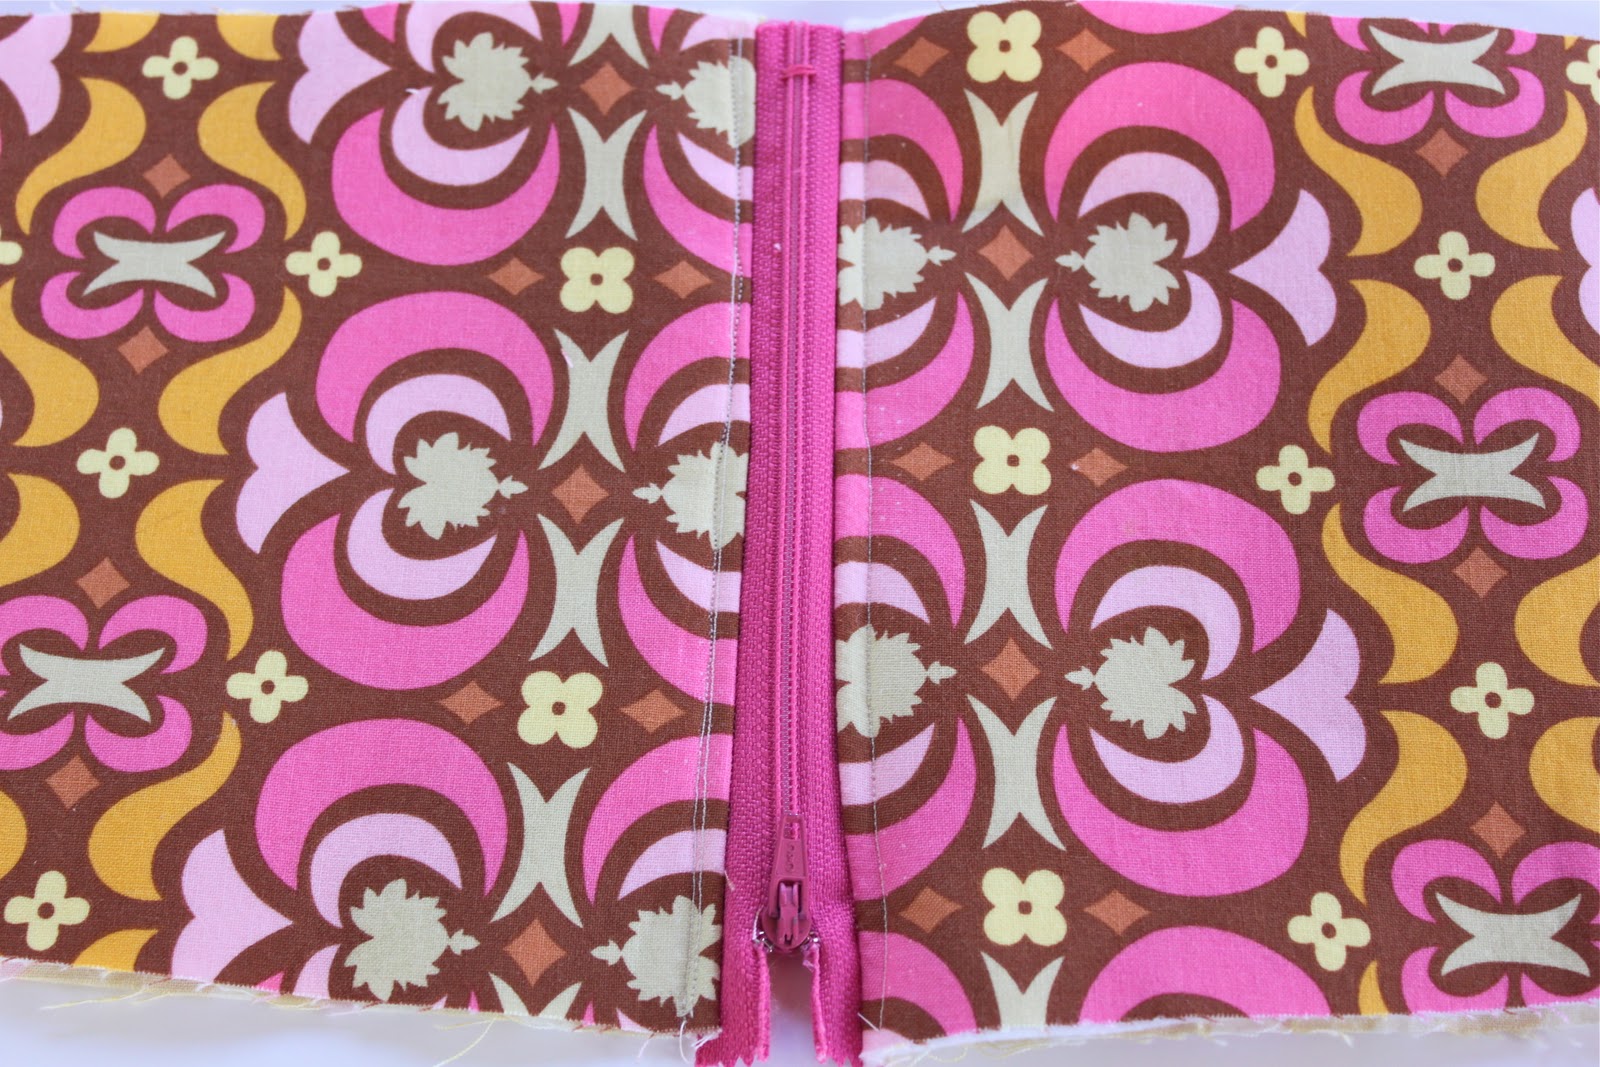
      Hi Maggie! I saw you over at Ucreate today. Great job on this tutorial! I need to make one for my digital camera but I’m scared of the zipper part! I’ll be following you for sure. :O)

      ~ http://www.billiemonster.com ~

    6. Robin says

      October 18, 2010 at 7:16 pm

      I have been wanting to make something just like this for the longest time but did not know how. Thank you so much for the tut! It’s a great one!

    7. Maggie says

      October 19, 2010 at 4:29 am

      Cass- I get my tags at clothinglabels4u.com 🙂

    8. What I Did Today says

      October 19, 2010 at 7:10 am

      This is awesome! Love the fabric you choose too. Thanks for the tute!

    9. The Family of Logo says

      October 19, 2010 at 12:31 pm

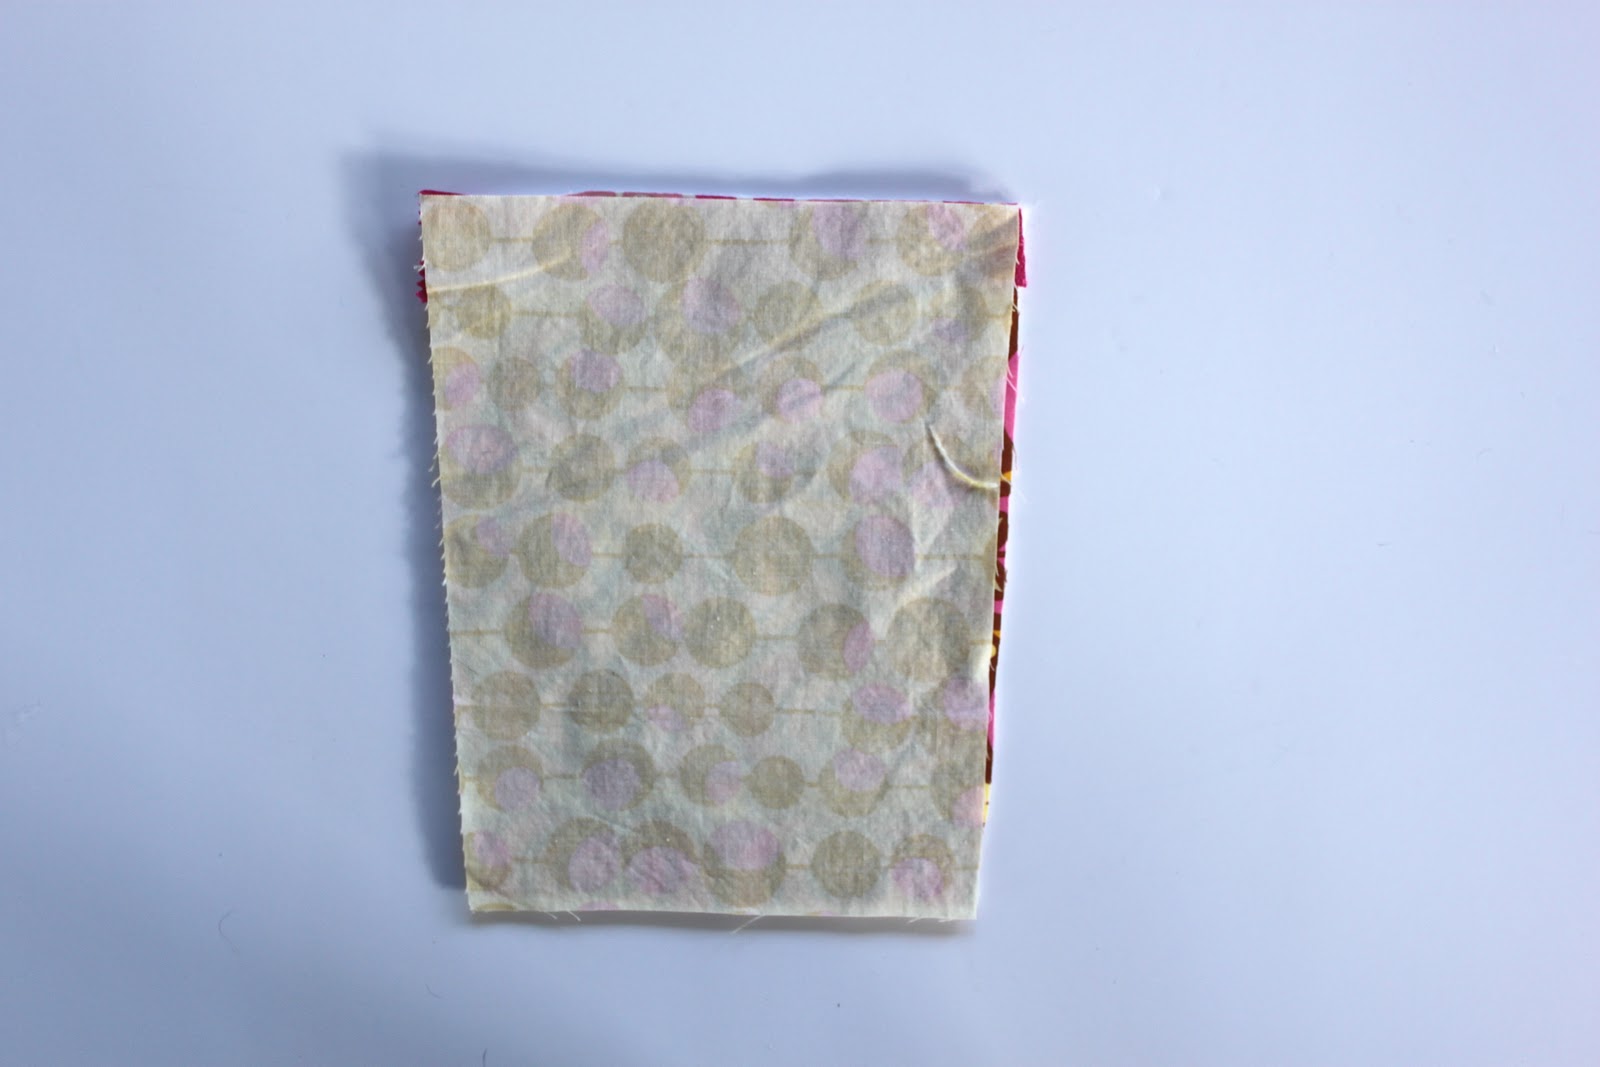
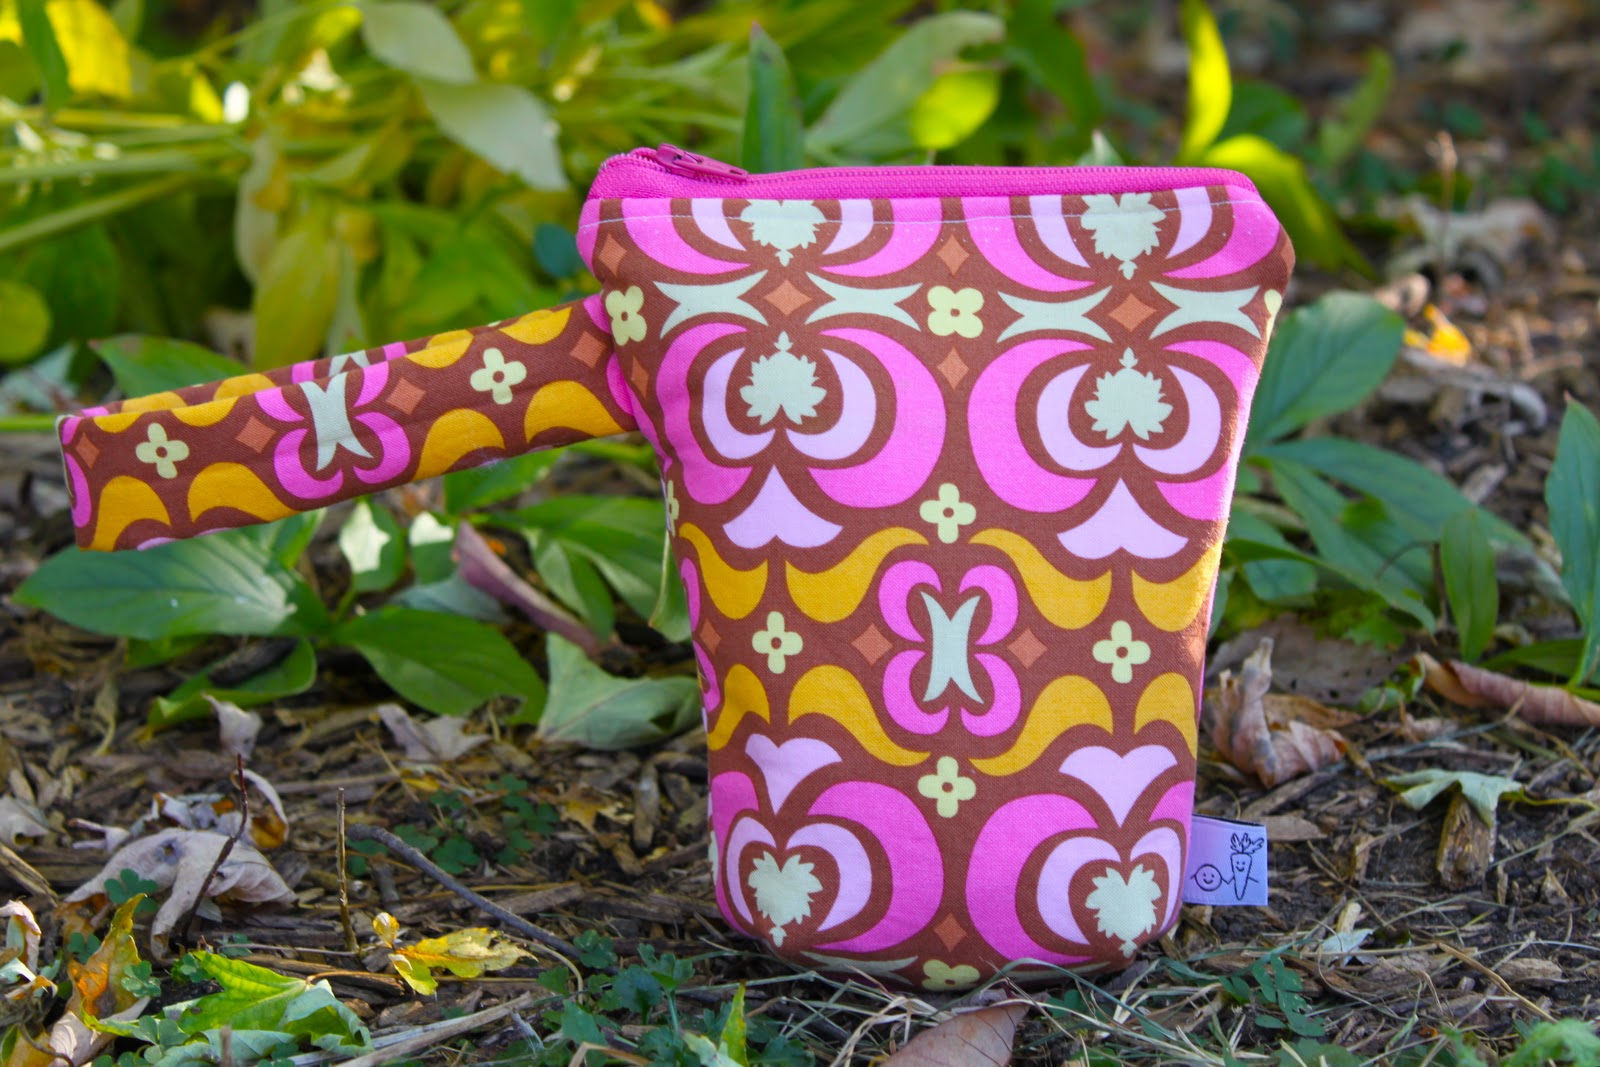
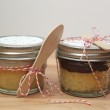
      cute, that last pic looks like a coffee/tea cup. LOL

    10. Cheryl says

      October 20, 2010 at 1:43 am

      Perfect timing and great tutorial, thanks so much for sharing! I have a long lens and wide angle…I have been taking a separate bag for soccer games and adventures, but with 3 kids it’s a pain to have to have another bag – this would be perfect!

    11. Aubrey says

      October 20, 2010 at 1:46 am

      Adorably awesome! Would it be weird if I made one before I got that extra lens I have my eyes on! 😉

    12. Andrea Thieck Miniatures says

      October 20, 2010 at 12:56 pm

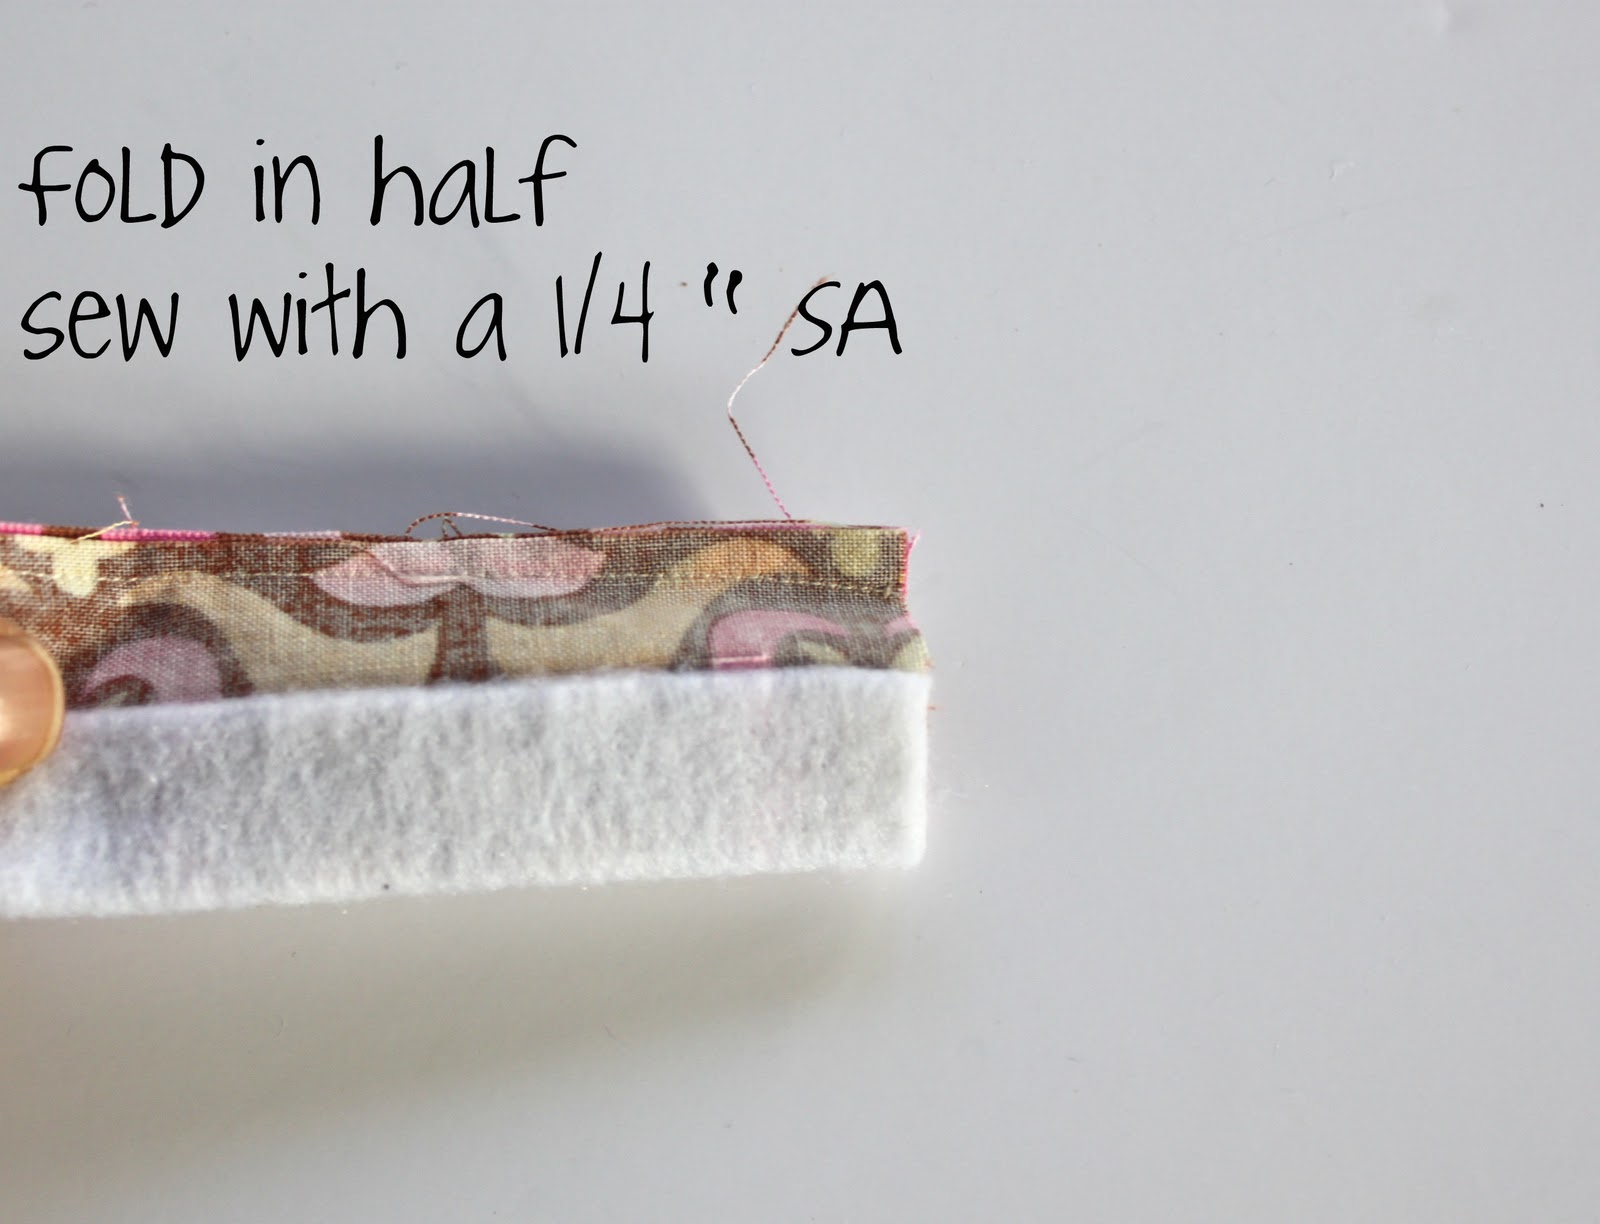
      Thanks! Great Tutorial with excellent pictures.

    13. PeaceLoveApplesauce says

      October 20, 2010 at 8:35 pm

      Stopping by from UCreate.. This is adorable!

    14. malia says

      October 21, 2010 at 1:58 pm

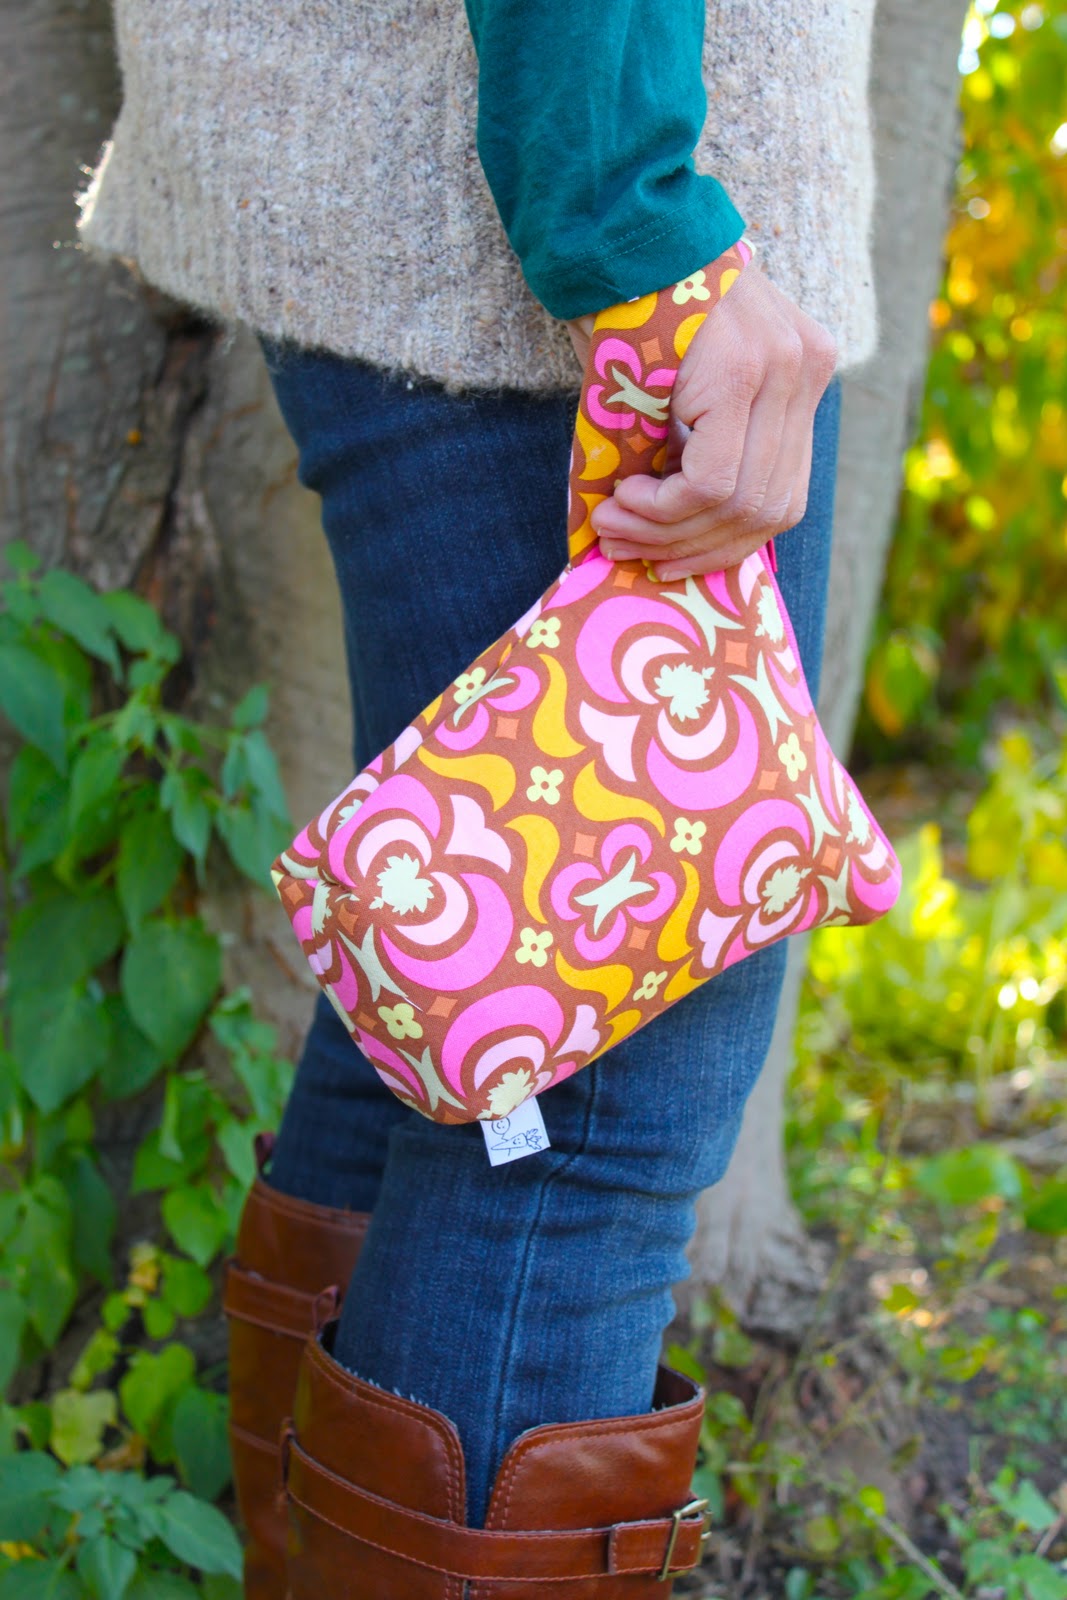
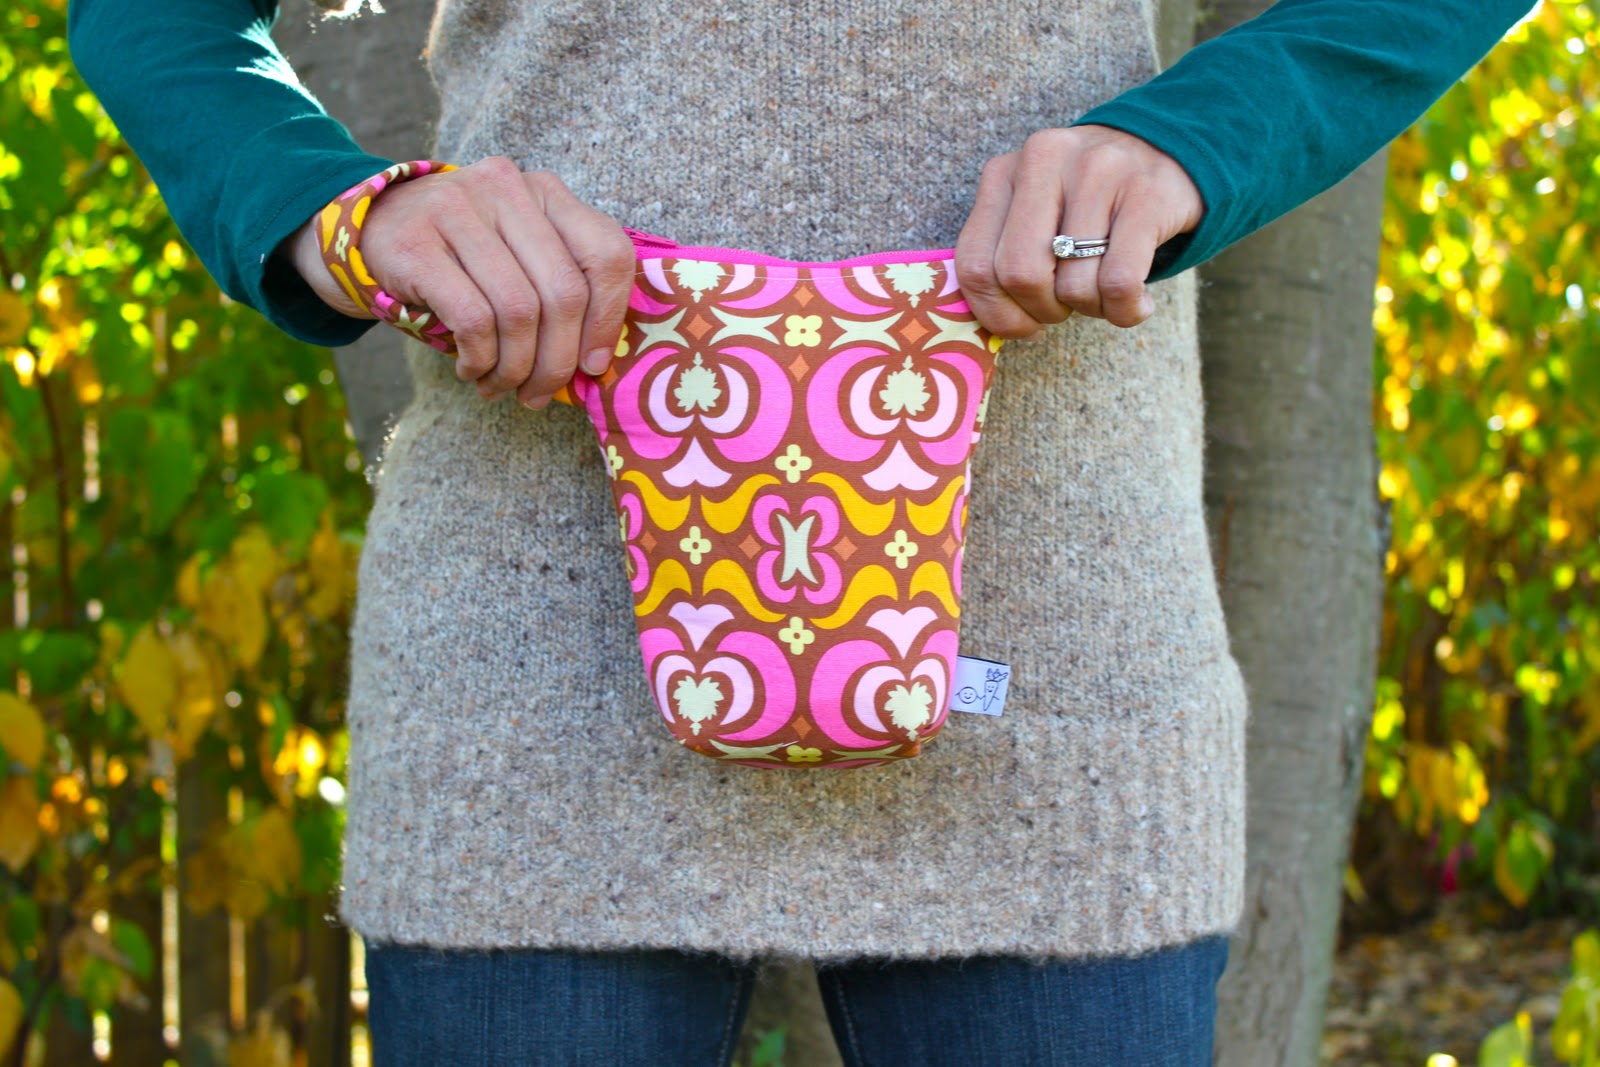
      I LOVE this and I also love the boots you’re wearing in the side view pix. Would love for you to share this at A Crafty Soiree today http://www.yesterdayontuesday.com
      xoxo Malia

    15. luvinthemommyhood says

      October 25, 2010 at 6:13 am

      Ohhh, this is fab! Now all I need is the lens I want to put in it 🙂

    16. jojoebi says

      October 29, 2010 at 5:20 am

      this is a great idea!
      I have included it in my Christmas Gifts To Sew round up
      http://jojoebi.blogspot.com/2010/10/lots-of-gifts-to-sew.html
      thanks
      jo

    17. elle says

      November 8, 2010 at 5:13 am

      I’m ready to purchase my first sewing machine and am wondering which one you would recommend or which one you use and how you like it. Any advice appreciated!

    18. LeelaBijou says

      November 9, 2010 at 1:25 pm

      Fantastic! Great tuto!

    19. Maggie says

      November 9, 2010 at 9:42 pm

      Hi Elle!! I have a Brother cs6000i and I really like it! There are lots or stitch choices and it was really easy to figure out, I just read the manual once and got to work. I never really sewed until I got this for my birthday last year if that tells you anything 🙂 It wasn’t too expensive and there were a ton of good reviews for it on Amazon (http://www.amazon.com/Brother-CS6000I-Affordable-60-Stitch-Computerized/dp/B000JQM1DE) although I ended up buying mine through Walmart.com. Let me know if you have any other questions!! Happy sewing!

      XOXO,
      Mags

    20. Heather@Cultivated Lives says

      November 21, 2010 at 3:11 am

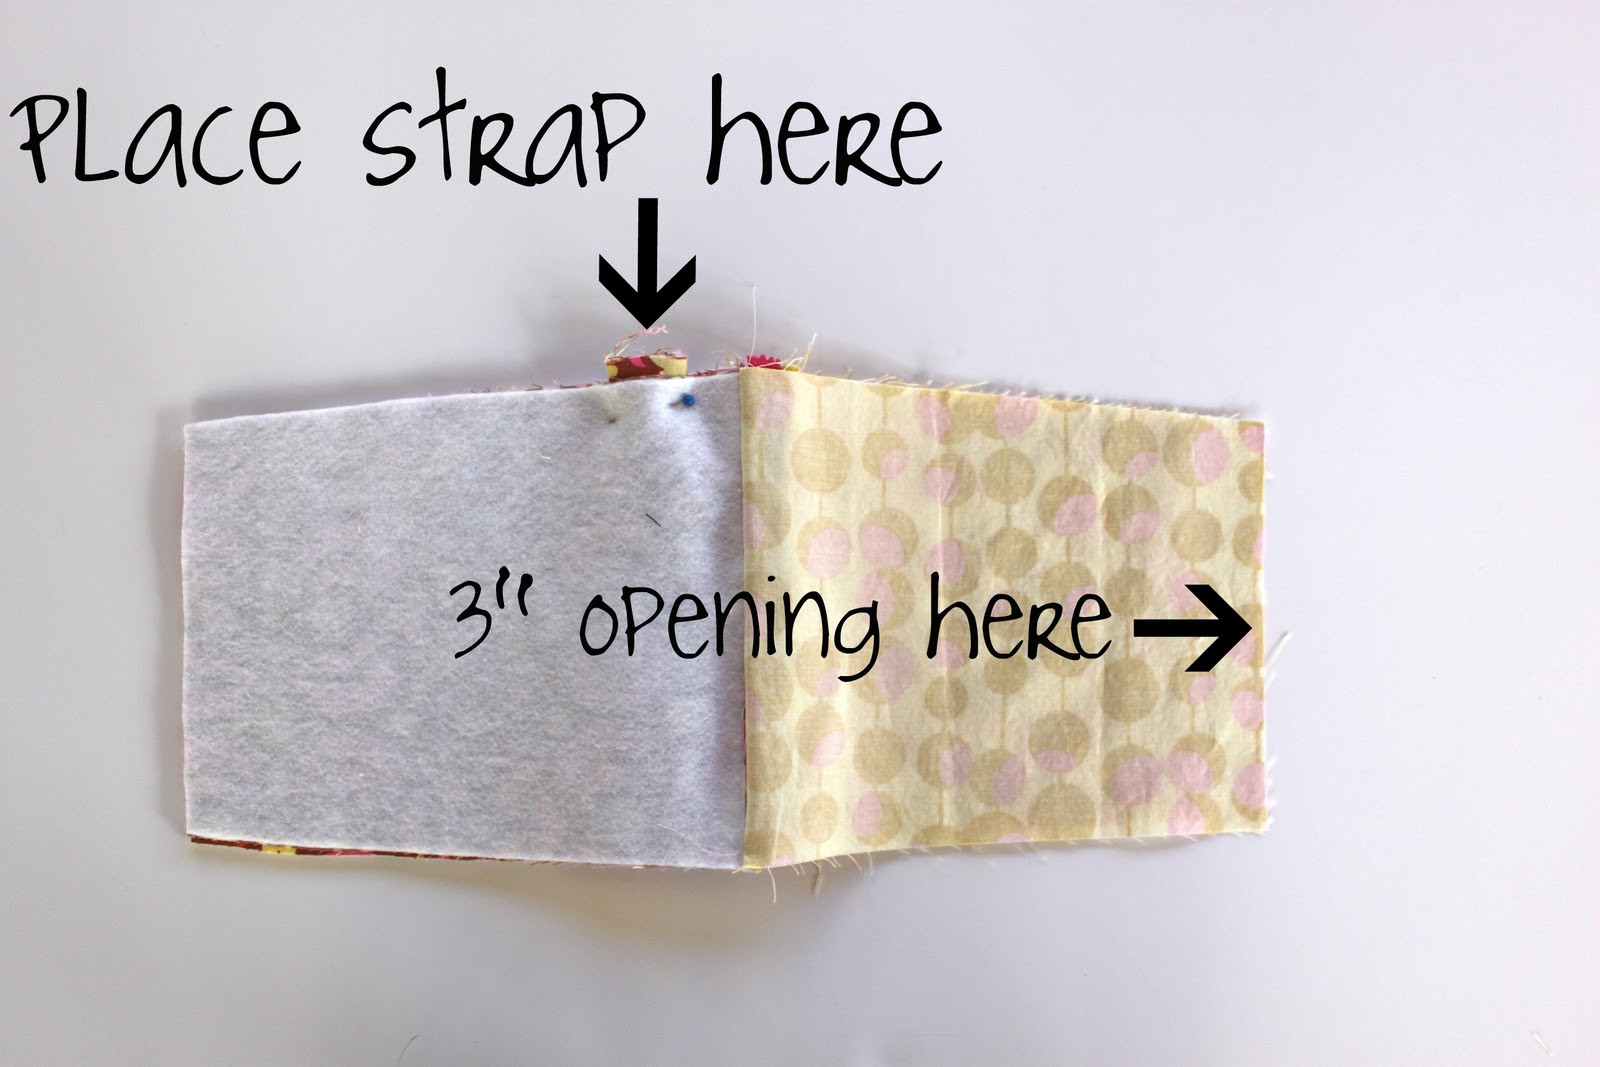
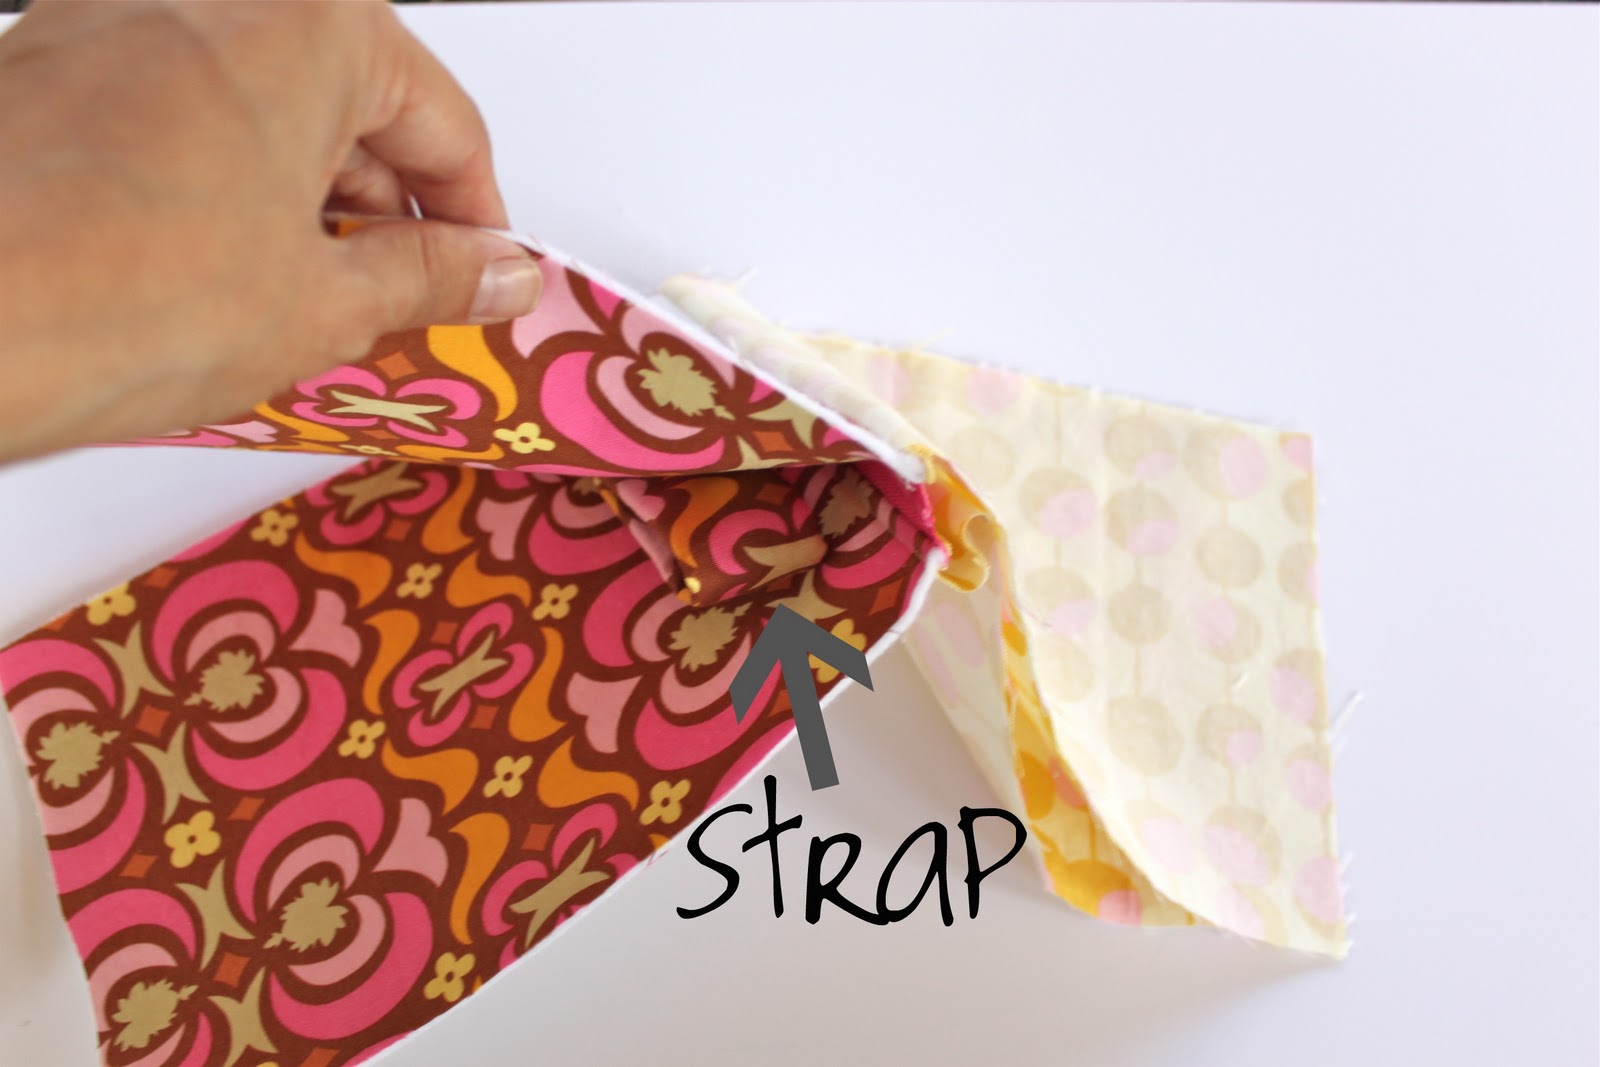
      What a great tutorial. I love the addition of the straps. I have three lenses and can never decide which one/s to take with me…

      ~Heather
      http://cultivatedlives.blogspot.com

    21. snapshots2011 says

      April 23, 2011 at 1:18 pm

      I love it! I’m going to Disney soon, and was looking for a tutorial for a bag to make for my lenses so I don’t have to carry my whole camera bag- I love that this is like a little wristlet, and you WIN for using Amy Butler fabric!

    22. lafondsi says

      August 18, 2011 at 6:21 pm

      This is the best. I just took my zoom lens with me on a boat trip and was worried about my fixed lens the whole time in my bag. I’m working on one of these for all my scrapping/photographer girlfriends! Love it. Thanks so much for a great tutorial. Just put 2 out 3 to bed (mine are all under 4 1/2!) and am going to start pinning.

    Welcome to Smashed Peas and Carrots. You can read more about me HERE
     photo designTeam.png
    Follow on Bloglovin

    Popular Tutorials

    Highlighter Valentine Card with Free Printable

    Highlighter Valentine Card with Free Printable…

    Play Doh Valentine Card Free Printable

    Play Doh Valentine Card Free Printable…

    Elderberry Syrup Recipe

    Elderberry Syrup Recipe: Natural Cold and Flu…

    Teacher Survival Kit

    Teacher Survival Kit with FREE Printable…

    Notebook Paper Pencil Pouch Teacher Gift Idea

    Notebook Paper Pencil Pouch Teacher Gift Idea…

    Free Silhouette File Teacher Canvas Bag Gift Idea

    Free Silhouette File: Teacher Canvas Bag Gift…

    Popular Recipes

    No Bake Energy Bites Recipe…

    Chocolate Coconut Cups {Gluten and Dairy Free}…

    DIY Taco Seasoning Recipe…

    Sugar. Cookie. Icing. {The Recipe}…

    French Dip..Crockpot Style!…

    Crockpot Banana Bread…for Real!…

    My Sponsors

     photo FatQuarterShop-175x175.png

     photo cdf15248-e6f8-4276-abc0-c145e2451c35.jpg


    Blog Archives

    Posts by Topic

    Stay Connected

    • Facebook
    • Twitter
    • Pinterest
    • Instagram
    • Dots
    • Google Plus

    Join me on Facebook

    Copyright Smashed Peas and Carrots © 2025 · All rights reserved · Design by Emily White Designs

    Copyright © 2025 · Smashed Peas & Carrots Custom on Genesis Framework · WordPress · Log in