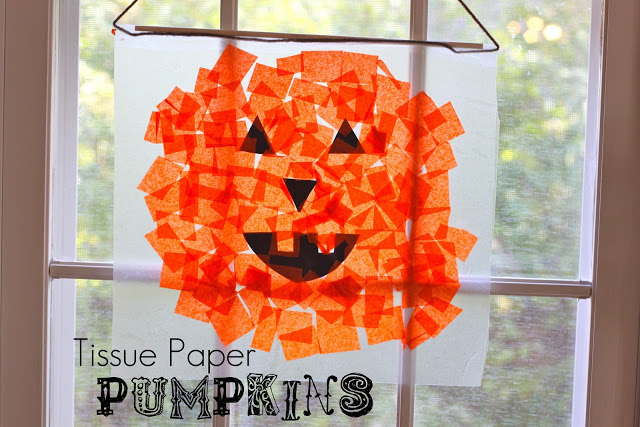
Earlier this week the kids and I spent one afternoon making a few Halloween decorations while Eloise took a much needed nap. Noah and Penelope absolutely loved this craft, it was right up their preschool art project alley.
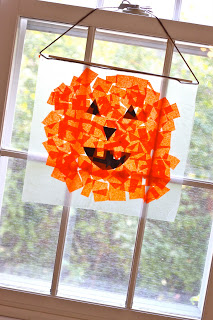
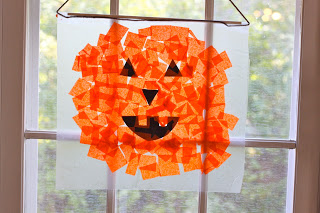
I think they turned out great! This was the perfect activity to keep their little hands busy for a good 45 minutes. They really took their time precisely placing all the little squares, umm they just might take after their mother 🙂
Want to make some with your little ones too?
Tissue Paper Pumpkins
one roll of contact paper
one piece of black construction or scrapbook paper
orange tissue paper
wooden dowels
a few long pieces of yarn
scissors
Grab yourself these crafty little items…
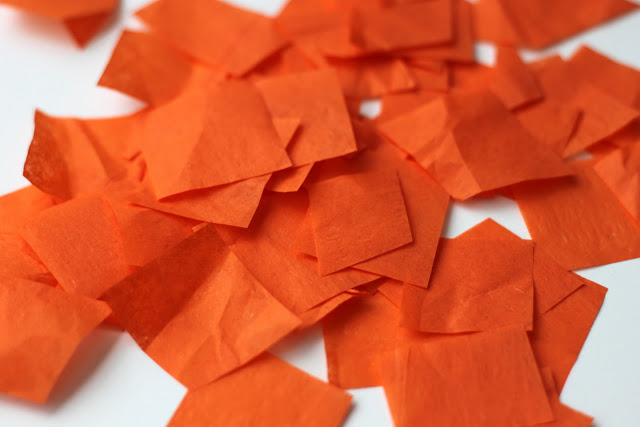
And cut yourself up a giant pile of orange tissue paper fun…
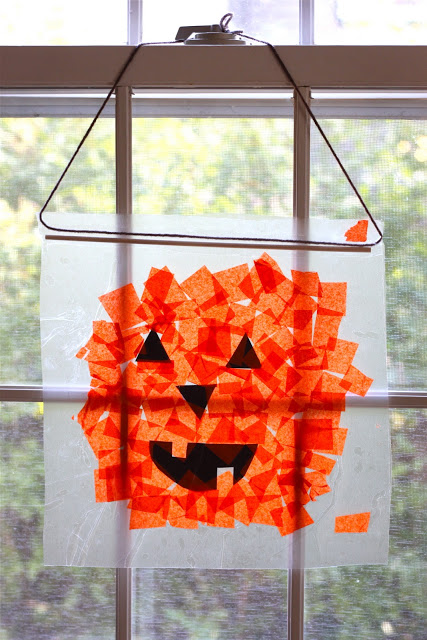
I cut out two 13 x 13 pieces of contact paper per pumpkin project (say that 5x times fast!) Don’t worry, it doesn’t have to be perfect. You just want the contact paper to be slightly larger than the wooden dowels you will use to help steady the pumpkin picture at the top.
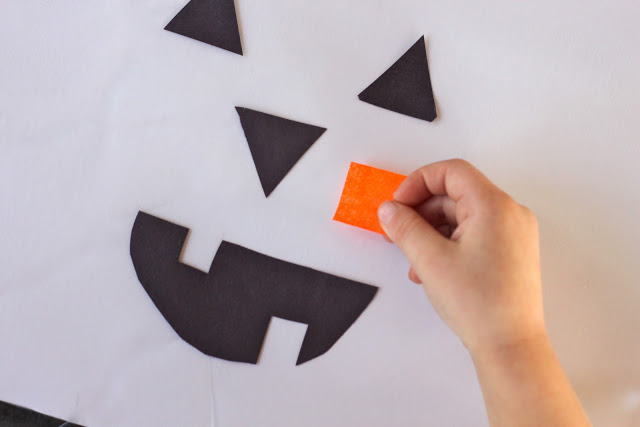
I also cut out they eyes, nose and random pumpkin mouths and stuck them on the contact paper first, just to prep everything. Then I let the kids go to town with the orange pieces.
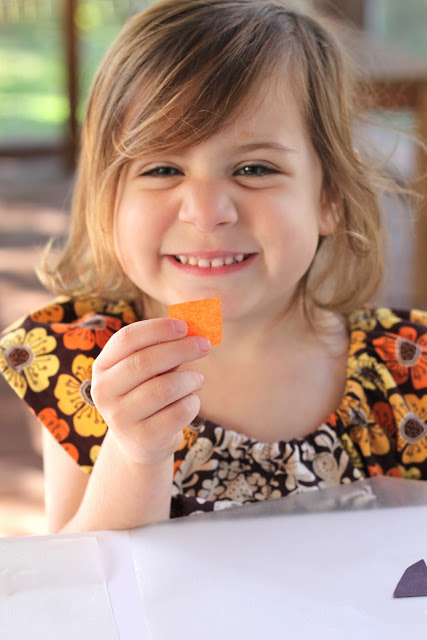
Penny’s first piece…oh where should she put it!?
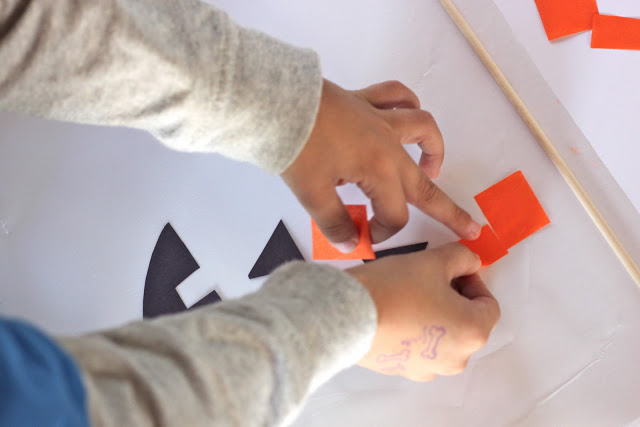
Right here looks good!
Do you see how this project could take some serious afternoon space? One piece of tissue paper at time…beautiful busy work folks!
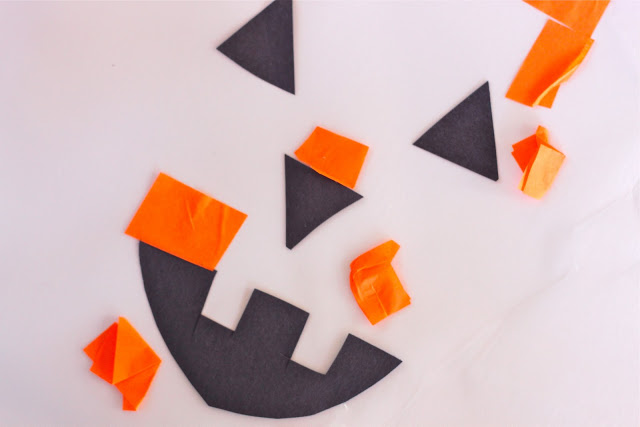
Slowly the pumpkin takes it’s shape 🙂
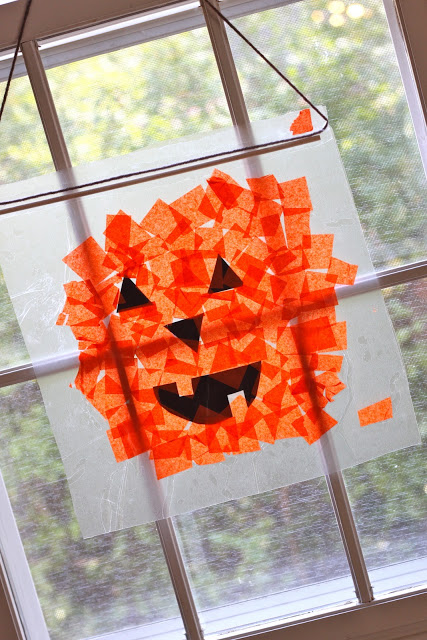
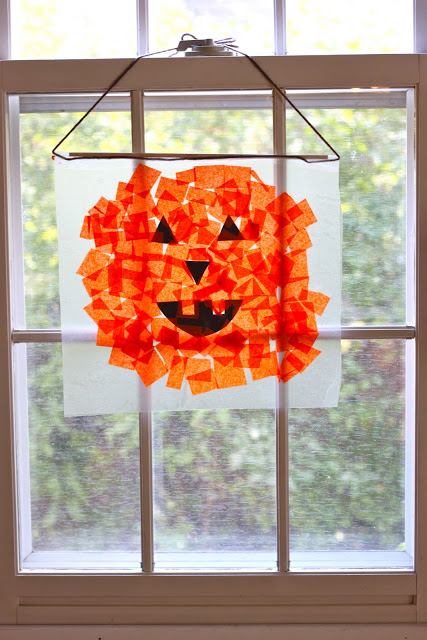
Once your little ones are finished, center the dowel at the top, and place the yarn slightly below the dowel and then ever so carefully place the other piece of contact paper on the top, sandwiching the pumpkin, yarn, and dowel in between. If you didn’t do it perfect, like me, just grab your scissors and cut around it to make the square more even.
Then find a window in need of some Halloween decor and hang that cute little project up!
You will have some proud little artists on your hands knowing their work is on display for all to see 🙂
You could also make a few witch hats, a black cat or even some goblins to give each window their own personality…go wild!
Hope you make a few and enjoy some Halloween crafty time with your wee ones!
XOXO,




Adorable…I will share this project with my granddaughter. She will love it!
Love this! I’m going to the store tonight to buy some dowels and contact paper so I can do this will all of my daycare kids! Thanks for sharing!!! So excited to make these.
Cute! I’ve done this before, but with using a photograph and then putting all the tissue behind it and cutting it out in the shape of a heart for Valentine’s Day. Never would have thought about a pumpkin – great idea, the girls would love this!!!
I did a version of this yesterday with a boy I babysit. I took construction paper and cut out the shape of a pumpkin and left the edge of the paper like a frame. Cut a piece of contact paper (I had green on hand)put it on the back leaving the only sticky surface the shape of the pumpkin. He filled it in with little tissue. On one he added giant googly eyes vs. making tissue eyes. We also made little 4″ x 6″ jack-o-lanterns with the paper that I cut out of the center of the large ones. Even with the green contact paper the light shines through the window. I’ve done this with my son’s preschool with a bunny at Easter time and gave them multiple things to stick to the contact paper like Easter grass and feathers.
Oh so cute!! Ansley would love to do this!!
I love this idea! Must get supplies to do it with my granddaughter!
I subscribe to your blog, so I get your new posts via email…this one arrived on my iPhone this morning while waiting in line at the Target Pharmacy with my ill kindergartener. Perfect for a day home from school (and a day home from work for me!). We just finished it and they are so much fun! Instead of the wooden dowel and yarn, we just used one piece of contact paper and stuck it right to the window! I’ll add another piece when we take it down so we can keep it. Then next year, we can hang with yarn! Thanks for the perfectly-timed post!
Jamie (and Maeve)
I remember making similar tissue paper designs in kindergarten….I loved it! Holy cow that was a long time ago! And at Valentine’s we would use a pencil and shape the tissue around the eraser, and glue that on….and it was instant flower petals popping up! Fabulous!
I’m so glad you do so much craftiness with your kids…..what they learn through art will stay with them forever!
Great idea and it looks like it kept them busy! Cute project!
Natalie
http://www.projectdowhatyoulove.wordpress.com
Great little craft! Just posted on CraftGossip! Thanks!
Kristen
http://lessonplans.craftgossip.com/?p=4872
This is amazing!!! I think I can do a slightly smaller version of this with my after school care kids! Thank you for the idea!
Contact is such a great way to craft! I love this idea! Would you link it to my Halloween Traditions link up?
Just stopping by to let you know that I have featured your project on Fun Family Crafts! You can see it here
http://funfamilycrafts.com/tissue-paper-pumpkins/
If you have other kid friendly crafts, I’d love it if you would submit them 🙂 If you would like to display a featured button on your site, you can grab one from the right side bar of your post above.
Such a fun idea! I can’t wait to do this tomorrow with my four year old! He is going to love it! Thanks for sharing!
These came out so pretty and cheerful! I’ll be featuring this on The Crafty Crow soon!
Can I use cookie sheets with this project?
As a workspace? For sure!!!!