Smashed Peas & Carrots

Inspiration For Living Creatively - DIY Crafts, Sewing, Recipes, Crafts & More

  • Press
  • Disclosure
  • Collaborate
  • Contact
  • Facebook
  • Twitter
  • Pinterest
  • Instagram
  • Dots
  • Google Plus

Become a Subscriber

never miss a thing!

  • Home
  • About
    • Advertising
    • Disclosure & Safety Disclaimer
    • Privacy Policy
  • Recipes
    • Appetizers
    • Bento Lunch
    • Beverages
    • Smoothies
    • Breads
    • Breakfast
    • Casserole
    • Crockpot
      • Visual Library
    • Dairy Free
    • Dessert
    • Gluten Free
    • Main Course
    • Holiday
    • Instant Pot
    • Paleo
    • Party Food
    • Salad
    • Side Dish
    • Soup
    • All Recipes
  • Tutorials
    • Children
    • Adult
    • Home Decor
    • No Sew
    • Sewing
      • Children Sewing
      • Adult Sewing
      • Home Decor Sewing
      • Sewing Basics
    • Sewing Studio
    • Knitting
    • Kids Crafts
    • Bento
    • Holiday
    • Parties
    • Gift Ideas
    • Natural Living
    • All Tutorials
  • shop
You are here: Home / Tutorials / Adult / TUTORIAL: Date Night Ring Handled Clutch
Apr
11

TUTORIAL: Date Night Ring Handled Clutch

| Filed Under: Adult, Adult Sewing, Fabric, Reviews, Sewing, Tutorials

This weekend Mr. Smashed Peas and I are going on a hot date! Yup, me and my man…just the two of us 🙂  With four kids and no family in town or nearby we hardly ever get a chance to do a date night out, often times we make up for it with a date night in once the kids are asleep.  Usually that consists of a bottle of wine and a Red Box movie sometimes I even make an over the top dessert…just for us. But what am I talking about? Let’s get back to our hot date out 😉
I wanted to make a sweet little clutch to use on our date, something fun and flirty. Something cute and eye-catching that speaks of the warmer spring weather we should be having. And with enough room for my phone, wallet, and a few different lipgloss, you know, just the essentials, lol!
I was sent the perfect fabric for this project thanks to Joann Fabrics!  It’s from HGTV HOME and it’s really nice, durable home decor fabric, not too thick but just right.  The Urban Blossoms print on the outside of the clutch just screams warmer weather, doesn’t it?!  The inside lining fabric is called Checkered Past Berry…and it’s so, so pretty and colorful!!
Let’s make a clutch, shall we?
Date Night Ring Handled Clutch
1/2 yard of home decor fabric for outside
1/2 yard of coordinating fabric for the inside lining
1 set of ring handles (mine 5″ x 5″)
sewing machine and coordinating thread
Clutch pattern (found below)
Isn’t this fabric just fabulous?  The colors ‘pop’ so much, I’m in LOVE!!
Oh, and I bought my handles at Joann’s.  They have lots of shapes and sizes so you can get what suits you best!
This is the pattern I created for the clutch. You can try printing it if you like but it’s not in PDF format so I don’t know how well it will print to size.  The measurements are listed on it so you can free-hand it as that’s what I did!  The long 8.5 inch side is meant to be cut on the fold, I just realized I forgot to write that on there.
You will need to cut two of each pattern (on the fold!) from both the outer fabric and the lining fabric.
Sew right sides together along the right and left sides and the bottom only (see picture above) for each outer and lining fabrics using a 1/4 inch seam allowance.
Turn the lining fabric right side out like the picture above.

And place the lining fabric (still right side out) inside the outer fabric that is still wrong side out so that right sides are facing.

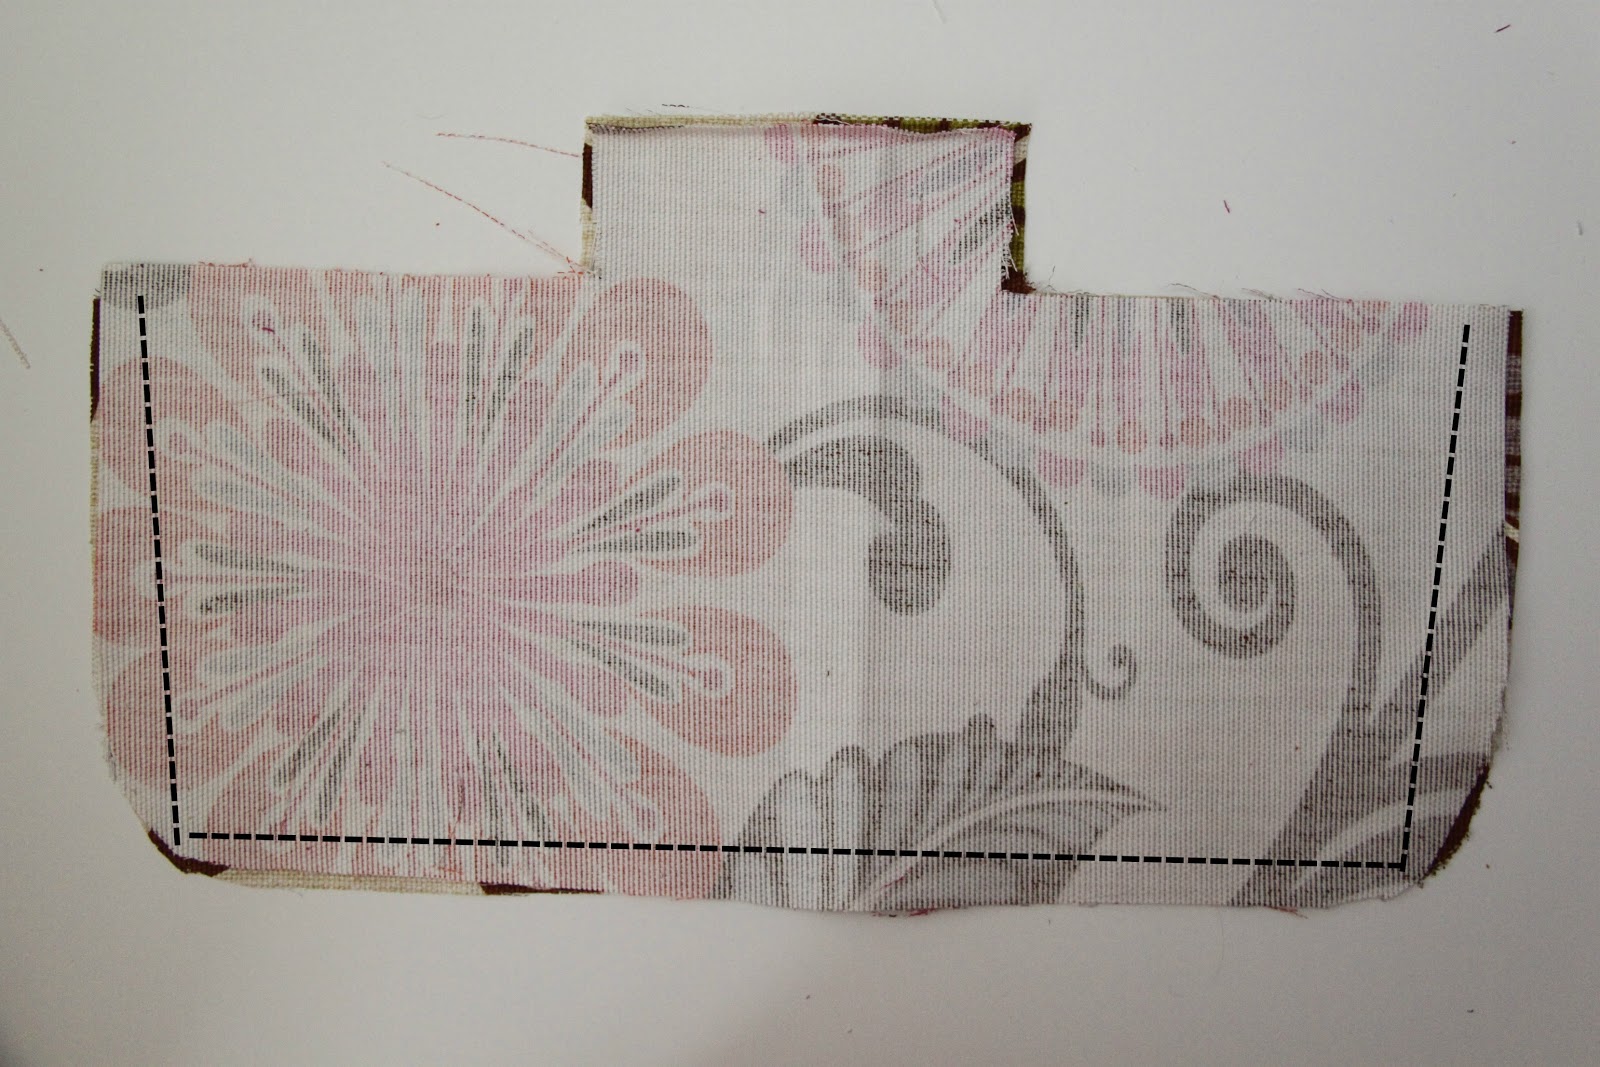
Then sew along the top two L-shapes (see picture above) using a 1/4 inch seam allowance, making sure to leave the very top of the handle unsewn.

Next flip the clutch right side out via the unsewn handle section. Just pull, ever-so-carefully, the outer fabric and lining so that the outer fabric is sitting on the outside of the clutch.

Next turn the top edge of the handle section in 1/4 inch and press with an iron.  Topstitch using a 1/8 inch seam allowance all the way around the top edge of the clutch including the handle portion!

Then take one ring handle and place it on the inside of the clutch and pin the handle portion over it (see picture above). Leave enough wiggle room so that your sewing machine can stitch it in place, it can be a tight fit! Do this with the other handle as well.

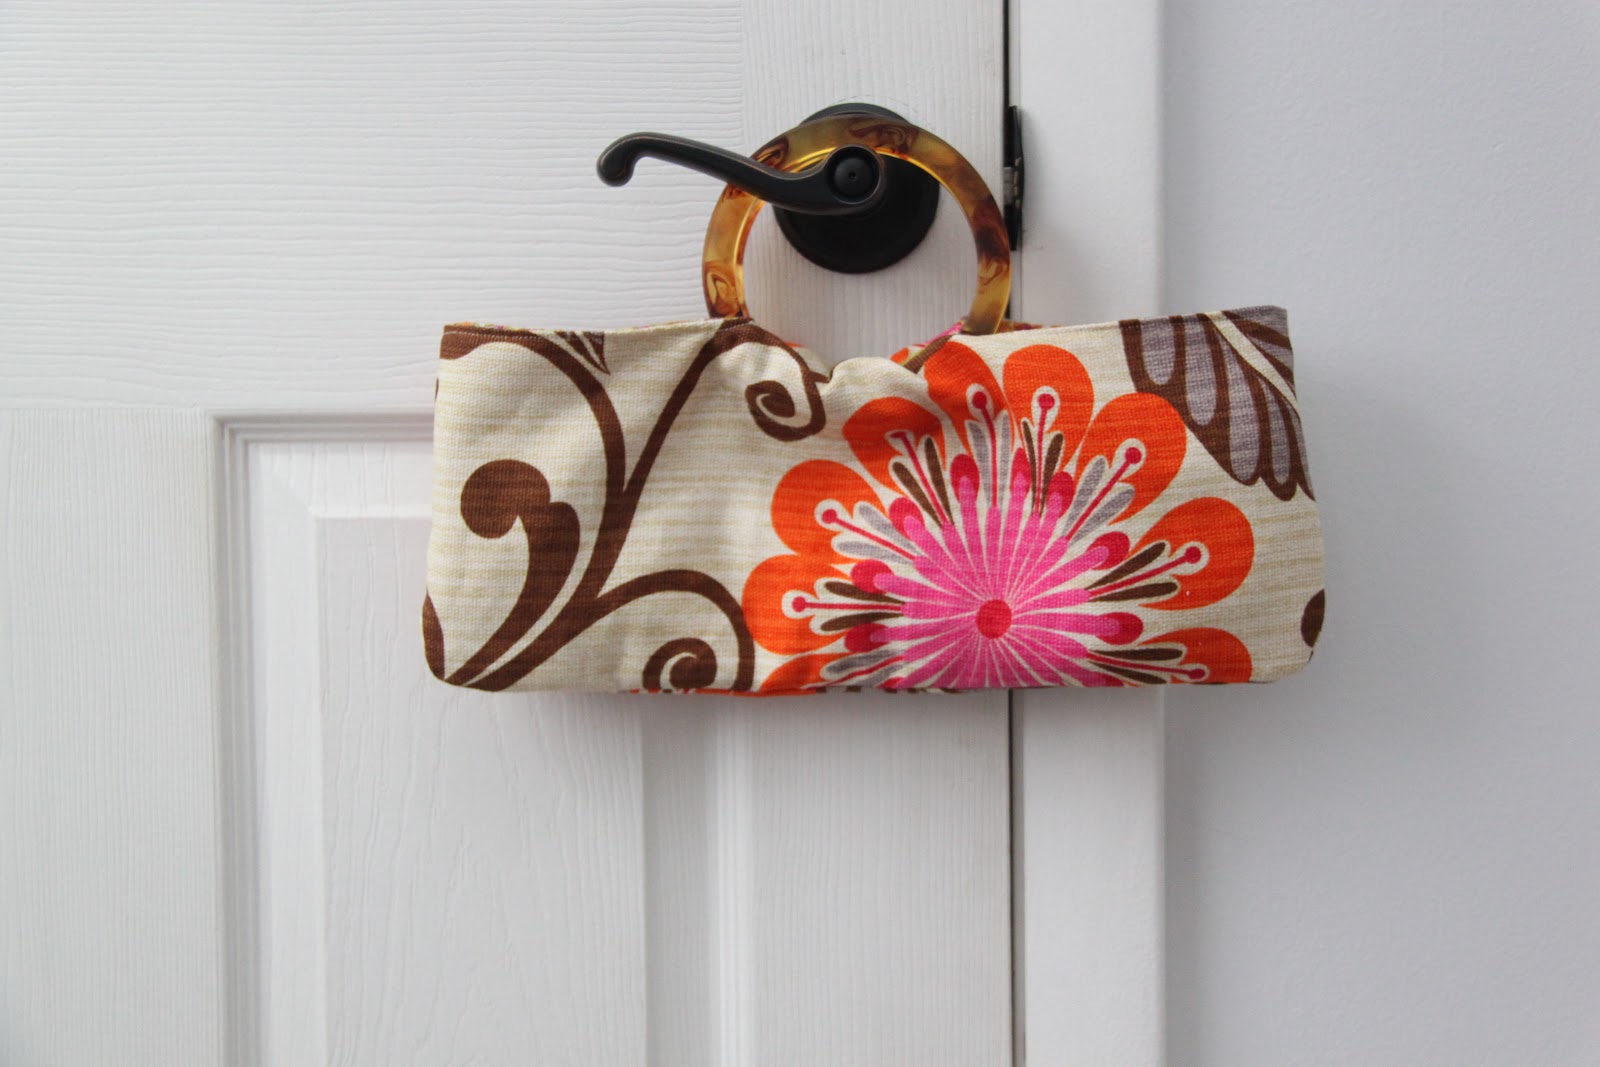
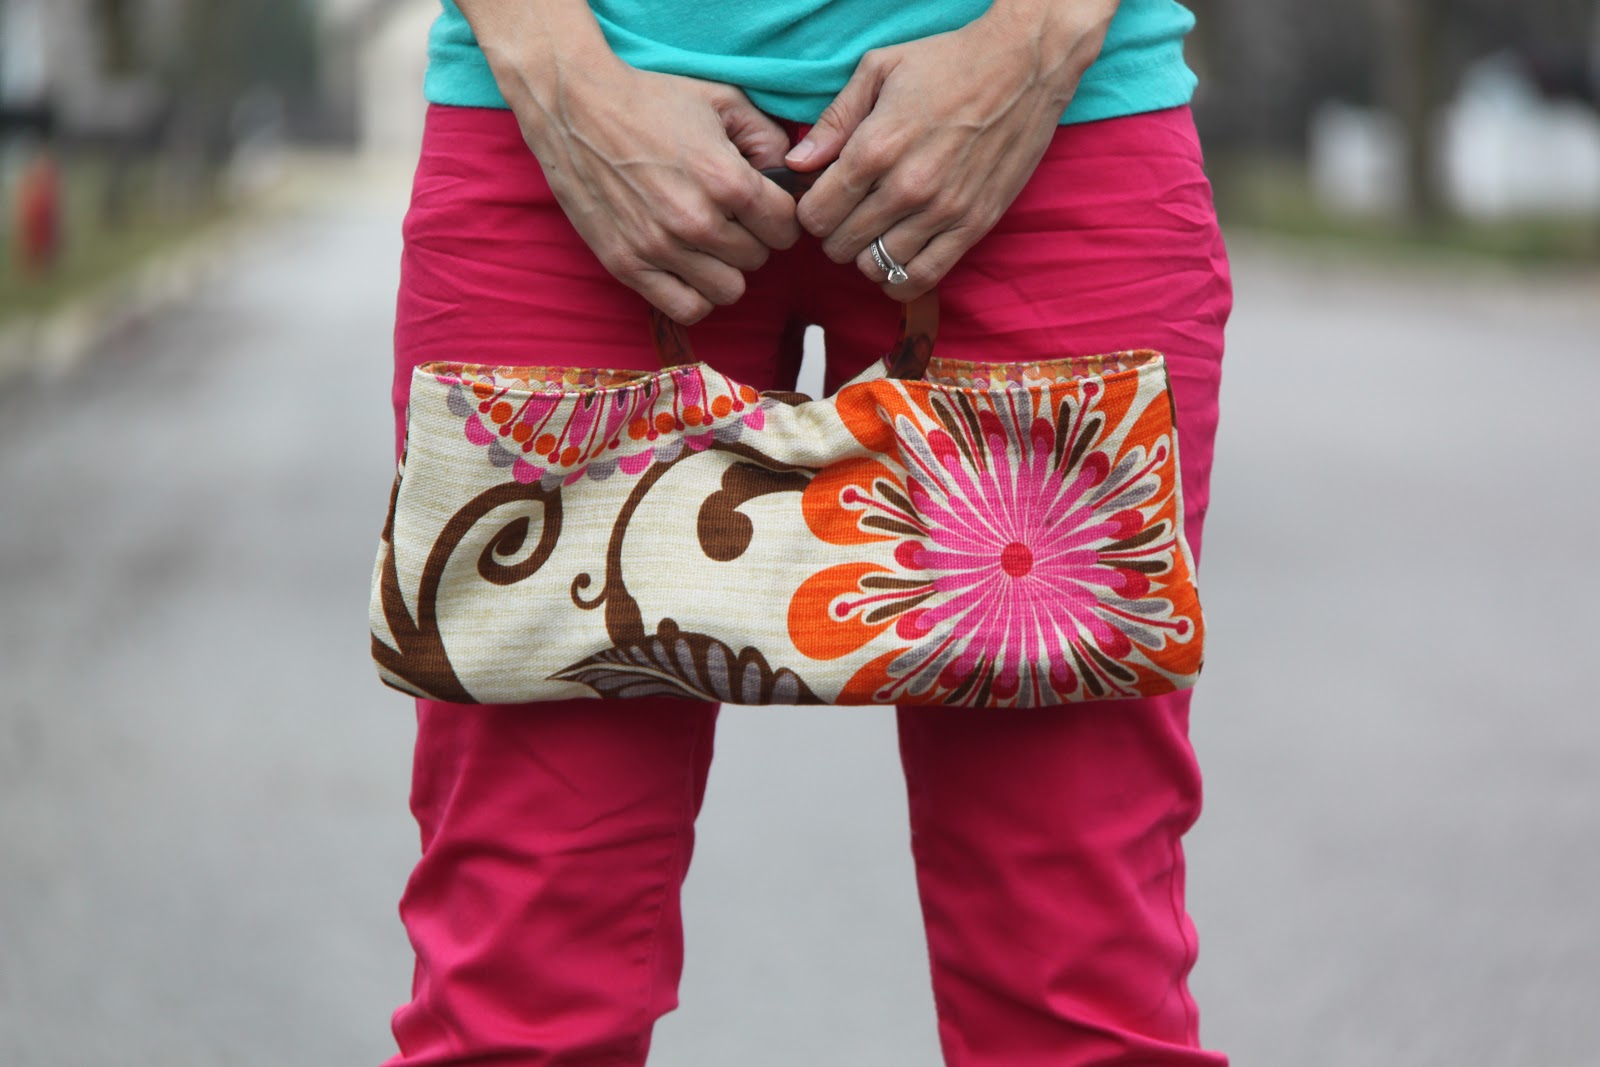
And Ta-Daa!  You are done!!

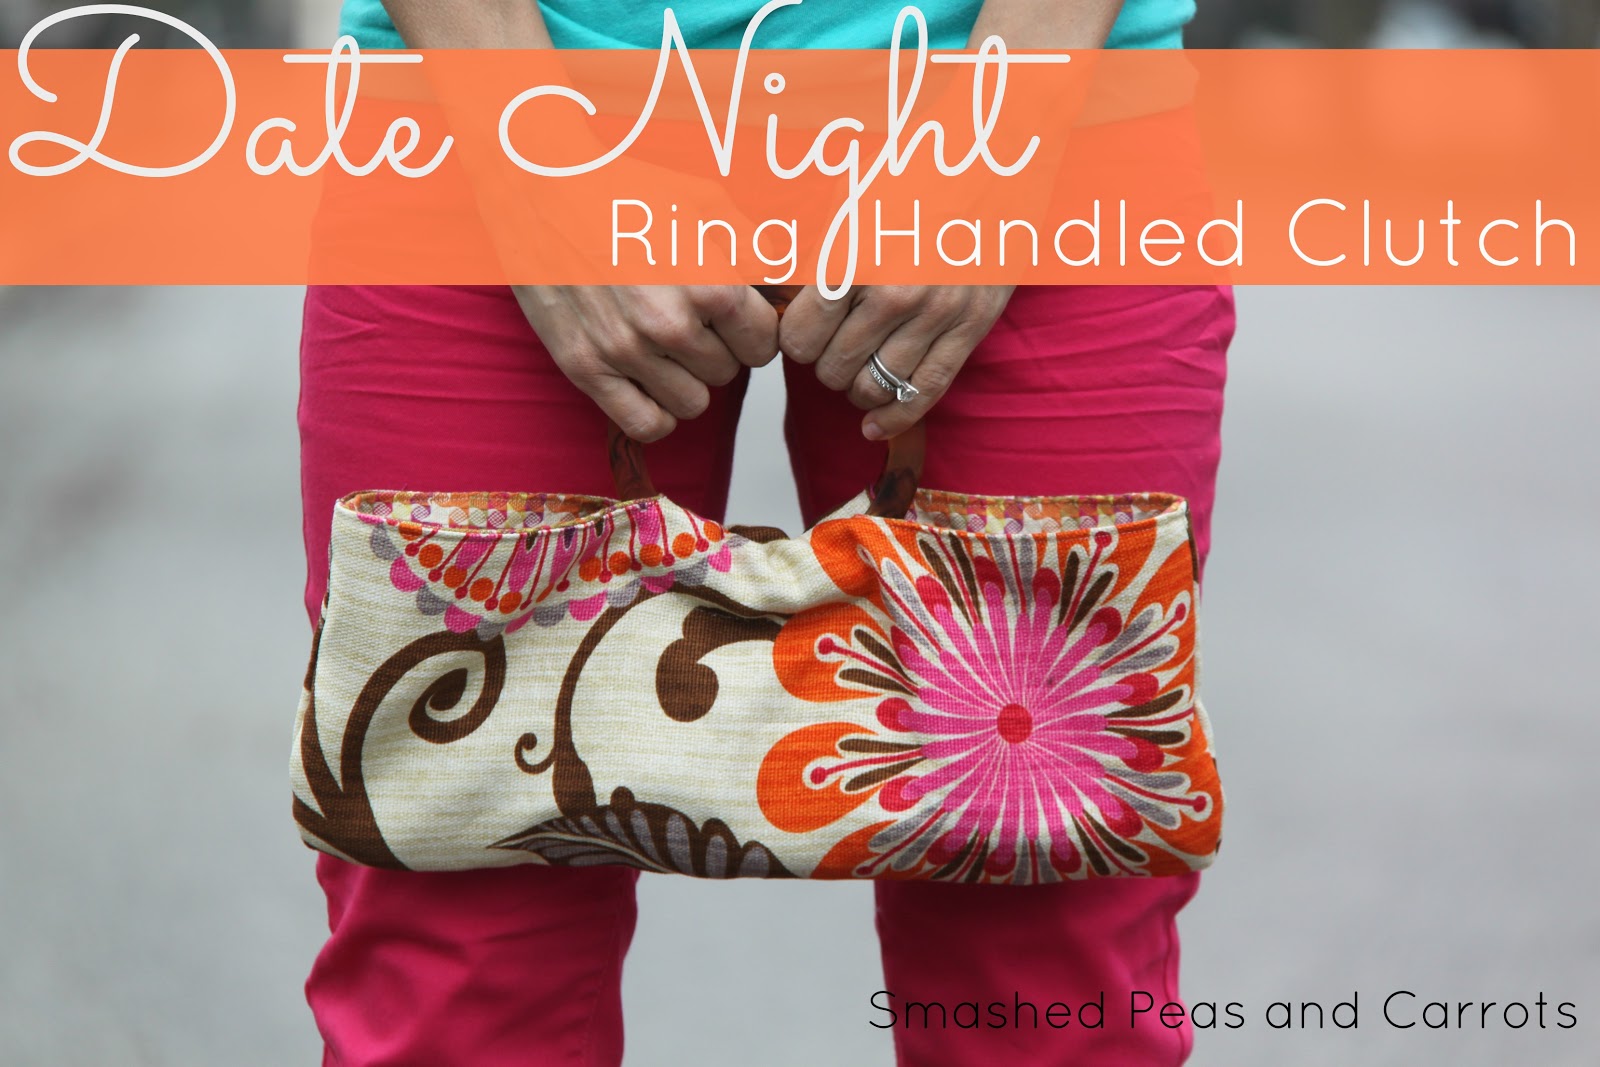
One pretty Date Night Ring Handled Clutch all ready for a hot date!

Thanks for stopping by today! 
And if you want to run over to Jo-Ann’s and pick up some of their delicious new HGTV HOME fabric here is a coupon you can print at home for 10% off….Hooray!!! Plus From April 7-May 4 the HGTV HOME line is 50% off at Jo-Ann!!  You can even use this coupon in conjunction with the sale 🙂
XOXO,


** I have been compensated for this post. However, all opinions are truthful and my own. 

    You may also like -

    Tiny Embroidery Floss Pom PomsDIY Martini MarkersHow to make a set of Pillowcases with French Seams in under 30 minutes! These are so cute!French Seam Pillowcase Set in Under 30 Minutes-TutorialTUTORIAL: Paper Rosette Gift Name TagsTUTORIAL: Turkey Table FavorsTUTORIAL: Spooky Snow Globes

    Become a Subscriber

    never miss a thing!

    Comments

    1. Marita says

      April 11, 2013 at 1:19 pm

      OMG! So cuuuuuute!!! 🙂 I have to make one for myself!!!! 😀
      Thanks for the tutorial! 🙂

      • Maggie says

        April 11, 2013 at 5:04 pm

        Thanks Marita! I hope you get a chance to make one!!!

    2. Marilyn Clark says

      April 11, 2013 at 1:25 pm

      What a cute purse! 😀

      • Maggie says

        April 11, 2013 at 5:05 pm

        Thanks Marilyn! I am in love with it!

    3. susana says

      April 11, 2013 at 2:00 pm

      Thank you so much for the tutorial!
      I “only” have two girls, but I completely understand the meaning of a date night in (my saturday nights!).
      Hope you both enjoy the night out!

      kisses from Portugal (yep, you export your charm, knowledge and funny things!)
      Susana

      • Maggie says

        April 11, 2013 at 5:06 pm

        Date nights in rock, Susana! It’s just what works in the season we are in, right!
        And kisses back at ya! Love the Portugal Love!!

    4. Graciela says

      April 11, 2013 at 2:57 pm

      Super cute!!!!

      • Maggie says

        April 11, 2013 at 5:07 pm

        Thank you, Graciela! 🙂

    5. Ines says

      April 11, 2013 at 6:08 pm

      Eine tolle Tasche! Würde sie für mich nur etwas größer machen 😉
      Lg Ines

    6. Emily says

      May 10, 2013 at 11:31 am

      I’ve never made a bag with this type of handles before, because I never saw one I liked until now! But I love this bag so much that I made a version of it with a zipper and posted about it on my blog:

      http://hungarianhousekeeping.wordpress.com/2013/05/10/copycat-clutch/

    7. Marisa says

      May 21, 2013 at 6:30 pm

      I don’t see where your stitches show in the last three pics for where you attached your handle…do you just flip over the top flap over the handle and sew across? Then the stitches show on the outside of the purse right? Sorry I am sure it is super simple and I am making it way more complicated than it is! Thanks for any help you can give me!!!

      • Maggie says

        May 21, 2013 at 10:00 pm

        Yes, I just flip over the top flap and sew across. Just make sure your thread coordinates because if it is too dark/light you will see the stitches!

    8. Marisa says

      May 21, 2013 at 6:31 pm

      oops my email is: mramsier@ymail.com

    9. kate says

      May 17, 2014 at 5:22 pm

      Love this so much that I’m running out to the fabric store to make now! After a try or two, I am making them for my classroom room moms! You’re instructions are so clear and visual for us first timers! Found you through my friend @2littlehooligans:)

      • Maggie says

        May 18, 2014 at 8:56 pm

        I am so glad you found your way here, Kate! I hope you enjoy making this clutch and your classroom moms love them!!!

        Love,
        maggie

    Welcome to Smashed Peas and Carrots. You can read more about me HERE
     photo designTeam.png
    Follow on Bloglovin

    Popular Tutorials

    Highlighter Valentine Card with Free Printable

    Highlighter Valentine Card with Free Printable…

    Play Doh Valentine Card Free Printable

    Play Doh Valentine Card Free Printable…

    Elderberry Syrup Recipe

    Elderberry Syrup Recipe: Natural Cold and Flu…

    Teacher Survival Kit

    Teacher Survival Kit with FREE Printable…

    Notebook Paper Pencil Pouch Teacher Gift Idea

    Notebook Paper Pencil Pouch Teacher Gift Idea…

    Free Silhouette File Teacher Canvas Bag Gift Idea

    Free Silhouette File: Teacher Canvas Bag Gift…

    Popular Recipes

    No Bake Energy Bites Recipe…

    Chocolate Coconut Cups {Gluten and Dairy Free}…

    DIY Taco Seasoning Recipe…

    Sugar. Cookie. Icing. {The Recipe}…

    French Dip..Crockpot Style!…

    Crockpot Banana Bread…for Real!…

    My Sponsors

     photo FatQuarterShop-175x175.png

     photo cdf15248-e6f8-4276-abc0-c145e2451c35.jpg


    Blog Archives

    Posts by Topic

    Stay Connected

    • Facebook
    • Twitter
    • Pinterest
    • Instagram
    • Dots
    • Google Plus

    Join me on Facebook

    Copyright Smashed Peas and Carrots © 2025 · All rights reserved · Design by Emily White Designs

    Copyright © 2025 · Smashed Peas & Carrots Custom on Genesis Framework · WordPress · Log in