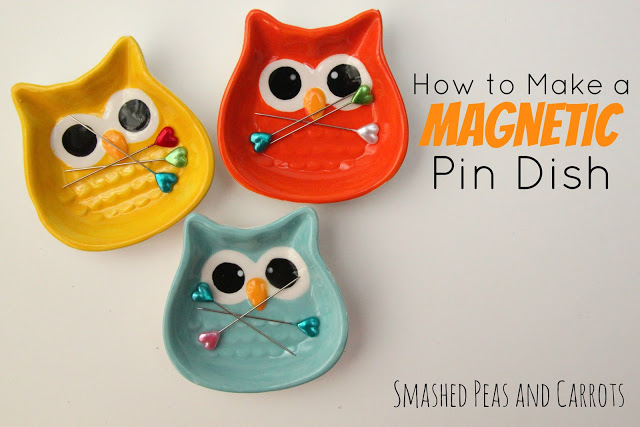
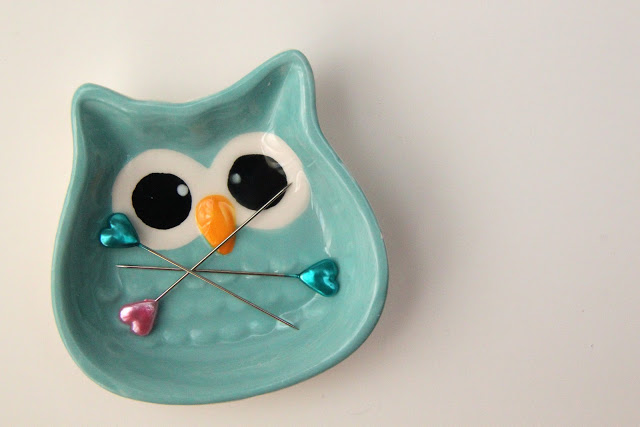
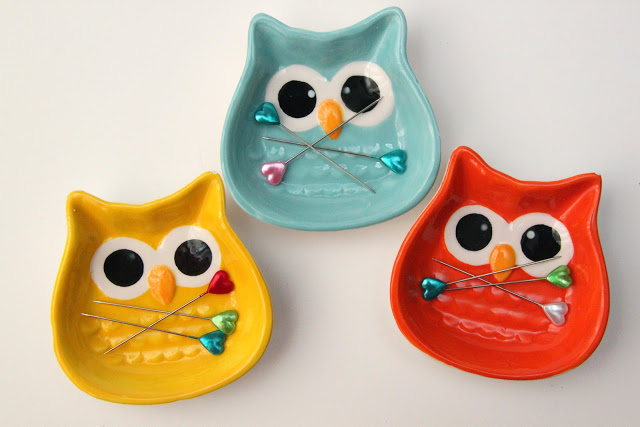
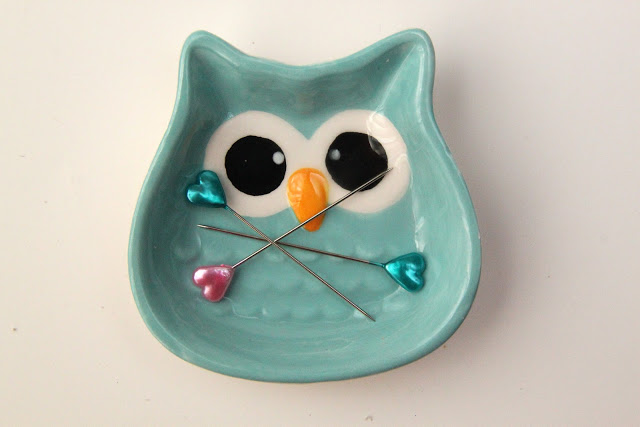
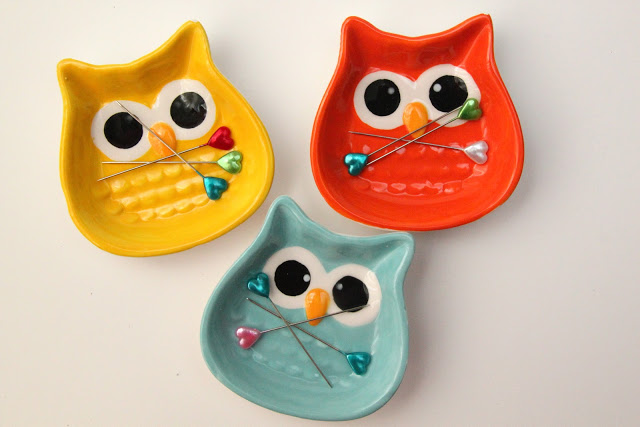
I was shopping at Michaels a couple weeks ago and I came across the cutest little ceramic owl dishes…are they not the most adorable things?! And in their dollar spot section no less! I bought a few thinking that they had so many uses…a dish to keep on the dresser for change…and rings and what’s that? A Magnetic Pin Holder? Yes ma’am, my sewing room needed one of these too! Just remember that you will need MAGNETIC pins for this dish. Did you know not all pins are magnetic? Weird but true. I find the longer quilting type pins are more so than the little ball-tipped ones, just an FYI for ya!
So once I decided that my sewing studio needed one of these it was off to the magnet section I went to buy some tiny but STRONG magnets…you see this ceramic dish is a wee bit thick which is a good thing cause it’s sturdy! Of course you could always make a Magnetic Pin Dish with any type of dish…or tea cup saucer…how cute would that be!
So let’s make a few shall we? They are uber easy…especially if you use permanent and strong glue dots (you don’t want that magnet coming off if you have little ones in the house!)
Magnetic Pin Dish
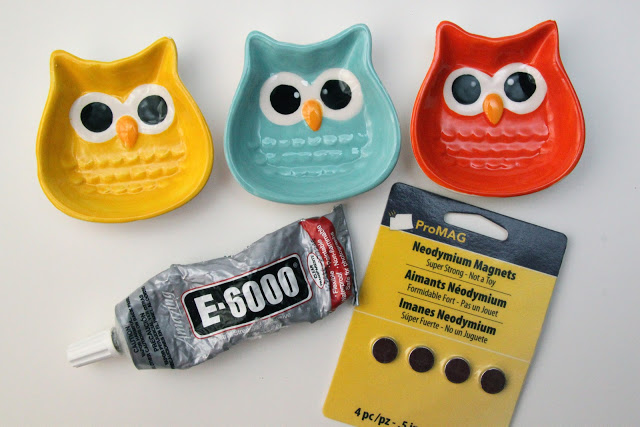
Cute dish (tea saucer, melamine plate, you name it!)
Neodymium magnets (the super strong kind!!)
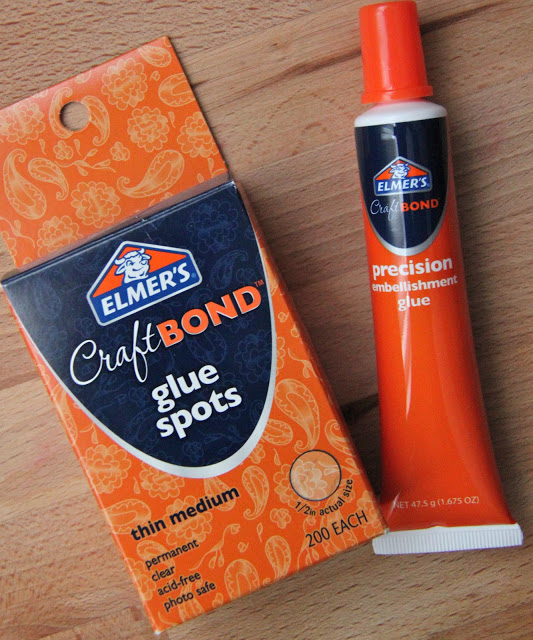
Glue (I used both E-6000 and Elmer’s CraftBond Glue Spots)
Magnetic Pins
This is what the Elmer’s CraftBond Glue Spots look like (above left) They are permanent, clear, acid-free, and photo-safe (important if you are a scrapbooker!) I was sent a few samples of some new products from Elmer’s and the Glue Spots were just perfect for this project! Nice and strong and great for attaching those leeetle tiny magnets. Just press a dot on a magnet and push firmly for a few seconds to attach…easy peasy!
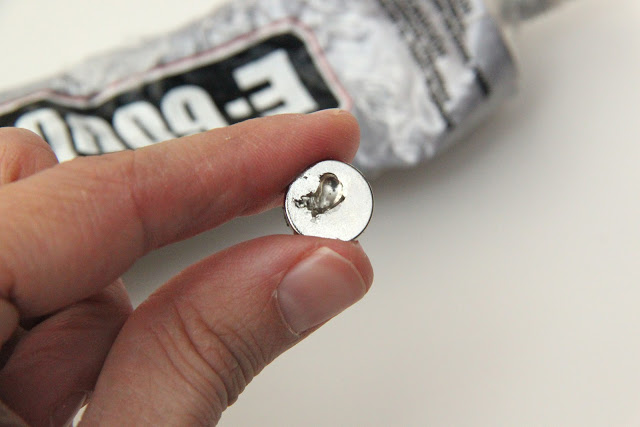
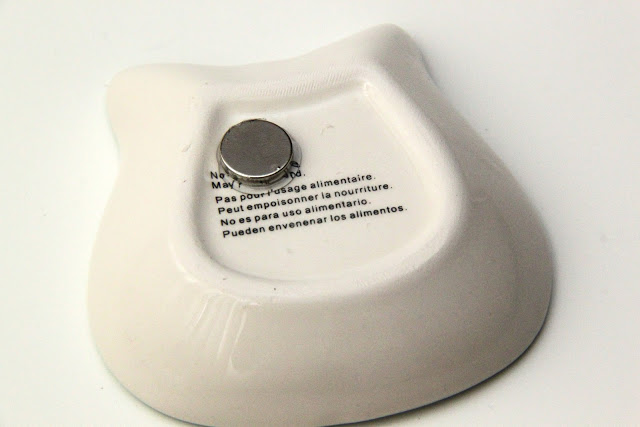
I also used E-6000 just to compare! This can be a little messier but still did the job. Just dab a little on one side of a magnet and press it to the backside of your dish of choice.
See, it gets a little messy as the glue comes out on the sides a bit but it dries quickly so no worries!
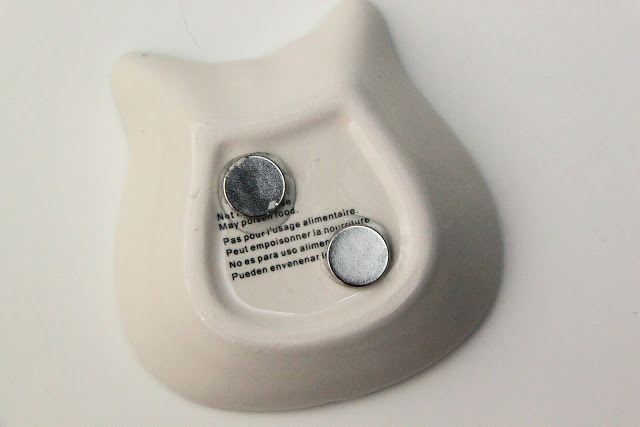
If you use the E-6000 you will want to place one magnet on and then let it dry before adding a second magnet. I found that if the glue wasn’t dry the magnets would “find” each other and stick like no other…hey, these are some STRONG magnets people! The Glue Spots from Elmer’s definitely made attaching the magnets a bit easier in that regard.
Then just flip your dish over once the glue is dry and drop your pins in…ahhh!
So easy…and cute!
Ya gotta love a functional and fast project!
Thanks for stopping by today!
**Giveway winner has been chosen, the winner is:
Oh! And if you’d like to win your very own box of Elmer’s Glue Spots click here or enter the Rafflecopter giveaway below!
XOXO,



Cute cute CUTE!!
Thanks Jordin! 🙂
These are so CUTE – love owls!
Brass pins can’t be picked up w/a magnet – they don’t rust either.
Thanks!! I don’t think I’ve ever used brass pins!
What a great idea to make it magnetic for the pins. I’m heading to Michaels tomorrow to see if we have some of the little owl dishes. Love it!!
I hope they still have them for you!!! I kinda want to go back and get more, they are so cute!!!
My daughter has a thing for owls – she moved to Kansas in August, 1800 mi away! Anyhow, this would be a darling trinket to add in her next “gift box”. Her 25th birthday is this month. 😉
Oh, she would love these, they are just too cute! You are too sweet to send her gift boxes, what a lovely momma you are!!!
Never would have thought about making a pin dish! Great job thinking outside the box.
Thanks Tina! 🙂
Love this idea! I just purchased some inexpensive supplies at Hobby Lobby and made a magnetic butterfly pin dish. Can’t wait to use it. Thanks so much!
Yay Sarah!! I hope you enjoy your new magnetic pin dish!!!
The dishes are cute but I am kind of crushing on the cute heart pins! Where did you find those little cuties?
I love the heart pins too, Cassie! I actually bought them in the notions aisle at Joanns…run over there now!!
I love this project! Where can you buy those magnets? Is it something a hardware store would have, or do you need to find a Michaels or Hobby Lobby?
Hi Rene!
I bought my magnets at Michaels in their magnet section…in my store that is by the wood dowels, etc. Just ask a sales associate to point you in the write direction!
Love this idea. Where did you buy the magnets? At Michael’s too or at a hardware store?
Hi Neeta, I just answered this above 🙂 At Michaels!
Where, oh WHERE can I find those PRECIOUS owl bowls?? Need!
Geez, please disregard my other comment about where the bowls came from….I’m obviously blind and don’t read. SORRY!
nice tutorial..
Great tutorial! Those owl dishes are so cute, I have to get my hands on them!
I am always losing my pins. I will definitely try this out. Thanks Maggie!
Way too cute! I’ve been wanting to make something for my pins. Found it! Heading to Michaels soon. Thanks! Only thing – I think I might get carried away and turn every little dish/plate I have into this craft! 🙂 Definitely a good gift idea. Thank you. Thank you.