Smashed Peas & Carrots

Inspiration For Living Creatively - DIY Crafts, Sewing, Recipes, Crafts & More

  • Press
  • Disclosure
  • Collaborate
  • Contact
  • Facebook
  • Twitter
  • Pinterest
  • Instagram
  • Dots
  • Google Plus

Become a Subscriber

never miss a thing!

  • Home
  • About
    • Advertising
    • Disclosure & Safety Disclaimer
    • Privacy Policy
  • Recipes
    • Appetizers
    • Bento Lunch
    • Beverages
    • Smoothies
    • Breads
    • Breakfast
    • Casserole
    • Crockpot
      • Visual Library
    • Dairy Free
    • Dessert
    • Gluten Free
    • Main Course
    • Holiday
    • Instant Pot
    • Paleo
    • Party Food
    • Salad
    • Side Dish
    • Soup
    • All Recipes
  • Tutorials
    • Children
    • Adult
    • Home Decor
    • No Sew
    • Sewing
      • Children Sewing
      • Adult Sewing
      • Home Decor Sewing
      • Sewing Basics
    • Sewing Studio
    • Knitting
    • Kids Crafts
    • Bento
    • Holiday
    • Parties
    • Gift Ideas
    • Natural Living
    • All Tutorials
  • shop
You are here: Home / Tutorials / Home Decor / TUTORIAL: How to Silkscreen A Spring Centerpiece
Apr
5

TUTORIAL: How to Silkscreen A Spring Centerpiece

| Filed Under: Home Decor, Tutorials

Today I’m participating in Michaels RE-Love Blogger Challenge!  It’s where Michaels has asked a select few bloggers to use our creativity and refresh something in our home in honor of April being Earth Month (and Earth Day being April 22!) 
Most of us have some old items sitting around our home or garage that may be a little worn and Michaels believes that all of us can take an old item and turn it into something to love again with a little creativity (paint, glue, etc.) Upcycling old items will save them  from the landfills too so it’s a win-win for us and the Earth!
For my project today, not only did I recycle but I upcycled too 🙂  Yup, a double whammy!  Let me show you how I did it with my Silkscreened Spring Centerpieces!
How to Silkscreen: Spring Centerpiece
Empty coffee bottles (I used old Starbucks Frappuccino bottles I had on hand)
Spray paint
Martha Stewart Glass Paint in Wedding Cake Gloss Opaque
Martha Stewart Crafts Adhesive Silkscreens (I used the Doily Lace set)
Foam brush
Alcohol
Twine
As you all know, I love a good party and I LOVE to entertain. So I just happen to have a huge box of old Starbucks Frappuccino bottles I’ve saved over the years as I think they make the perfect “milk bottle” on the cheap…recycling at it’s best! If you remember, I used them for Penelope’s “Just Stay Little Dress Up” birthday party found here.  

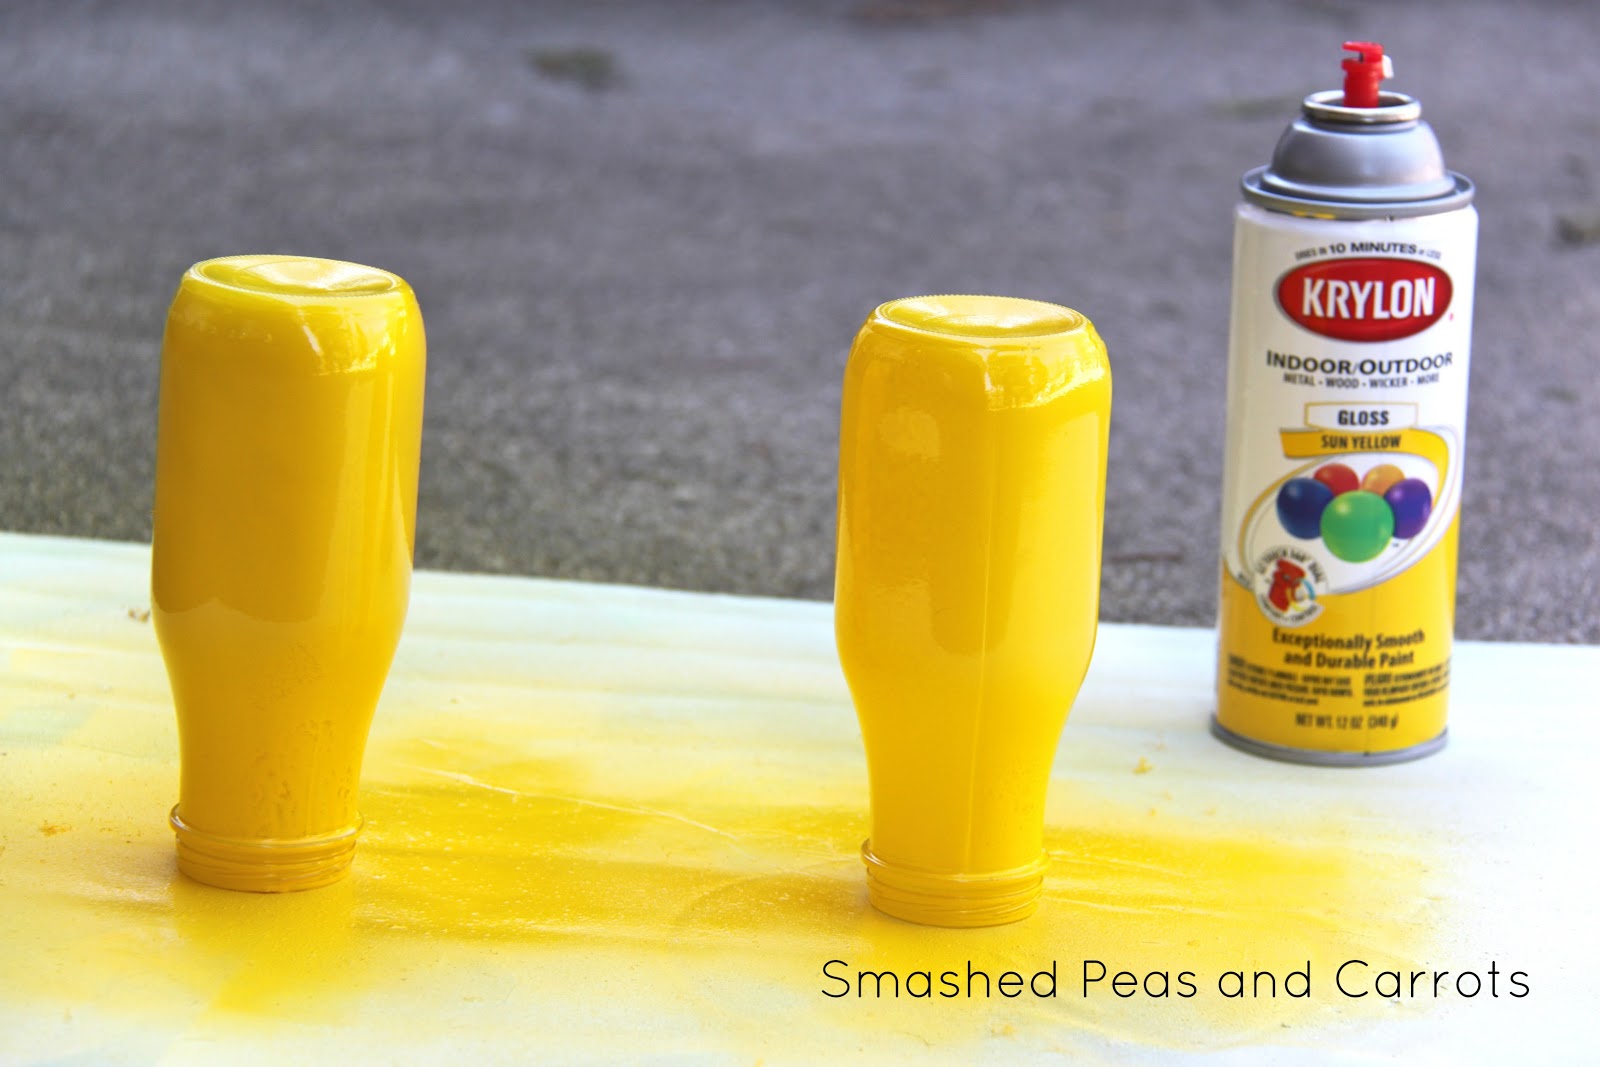
Well, I thought I would upcycle a few of them with some fun, bright spray paint for pretty Spring Centerpieces. Adding in some lovely flowers to help my home feel a bit more Spring-y as the weather in Chicago is still not on-board with the calendar…sigh.

Here’s how I did it.  I washed and dried my bottles (I did this when I first recycled them!) and then flipped them on their necks and spray painted them with Krylon’s Sun Yellow Gloss spray paint.  You can find it at Michaels!  I let them dry for about 1 hour.
Then I found these really pretty lace doily adhesive silkscreens from Martha Stewart Crafts at Michaels…I really liked that little butterfly!  I also bought a small bottle of MS Glass Paint in Wedding Cake (found in the same section at Michaels) and a foam brush.
Once your spray paint is dry, wipe a bit of alcohol over the area you plan to use your silkscreen as per the instructions.  Then lay cut your silkscreen of choice out and peel the back from it.  Lay it down where you’d like your design to be and it sticks pretty darn nicely.

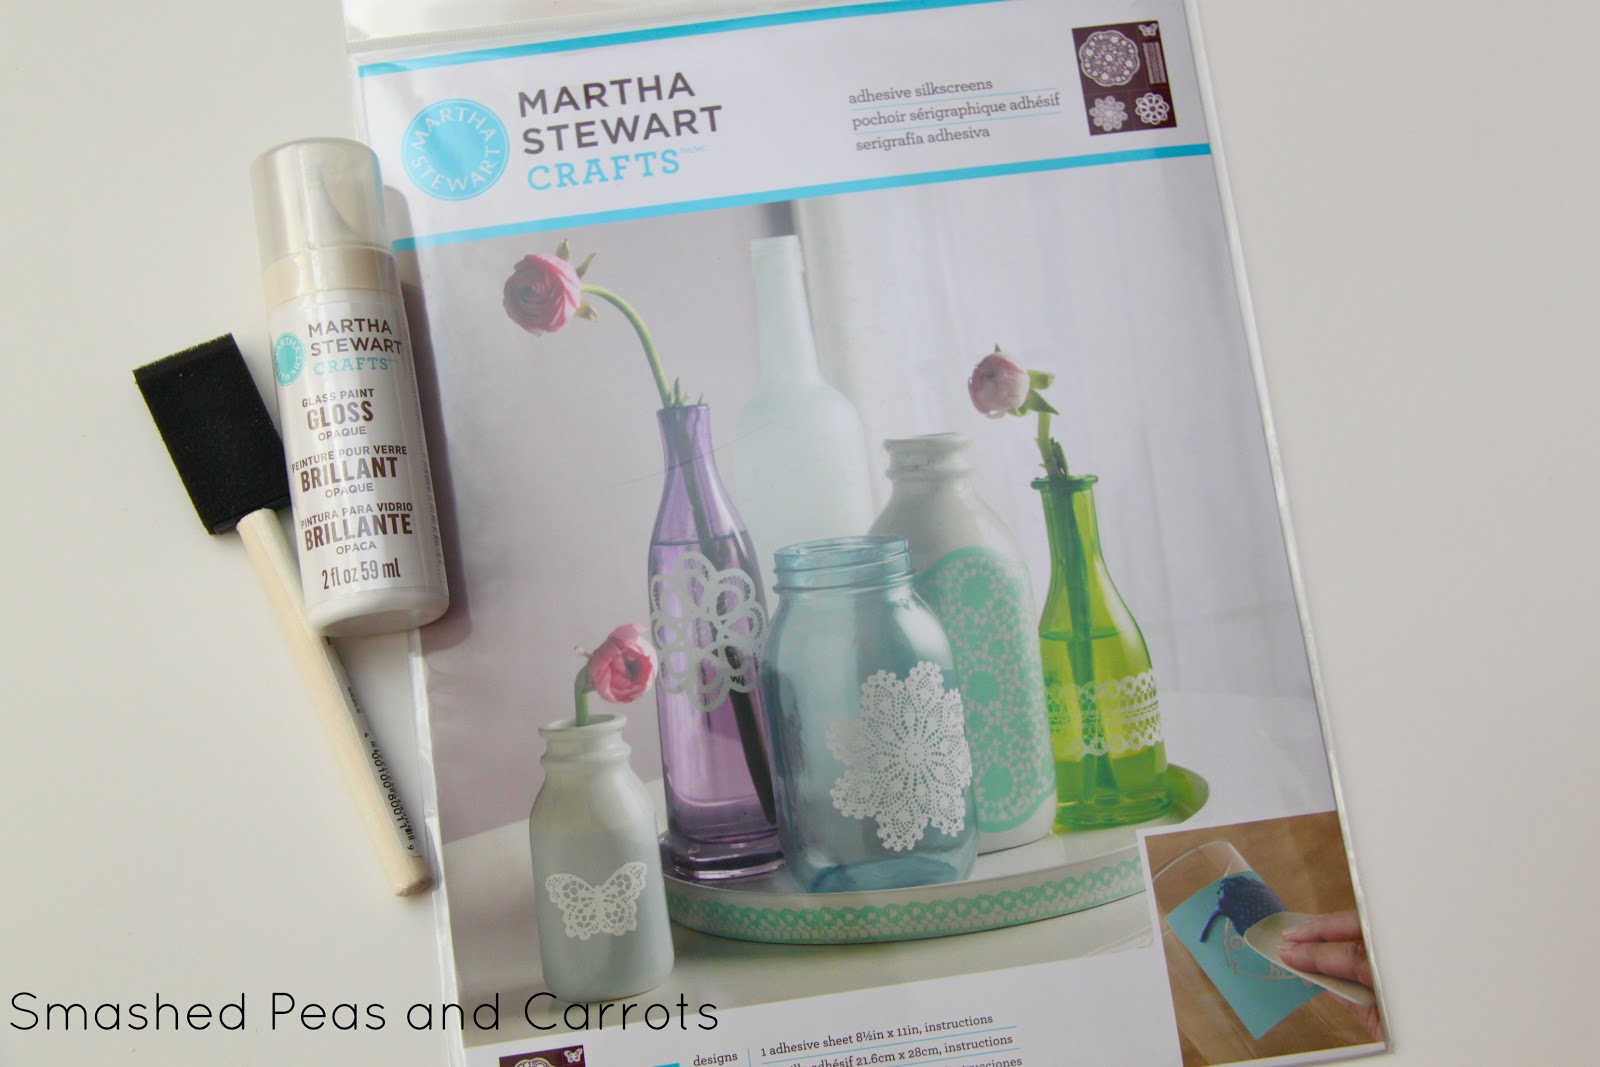
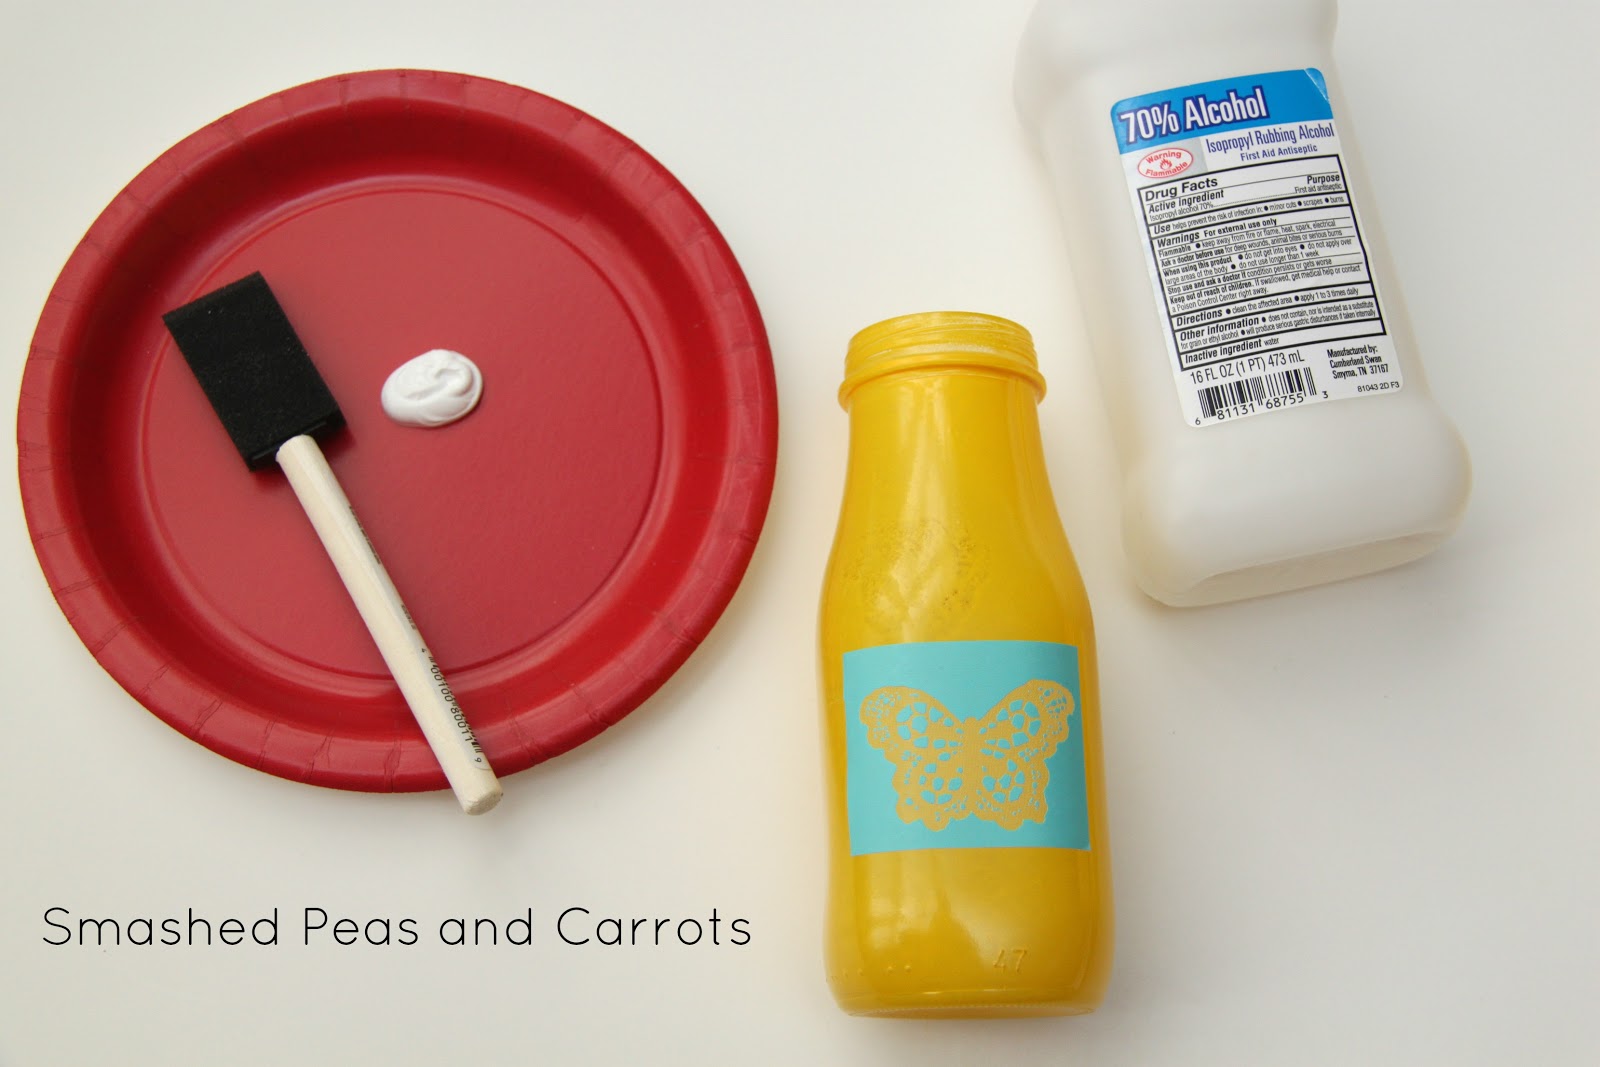
Then just dab the Glass Paint over your silkscreen like so…just a nice even layer, not too heavy and not too light.

While the paint is still wet, carefully peel the silkcreen off…I know it sounds scary and you think it’s going to get all messed up but it doesn’t…REALLY!

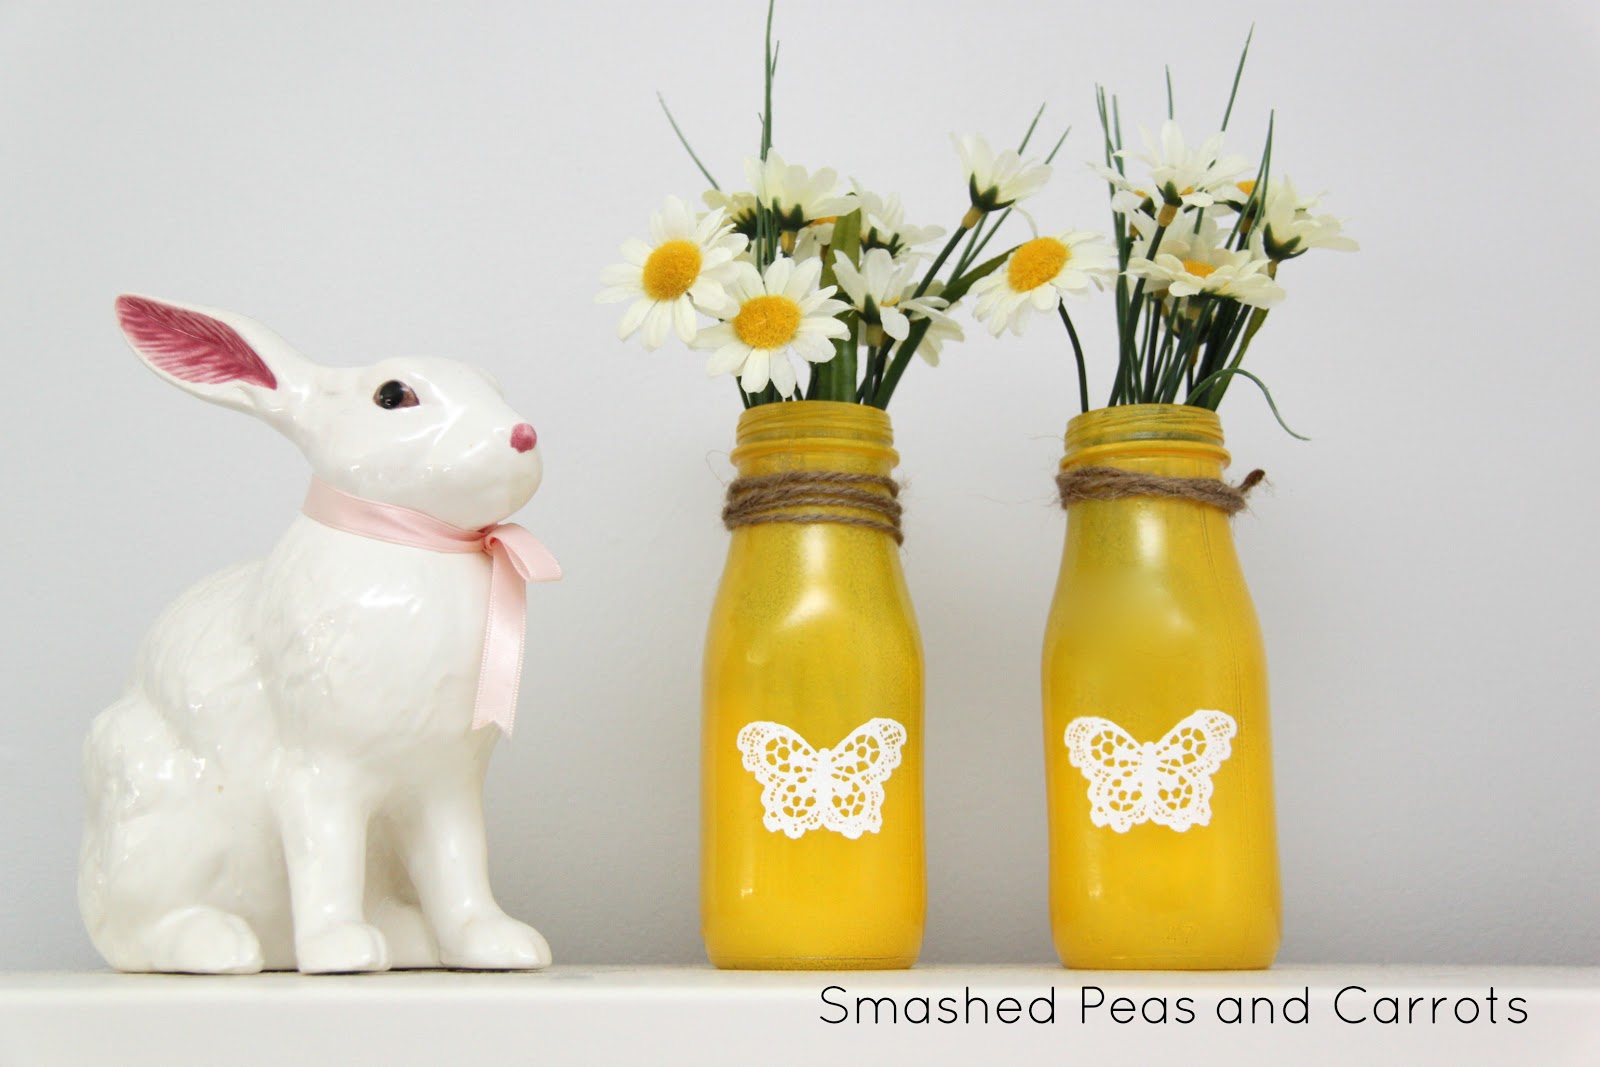
It truly turns out so pretty…and professional 🙂  Let the silkscreened print dry though so you don’t accidentally smudge it! Then wrap some twine around the neck and fill with your favorite pretty flowers (mine are silk flowers from Michaels!)

Now for a few things, as some of you may ask…

-I chose to spray paint the outside of my bottles so I will be able to fill them with water when I want to add fresh flowers.
-The instructions for the glass paint say to cure it (let it dry) for 21 days or bake it in the oven for optimal results but since I used spay paint on the outside I just let it be.  Mine will need to cure for 21 days just sitting out and I’m fine with that, I’ll just wash them with care in the mean time.
-So far I haven’t noticed any scraping or chipping of the spray paint but mine are rarely moved/touched, if you plan on having yours out in high traffic area you may want to used the MS glass paint and then cure it in the oven.

If you would like more ideas and inspiration on how to RE-Love an old item in your home, check out Michaels Lookbook here!

Thanks for stopping by today!!

XOXO,

** I have been compensated for this post. However, all opinions are truthful and my own.  This post contains paid links.

You may also like -

TUTORIAL: Toilet Paper Tube Advent CalendarTUTORIAL: Spooky Snow GlobesBack to School Organization with Martha Stewart Home Office™ with Avery™ PLUS Giveaway!TUTORIAL: How to Make Water Fireworks PLUS Martha Stewart’s Favorite Crafts for Kids Book Review and GiveawayTUTORIAL: Teacher Appreciation Gift And FREE Printable!

Become a Subscriber

never miss a thing!

Comments

  1. Jennifer Wike says

    April 5, 2013 at 4:06 pm

    That’s really cute!

    • Maggie says

      April 5, 2013 at 5:25 pm

      Thanks Jennifer! It was fun to do! 🙂

  2. Leni says

    April 5, 2013 at 5:29 pm

    I just love your creativity and get inspired again and again by your blog!
    Thanks a lot for all those lovely ideas!!!
    Greetings from Germany

    • Maggie says

      April 11, 2013 at 5:08 pm

      Thanks so much for your sweet words, Leni!!

  3. Charity says

    April 5, 2013 at 7:05 pm

    Those are so pretty! Love the sunny color. I love those silkscreens, and they are so easy to use! It’s funny though- they are intended for use on glass, but I have only used mine on fabric and paper. =)

    • Maggie says

      April 11, 2013 at 5:09 pm

      Ha! Charity, that is awesome…these silkscreens really are so cool…and they DO work on so many surfaces! Gotta love Martha!

  4. Maggie and Sheepie says

    April 5, 2013 at 8:51 pm

    A couple questions:
    1. Can you reuse the silkscreen over and over?
    2. Can I use regular paint in the silkscreen if I don’t have glass paint?

    • Maggie says

      April 11, 2013 at 5:10 pm

      Hi Maggie!
      To answer your questions, yes! you can resuse the silkscreens, just rinse them off well before the paint dries.
      And I know you can use the regular Martha Stewart craft paint, she has curing instrustions on those little bottles for when working with glass. I am not so sure about other craft paint brands, it will probably depend on what type of paint they are!

  5. Jill says

    April 7, 2013 at 7:40 am

    What a great idea, love the yellow too, perfect for spring.

    • Maggie says

      April 11, 2013 at 5:11 pm

      Thanks, Jill! I agree, spring=bright yellows to me!! 🙂

  6. Doro von Hand zu Hand says

    April 15, 2013 at 7:19 am

    that looks easy but brilliant!

    I linked to your tutorial on my blog – thanks for sharing!

    ♥, doro von Hand zu Hand

Welcome to Smashed Peas and Carrots. You can read more about me HERE
 photo designTeam.png
Follow on Bloglovin

Popular Tutorials

Highlighter Valentine Card with Free Printable

Highlighter Valentine Card with Free Printable…

Play Doh Valentine Card Free Printable

Play Doh Valentine Card Free Printable…

Elderberry Syrup Recipe

Elderberry Syrup Recipe: Natural Cold and Flu…

Teacher Survival Kit

Teacher Survival Kit with FREE Printable…

Notebook Paper Pencil Pouch Teacher Gift Idea

Notebook Paper Pencil Pouch Teacher Gift Idea…

Free Silhouette File Teacher Canvas Bag Gift Idea

Free Silhouette File: Teacher Canvas Bag Gift…

Popular Recipes

No Bake Energy Bites Recipe…

Chocolate Coconut Cups {Gluten and Dairy Free}…

DIY Taco Seasoning Recipe…

Sugar. Cookie. Icing. {The Recipe}…

French Dip..Crockpot Style!…

Crockpot Banana Bread…for Real!…

My Sponsors

 photo FatQuarterShop-175x175.png

 photo cdf15248-e6f8-4276-abc0-c145e2451c35.jpg


Blog Archives

Posts by Topic

Stay Connected

  • Facebook
  • Twitter
  • Pinterest
  • Instagram
  • Dots
  • Google Plus

Join me on Facebook

Copyright Smashed Peas and Carrots © 2025 · All rights reserved · Design by Emily White Designs

Copyright © 2025 · Smashed Peas & Carrots Custom on Genesis Framework · WordPress · Log in