Today I thought I’d bring home another super easy yet fun to make tutorial I did as part of the Riley Blake Project Design Team! Today I will be teaching you how to make a fabulous Wine Bag, and it will only take you 10 minutes…10 MINUTES!!! So fast you could crank out quite a few in less than an hour and have an array of pretty packaged hostess gifts to bring to all of your holiday parties.
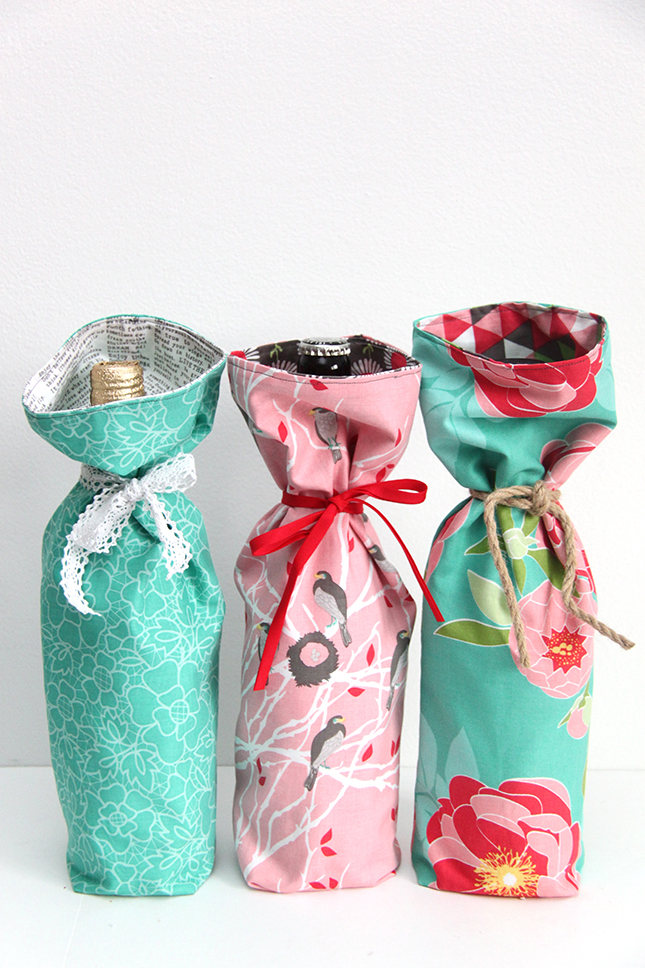
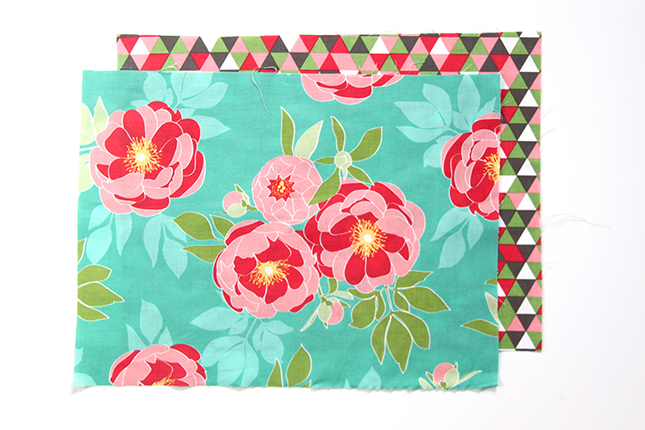 In this tutorial I will be using Riley Blake’s beautiful Cottage Garden fabrics, they are so so pretty, aren’t they!
All you need is the following to make one bag:
10 Minute Wine Bag Tutorial
one 12 x 16 inch piece of fabric
one 12 x 16 inch piece of coordinating fabric
12-15 inch piece of lace, trim, ribbon, jute or twine for the tie
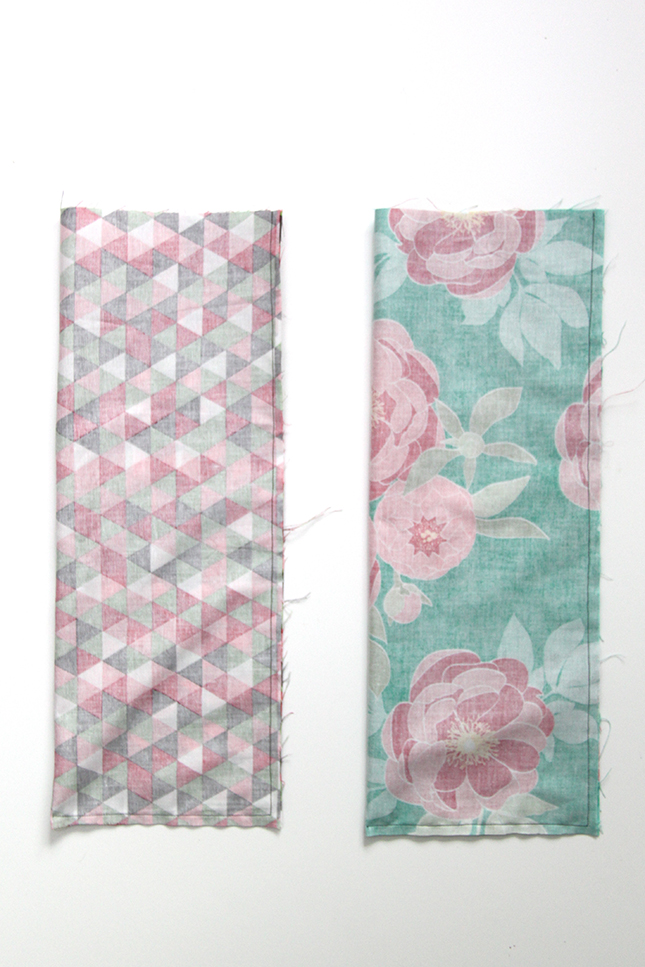 First, fold each piece of fabric right sides together the long ways so that each piece measures 6 x 16 inches. Then sew down the long raw edge and the bottom raw (making an L-shape) using a 1/2 inch seam allowance.
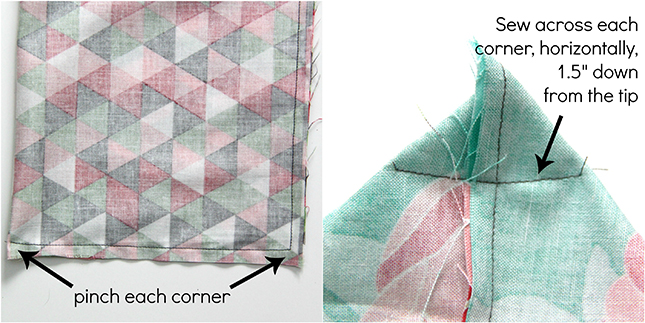 Next, pinch the two corners you just made (one at a time) and fold them over the seam at at the bottom of the bag (like the picture above on the right). Measure 1.5 inches from the tip of the corner and sew horizontally across the corner. Do this on both corners.
 The bottom of you both fabric pieces should look like the picture above on the left. Take a pair of scissors and clip both corners off making sure not to cut through the seam you sewed together earlier.
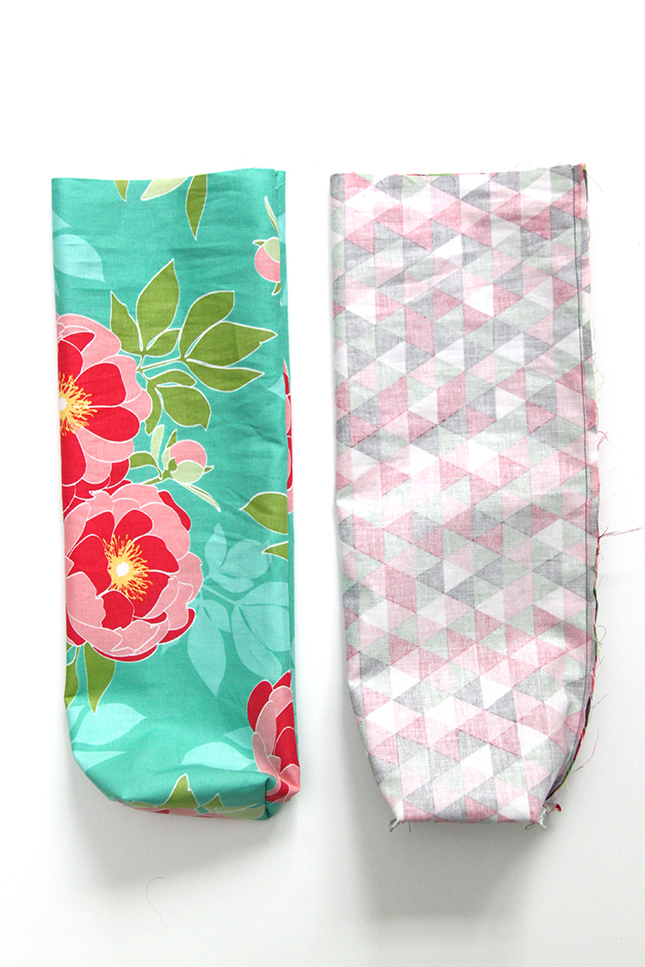 Now flip the fabric that will be the outside of your wine bag so that it is right side out. Leave the inner fabric so that it is still wrong sides out.
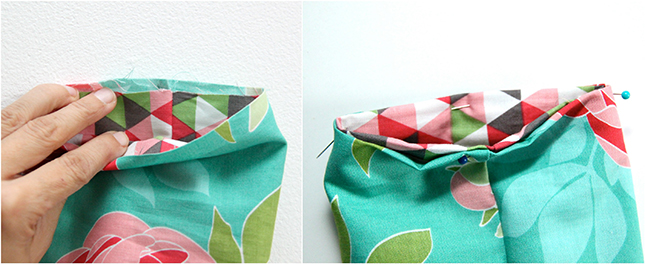 Place the inner fabric bag inside the outer fabric bag making sure the seams match up (like the picture above on the left). Then fold each raw edge inward about 1/2 inch and pin together. I did this starting at the seam so that I knew they would be matched up as I pinned around the circle.
 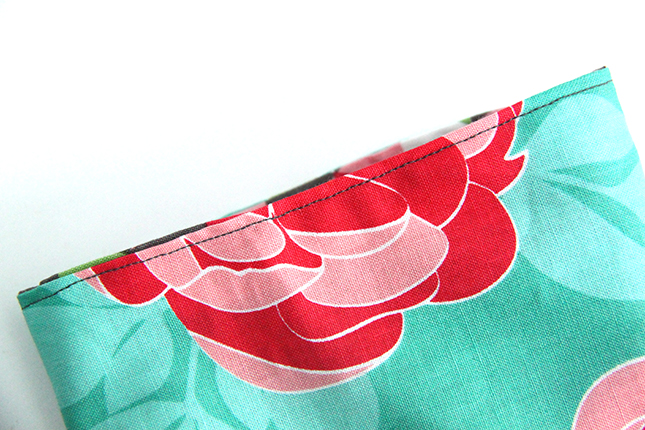 Then just top stitch the raw edges together using a 1/4 seam allowance.
Ta-Da!!!! You now have yourself a darling little wine bag! Just insert your wine bottle, champagne, or sparkling apple juice inside and tie the top closed with a piece of lace, trim, ribbon, or twine and you are ready to head to all your holiday parties this season!
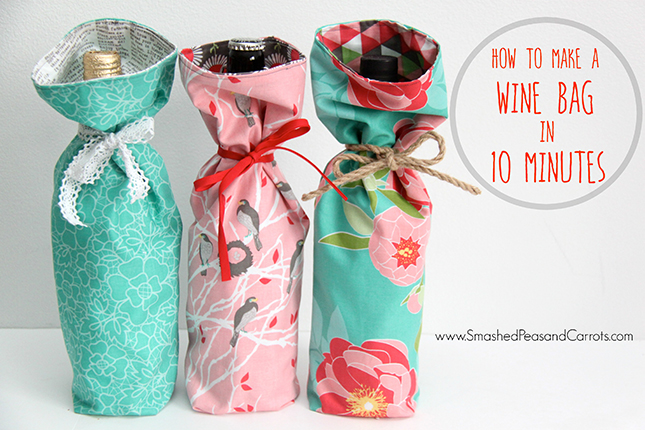 I hope you get a chance to make a few for the holidays. There is nothing better than gifting something pretty!!!
Love,
Maggie
Find me here:



So cute are you♡♡
Great tutorial. Love the bags! Can’t wait to make some.
One of my best friends (who is also my neighbor) is moving away tomorrow. When I feel sad, I make things. She loves Moscato wine, so I bought her a bottle today and made a pretty bag using your tutorial to go with it. Thank you for giving me an escape for awhile this afternoon. I shared a picture on instagram @hellocreativecrystal.
Oh how sad That stinks that you best friend and neighbor is moving! I feel for you because that same thing happened to me a couple of years ago, wah wah!!! I am glad to hear this tutorial came in handy for you though…crafting is the best outlet for stress and sadness! Hope she is going to far away that you can’t maybe some day meet up again!
It truely is as easy as it seems. Thanks for a great pattern! I’ve made quite a few in different patterns and love them all!
YAY!! So glad this helped you make a few fun wine bags!!