Smashed Peas & Carrots

Inspiration For Living Creatively - DIY Crafts, Sewing, Recipes, Crafts & More

  • Press
  • Disclosure
  • Collaborate
  • Contact
  • Facebook
  • Twitter
  • Pinterest
  • Instagram
  • Dots
  • Google Plus

Become a Subscriber

never miss a thing!

  • Home
  • About
    • Advertising
    • Disclosure & Safety Disclaimer
    • Privacy Policy
  • Recipes
    • Appetizers
    • Bento Lunch
    • Beverages
    • Smoothies
    • Breads
    • Breakfast
    • Casserole
    • Crockpot
      • Visual Library
    • Dairy Free
    • Dessert
    • Gluten Free
    • Main Course
    • Holiday
    • Instant Pot
    • Paleo
    • Party Food
    • Salad
    • Side Dish
    • Soup
    • All Recipes
  • Tutorials
    • Children
    • Adult
    • Home Decor
    • No Sew
    • Sewing
      • Children Sewing
      • Adult Sewing
      • Home Decor Sewing
      • Sewing Basics
    • Sewing Studio
    • Knitting
    • Kids Crafts
    • Bento
    • Holiday
    • Parties
    • Gift Ideas
    • Natural Living
    • All Tutorials
  • shop
You are here: Home / Fabric / TUTORIAL: Ruffled Mason Jar Cozies
Oct
2

TUTORIAL: Ruffled Mason Jar Cozies

| Filed Under: Fabric, Gift Ideas, Home Decor Sewing, Sewing, Tutorials

I love mason jars. In our home we use them for everything 🙂 
Need a vase? Grab a mason jar! 
Need a container for pens, pencils or crayons? Grab a mason jar!
Need a habitat for all the worms my kids dug up in the garden? Grab a mason jar!
You get my drift…we use them for everything.
But the thing we probably use them for the most is to drink out of, they sure do make the handiest glasses. You too? And they are even travel-worthy if you own a few cuppows too, such a cool invention.
Remember how I told you in my Mommy/Daughter Picnic post, found here, that I made my daughters some Ruffled Mason Jar Cozies for their drinks and that I would share the tutorial with you…well, I’m here to tell you that today is that day, woooot!
You are going to love making these, they are made with one layer of insul-fleece too so they will keep your hot drinks hot and your cold drinks cold. And they are a really nice quick project. You could definitely make a handful in an hours time. I’m thinking I will be making a few more for Teacher Appreciation Week…or maybe as part of the kids’ teachers Christmas gifts? Decisions, decisions! 
Ruffled Mason Jar Cozies (directions will make one cozy)
two 3.5 x 12 inch piece of fabric for the cozy
4 x 22 inch of fabric for the ruffle
3.5 x 12 inch piece of pellon insul-fleece 
elastic hair tie
button
Gather your supplies. Cut your fabrics and insul-fleece to size.
First we’ll make our ruffle. Fold the longer 4 x 22 inch piece of fabric in half the long way, with right sides facing. Sew the long raw edges together using a 1/4 inch seam allowance (picture at the right) so that you make a long tube. Using a safety pin, turn the tube right side out. Place the seam in the center of the tube and iron flat, this will be the backside of the ruffle.
Now to ruffle the tube. I like to ruffle by increasing my thread tension to 9 (the highest number my machine will go). Then I increase the stitch width and length to the highest numbers they will go. Start stitching down the center front (the side opposite the seam you just ironed) making sure to backstitch after the first stitch. This way my machine ruffles the fabric for me as I sew and there is no need for me to pull threads, etc. I love doing ruffles this way!

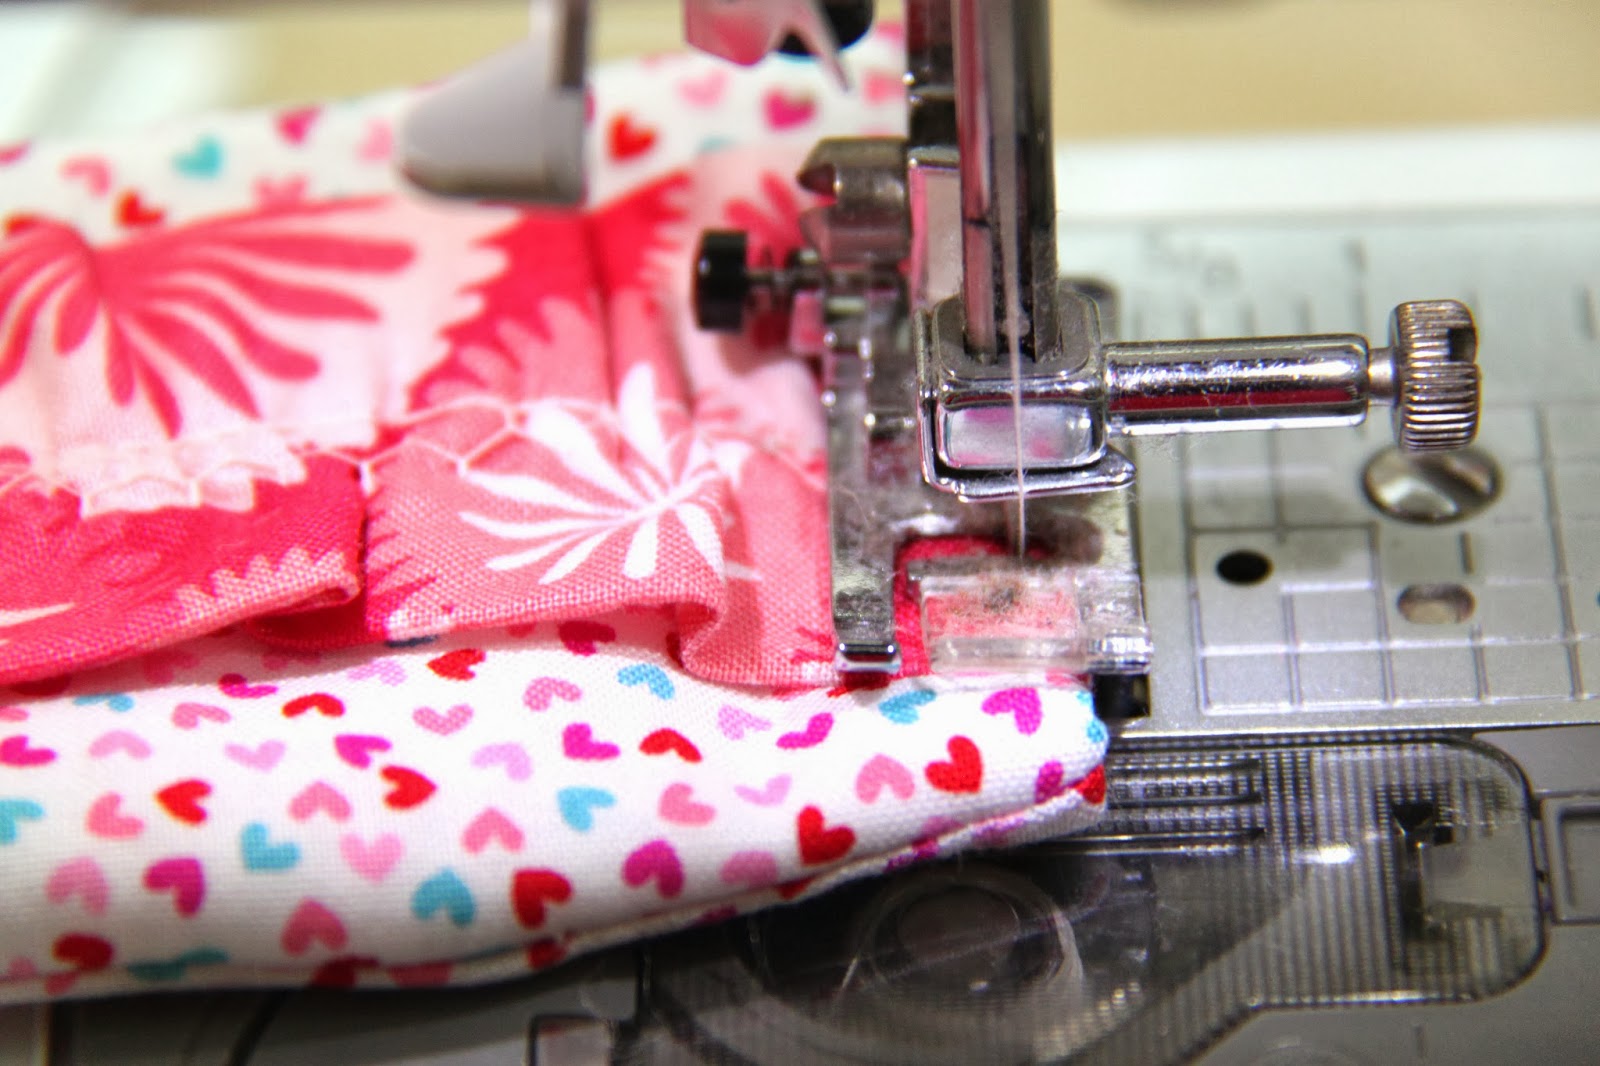
Once your longer piece is ruffled you are going to center it on top of the right side of one of the 3.5 x 12 inch pieces of fabric and pin it into place. Sew it on with any stitch you like (I prefer the look of a zig zag stitch) making sure to go down the center over top the stitch line you just made while ruffling it.

Now to put the cozy together. You will need to do this step in very careful layers so make sure you pay attention!

Your layers will go like so…insul-fleece at the bottom, then ruffled 3.5 x 12 inch piece of fabric right side up, then at one end you will place your hair elastic with just a bit sticking out over the edge, then you will place the other 3.5 x 12 inch piece of fabric right side down.  You’ve got yourself one heck of a cozy sandwich happening now, don’tcha.

Here’s a look at the top of that sandwich…see that little bit of the hair elastic sticking out (and some of the ruffle too!) You want that bit sticking out as it will help you make sure your sewing machine catches that elastic when you are sewing this sandwich together.

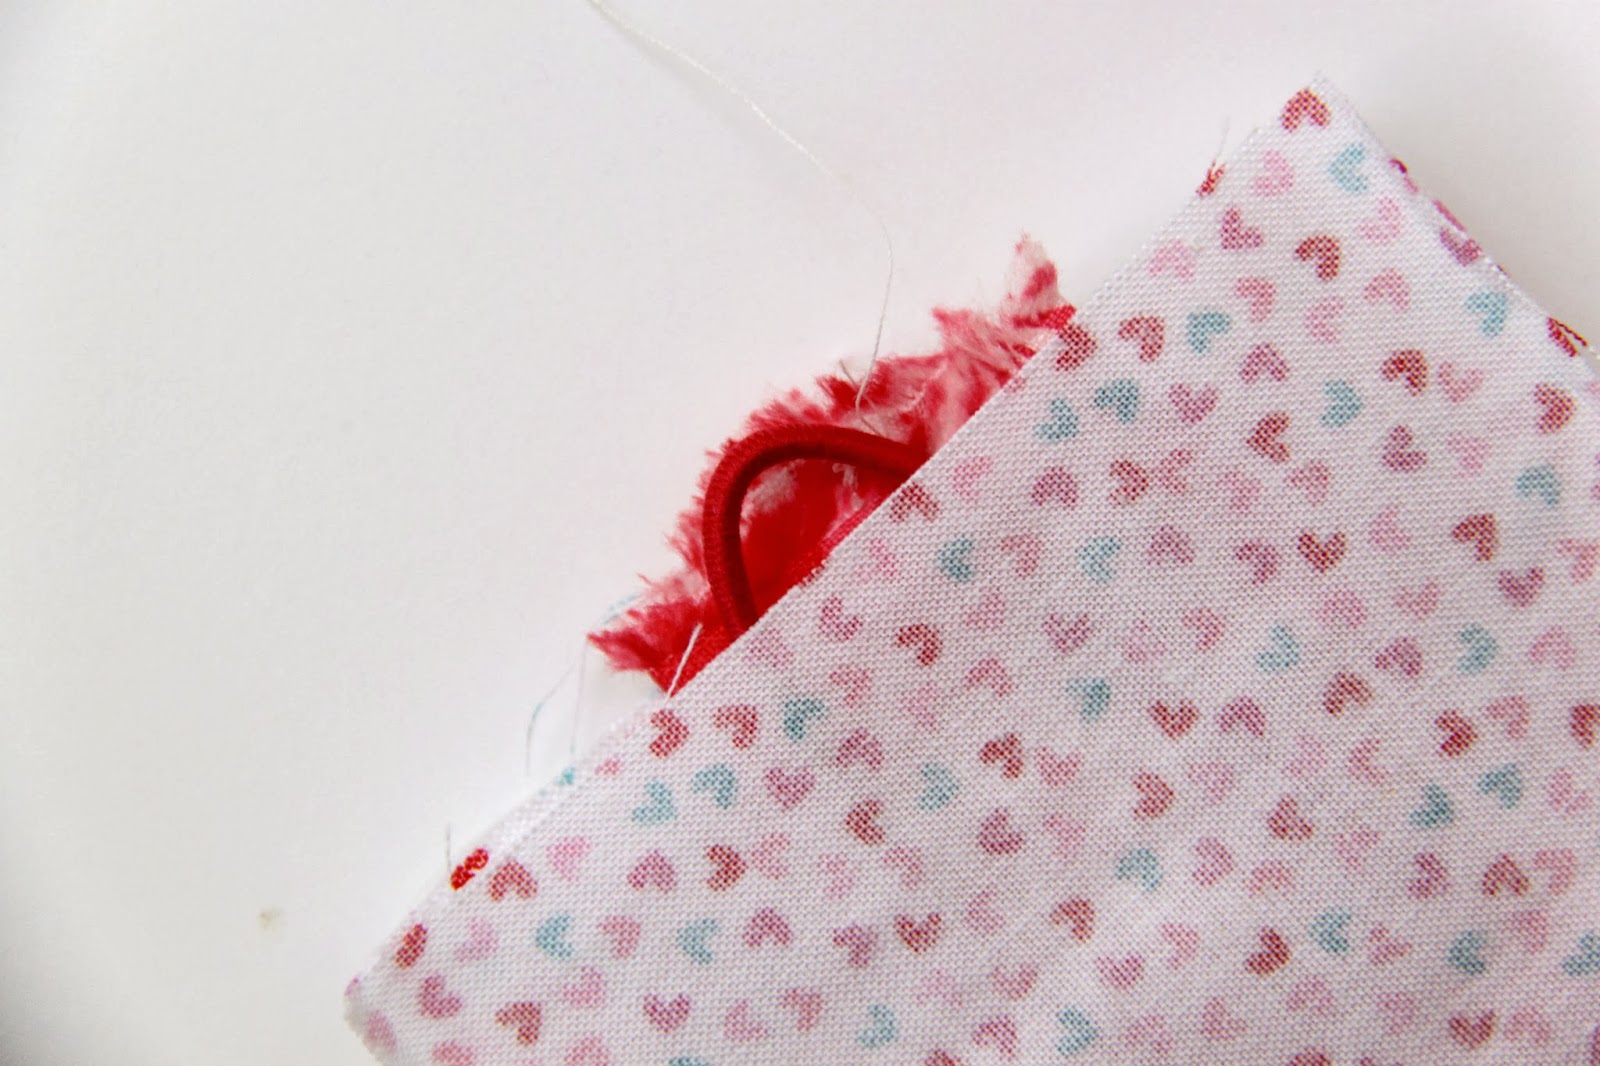
Alright, so next you are going to sew all around the sandwich using a 1/4 inch seam allowance leaving the end opposite the hair elastic open.  So, if you are looking at the picture above, you will start sewing at the bottom right corner across to the bottom left corner, then up to the top left corner (backstitching a few times over the hair elastic, and then sewing across to the top right corner.  The complete right side will remain open for turning the cozy right side out.

Clip your corners, making sure not to clip the seams you just sewed up! Then turn your cozy right side out using the opening we did not sew together. You may need a chopstick to push out the corners.

Then topstitch all the way around the cozy starting by folding the open end edges inward to close up the opening we used for turning the cozy right side out. 

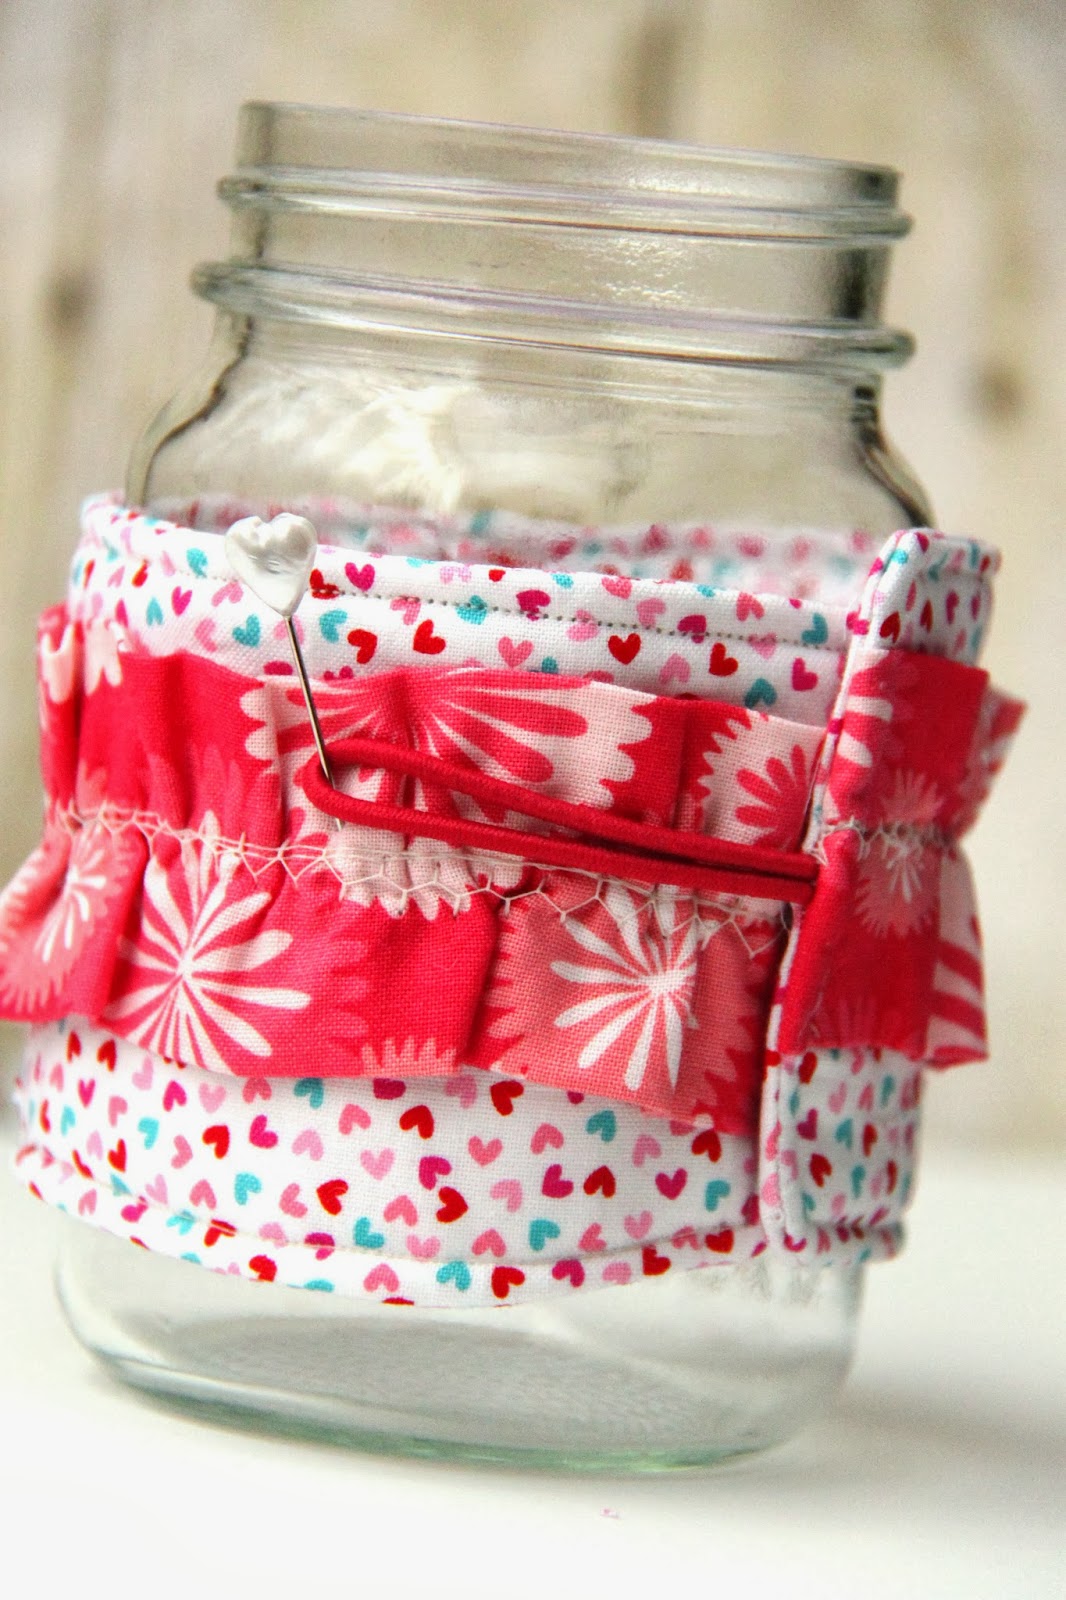
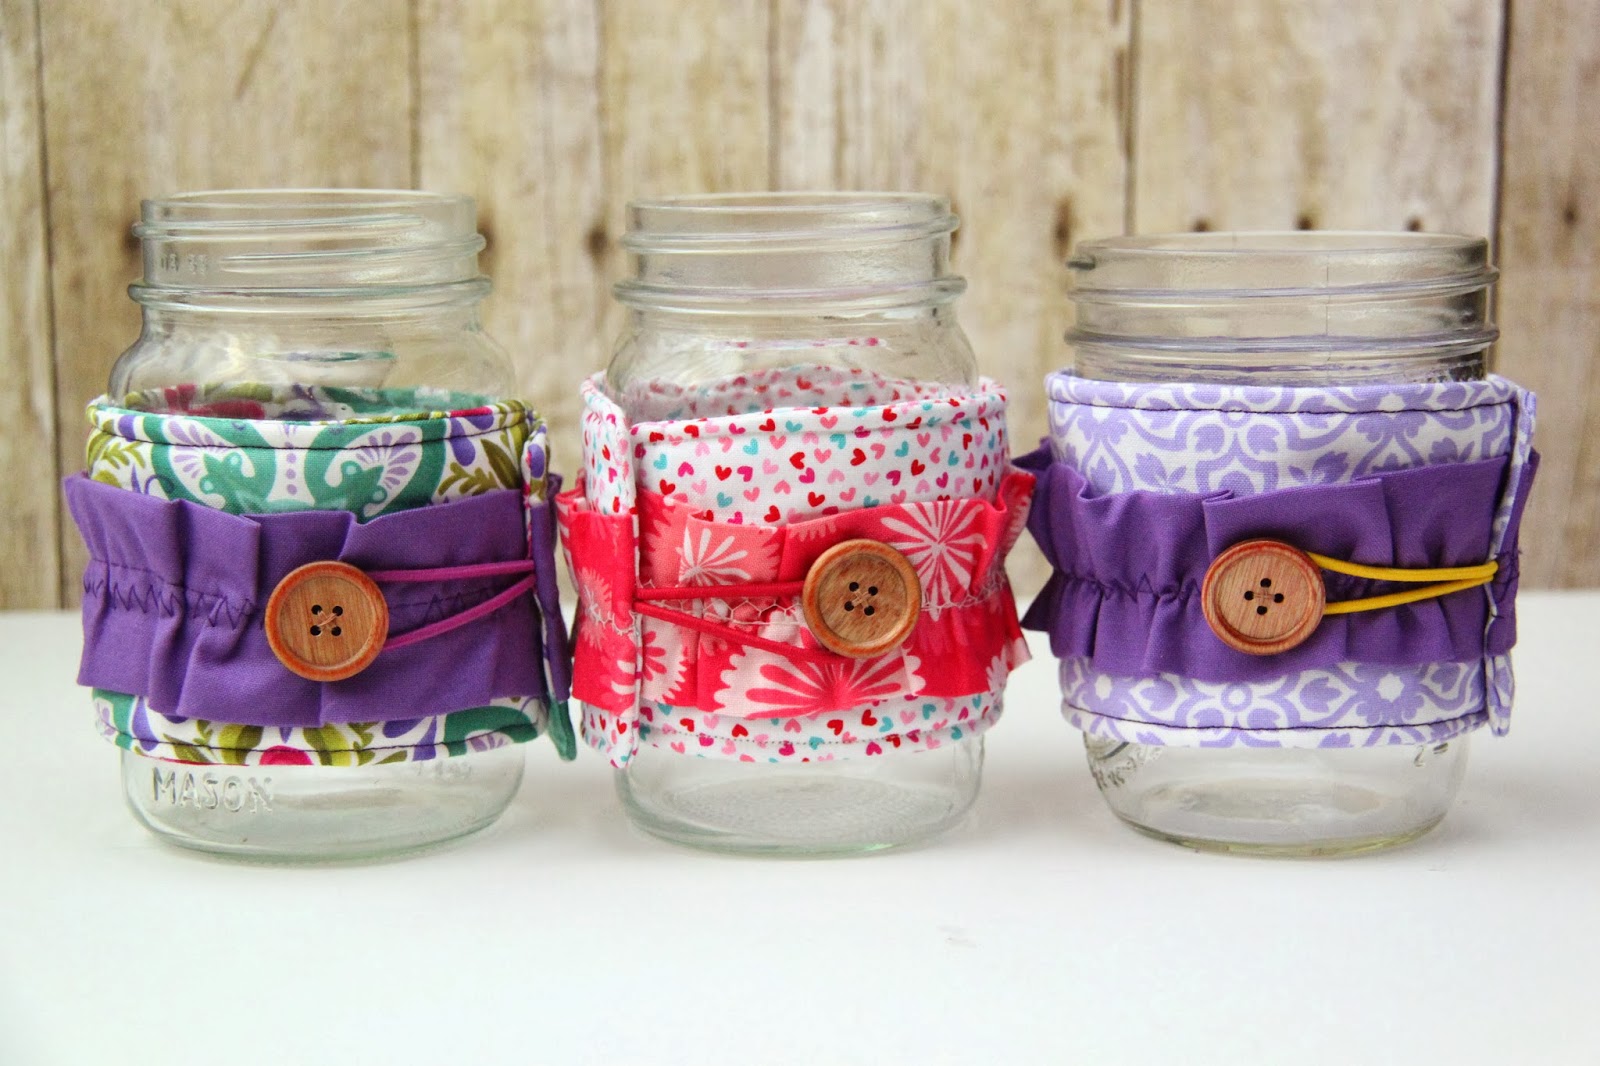
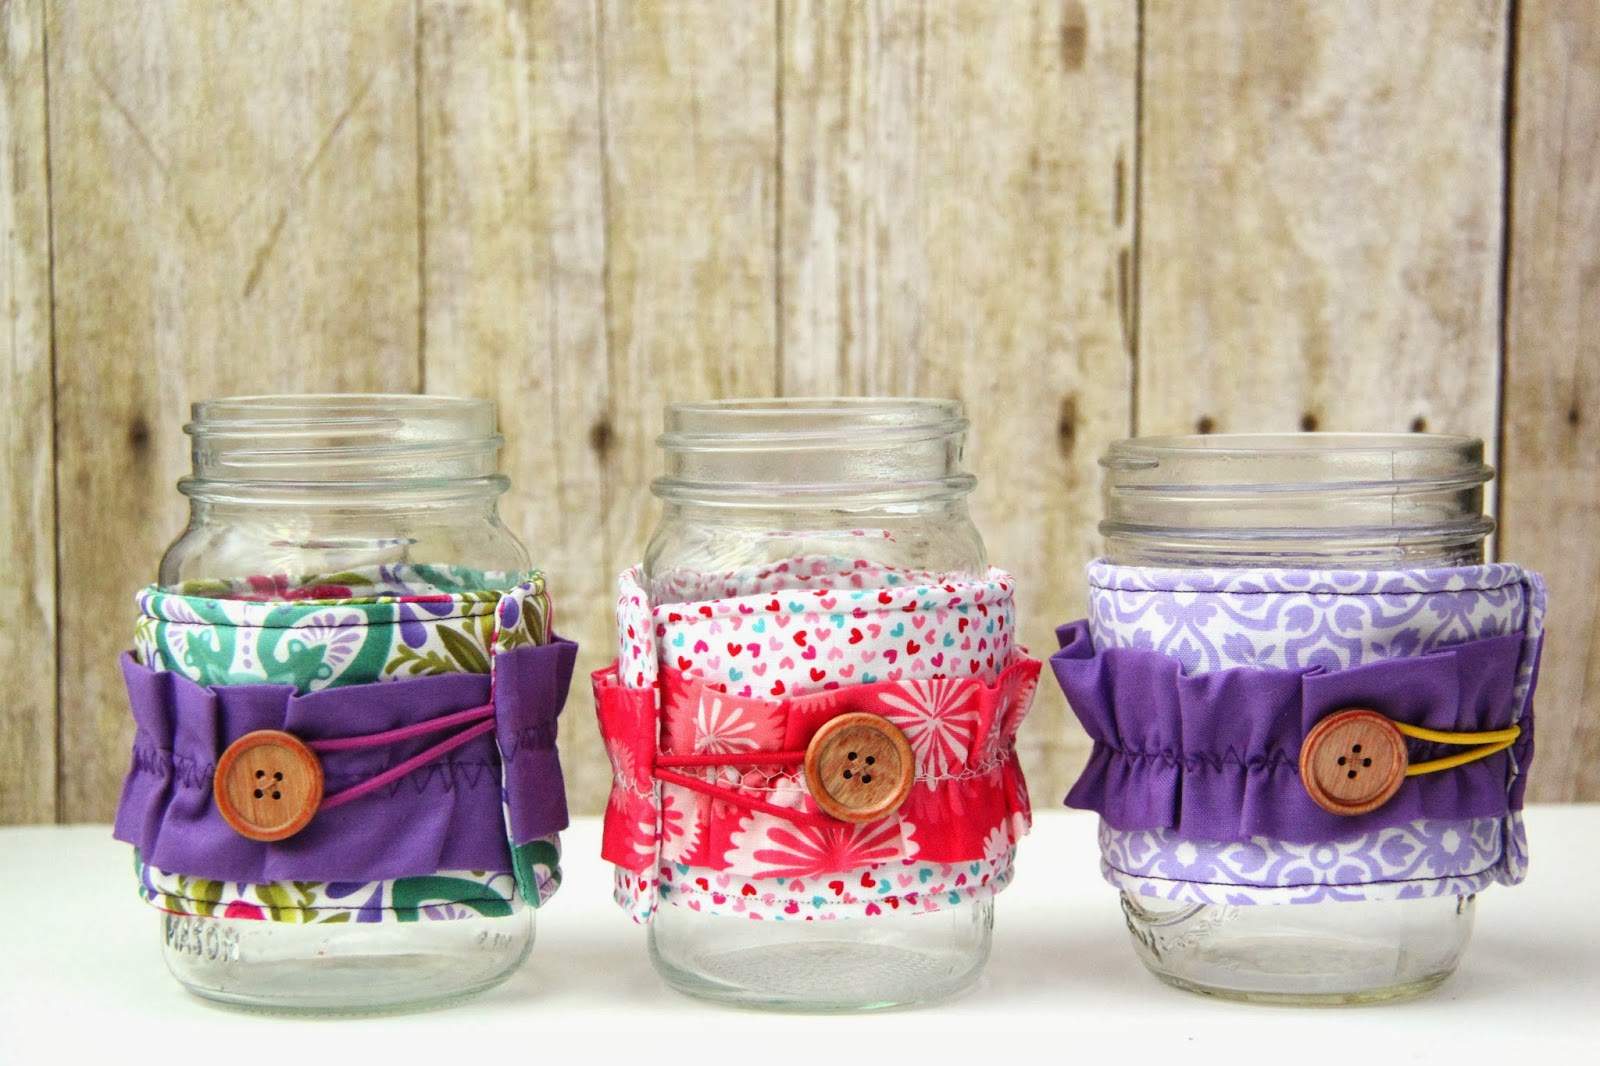
The last thing we need to do is place the cozy over a mason jar and pull the elastic to see where you will need to place the button. Place a pin in that spot so when you take the cozy off you will have the area marked. Hand sew your button in place and you are done!
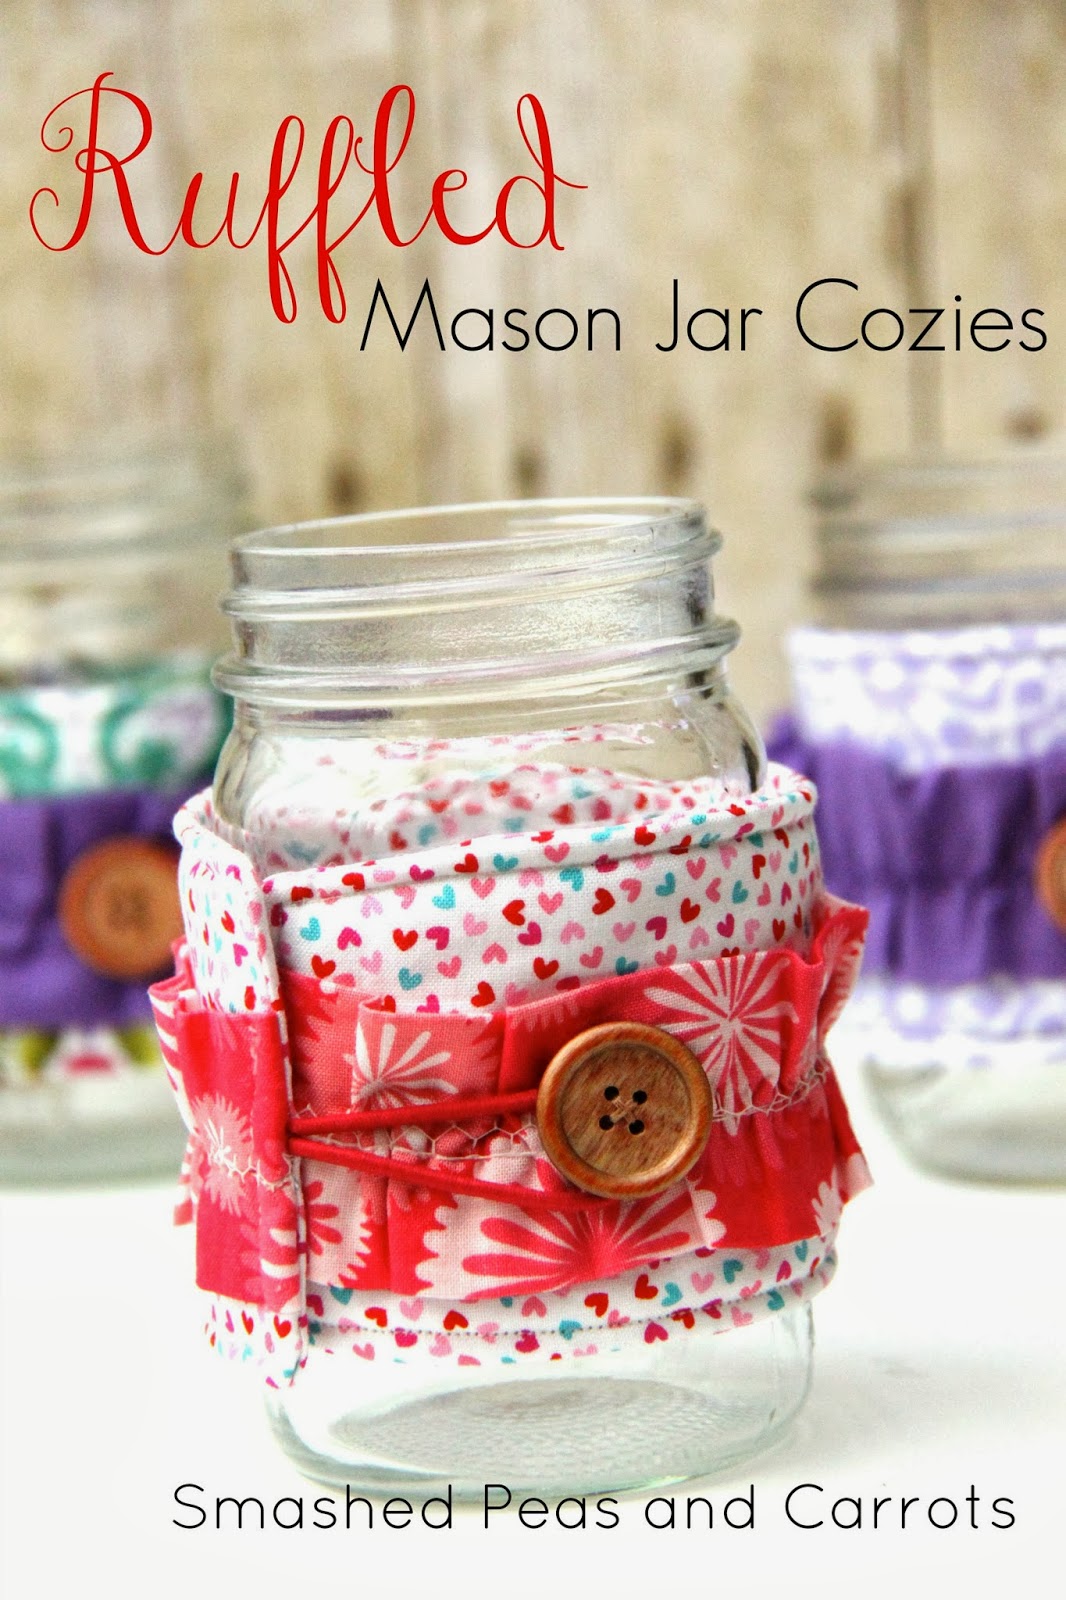
So pretty!

And totally functional…the best kinda project!

PS. You can also add another button onto the cozy so that these will fit the narrower Starbucks-type coffee cups…I love a multi-functional piece, don’t you!

Happy sewing my friends!!
Thanks for stopping by today!

 XOXO,

    You may also like -

    How to Make Maraschino Cherries // SmashedPeasandCarrots.comRecipe: How to Make Maraschino CherriesReally cute mason jar tumbler Teacher Gift with FREE printable flags!Mason Jar Tumbler Teacher Gift with FREE PrintablesRuffled Embroidery Hoop Laundry BagHome Sewn: Ruffled Embroidery Hoop Laundry BagRECIPE: Easy Homemade Apple Pie FillingTUTORIAL: Spooky Snow Globes

    Become a Subscriber

    never miss a thing!

    Comments

    1. Chelsea says

      October 2, 2013 at 4:03 pm

      These are the cutest! I only have two mason jars, but it’s worth making cozies for them because they turned out adorable! Thanks for the tutorial 🙂

      • Maggie says

        October 2, 2013 at 7:39 pm

        Oh yes, Chelsea! I think those two mason jars of yours definitely deserve a cozy or two!

    2. 114a says

      October 2, 2013 at 6:09 pm

      Oh Maggie, that’s cute. I now follow your blog – I like your fabrics and ideas! Greetings, Elvira

      • Maggie says

        October 2, 2013 at 7:40 pm

        Hi Elvira! Thanks for following!! So nice to meet you!

    3. Baby Onsie says

      October 3, 2013 at 8:55 am

      Now those are good looking jars. What other materials can we use on these?

    Welcome to Smashed Peas and Carrots. You can read more about me HERE
     photo designTeam.png
    Follow on Bloglovin

    Popular Tutorials

    Highlighter Valentine Card with Free Printable

    Highlighter Valentine Card with Free Printable…

    Play Doh Valentine Card Free Printable

    Play Doh Valentine Card Free Printable…

    Elderberry Syrup Recipe

    Elderberry Syrup Recipe: Natural Cold and Flu…

    Teacher Survival Kit

    Teacher Survival Kit with FREE Printable…

    Notebook Paper Pencil Pouch Teacher Gift Idea

    Notebook Paper Pencil Pouch Teacher Gift Idea…

    Free Silhouette File Teacher Canvas Bag Gift Idea

    Free Silhouette File: Teacher Canvas Bag Gift…

    Popular Recipes

    No Bake Energy Bites Recipe…

    Chocolate Coconut Cups {Gluten and Dairy Free}…

    DIY Taco Seasoning Recipe…

    Sugar. Cookie. Icing. {The Recipe}…

    French Dip..Crockpot Style!…

    Crockpot Banana Bread…for Real!…

    My Sponsors

     photo FatQuarterShop-175x175.png

     photo cdf15248-e6f8-4276-abc0-c145e2451c35.jpg


    Blog Archives

    Posts by Topic

    Stay Connected

    • Facebook
    • Twitter
    • Pinterest
    • Instagram
    • Dots
    • Google Plus

    Join me on Facebook

    Copyright Smashed Peas and Carrots © 2025 · All rights reserved · Design by Emily White Designs

    Copyright © 2025 · Smashed Peas & Carrots Custom on Genesis Framework · WordPress · Log in