Smashed Peas & Carrots

Inspiration For Living Creatively - DIY Crafts, Sewing, Recipes, Crafts & More

  • Press
  • Disclosure
  • Collaborate
  • Contact
  • Facebook
  • Twitter
  • Pinterest
  • Instagram
  • Dots
  • Google Plus

Become a Subscriber

never miss a thing!

  • Home
  • About
    • Advertising
    • Disclosure & Safety Disclaimer
    • Privacy Policy
  • Recipes
    • Appetizers
    • Bento Lunch
    • Beverages
    • Smoothies
    • Breads
    • Breakfast
    • Casserole
    • Crockpot
      • Visual Library
    • Dairy Free
    • Dessert
    • Gluten Free
    • Main Course
    • Holiday
    • Instant Pot
    • Paleo
    • Party Food
    • Salad
    • Side Dish
    • Soup
    • All Recipes
  • Tutorials
    • Children
    • Adult
    • Home Decor
    • No Sew
    • Sewing
      • Children Sewing
      • Adult Sewing
      • Home Decor Sewing
      • Sewing Basics
    • Sewing Studio
    • Knitting
    • Kids Crafts
    • Bento
    • Holiday
    • Parties
    • Gift Ideas
    • Natural Living
    • All Tutorials
  • shop
You are here: Home / Tutorials / Children / TUTORIAL: The 30 Minute Color Block Skirt
Apr
24

TUTORIAL: The 30 Minute Color Block Skirt

| Filed Under: Children, Children Sewing, Sewing, Tutorials

Did you know that this week is Kids Clothes Week (or what used to be Kids Clothes Week Challenge) over at Elsie Marley? Yup, it totally is. If you don’t know what KCW is, it’s just where sewers are challenging themselves to work on making kid’s clothes during one week this spring.  Pretty simple, right? This challenge has become so big that there is now a blog devoted to it and you can find it right here if you want to read more and join in…I highly suggest it by the way! It’s so refreshing putting small moments of time into creating pieces for your kids (or grandkids…or friend’s kids wardrobes!) in just one week.
This sweet little skirt is one of my contributions to my girls’ closet this KCW.  It’s made from the most gorgeous Japanese fabric from my new blog sponsor, Modes4U.com.  It’s the Little Red Riding Hood Patchwork in Off-White by Kokka.  When I first saw this fabric I new both of my girls would adore it, and true to form they did!  I mean, c’mon, what’s not to love about that cute little Red Riding Hood, even the wolf is cute! And what better way to use such a sweet fabric than a quick-to-make little skirt that can be worn even in the chilliest of Spring weather with a pair of tights!
30-Minute Color Block Skirt
1/2 yard of main fabric
1/8 yard of secondary color fabric (for the color block)
3/8 inch non-roll knit elastic 
rotary cutter and mat
ruler
coordinating thread
Here are the goods you will need to get this skirt made…oh, how I love that Red Riding Hood fabric!

The first thing you want to do is measure the waist of your child.  Penelope is 4 years old and has about a 20 inch waist so the measurements for this skirt tutorial work great for her but my 2.5 year old can also wear the skirt, it’s just a wee bit longer on her!

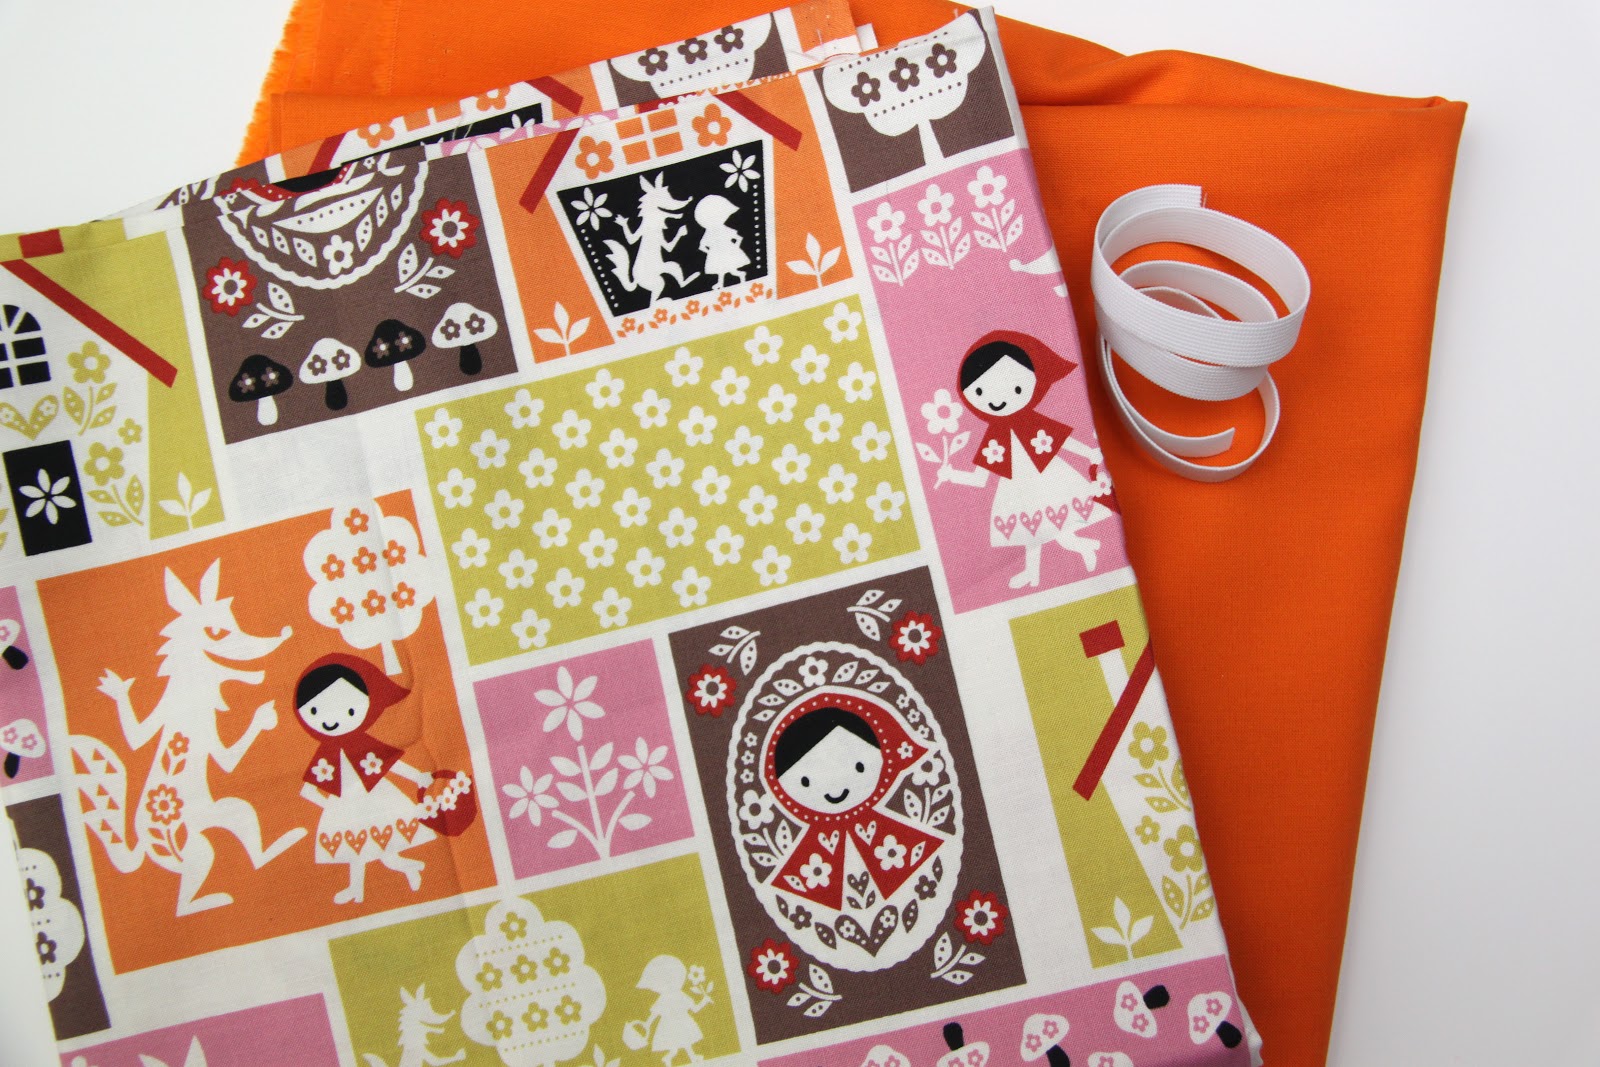
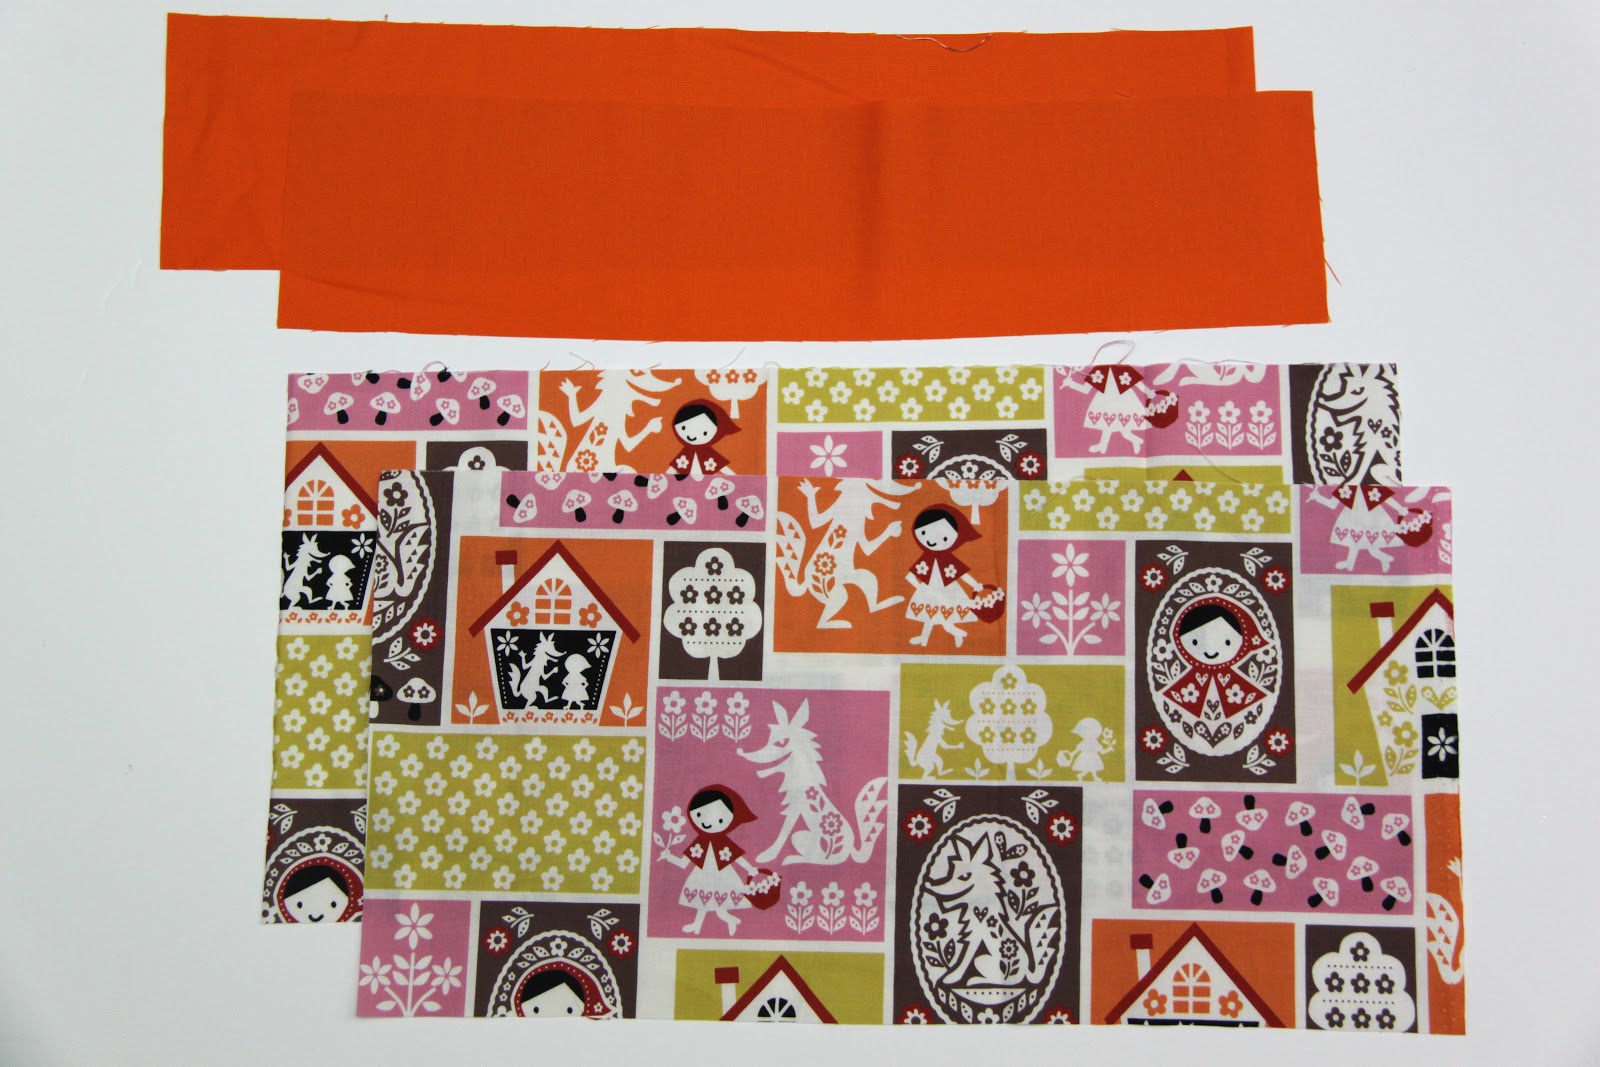
Cut two pieces of your main fabric to 13 x 17.5 inches.  And cut two pieces of the color block fabric to 5 x 17.5 inches. I like to make the width of the skirt 1.5 times the waist measurement for elastic waist skirts which is where the 35 inch measurement comes in. I also wanted to make the color block section of the skirt to be about 4 inches so I just measured out on Penelope where I wanted the skirt to hit on her leg and made that my length which is the 13 + 5…also added to this are the 1/2 inch or so we need for the casing at the top of the waist as well as fabric we will need to turn the hem under and to join the two pieces of fabric together.

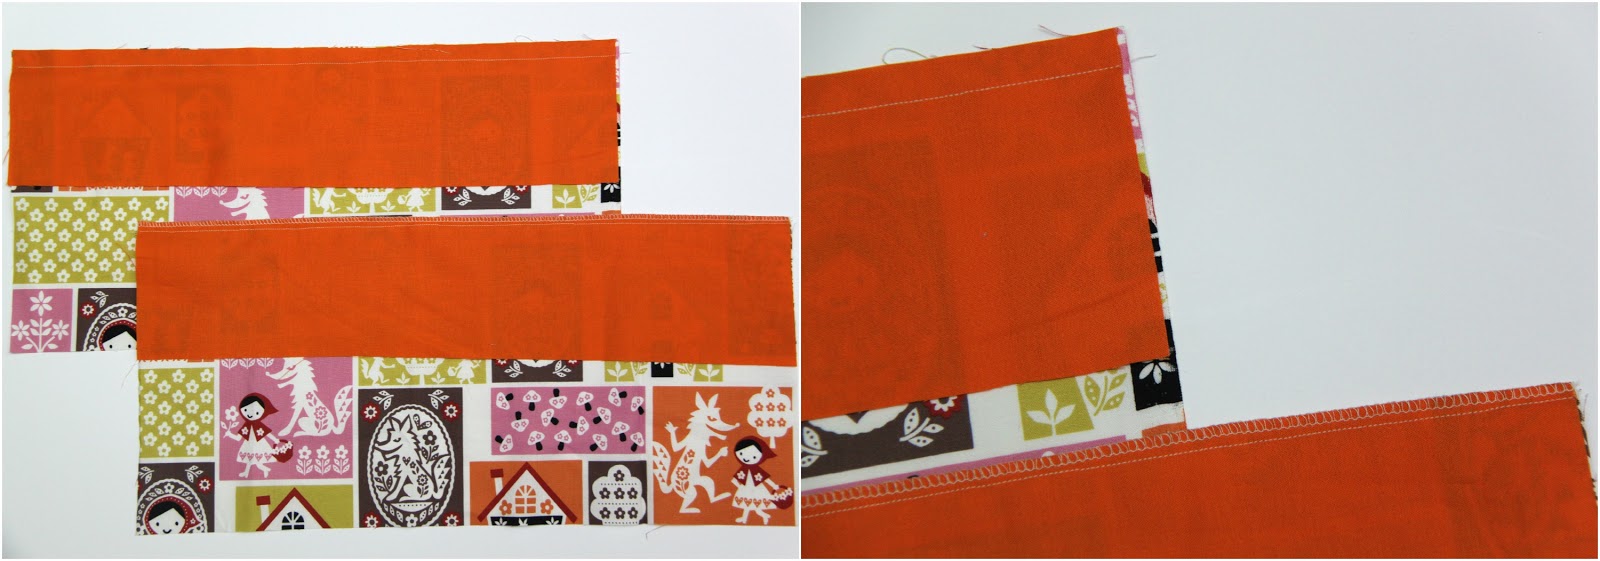
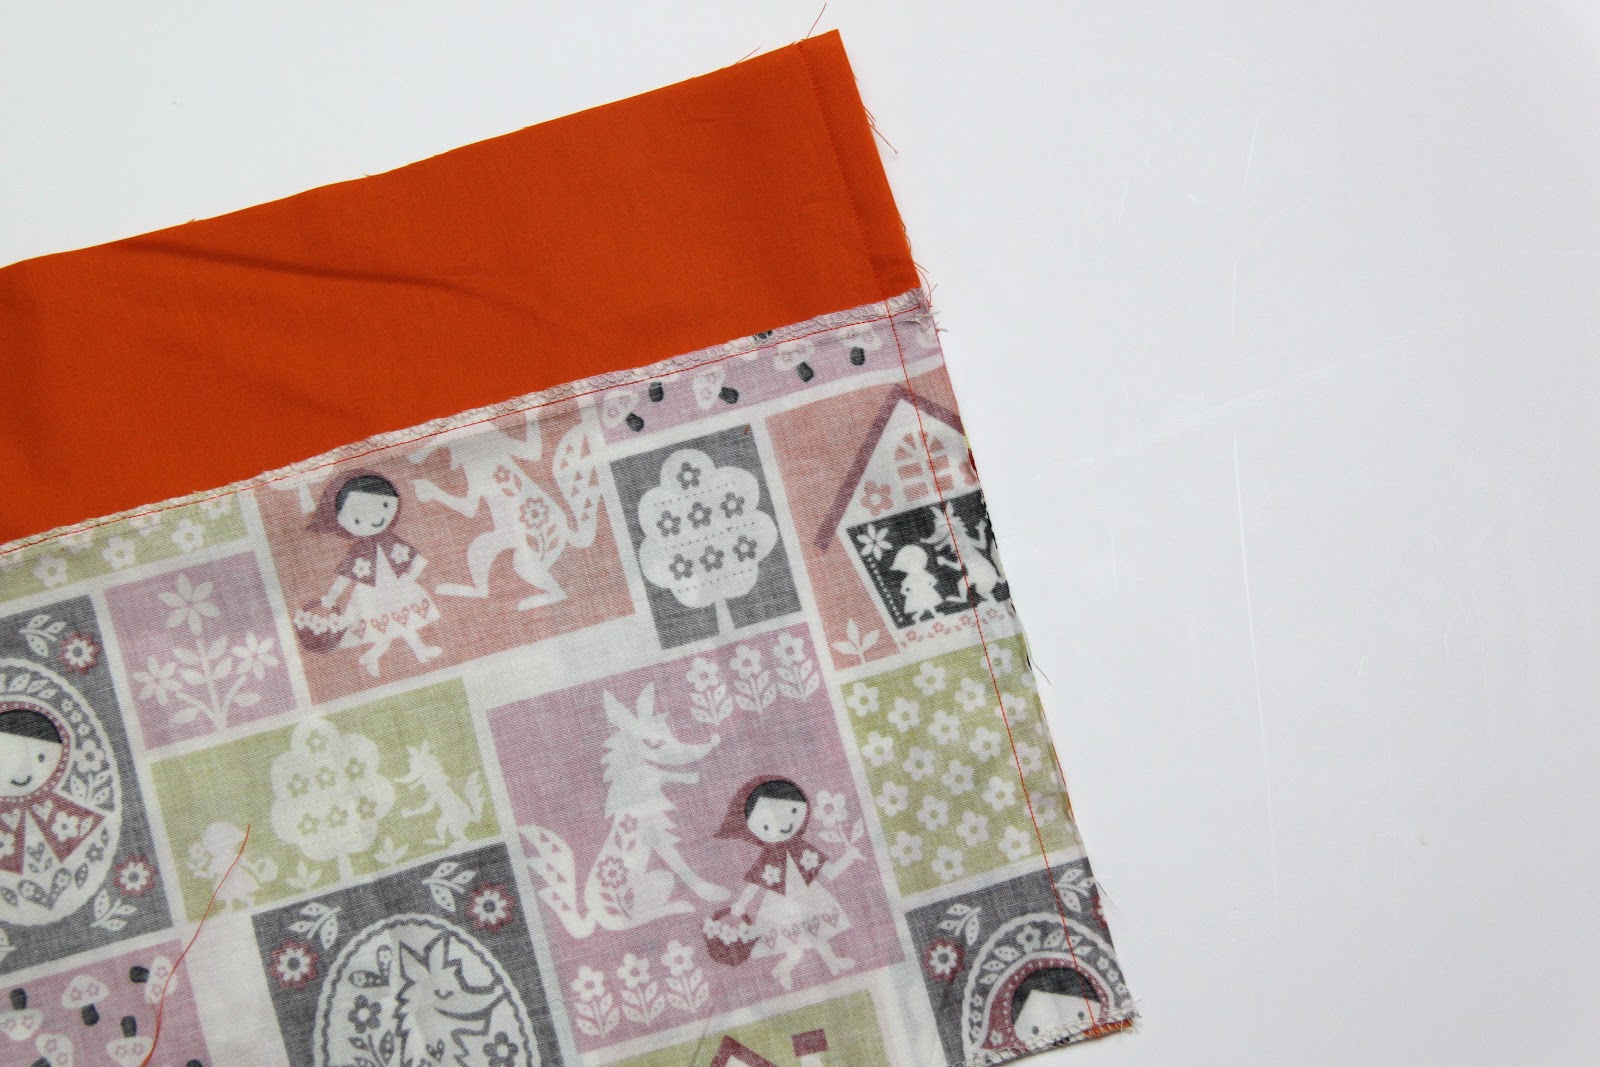
Next, place the two fabrics (orange and main fabric) right sides together a the top edge of the main fabric.  Sew together using a 1/4 inch seam allowance.   You can finish the seam any way you like, I serged mine.

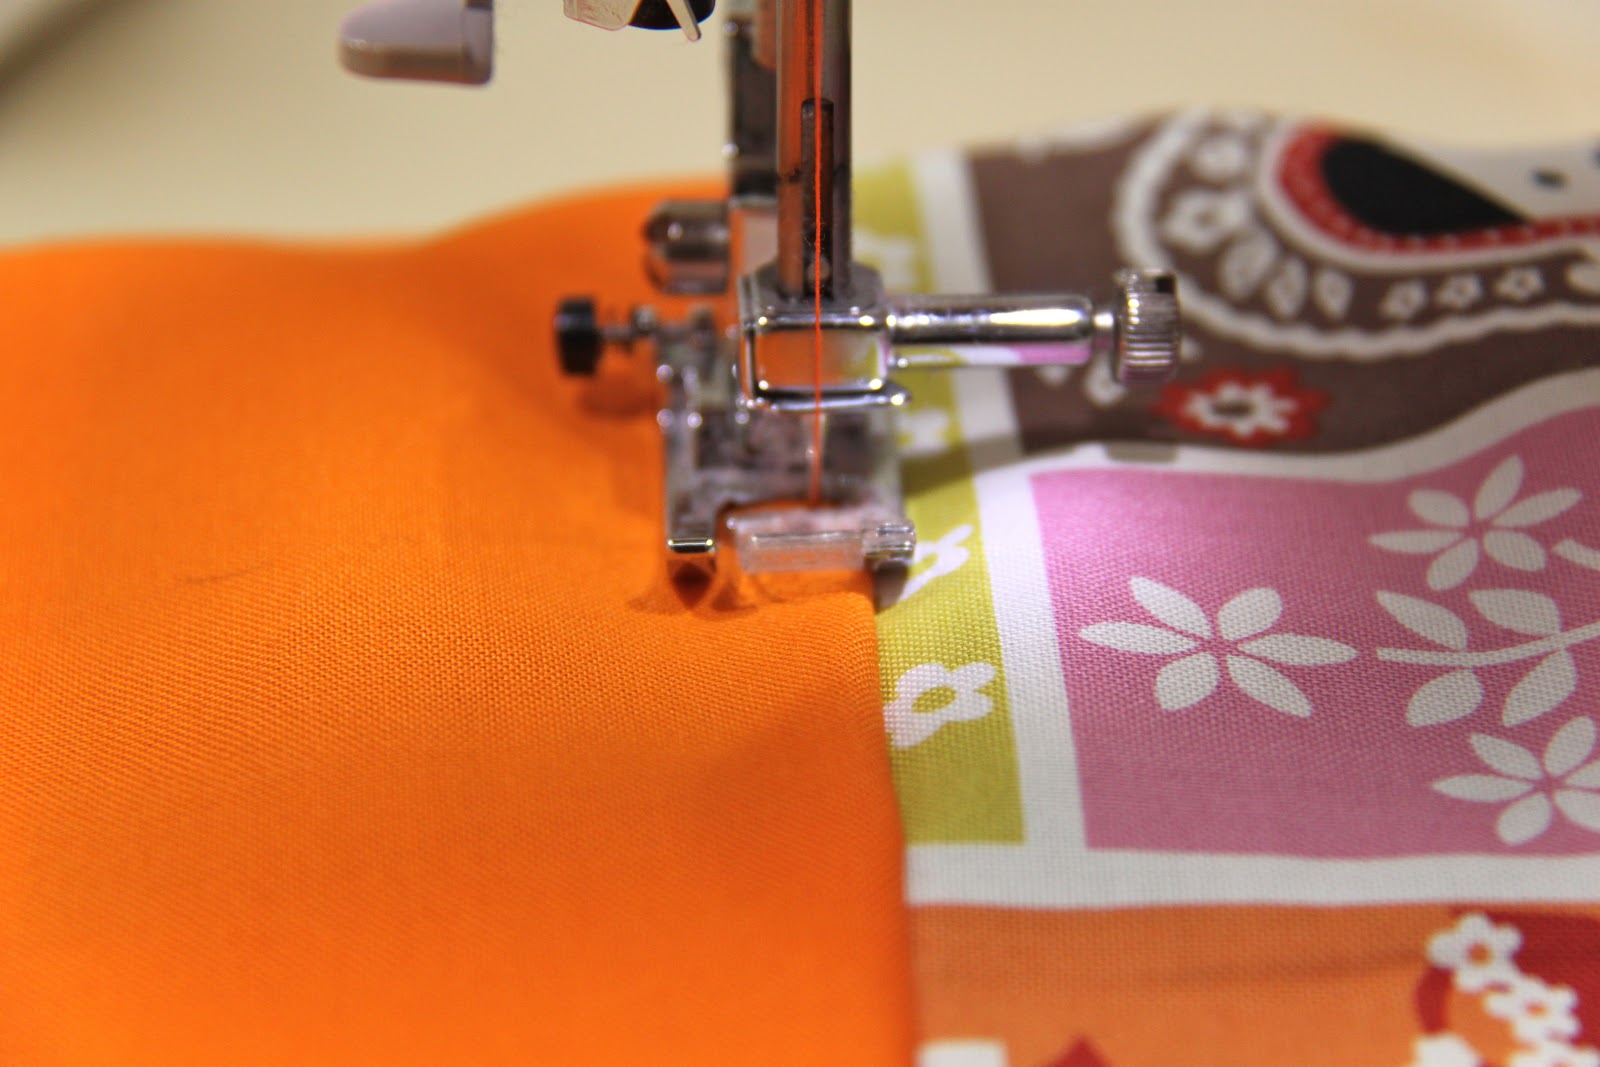
Next, iron the seam flat and top stitch on the front (right side) of the orange fabric using a 1/8 inch seam allowance.

Then place the two joined pieces of fabric right sides together and sew up each open edge to form your skirt.  Finish of the seam as you’d like, I serged mine (not shown!)

Then, either fold over the top edge of the skirt 1/4 inch and then a 1/2 inch to make the casing for the elastic or just serge the top edge and fold over 1/2 inch.  I also serged the bottom edge of the fabric (picture on the right) and hemmed it using a 1/4 inch fold.  You can also fold the bottom edge 1/4 inch and then another 1/4 inch if you’d like as well.

Next, with the skirt still right side out, make the casing for your elastic by folding the top edge over 1/2 inch (like I explained in the last step!) making sure to leave a 1/2 inch opening to thread your elastic through.  Using a safety pin, thread your elastic through the casing, sew together the two ends together with 1/2 inch overlap, and then sew the casing shut. Make sure to hem the bottom of the skirt if you haven’t already!

If you have one, sew a tag onto the backside of the skirt!

And there you have it! One cute little skirt for one…or two…cute little girls!
XOXO,


** I have been compensated for this post. However, all opinions are truthful and my own. 

    You may also like -

    Heidi and Finn Tennis Skort Pattern ReviewTennis Skort Pattern Review and Sew Fab Bundle Pattern Sale!Modern Vintage Bubble RomperUgly Duckling Vintage Pattern Series: Modern Vintage Bubble RomperHello Kitty Let’s Play Clothing and KuKee!TUTORIAL: Chalkboard Paint Dipped Wooden SpoonsBOOK REVIEW: Sew Pretty T-Shirt Dresses

    Become a Subscriber

    never miss a thing!

    Comments

    1. Brittany B says

      April 24, 2013 at 1:40 pm

      That is so absolutely adorable! I wish i knew how to sew, I really need to learn.

      • Maggie says

        April 24, 2013 at 3:50 pm

        Thanks Brittany! You should give it a go, sewing is so fun!

    2. Kp says

      April 24, 2013 at 2:35 pm

      that fabric is so adorable. I wish it was this easy to make flattering adult clothing!

      • Maggie says

        April 24, 2013 at 3:51 pm

        HA! I agree!! Kids’ bodies are so straightforward, aren’t they!

    3. Linda :) says

      April 24, 2013 at 6:18 pm

      Maggie where did you get the cute labels done?

      Thanks!

      • Maggie says

        April 26, 2013 at 2:21 pm

        I bought them at Clothinglabels4u.com…I have a blog post in my Tutorials section under the Sewing Header explaining more about them too!

    4. Megan says

      April 25, 2013 at 12:58 am

      So cute! If I knew how to sew, I’d definitely make some for my nieces.

      • Maggie says

        April 26, 2013 at 2:22 pm

        Thanks Megan!! 🙂

    5. Shanon Brugh says

      April 26, 2013 at 1:54 pm

      Maggie, do you remember how much elastic you used in the skirt to make the waist band? I think my daughter would fit in this but I don’t know how much elastic to use.

      • Maggie says

        April 26, 2013 at 2:23 pm

        Hi Shannon!
        I used 20 inches of elastic…just measure around your daughter’s waist and add an inch so when you sew it together you have an inch to do so! Have fun!

    6. Shanon Brugh says

      April 26, 2013 at 4:44 pm

      thanks!

    Welcome to Smashed Peas and Carrots. You can read more about me HERE
     photo designTeam.png
    Follow on Bloglovin

    Popular Tutorials

    Highlighter Valentine Card with Free Printable

    Highlighter Valentine Card with Free Printable…

    Play Doh Valentine Card Free Printable

    Play Doh Valentine Card Free Printable…

    Elderberry Syrup Recipe

    Elderberry Syrup Recipe: Natural Cold and Flu…

    Teacher Survival Kit

    Teacher Survival Kit with FREE Printable…

    Notebook Paper Pencil Pouch Teacher Gift Idea

    Notebook Paper Pencil Pouch Teacher Gift Idea…

    Free Silhouette File Teacher Canvas Bag Gift Idea

    Free Silhouette File: Teacher Canvas Bag Gift…

    Popular Recipes

    No Bake Energy Bites Recipe…

    Chocolate Coconut Cups {Gluten and Dairy Free}…

    DIY Taco Seasoning Recipe…

    Sugar. Cookie. Icing. {The Recipe}…

    French Dip..Crockpot Style!…

    Crockpot Banana Bread…for Real!…

    My Sponsors

     photo FatQuarterShop-175x175.png

     photo cdf15248-e6f8-4276-abc0-c145e2451c35.jpg


    Blog Archives

    Posts by Topic

    Stay Connected

    • Facebook
    • Twitter
    • Pinterest
    • Instagram
    • Dots
    • Google Plus

    Join me on Facebook

    Copyright Smashed Peas and Carrots © 2025 · All rights reserved · Design by Emily White Designs

    Copyright © 2025 · Smashed Peas & Carrots Custom on Genesis Framework · WordPress · Log in