Smashed Peas & Carrots

Inspiration For Living Creatively - DIY Crafts, Sewing, Recipes, Crafts & More

  • Press
  • Disclosure
  • Collaborate
  • Contact
  • Facebook
  • Twitter
  • Pinterest
  • Instagram
  • Dots
  • Google Plus

Become a Subscriber

never miss a thing!

  • Home
  • About
    • Advertising
    • Disclosure & Safety Disclaimer
    • Privacy Policy
  • Recipes
    • Appetizers
    • Bento Lunch
    • Beverages
    • Smoothies
    • Breads
    • Breakfast
    • Casserole
    • Crockpot
      • Visual Library
    • Dairy Free
    • Dessert
    • Gluten Free
    • Main Course
    • Holiday
    • Instant Pot
    • Paleo
    • Party Food
    • Salad
    • Side Dish
    • Soup
    • All Recipes
  • Tutorials
    • Children
    • Adult
    • Home Decor
    • No Sew
    • Sewing
      • Children Sewing
      • Adult Sewing
      • Home Decor Sewing
      • Sewing Basics
    • Sewing Studio
    • Knitting
    • Kids Crafts
    • Bento
    • Holiday
    • Parties
    • Gift Ideas
    • Natural Living
    • All Tutorials
  • shop
You are here: Home / Tutorials / Holiday / TUTORIAL: Valentine’s Advent Calendar
Jan
24

TUTORIAL: Valentine’s Advent Calendar

| Filed Under: Holiday, Tutorials, Valentine's Day

Yup, Yup. I did it. I made another Advent Calendar…Valentine’s Style! I don’t know about you but I’ve seen a few of these floating around the internet over the last couple of years and always thought they were a cute idea.  Many of them are done as bunting but we just don’t have a whole lot of wall space for that so I finally sat down and figured out a way to put it together that worked best for our home.
This is another “Heart Art” project that is easy to put together and has such a high cute factor that I can’t believe I waited so long to get one done! 
Each envelope has a cute little heart inside where I wrote a little somethin’ somethin’.  Each one varies from an “experience” to do to a sweet love note to my kids.
Valentine’s Advent Calendar
Large piece of foam board 
Small paper envelopes (mine were 3.25″x3.25″ squares)
Mini clothespins
Twine or yarn
Glue Dots or Hot Glue or Double Stick Tape
Fiskars paper heart punch
Scrapbook paper
Number stamps and ink pad
Heart Shapes PDF printable (here)
The first thing I did when making my board was to measure out how to evenly space the yarn for each of the 14 envelopes to hang.  I decided I liked them about 6 inches apart. Cut a small slit on both the right and left sides of board for each piece of yarn (making sure they are the same distances from the top of the board!) so the yarn has a place to “hook in to” otherwise the yarn will slowly start to slide down the board with the weight of the envelopes and clothespins. 
Then cut a long enough piece of yarn or twine so that you can lay it across the foam board and hook it into each side slit and still be able to tie it together at the back of the board.
 {the back of the board}

Yay! The board is done!
Now onto the envelopes.  I bought these cute square Kraft paper envelopes and Number stamps at Michael’s. They also sell small rectangular envelopes and a plain white style too but the square Kraft paper ones stole my heart! 🙂

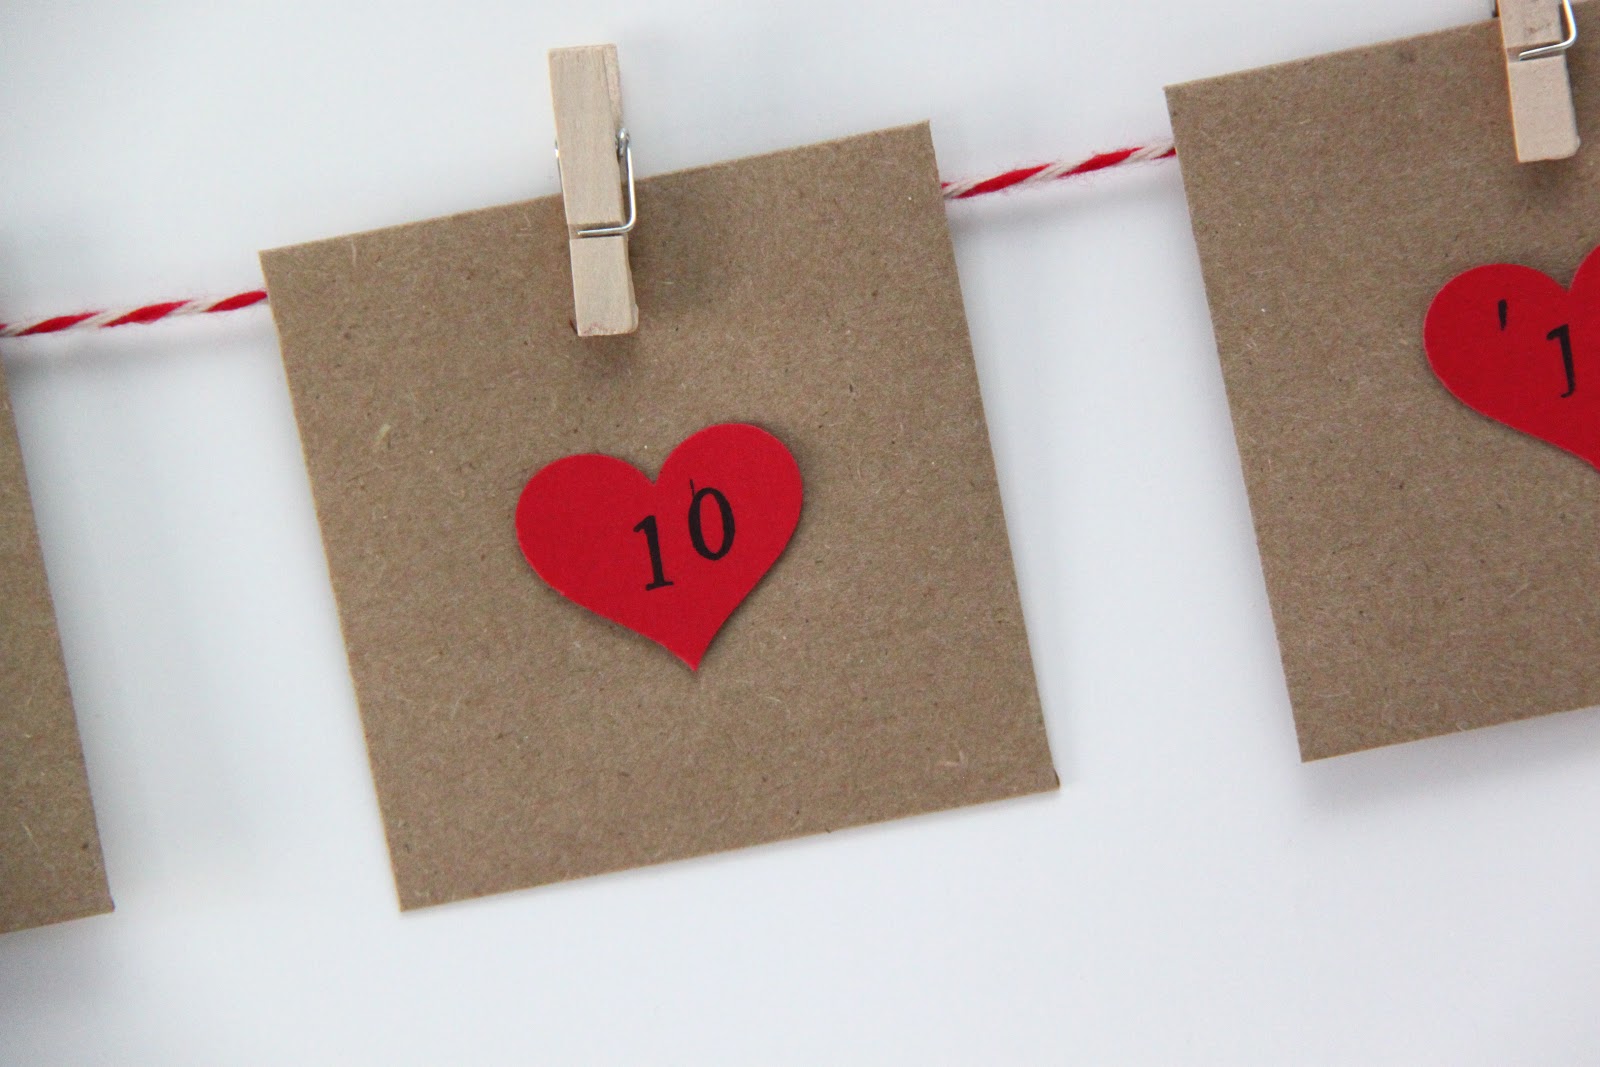
Punch 14 hearts using your heart punch and scrapbook paper.  I used Glue Dots to attach one to the front side of each envelope, like so.

Then stamp numbers 1-14 in the middle of each heart for each day in February leading up to Valentine’s Day.

Using your mini clothespins, hook each envelope to your twine/yarn and you have yourself a sweet little Valentine’s Advent Calendar!

You can just use small slips of paper to write your love notes or experiences but of course I had to go one step further.  I made a Heart Shape Printable (found here) and cut 14 out to write on and tuck inside each envelope.

If you are needing ideas of what to write here are the 14 ideas I came up with in no particular order:

1.   Let’s make cupcakes!
2.   Daddy date with Penny
3.   Mommy date with Noah
4.   Daddy date with Ellie
5.   You are my sunshine!
6.   We love you all so much! To the moon and back again 🙂
7.   Kids choice for dinner tonight!
8.   Here’s a kiss for you, my sweeties! (they each get a little bag of Hershey’s kisses)
9.   Ice Cream Sundaes for dessert (with pink and red sprinkles)
10. Let’s make fingerprint heart art
11. Roses are red, Violets are blue, you are all so loved, you make us cuckoo!
12. This heart is good for one movie of your choice tonight
13. ‘Donut’ make you happy to know you are loved? (I’ll make or buy donuts for breakfast that day)
14. It’s Valentine’s Day (Heart-shaped pancakes for breakfast!)

Thanks for stopping by today!

 XOXO,

    You may also like -

    Huge list of books to use for a Christmas Book AdventHuge List of Books to Use for a Christmas Book AdventTUTORIAL: Toilet Paper Tube Advent CalendarTUTORIAL: "I Choose You" Heart ArtTUTORIAL: Layered Heart ArtHeart Doily Valentine’s Window-TUTORIAL

    Become a Subscriber

    never miss a thing!

    Comments

    1. Lisa Williams says

      January 24, 2013 at 2:26 pm

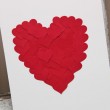
      So cute!!! I love this blog. How’d you make that heart paper chain?

      • Maggie says

        January 25, 2013 at 3:38 pm

        Thanks Lisa! The paper chain is just strips of folded paper that are stapled, it’s super easy…I’ll try to do a blog post on it next week so you can see the step by step!

    2. Shawna says

      January 24, 2013 at 3:57 pm

      So, so darling! Thanks for sharing!

      • Maggie says

        January 25, 2013 at 3:39 pm

        Thank you Shawna! 🙂

    3. Babies, Buttons and Bows says

      January 24, 2013 at 4:02 pm

      What a brilliant way to get the kids involved! Definatley going to try this next year.

      Amy x
      babiesbuttonsandbows.blogspot.com

      • Maggie says

        January 25, 2013 at 3:40 pm

        Thanks Amy! I hope you enjoy it, my kids are already looking forward to opening the envelopes…one week to go!

    4. Allison says

      January 24, 2013 at 4:20 pm

      This is so cute!

      • Maggie says

        January 25, 2013 at 3:40 pm

        Thank you, Allison! 🙂

    5. Tammy says

      January 24, 2013 at 4:58 pm

      Super cute. conn_and_vans_mom(at)yahoo(dot)com

      • Maggie says

        January 25, 2013 at 3:40 pm

        Thanks Tammy! 🙂

    6. Crystalyn says

      January 24, 2013 at 5:09 pm

      This is just too cute! I would have to add one more envelope though, because it’s the day AFTER Valentine’s Day that I get most excited about! Target clearance shopping is my fave!

      • Maggie says

        January 25, 2013 at 3:41 pm

        Haha! OMGosh that is hilarious…and so true! I may need to add one more too…Clearance shopping at Target is THE BEST!

    7. Candie says

      January 24, 2013 at 5:56 pm

      Adorable! I love how simple and sweet it is!

      • Maggie says

        January 25, 2013 at 3:41 pm

        Thanks Candie! This was such a fast project…it really is so easy!

    8. Nancy Bandzuch says

      January 24, 2013 at 10:05 pm

      So fun–I especially love the little messages inside. How sweet!
      I just voted for you at the circle of mom! I’d love to have you stop by and link up this project at my Tuesday link party–
      http://www.dosmallthingswithlove.com
      Nancy

      • Maggie says

        January 25, 2013 at 3:41 pm

        Aww, thank you Nancy! Your blog name is so sweet too!!

    9. Lynn Walder says

      January 25, 2013 at 12:33 am

      Love this little Valentine countdown. Your messages are so perfect thank you for sharing them. I didn’t feel as creative until I saw your ideas. This will be on my Pinterest board for sure. Love your blog!!!

      • Maggie says

        January 25, 2013 at 3:42 pm

        Thank you Lynn! 🙂

    10. Fawn Weaver says

      January 25, 2013 at 2:10 am

      Maggie, I absolutely LOVE this! I didn’t even know there was such thing as an advent calendar outside of December (and to be honest, I just learned about that one last year). Very cool.

      • Maggie says

        January 25, 2013 at 3:43 pm

        Ha! I know right! I guess you really could make an advent calendar for any holiday 😉

    11. Designed Decor says

      January 26, 2013 at 8:19 pm

      Very cute and creatitive! I love the little enevelope idea! I just started a new link party and would love for you to come over and share your post or any social media sites. Talkin’ About Thursday – http://designeddecor.com/talkin-about-thursday-link-party4/
      DeDe@DesignedDecor

    12. Lynn Le5 says

      January 28, 2013 at 1:55 pm

      What a fantastic idea! Love this. Thanks so much for sharing!

    Welcome to Smashed Peas and Carrots. You can read more about me HERE
     photo designTeam.png
    Follow on Bloglovin

    Popular Tutorials

    Highlighter Valentine Card with Free Printable

    Highlighter Valentine Card with Free Printable…

    Play Doh Valentine Card Free Printable

    Play Doh Valentine Card Free Printable…

    Elderberry Syrup Recipe

    Elderberry Syrup Recipe: Natural Cold and Flu…

    Teacher Survival Kit

    Teacher Survival Kit with FREE Printable…

    Notebook Paper Pencil Pouch Teacher Gift Idea

    Notebook Paper Pencil Pouch Teacher Gift Idea…

    Free Silhouette File Teacher Canvas Bag Gift Idea

    Free Silhouette File: Teacher Canvas Bag Gift…

    Popular Recipes

    No Bake Energy Bites Recipe…

    Chocolate Coconut Cups {Gluten and Dairy Free}…

    DIY Taco Seasoning Recipe…

    Sugar. Cookie. Icing. {The Recipe}…

    French Dip..Crockpot Style!…

    Crockpot Banana Bread…for Real!…

    My Sponsors

     photo FatQuarterShop-175x175.png

     photo cdf15248-e6f8-4276-abc0-c145e2451c35.jpg


    Blog Archives

    Posts by Topic

    Stay Connected

    • Facebook
    • Twitter
    • Pinterest
    • Instagram
    • Dots
    • Google Plus

    Join me on Facebook

    Copyright Smashed Peas and Carrots © 2025 · All rights reserved · Design by Emily White Designs

    Copyright © 2025 · Smashed Peas & Carrots Custom on Genesis Framework · WordPress · Log in