Ok, so you all know my love for vinyl tablecloths lately, right? Well, here is yet another idea for all those fun tablecloths you are finding out there this summer…a changing mat for your little babe! So nice cause you can just wipe them clean if they get any yuck on them…and we all know they get some yuck on them! 🙂
And, since I have no clue if we are having a boy or a girl I have to use some of my baby crafting and sewing energy on my friends who are having/just had babies. Don’t you love this blue and orange fish design!?!
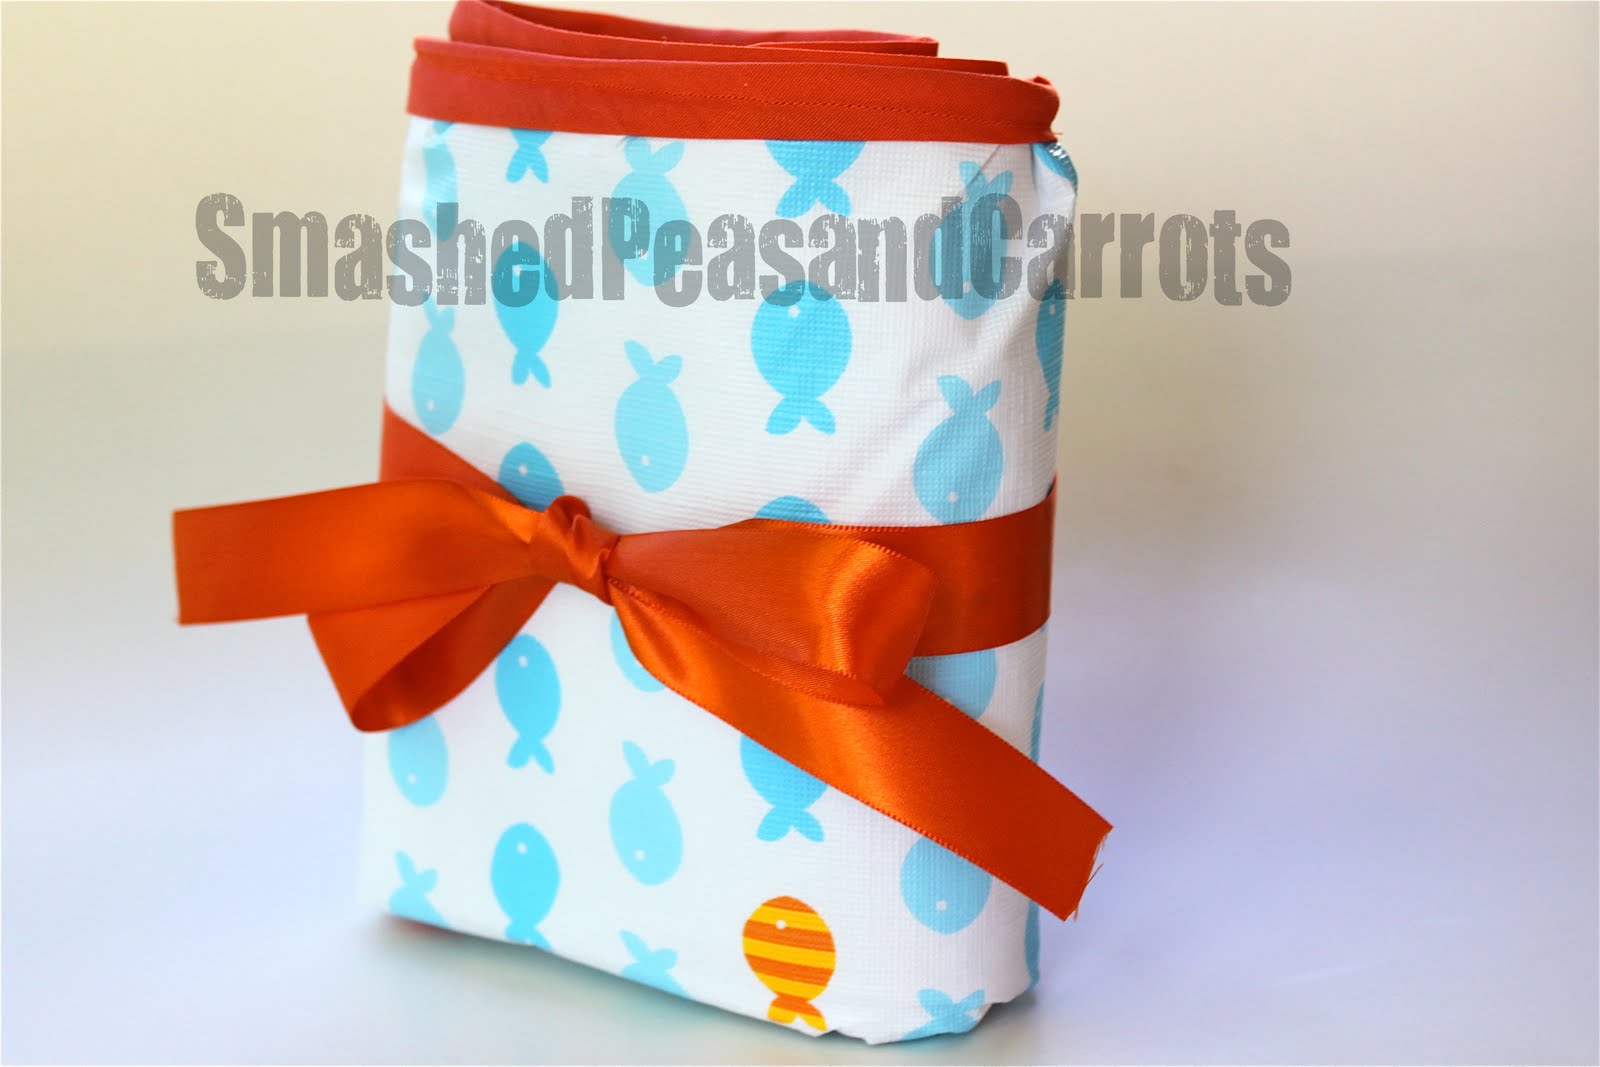
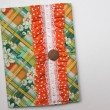
The little mat, all folded up nice and pretty!
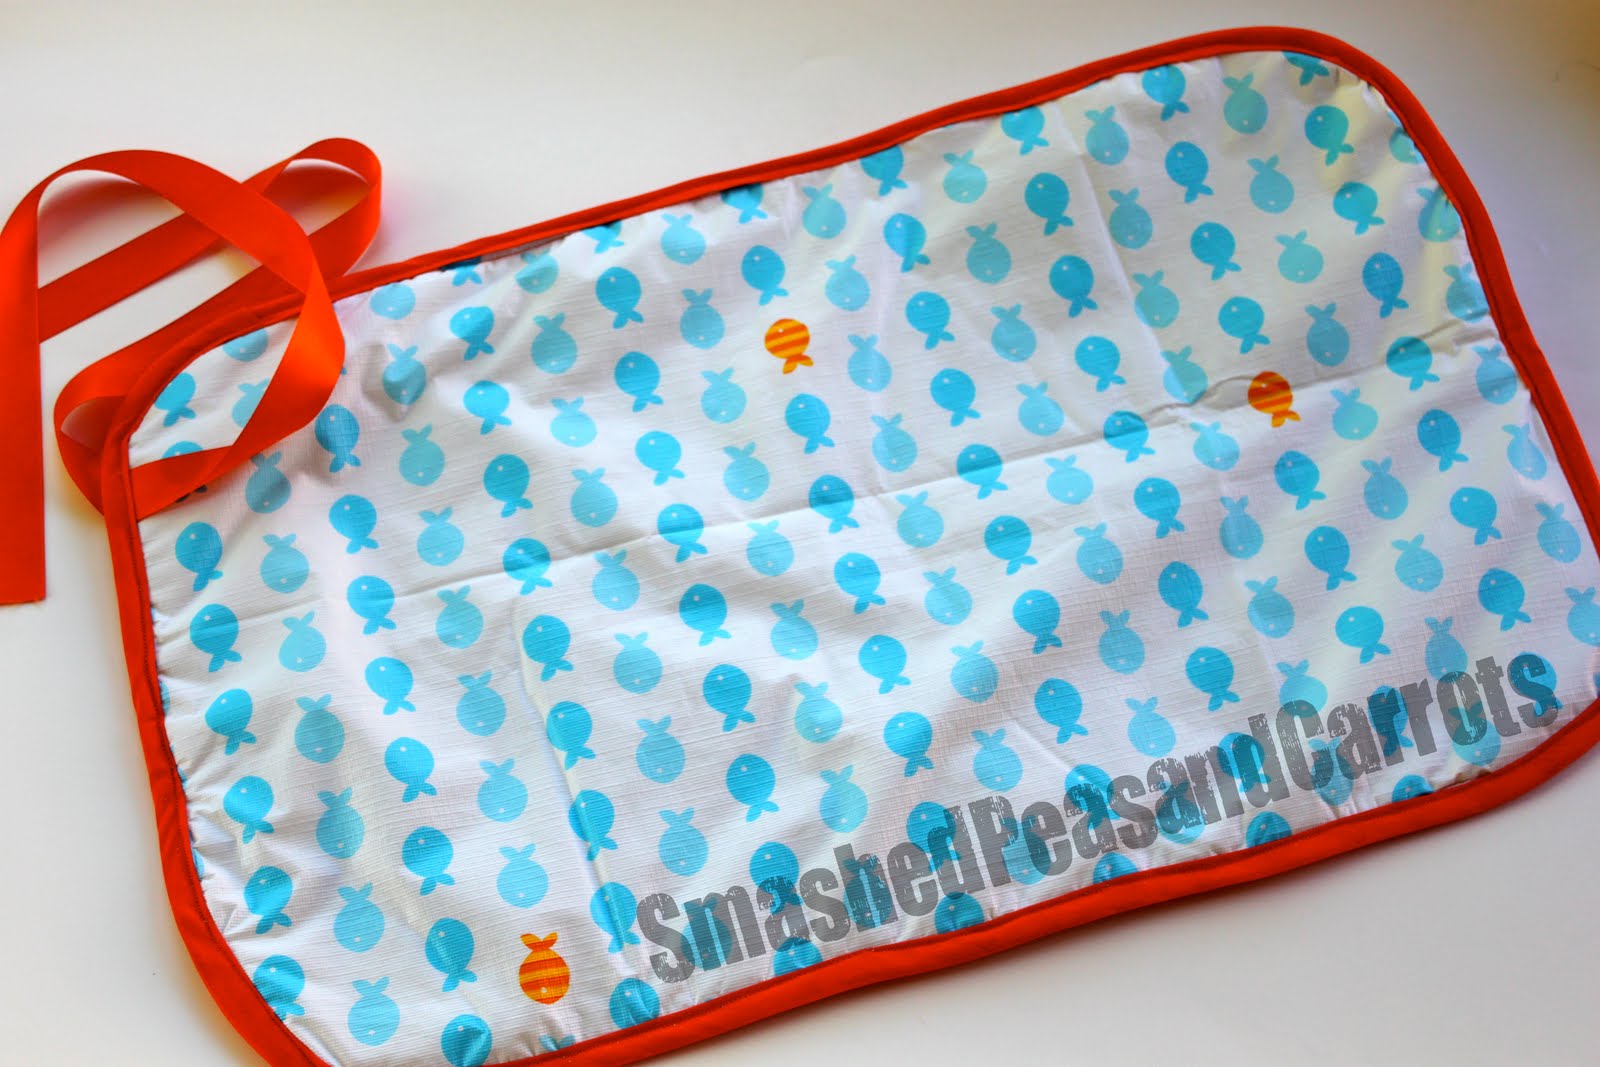
…and now it’s ready for a dirty bum to clean!
So, what do ya think? Interested in making one? They are really easy…you need very little to put one of these puppies together! Alright, it’s time to get to it!
Vinyl Tablecloth Changing Pad
1 vinyl tablecloth (any size)
piece of felt (I cut mine to 14 x 22 inches!)
rotary cutter and mat
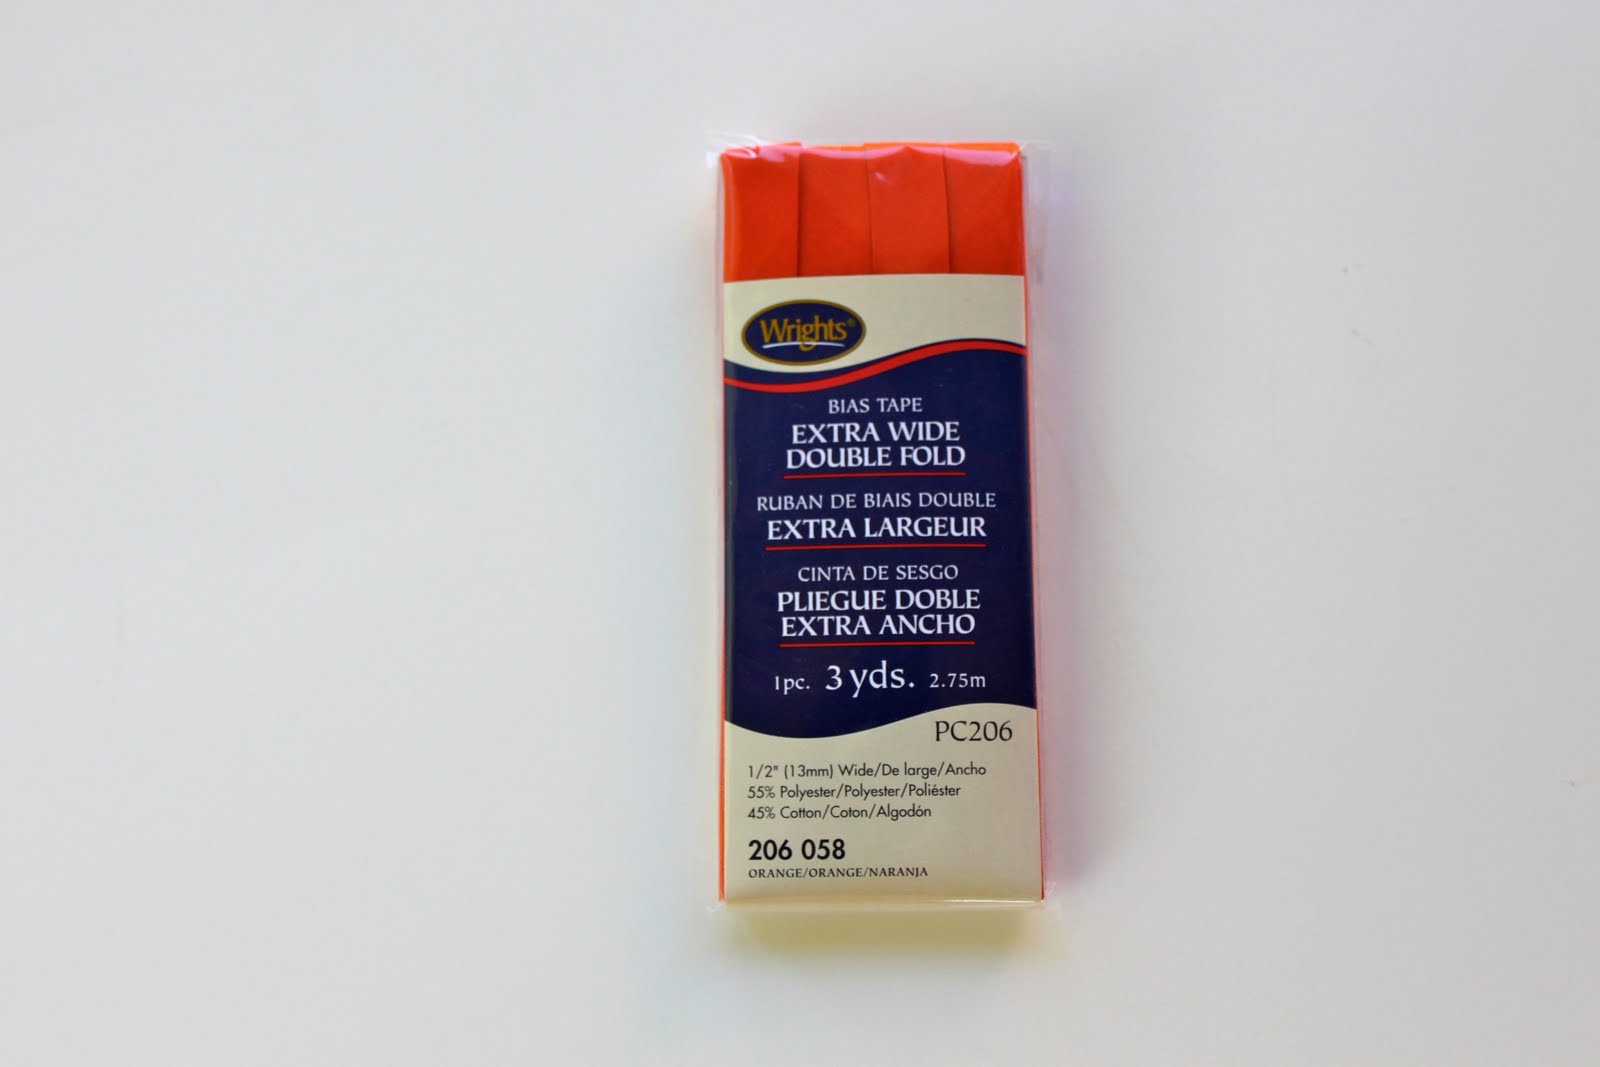
1 package extra wide double fold bias tape in coordinating color
2 pieces of 12 inch long 7/8 inch ribbon in coordinating color
thread
sewing machine
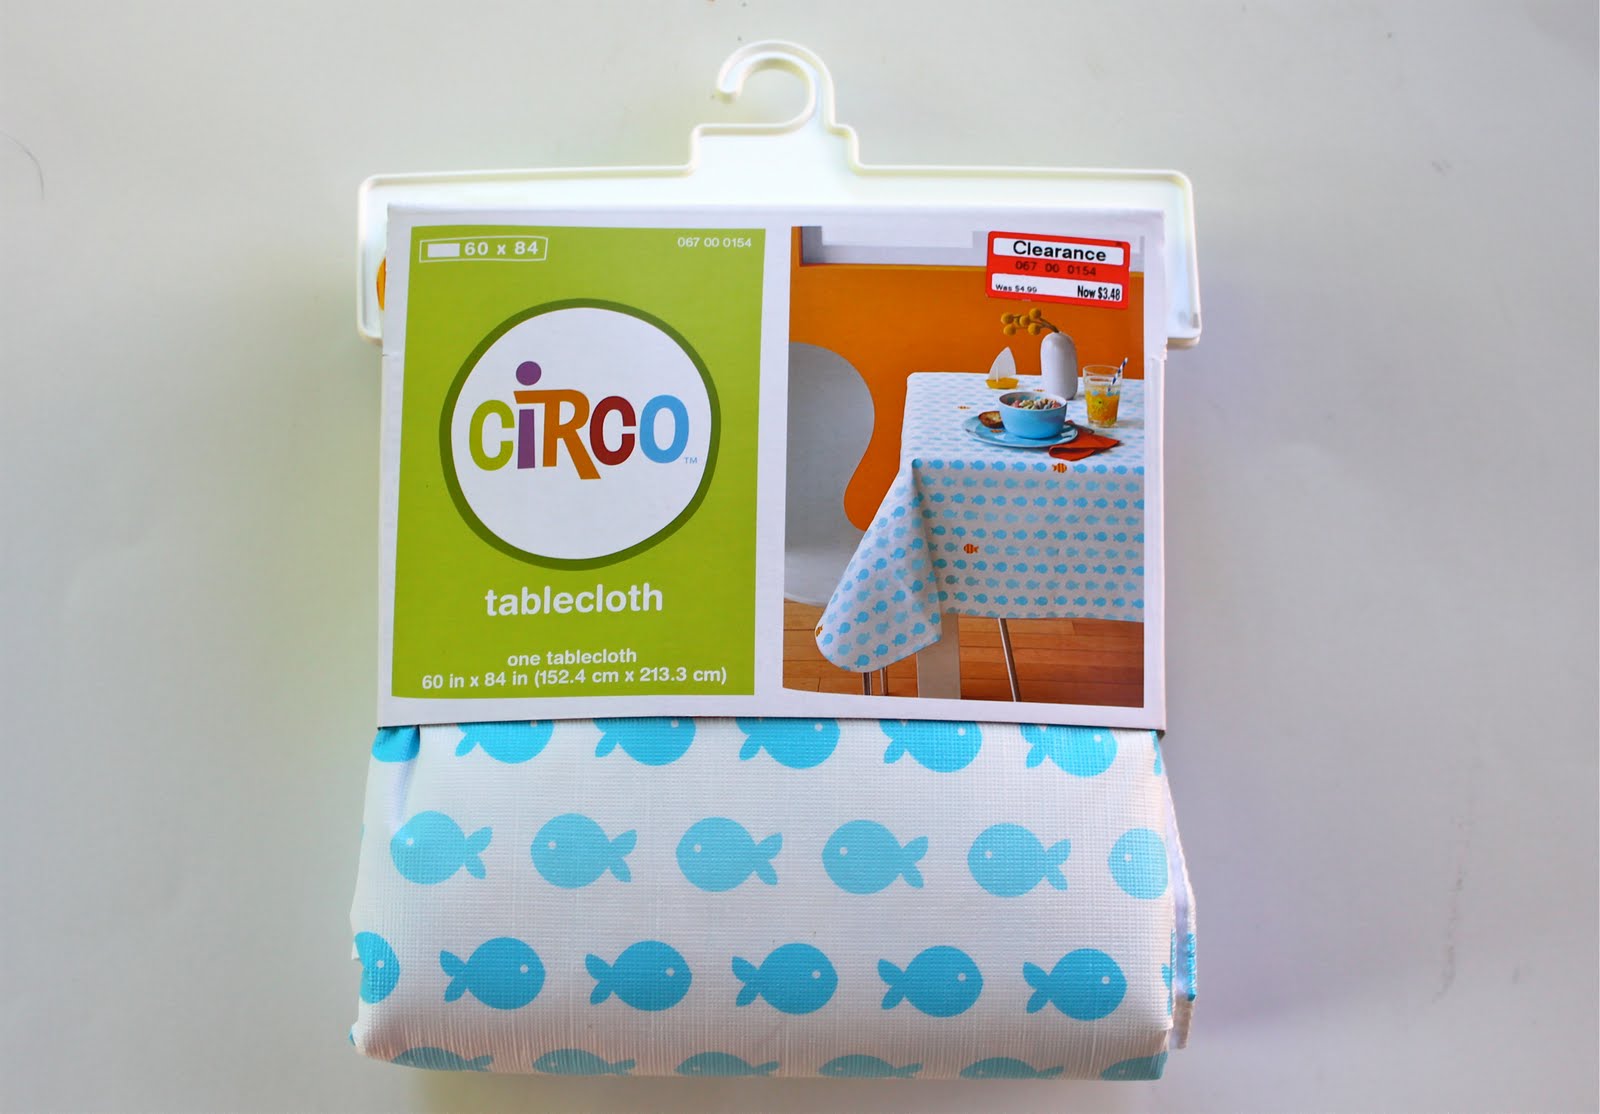
So, here is my vinyl tablecloth…on clearance at Target for only $3.48…WOOT WOOT!
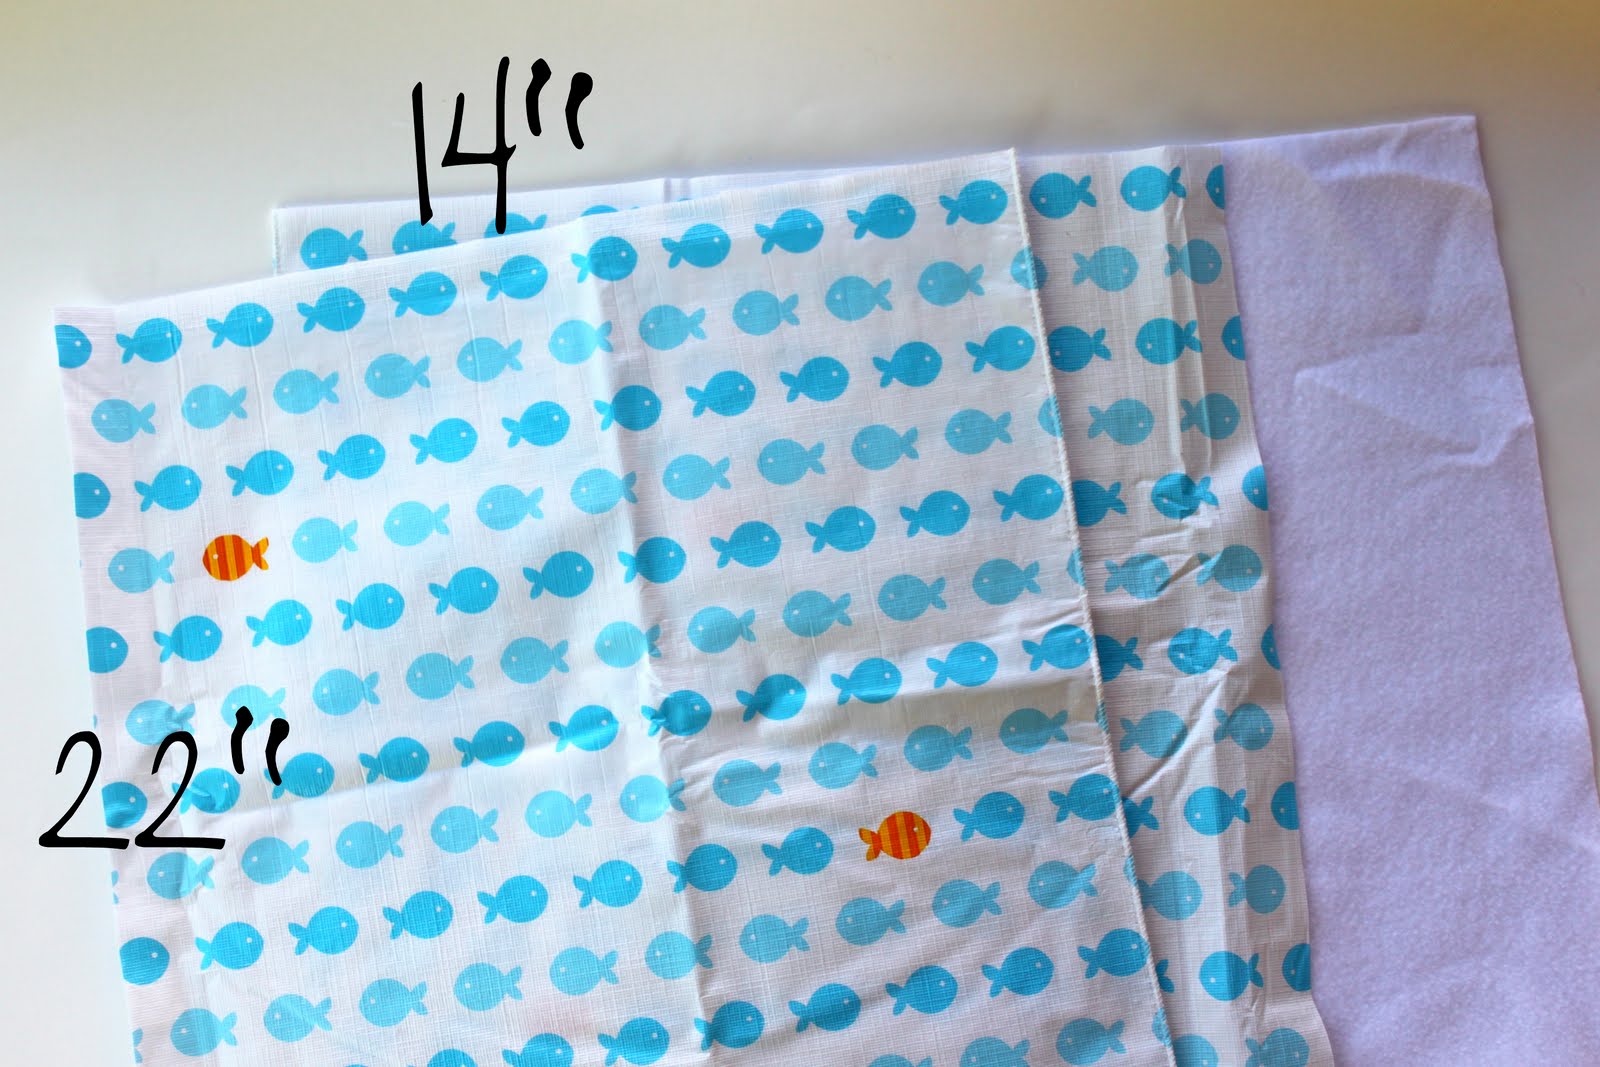 Ok, first cut 2 pieces of your tablecloth and 1 piece of felt to the dimensions you like, I cut all three of mine to measure 14 inches x 22 inches.
 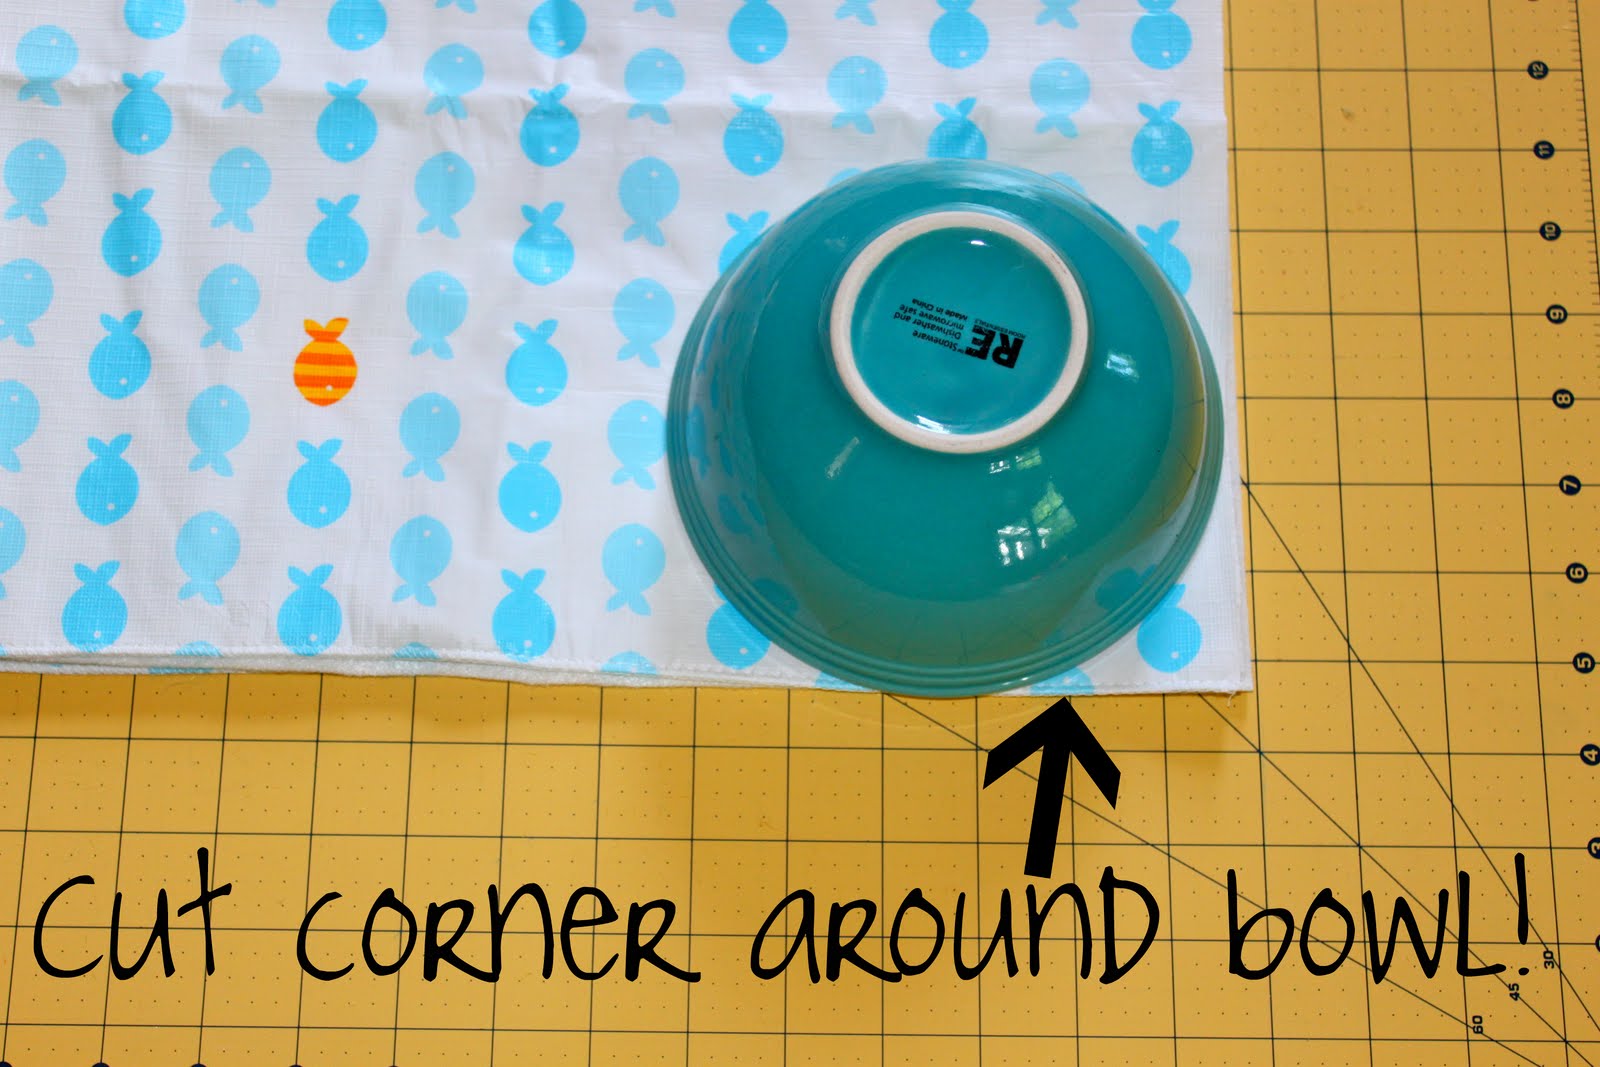 Then, place all three layers of material together so that you have a felt sandwich (vinyl tablecloth pieces on the outside) making sure the right sides of your tablecloth are facing out!
Go and find a bowl…or a CD…and place it at one corner of your stacked material. Cut around the bowl to make a nice curved edge.
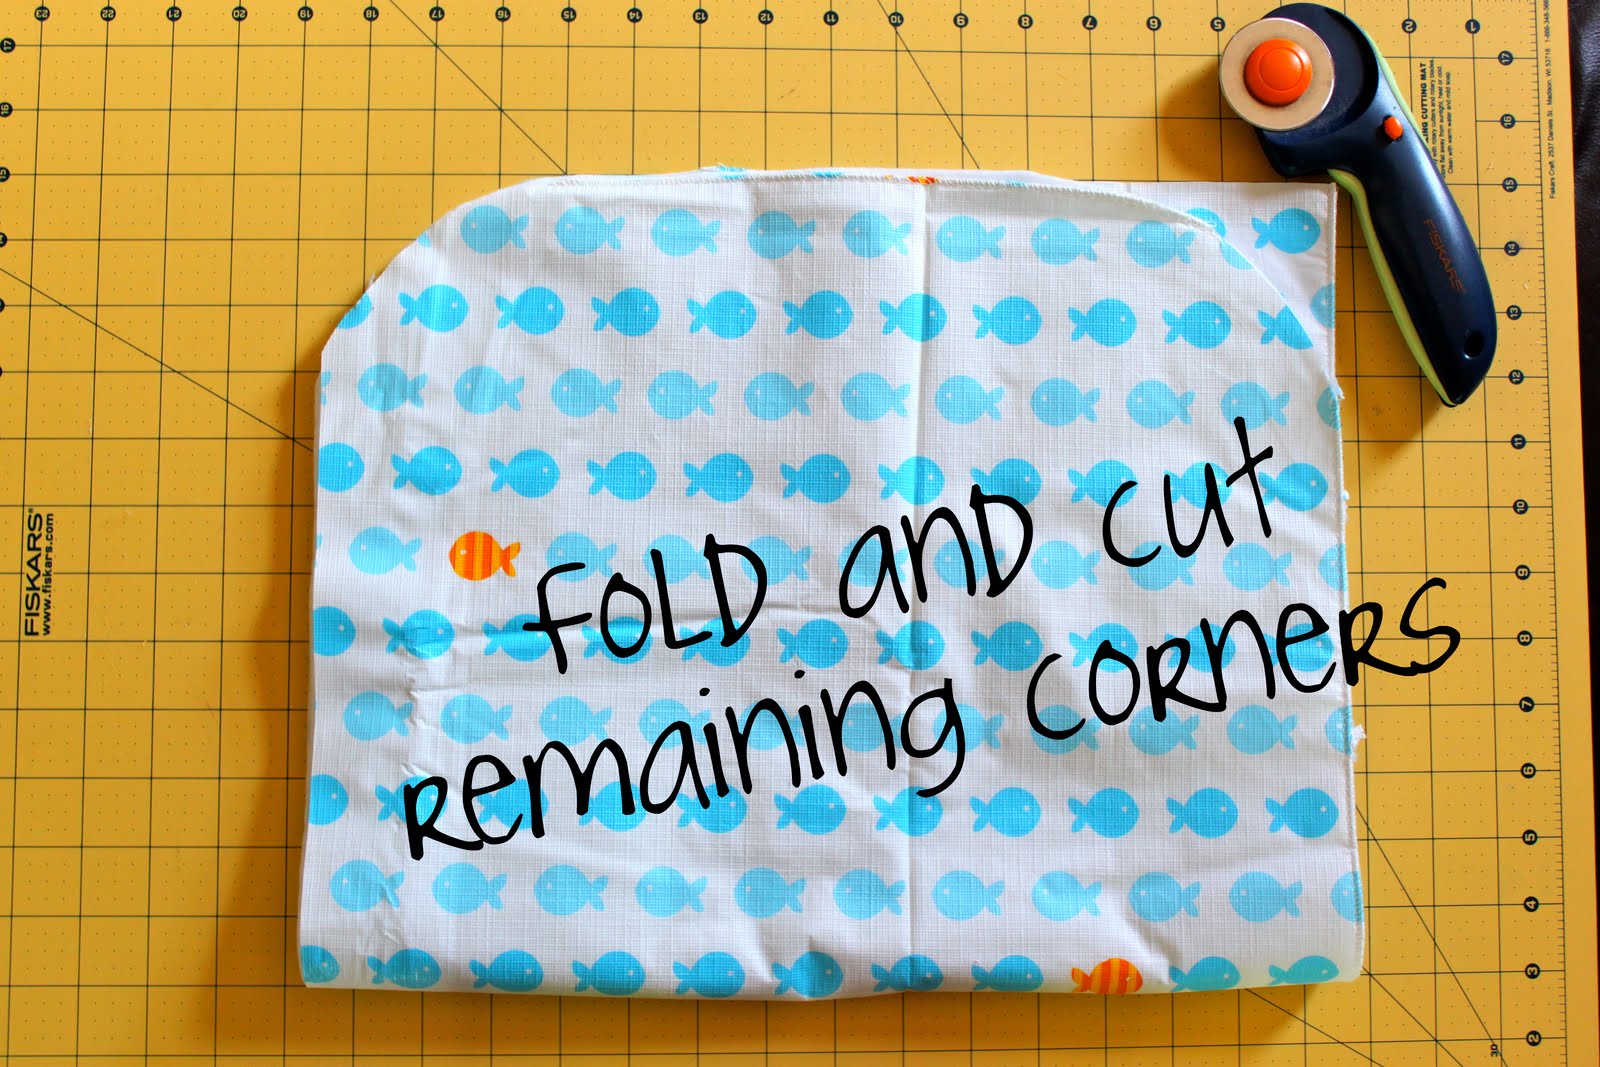 Then, what I did was just fold the 3 layers in half and used the first corner I cut as a template for the other corners…comprendo? You could easily just use the bowl on all 4 corners but I wanted to make sure my corners were all the same cause I never seem to put the bowl in the same place every time!
See, four pretty (and equal) corners!
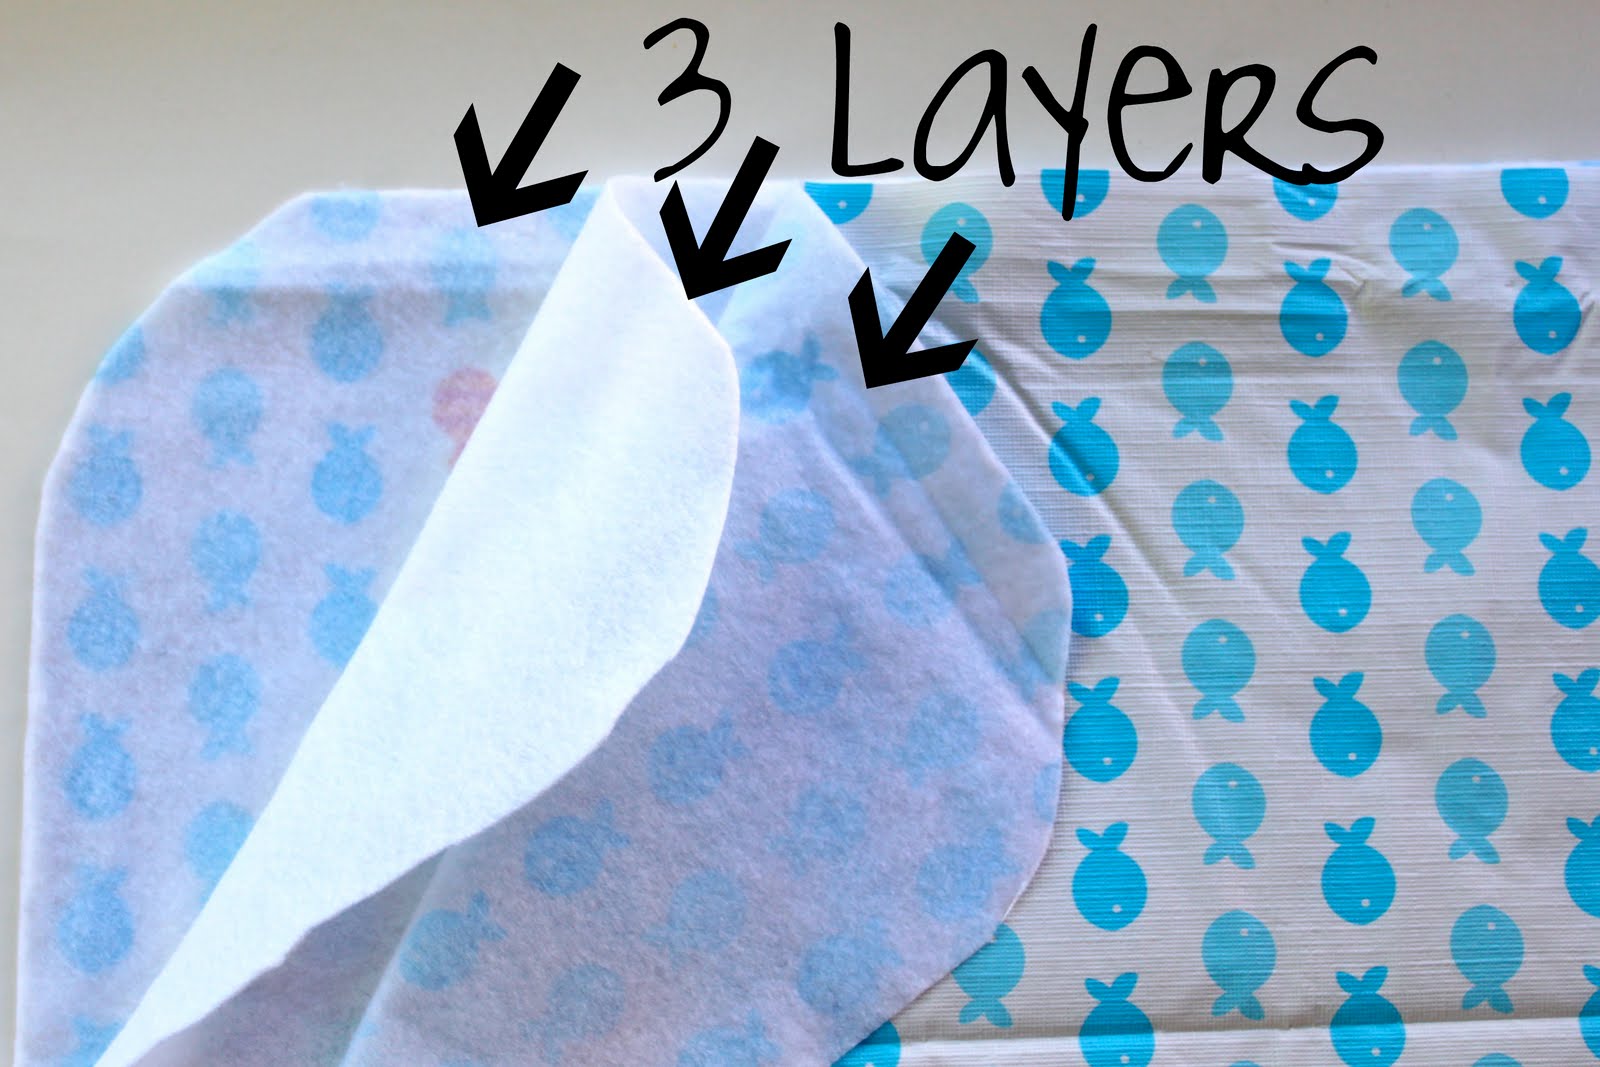
Ok, here is a peek at the felt sandwich…vinyl tablecloth, felt and vinyl tablecloth…with the right sides of the vinyl tablecloth facing out!
 Next, take your bias tape and open it up so that you are placing the felt sandwich into the crease in the middle of your bias tape. Then, just sew your bias tape around the edges of your 3 layers of material. Make sure to sew nice and slowly so you are catching both sides of your bias tape!!
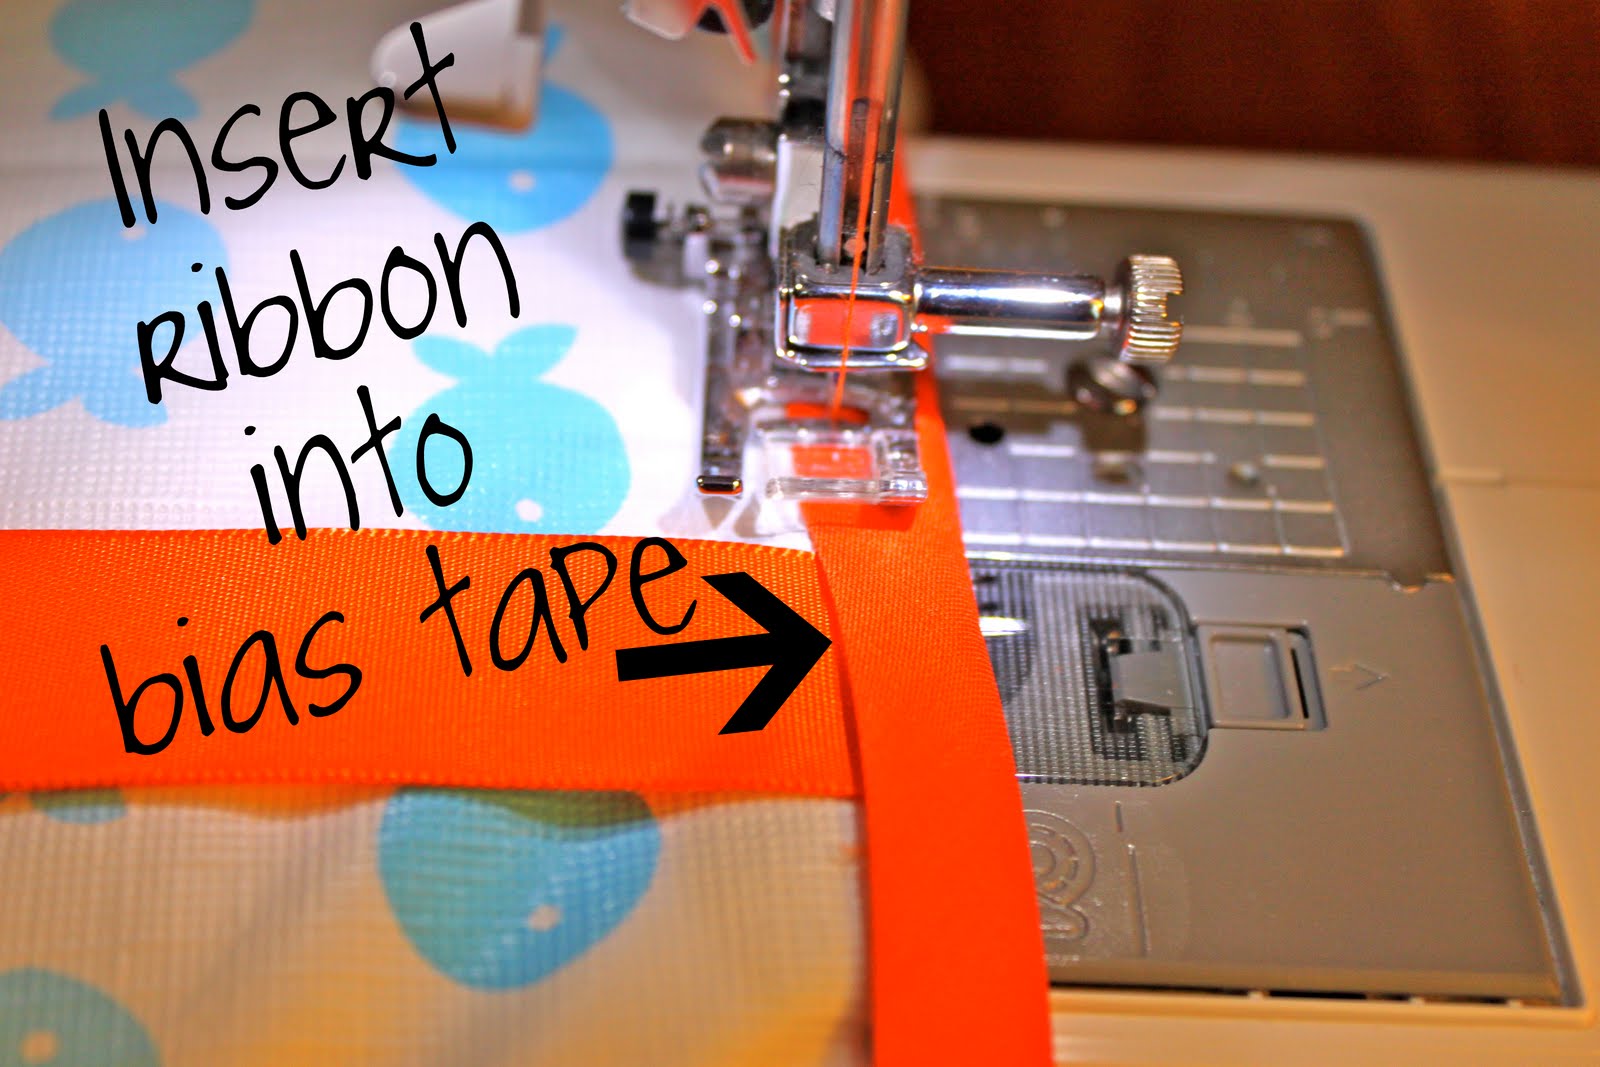 Then, at one of the short (14 inch) sides of your changing mat you will tuck in the two pieces of ribbon in between the bias tape and the vinyl tablecloth (do one ribbon per side and sew at the same time) placing it about 3 inches from the long (22 inch) edge. You can’t see it here but the other piece of ribbon is directly underneath the ribbon you see in the picture…but on the other side in between the bias tape and the other vinyl tablecloth.
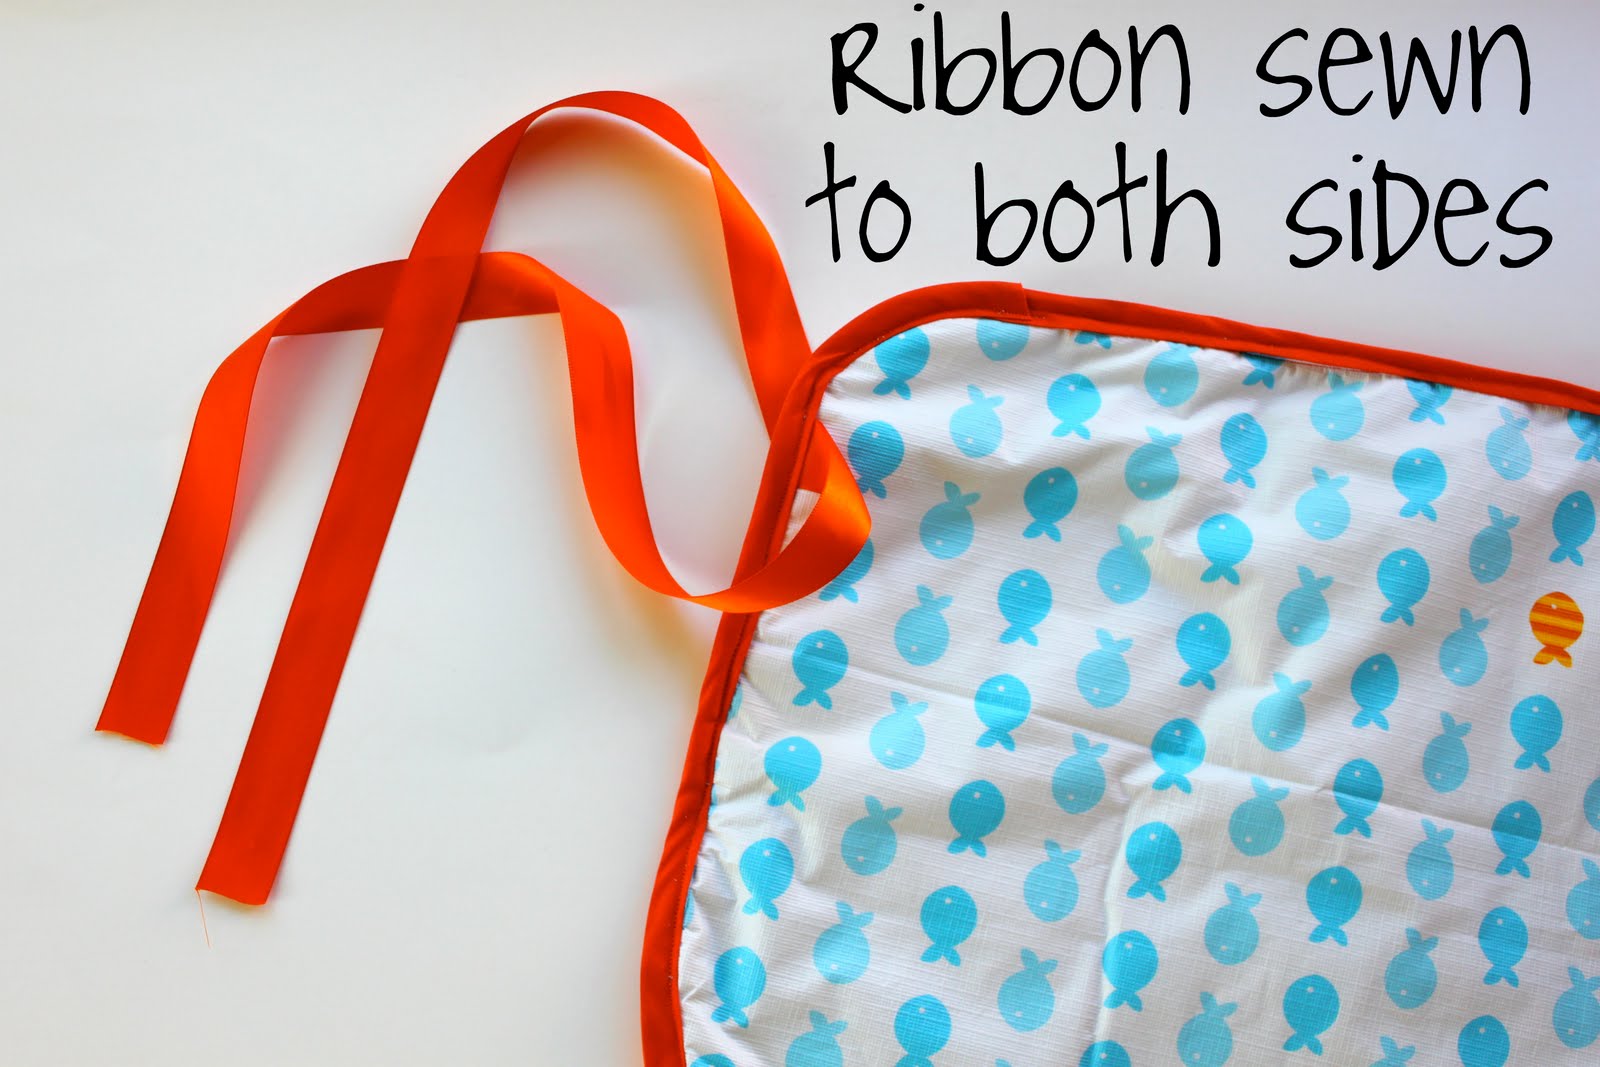
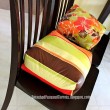
Ok, can you see here how I put a piece of ribbon on each side of the changing mat? And, do you see how it is on the short edge about 3 inches in from the long edge? This way you can fold the mat in half along the short edge and then in fourths lengthwise before you tie it up. Let me know if this is confusing, I’m feeling a bit wordy today.
Well, that is it folks…once you finish sewing your bias tape around the edge you can fold it up and tie it in a bow, like so…
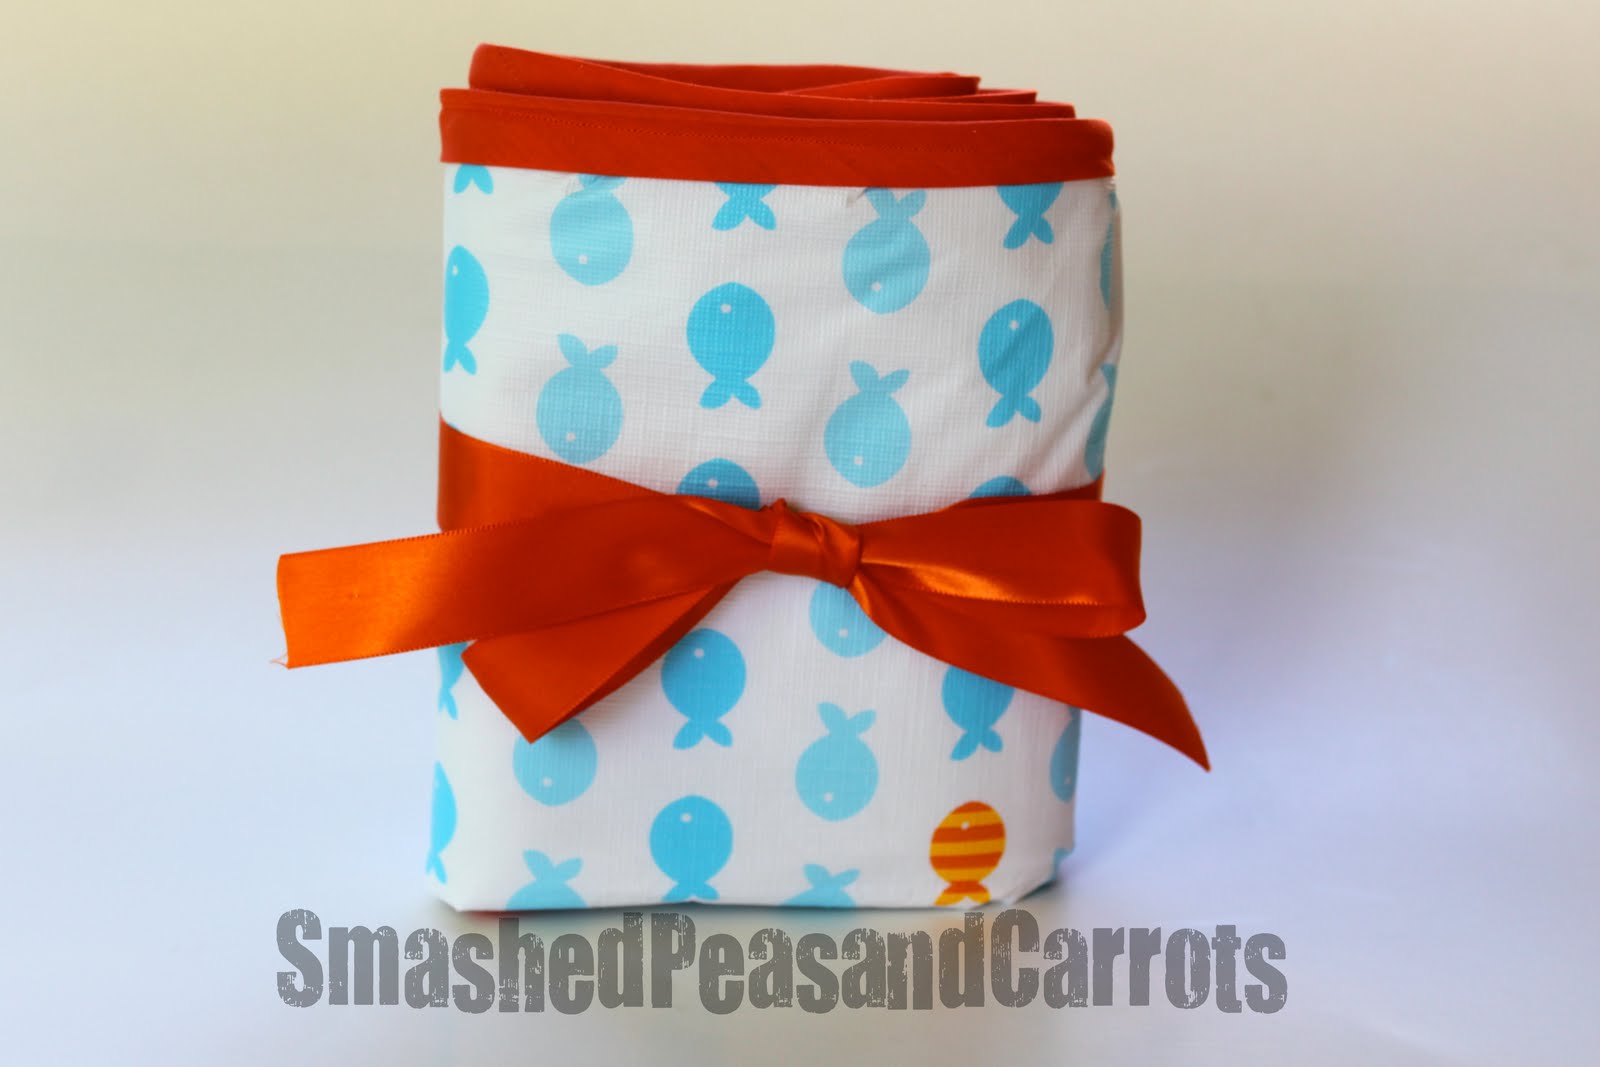
So cute!

Now just get your diapers and wipes…
unfold this baby…

…and you are ready to diaper a cute little tush!
Now, tell me, who has an adorable baby’s bum to wipe?
In style, that is!

so adorable, and that is the perfect tablecloth too!
Awesome! You have the best vinyl tablecloth ideas. I totally missed that fishy tablecloth when it was clearanced at Target. However, I did pick up a few at Old Navy ($5 plus 30% off with their whole store is %30 promotion which goes until tomorrow I think). I will have to try your booster seat cushions and this changing pad. Thank you!
Awesome! You have the best vinyl tablecloth ideas. I totally missed that fishy tablecloth when it was clearanced at Target. However, I did pick up a few at Old Navy ($5 plus 30% off with their whole store is %30 promotion which goes until tomorrow I think). I will have to try your booster seat cushions and this changing pad. Thank you!
I needed to make one, thanks!
I needed to make one, thanks!
cute, cute, cute. I just used that same table cloth for a high chair drop cloth. I LOVED the print. I love the changing pad, what a great use.
Hmmm, great crafting minds must think alike! I grabbed this same table cloth at Target last week! Such a cute idea! If I ever have another baby, I’m definitely adding this project to the list. Thanks for sharing.
That is fantastic!!!
I LOVE THIS!!!!!! THanks for sharing!
LOVE IT!
What a cute gift this would be for a baby shower! I’ll definitely be keeping this idea in mind.
I love it! I only wish I had a baby still. Mine is three now and I don’t really use those anymore. You know what!? Presents! Yeah, I can make them!
This is awsome…I am going to make a few for my new grandbaby.
I appricate your posting.
AWESOME~ you come up with the greatest stuff. Love it.
We’ve been using the fishy tablecloth for an actual tablecloth, but as soon as my oldest son has poked enough holes in his side with a fork I’ll use the rest to make this. Yay for reusing! Thank you!
I adore your idea so much that I featured it today on my Wednesday’s Wowzers. Here is the link:
http://oopsey-daisy.blogspot.com/2010/06/wednesdays-wowzers-my-top-5.html
Thank you so much for your inspiration. Have a fabulous day!
~Alison
Love this… every time I go to Target, I buy another one of these tablecloths. Hopefully my creations turn out as fabulously as yours have!
We’d love it if you’d link up Friday!
Cute idea – you do know if you folded your cloth into quarters – you would only have to do one bowl cut…
I don’t even have tiny babies anymore, and I want one of these. So cute!!
WOW! Such a cute and useful tutorial! Thank you! I have a tiny baby in diapers (4 months) and a not so tiny baby in them as well (2 yr. old), so I’ll be making some of these! I am a new follower!
This is a GENIUS idea!!!
Hi I am new to the blogging world, I did your tutorial on my blog with a couple of small changes and linked to yours. Not sure if that’s how I am supposed to do it! But thanks for the great idea!
http://sewingorsomething.blogspot.com/
I just made this and I am amazed at how easy it was although a few choice words were said when going round the corners as I am new to bias tape but I got there in the end and it looks amazing! Am going to make more as presents for my friends who have new babies. Thanks so much for the tutorial!!
Can you wash these? This might be a dumb question. Is there a need to wash something like this or do you just wipe it off and call it a day? Thanks.
Carissalmorris@gmail.com
do you think you could use a shower curtain instead of a table cloth in this project?
I don’t see why not!