Today I thought I would ‘bring back home’ a tutorial I shared over at Whip Up back in October. I thought maybe if you were traveling for the upcoming holidays this may be something you’d like to make beforehand and take with you to use during your time away from home 🙂 Enjoy!
I love shower caps and use one a few days a week. Totally not gross, did you know that you aren’t supposed to wash your hair everyday? Yup, by doing so you can strip your hair of oils that you naturally produce to keep it healthy and shiny. You can also fade the color faster if you are one who likes to color your hair. Your best bet is to wash you hair every other day or every two days and sprinkle baking powder or use one of those dry shampoos in-between washings to keep the oil in control.
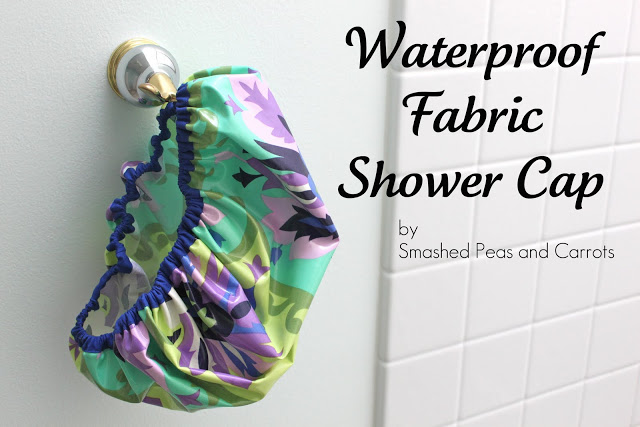
Today I am going to share with you how I make my shower caps! By using Iron-On Vinyl you can make a cute shower cap out of any pretty fabric you see…no more boring shower caps for us ladies!!
Waterproof Fabric Shower Cap
2/3 yard of your favorite cotton fabric
2/3 yard of Iron-On Vinyl
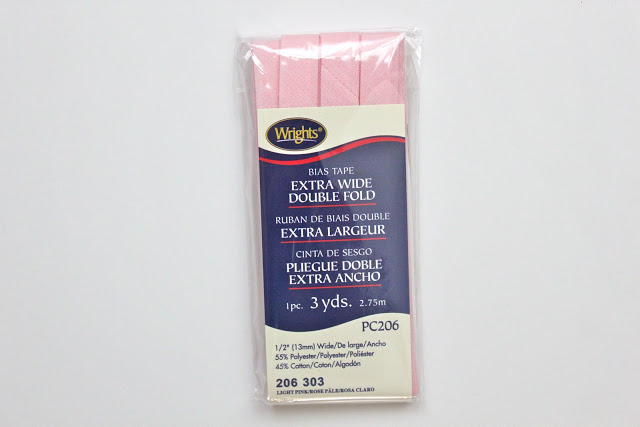
1 package extra-wide bias tape
18-20 inches of 1/4 inch wide elastic
coordinating thread
sewing machine
rotary cutter and mat
pen, pencil, string and dowel
safety pins
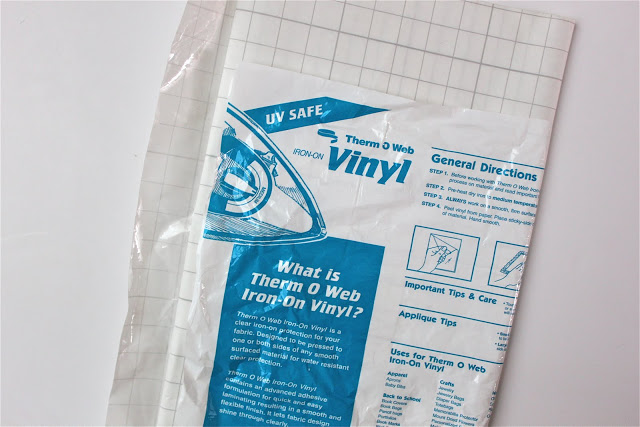
This is what Iron-On vinyl looks like. I buy mine at Joann’s, it’s sold near the cutting counter on small bolts. You probably also pick up some online.
Apply your vinyl to the right side of your fabric and follow the insert directions to heat set it.
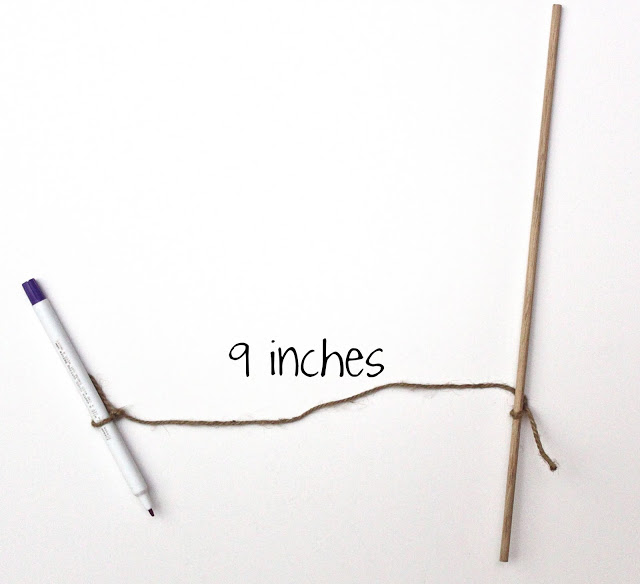
Next grab a pen or pencil, string or twine and a dowel. I used a disappearing ink pen. Measure your twine to be a little over 9 inches and then tie each end to the pen and the dowel. This is going to be your compass for making an 18 inch circle. If you have really long hair you may want to make a 20 inch circle which would mean you would need a little over 10 inches of string. Place the dowel in the middle of your fabric and use the pen to mark a circle all the way around.
Cut out the circle using your rotary cutter or a pair of scissors.
Grab your package of bias tape, make sure it is Extra-Wide.
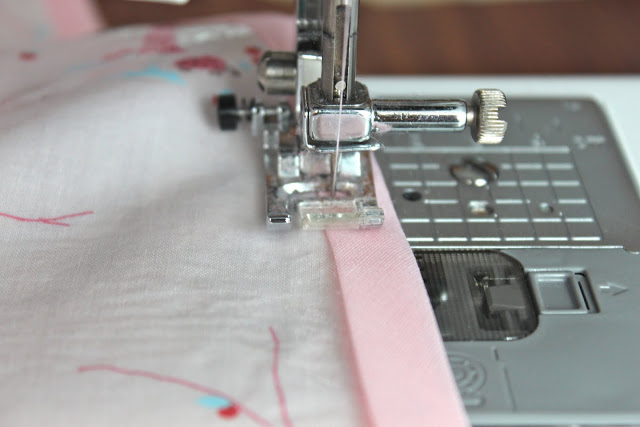
Open up the bias tape and sandwich the edge of the circle in-between. Sew as close as you can get to the inner edge of the bias tape all the while making sure you catch both front and back. Now mind you, this is not the proper way to apply bias tape but this is an easy and pretty way to make a casing for the elastic.
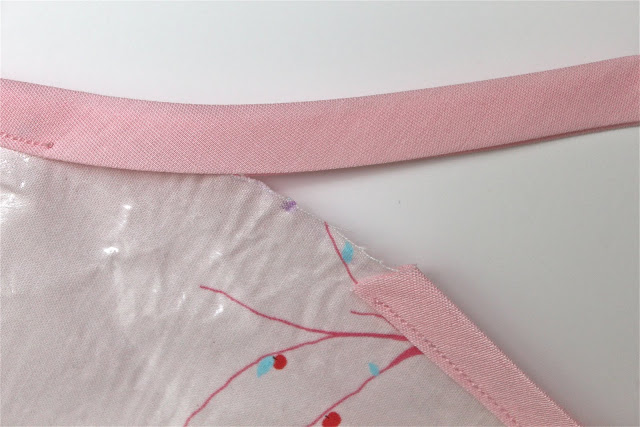
Stop sewing and backstitch when you get 1-2 inches from where you started sewing on the bias tape. You will need to make an entry for the elastic to be pulled through. With the remaining bias tape, leave enough hanging so that you can overlap the bias tape by about an inch.
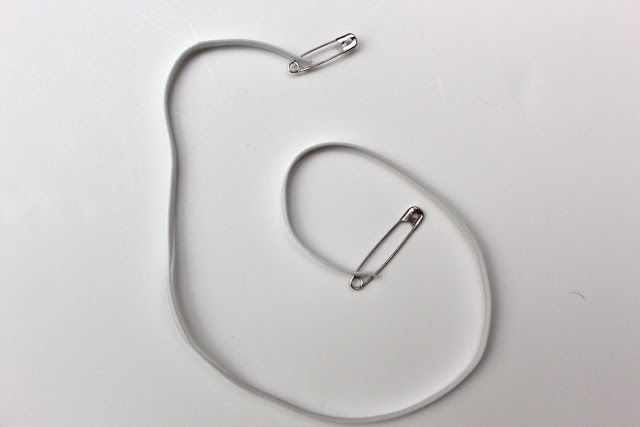
Take a small safety pin and pin it to one end of the elastic and use another larger safety pin and attach it to the other end. This will help you from pulling the elastic completely through the casing and having to start the process all over again, that is just no fun!
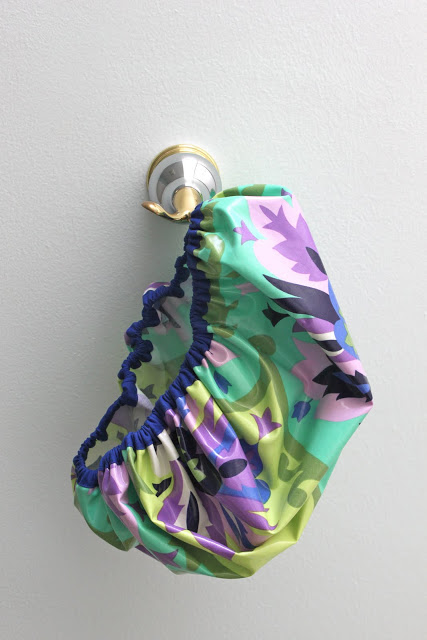
Once you have pulled the elastic all the way through, try on your shower cap to make sure it is snug enough. Then, overlap the two ends of elastic by about 1 inch and zig-zag stitch them together. Place the free end of the bias tape over top and sew into place…all done!
Now you can make a shower cap to please anyone’s personality! Know a momma who is getting ready to deliver at the hospital? This would be a great gift for her to have so she doesn’t have to mess up her pretty ‘do while she showers!
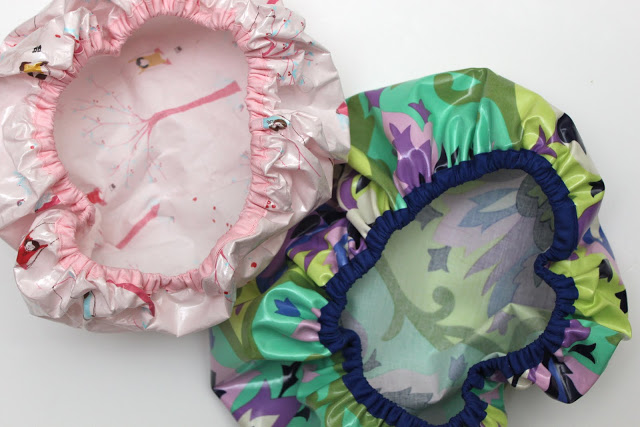
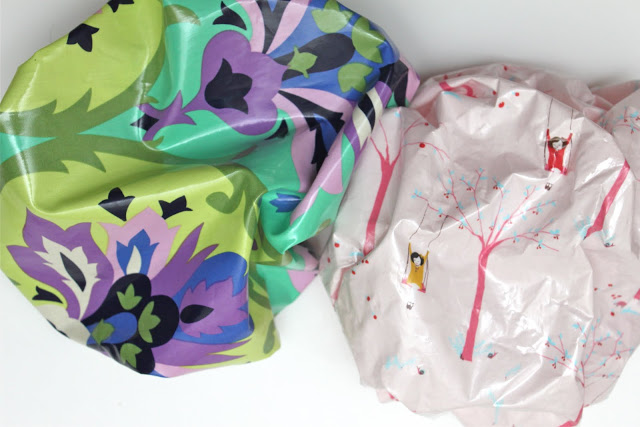
You can also use laminated fabrics to get the waterproof part of the cap, but they cost a bit more and the choices aren’t as varied. The cap on the left is actually made using the same method above but using Amy Butler’s laminated fabric instead of Iron-On vinyl and cotton fabric.
I hope you all enjoy making a few of these and if you do I’d love it if you would add them to my Smashed Peas and Carrots Flickr group I just started up so we can all ooh and ahh over them!
XOXO,




What a great tutorial! I’m pinning this one to my to do list. Love the pink one.. my girls would love this 🙂
OMGosh, I love the vinyl. I need to look for it the next time I’m there! Thanks for sharing!
How did I not know about this vinyl? I have been wondering how I was going to make the fabric on my DD vanity bench repel liquid! Thanks, awesome!
I didn’t even know about this stuff! Iron on vinyl? This is why I love blogging!
Do you think this would work with oilcloth or laminate?
Oilcloth is too thick but this works well with laminated cotton, my blue floral cap in the pictures is made of laminated cotton!
YEAH!! I have been looking for tutorial to make a head wrap for my daughters African American hair to sleep in. I will line mine with satin to protect her style and hair from damage and fuzz and breakage. THANK YOU!! Kristy from http://www.apronsandapples.blogspot.com my crafty healthy blog. I will pin this on pinterest! THANKS!!
I love this shower cap idea! Does it matter that the bias tape itself is not waterproof? Just wondering if it would mildew or behave differently than the waterproof fabric? I’m be making my own bias tape and might be able to add the iron on vinyl but it would be a real pain and I don’t want to unless I have to… Thanks!!!
So cute. I’ve never considered making a shower cap. Lovely idea.
HI, Thanks for this super cute tutorial.
I have included it in a giant list of links related to making things for fairs and fetes.
You can see it here….. http://allysonadeney.wordpress.com/2012/09/15/half-a-giant-list-of-fete-and-fair-tutorials-and-printables-part-1/ …..
if you are interested.
Thanks again for taking the time to design and blog with tutorials.
Ally of harrysdesk.
very nice thank you so much =)
Made one today using laminated cotton! Love this tutorial!
Hi there,
I’ve followed your tutorial and when testing the cap have found that unfortunately the iron on vinyl was only water resistant not waterproof. Any further ideas on what could be used to waterproof the material for full submersion in the shower?
Thanks!
The vinyl is plastic so there shouldn’t be an issue with this in the shower, if you need to be fully submersed in water maybe try a swim cap that goes tightly onto your head?
After making my grand daughter a towel wrap for her 18′ doll I went looking for a shower cap. We made one using you pattern and scaling it down. It worked perfect. Thank you! I would post a photo, but do not see that option.
Yay! I am so glad to hear the tutorial was useful to you! How cute that her little doll now has a shower cap!!! 🙂
Oh my goodness…Love?? them. I have a lot of hair and there is never one big enough. I thought about making some for myself a few days ago.