How’s about some pretty and easy home decor? I know that’s right up my alley as I am full nesting mode these days. I’m sure my husband thinks I’m nutso since I have been going crazy rearranging, reducing clutter, and adding in lots of organization to our house since the beginning of the year. I LOVE it so much. It is so nice to have pretty storage solutions that hide away the toys, book, games, and baby dolls when they are not in use. And one of the best parts is the added bonus of coming up with inexpensive room decor to go with everything, ahh I love a fresh new look.
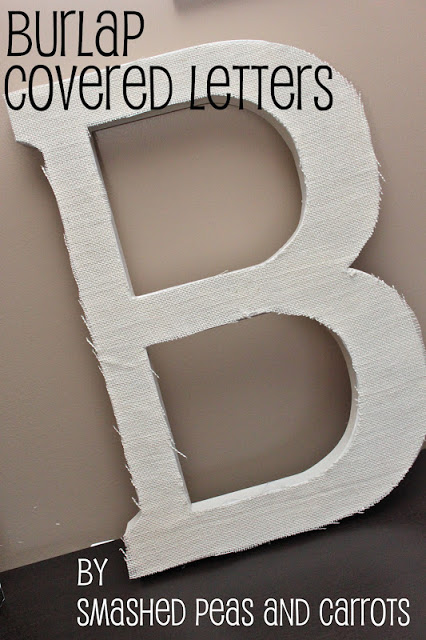
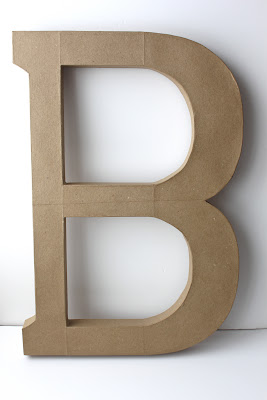
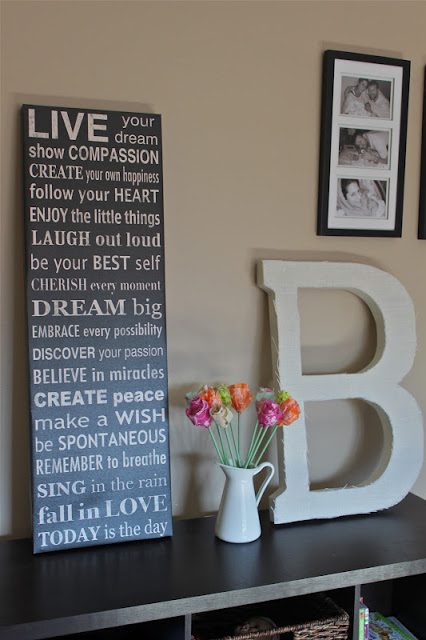
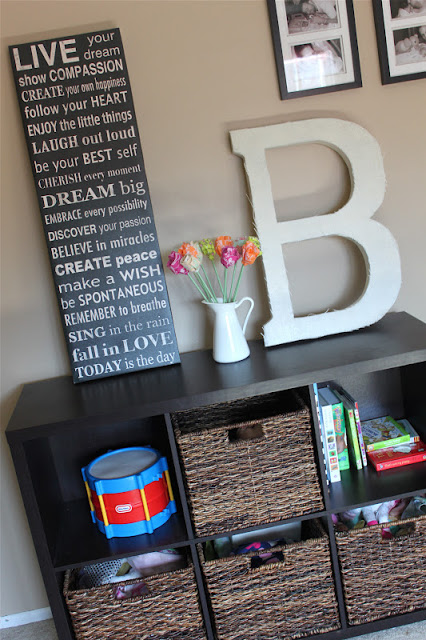
I love bold statement pieces in room decor, they just draw your eyes to them and are great focal points for any room. I have been dying to add in the initial to our last name somewhere in our home for the past year but just couldn’t put my finger on how I wanted it to be exactly…until now. I bought one of those ginormous cardboard letters from Joann’s and planned on spray painting it a bright, fun, cheery color when I realized what our family room really needed was some different textures added in to it. The easiest way to add texture? Burlap! And so the Burlap Covered Letter was born 🙂 I kept the letter simple in color to flow with our room’s color scheme and added the burlap to bring in a whole different rustic vibe…I’m loving it!
Burlap Covered Letters
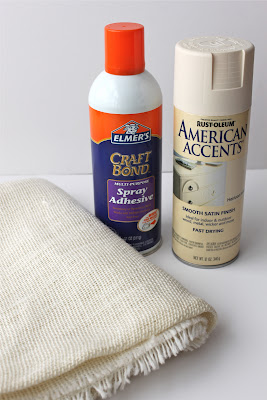
Cardboard letter, also called Paper Mache (another fun project using these letters is my Fabric Covered Letter tutorial seen here!)
Spray paint of your choice
Burlap
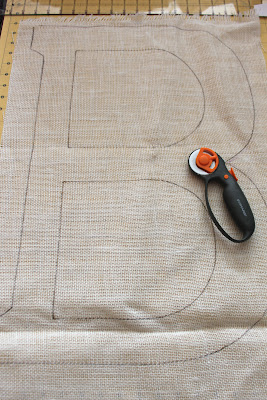
Marker to outline the letter
Scissors or Rotary cutter and mat
Spray adhesive
This project is another easy one. You just need the above items to make a fun, textured statement piece for you room decor!
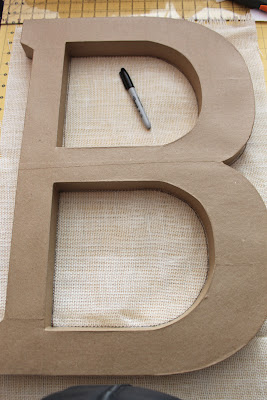
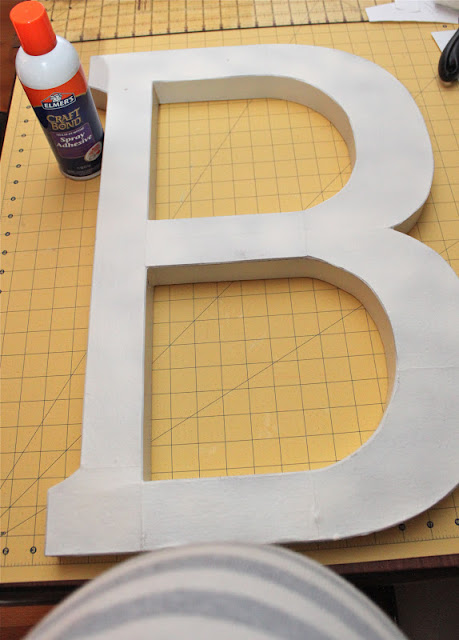
First, grab a marker and outline your letter onto the burlap, make sure you outline just the outer or front of the letter as the burlap will only cover the front of it. Cut it our with your rotary cutter or scissors. Then head outside to spray paint your letter, front, back, and inside all those nooks and crannies. I used Rustoleum’s Heirloom White, it’s one of my favorite colors to use in our house. I also found a cream colored burlap which worked perfectly for me but you could always buy the plain ‘ol brown kind and spray paint it the color of your choice as well since you won’t be washing it anytime soon!
Baby bump alert! This thing is getting hard to hide these days!
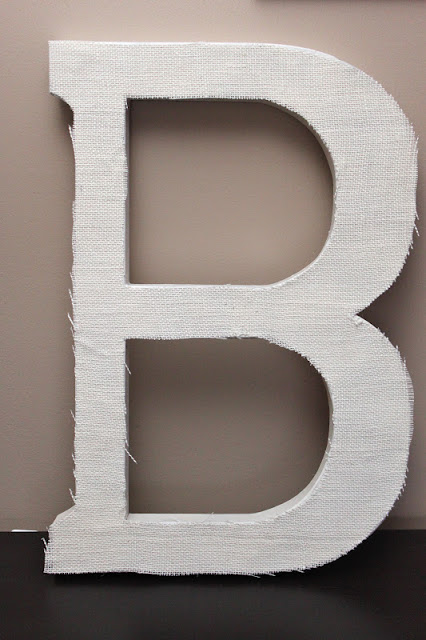
Once my letter was dry I sprayed my Adhesive Spray all over the front of the letter and then carefully laid my burlap ‘B’ over top. I had to straighten out a few wrinkles here and there but didn’t worry too much about it being perfect as I wanted more of a rustic, frayed look.
Let the adhesive spray dry for a few hours or up to one day if it smells strongly and there you have it…easy room decor!
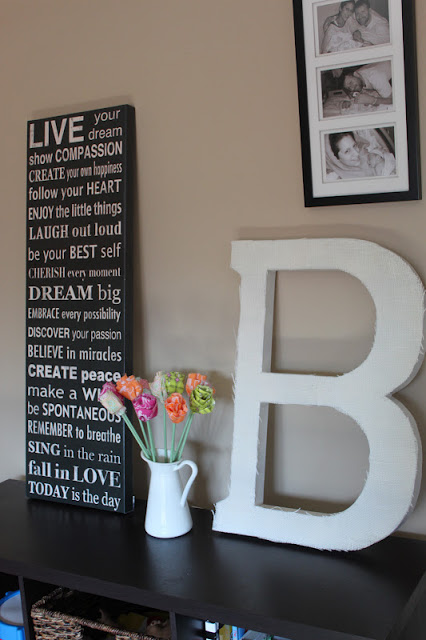
I love how it looks in our family room 🙂
And my kids love saying ‘hey, I have a B in my last name!‘
PS. Those are the fabric flowers from Dana’s No Sew Flower tutorial here, I made them so long ago and still love them to this day!
Need a bold statement piece for your home? Try this one and I bet you’ll love it too!
Thanks for stopping by, we’ll talk soon!
XOXO,




Super cute! And love the belly shot 🙂
Thanks Lisa!!!! 🙂
I love reading your blog! And this sounds like a fun project. I also love your organization cube thing that the “B” sets on…may I ask where you got it? Thanks for brightening my day when I read your blog!
I found mine at Target…along with the baskets!!
Thank you!
So cute! I can’t wait to try this! Thanks!