I know I showed y’all the girls’ room reveal already (here) but every now and then I add a little somethin’ somethin’ to it that it just needs. Y’know, a little pop of color here, a cool clearance find there, whatever floats my boat 🙂
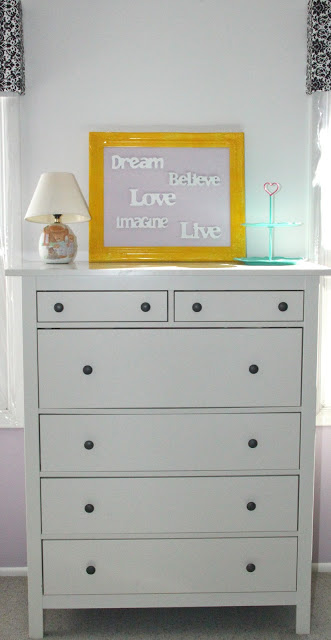
I decided that their tall dresser area needed a little something more…it was just too bland over there between the two cornice boards I made for the windows (tutorial here). I had to seep in a little of that yellow but for a while just wasn’t sure how to do it. Enter Michaels and their dandy little (big really) finished and unfinished wood section. Man, I think I could spend all day in there dreaming up fun projects…
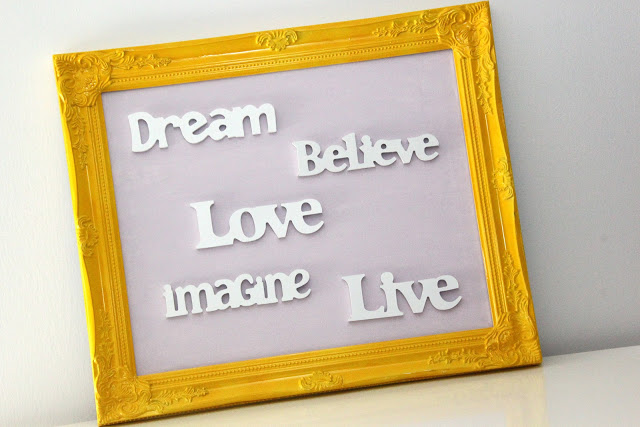
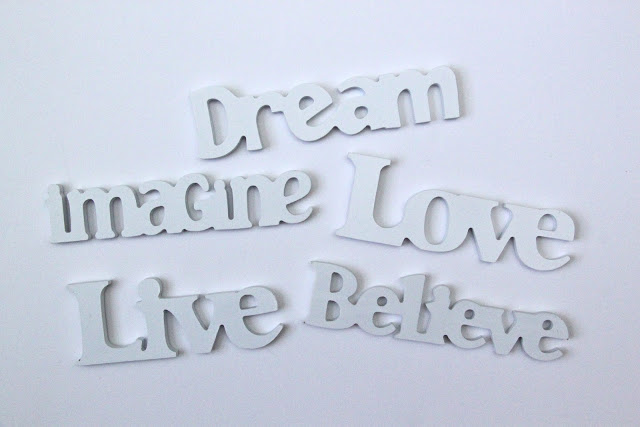
Anyhoo, I found these super cute finished wooden inspirational words that spoke to me…and I hope speak to my girls. Words like: Dream, Believe, Love, Imagine, and Live. YES! Totally words I hope they take to heart and play a big part in their own lives. I really hope I instill in my girls the desire to be strong women. That they can have big dreams and go for them. That nothing is impossible! So after finding these words my Framed Inspirational Canvas project was born! It was going to be the perfect piece for their dresser, just what the doctor ordered!
Here’s how you can make one too!
Framed Inspirational Canvas
Finished wooden inspirational words (found at Michaels)
Hot glue and gun
Canvas (I used an 16×20″)
Frame (I searched their frames to find one that fit the canvas)
Paint (I used the paint we painted their bedroom walls with to match it)
Foam brush or paint brush
Spray paint for frame (optional)
Painter’s tape
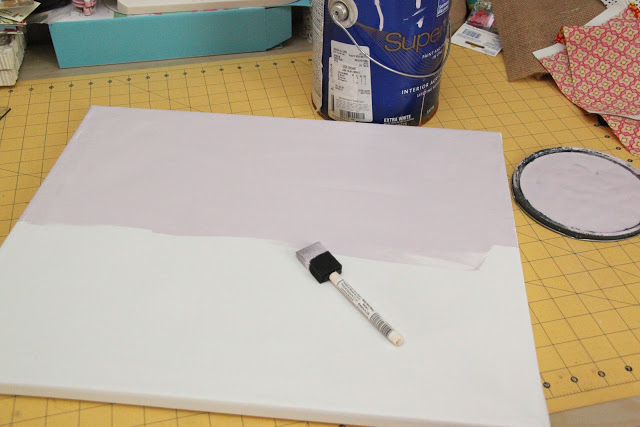
This project is really so easy and gives such a nice pop of color along with some great inspiration. First take your canvas and give it one to two good coats of paint and let dry for a few hours. I used Sherwin Williams Enchant so it matched the bottom half of the girl’s bedroom walls. If you plan to spray paint your frame do so now too, so it has ample time to dry (I used Rustoleum Gloss in Sun Yellow).
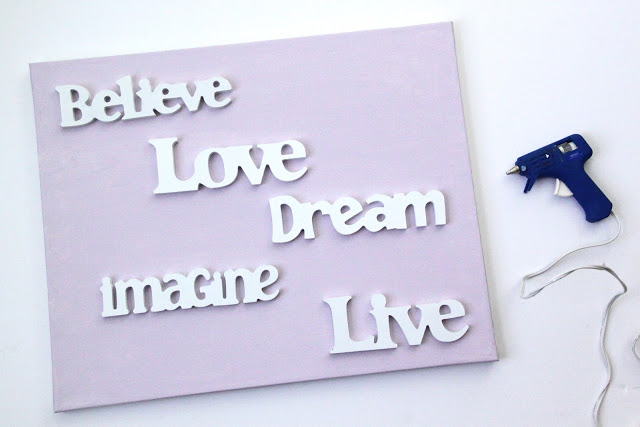
Take your inspirational words and place them on the canvas to figure out where you’d like them to be…I went for a subway sign look with my words sort of shifted all over the canvas but still parallel to each other.
Then flip one word over at a time and hot glue all around the backside of each letter. Press it to the canvas exactly where you want it placed and hold for a few seconds until the glue cools down and dries. Continue to do this with each word.
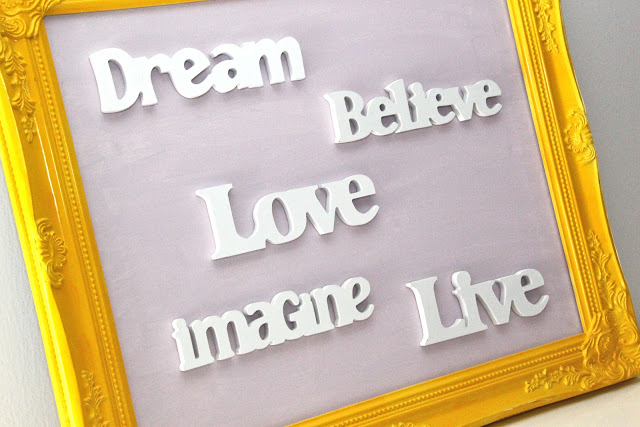
Then place your canvas in your frame and tape it into place using the painter’s tape. This way it stays in place but is still easily removable in case you change your decor in the future!
And there you have it! So pretty isn’t it!
Thanks for stopping by today!!
XOXO,
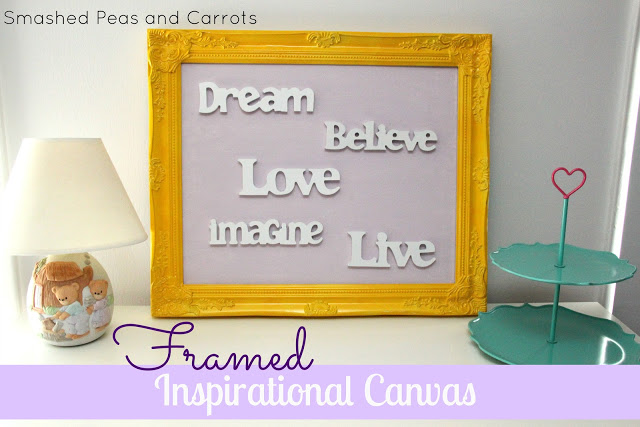

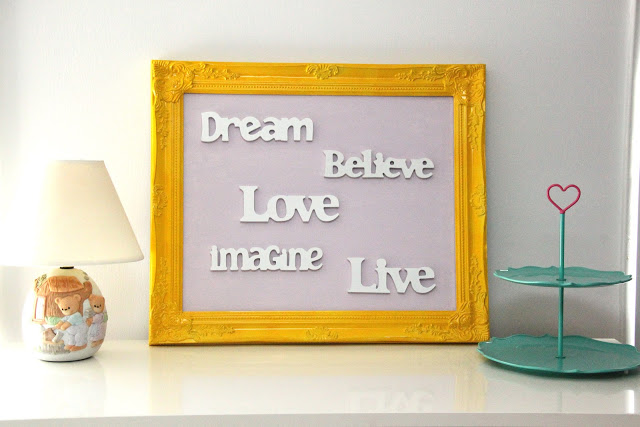





Where did you get the tiered teal stand next to it?
I bought that the day at Target…it was on Valentine’s day clearance. You might still be able to find it online though. Good Luck!!
Love it Maggie, so very cute. How is it standing – just leaning against the wall?
Thanks RitaMarie! Yup, I just leaned it against the wall!