Smashed Peas & Carrots

Inspiration For Living Creatively - DIY Crafts, Sewing, Recipes, Crafts & More

  • Press
  • Disclosure
  • Collaborate
  • Contact
  • Facebook
  • Twitter
  • Pinterest
  • Instagram
  • Dots
  • Google Plus

Become a Subscriber

never miss a thing!

  • Home
  • About
    • Advertising
    • Disclosure & Safety Disclaimer
    • Privacy Policy
  • Recipes
    • Appetizers
    • Bento Lunch
    • Beverages
    • Smoothies
    • Breads
    • Breakfast
    • Casserole
    • Crockpot
      • Visual Library
    • Dairy Free
    • Dessert
    • Gluten Free
    • Main Course
    • Holiday
    • Instant Pot
    • Paleo
    • Party Food
    • Salad
    • Side Dish
    • Soup
    • All Recipes
  • Tutorials
    • Children
    • Adult
    • Home Decor
    • No Sew
    • Sewing
      • Children Sewing
      • Adult Sewing
      • Home Decor Sewing
      • Sewing Basics
    • Sewing Studio
    • Knitting
    • Kids Crafts
    • Bento
    • Holiday
    • Parties
    • Gift Ideas
    • Natural Living
    • All Tutorials
  • shop
You are here: Home / Tutorials / Holiday / TUTORIAL: How to Make Paper Cloverleafs
Mar
8

TUTORIAL: How to Make Paper Cloverleafs

| Filed Under: Holiday, St. Patrick's Day, Tutorials

Did you know that the Craft and Hobby Association recently launched a new campaign called CRE8TIME which is dedicated to helping all of us reclaim our creativity?  One of my favorite craft stores, Michaels, has joined this movement and asked me and a handful of other rad bloggers to participate in their CRE8TIME Challenge, cool yo! We have been asked to spend an hour a day crafting for 8 consecutive days…I can totally do that…I think! 🙂
                                          
Y’all know I love crafting…sewing…DIY….I LOVE it all.  And I often get asked, 

‘how do I find the time to be creative when I have 4 little ones running around at my feet?’  
Well…I love creating because it makes me feel relaxed and calm, in other words, it centers me.  And since that is a feeling I REALLY need in this season of my life I try my hardest to make time to do it–usually it’s at the end of the day when the kids are in bed but it’s my time to create nonetheless plus it’s quite so there is no one up to disturb me…Bonus! 
Trying to find an hour EVERY day for this challenge has been challenging, I will admit that.  It seems somedays we are on the strictest of schedules with many mornings filled with running to and from gymnastics classes, swim lessons, bible studies, playdates, and then home to feed everyone lunch before kindergarten and preschool start.  Then it’s a race to get Oliver down for a nap so he can be up in time for preschool pick-up all the while I’m trying to get laundry done, dinner prep ready, and clean the house to some degree…ahhh, 4 kids schedules plus my own sounds a bit crazy, right? It totally is somedays for sure, but even though that makes this challenge of creating an hour a day difficult it is also soooo nice to have one hour carved out each day just to create and do something fun…for me!
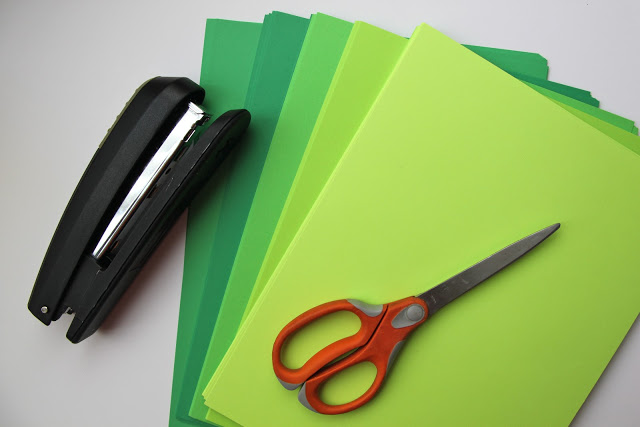
One of the projects I created in an hour, really, seriously, just ONE hour! Was a Paper Cloverleaf Garland.  Y’all know I love decorating for every holiday known to mankind and this was the perfect bit of crafty fun to do in an hour’s time.  It is easy enough to do, you don’t even need any crazy crafting tools! Just scrapbook paper (Michaels has a HUGE assortment!), scissors, and a stapler…then just relax and in no time you can create a fun holiday garland for your mantle or door 🙂

Paper Cloverleaf Garland

8 1/2 x 11 inch scrapbook paper
scissors
stapler
twine for hanging

First off, grab a stack of fun colored scrapbook papers for your cloverleafs.  I chose different shades of green but really any fun designs will do!  I used 8 1/2 x 11 inch pieces of paper, you could also use the 12 x12 sheets but I really liked the size of the cloverleafs that the smaller sheets made.
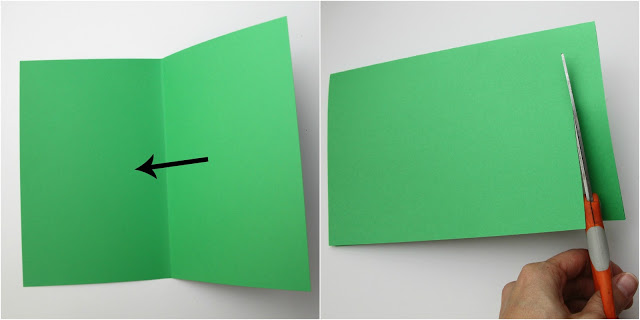
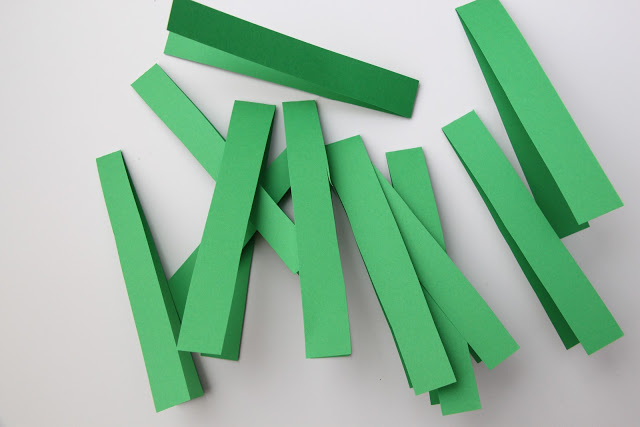
Take one sheet of scrapbook paper and fold it in half the long way.  Then using your scissors, cut approximately 1-inch strips from the folded paper.
You should have quite a few 1-inch wide folded strips of paper measuring 5.5 inches in length each.
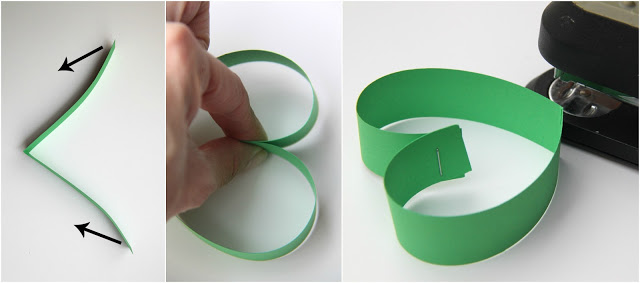
Then take one strip and fold it backwards on the fold of the paper (picture 1). Connect the two ends (picture 2) and staple them together (picture 3) so you get a nice puffed up heart shape. Keep doing that with your folded strips of paper, leaving a few strips that you will cut on the fold and use as the cloverleaf stems.
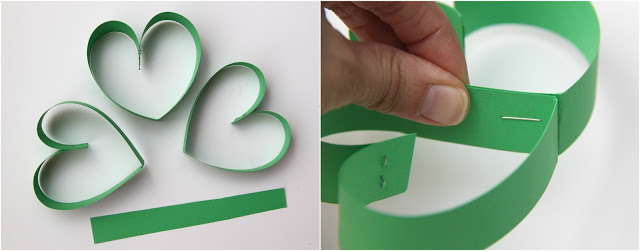
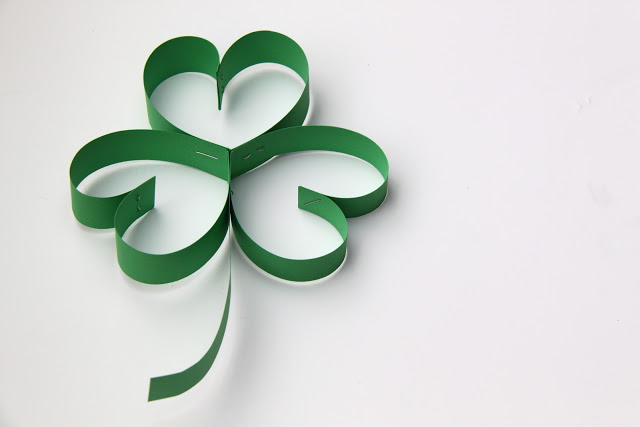
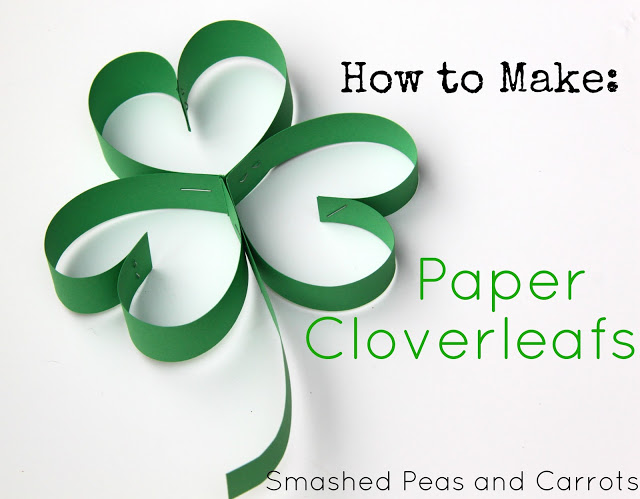
To construct a cloverleaf you will need 3 hearts and one 5.5 inch strip of paper.  Take two hearts and place them side by side so that the pointed tips at the bottom are touching. Staple together.  Do this one more time so that all three hearts are connected to one another but two of them are still not stapled together.
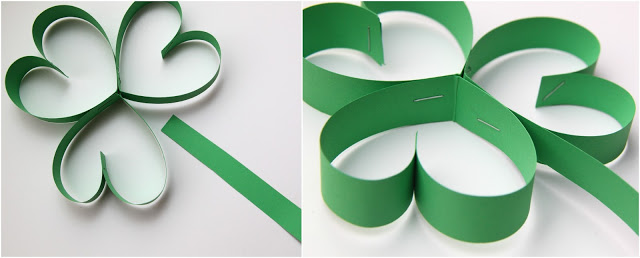
To add the stem to your cloverleaf you will place the 5.5 inch strip of paper in between the two hearts you have not yet stapled together.  Pinch the two hearts around the 5.5 inch strip of paper and staple into place.
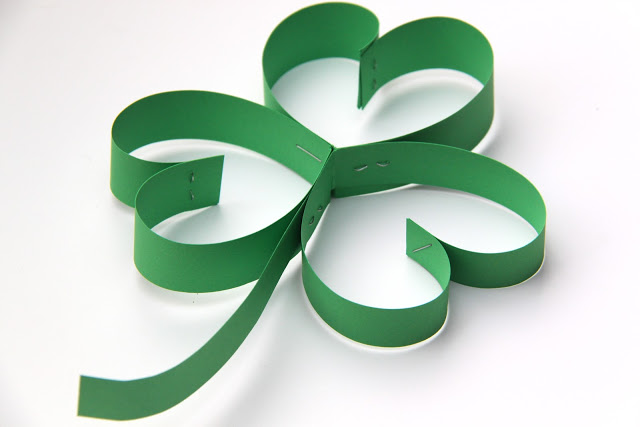
And there you have it!  A cute and simple paper cloverleaf 🙂 
P.S. I bent my stem just slightly at the bottom to give it a more ‘real’ look.
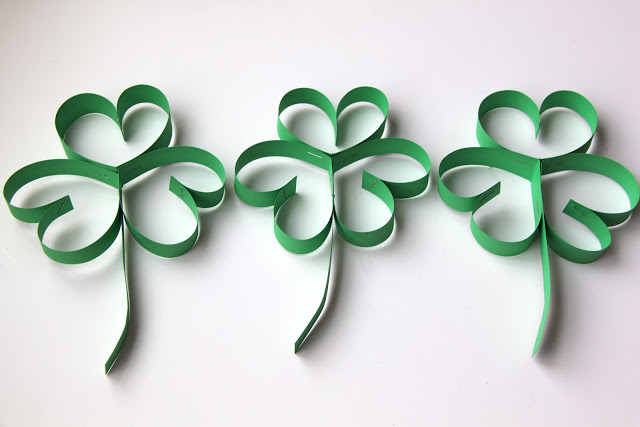
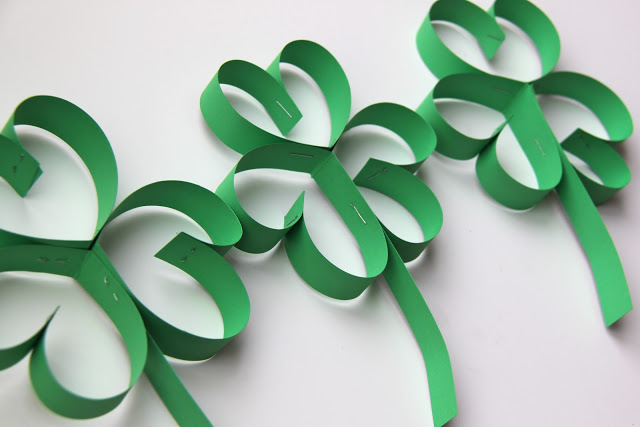
You can continue to make cloverleafs so that you have enough to make a garland of them.

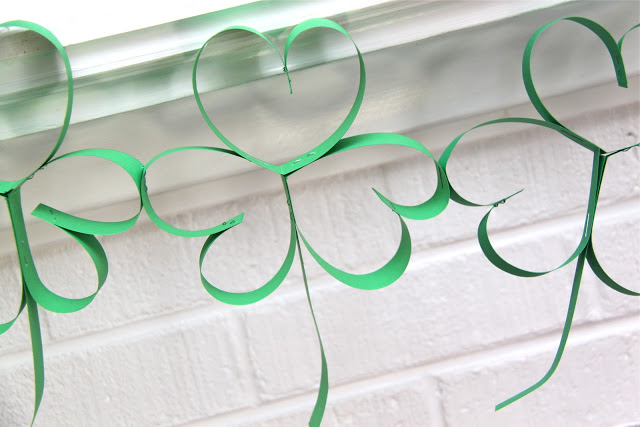
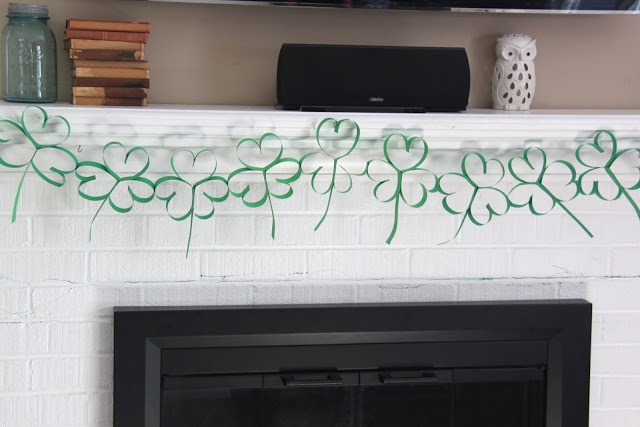
Then just staple them together side by side, like so.

One festive Paper Cloverleaf Garland just perfect for celebrating St. Patrick’s Day!

I’ll be back next week to share some more of the fun projects that I plan to accomplish while I challenge myself to create for one hour a day thanks to the CRE8TIME Challenge.

If you want to take the challenge to reclaim your creativity with me, click here to read more about it!

Thanks for stopping by today!

 XOXO,

** I have been compensated for this post. However, all opinions are truthful and my own.  This post contains paid links.
    You may also like -

    Dunkin Donuts Thank You PrintableDunkin Donuts Thank You PrintableHow to make and Energizing Green Smoothie that tastes great // SmashedPeasandCarrots.comRecipe: Energizing Green SmoothieSuper cute idea...St. Patrick's Day: Lucky LunchSt. Patrick’s Day: Lucky LunchSuper fun Rainbow Paper Plate Windsocks. The perfect craft for little ones!How to Make a Rainbow Paper Plate WindsockHow the Grinch Stole Christmas partyHow the Grinch Stole Christmas Party!

    Become a Subscriber

    never miss a thing!

    Comments

    1. Melissa says

      March 8, 2013 at 2:42 pm

      I love that this is like a classier version of the construction paper chains I made when I was a kid. It looks amazing on your mantle!

      • Maggie says

        March 8, 2013 at 3:20 pm

        Thanks Melissa! My thoughts exactly 🙂

    2. Becky Crutcher says

      March 8, 2013 at 2:59 pm

      Sweet and simple! Love it!

      • Maggie says

        March 8, 2013 at 3:21 pm

        Thanks Becky! 🙂

    3. Anonymous says

      March 8, 2013 at 11:09 pm

      Absolutely adorable!!! What a great idea!! Thanks so much for sharing!!

      #technicallyshamrocksthough 😉

    4. Craftivity Designs says

      March 15, 2013 at 9:54 pm

      Adorable! I featured you on my Kick-off Friday post today! http://craftivitydesigns.blogspot.com/2013/03/kick-off-friday-lucky-finds-edition.html

    5. Thersea says

      March 15, 2013 at 10:02 pm

      Thanks for the very cute tutorial! I just made this for my kitchen and the kids love it! 🙂

    Welcome to Smashed Peas and Carrots. You can read more about me HERE
     photo designTeam.png
    Follow on Bloglovin

    Popular Tutorials

    Highlighter Valentine Card with Free Printable

    Highlighter Valentine Card with Free Printable…

    Play Doh Valentine Card Free Printable

    Play Doh Valentine Card Free Printable…

    Elderberry Syrup Recipe

    Elderberry Syrup Recipe: Natural Cold and Flu…

    Teacher Survival Kit

    Teacher Survival Kit with FREE Printable…

    Notebook Paper Pencil Pouch Teacher Gift Idea

    Notebook Paper Pencil Pouch Teacher Gift Idea…

    Free Silhouette File Teacher Canvas Bag Gift Idea

    Free Silhouette File: Teacher Canvas Bag Gift…

    Popular Recipes

    No Bake Energy Bites Recipe…

    Chocolate Coconut Cups {Gluten and Dairy Free}…

    DIY Taco Seasoning Recipe…

    Sugar. Cookie. Icing. {The Recipe}…

    French Dip..Crockpot Style!…

    Crockpot Banana Bread…for Real!…

    My Sponsors

     photo FatQuarterShop-175x175.png

     photo cdf15248-e6f8-4276-abc0-c145e2451c35.jpg


    Blog Archives

    Posts by Topic

    Stay Connected

    • Facebook
    • Twitter
    • Pinterest
    • Instagram
    • Dots
    • Google Plus

    Join me on Facebook

    Copyright Smashed Peas and Carrots © 2025 · All rights reserved · Design by Emily White Designs

    Copyright © 2025 · Smashed Peas & Carrots Custom on Genesis Framework · WordPress · Log in